If you are going to create an Ecommerce website, you’ll be able to do it easily with the combined capability of Elementor, WooCommerce and the Jupiter X theme. These powerful programs allow you to design a fully-functional ecommerce website without any coding. In this post, you’ll find all the steps you need to take when creating your own WooCommerce store with Elementor.
The Tools You Need To Make A WooCommerce Store
There are two main tools you’ll need to create your online store beyond the WooCommerce plugin:

Jupiter X Theme – this is a premium WordPress theme that includes customization options, a bundled WooCommerce plugin and demo templates.
Elementor – this is a free page builder that will help you customize pages and add any content. It’s also bundled with the Jupiter X theme.
Next we’ll explain how to create and customize the product pages and make them look great.
Installing Jupiter X and WooCommerce Templates
The first step you need to take in creating a WooCommerce site is installing the Jupiter X theme. The process is quite simple and is explained fully here. If you are new to WordPress and WooCommerce, or just want to save time, you can install a demo template to get an already built WooCommerce site and just replace demo products and other demo content with yours. In this post you’ll get a detailed instruction on how to import a demo template.
Use Customizer to Edit the Settings
Jupiter X provides WooCommerce settings in the WordPress Customizer. You can edit some styles, enable/disable options and see the results right away on a real-time preview.
So, after installing WooCommerce, you can access default WooCommerce pages, which can be styled in Appearance > Customize > WooCommerce.
Here are the sections you can customize:
- Product Archive
- Product List
- Product Page
- Product Catalog
- Checkout & Cart
- Store Notice
- Product Images
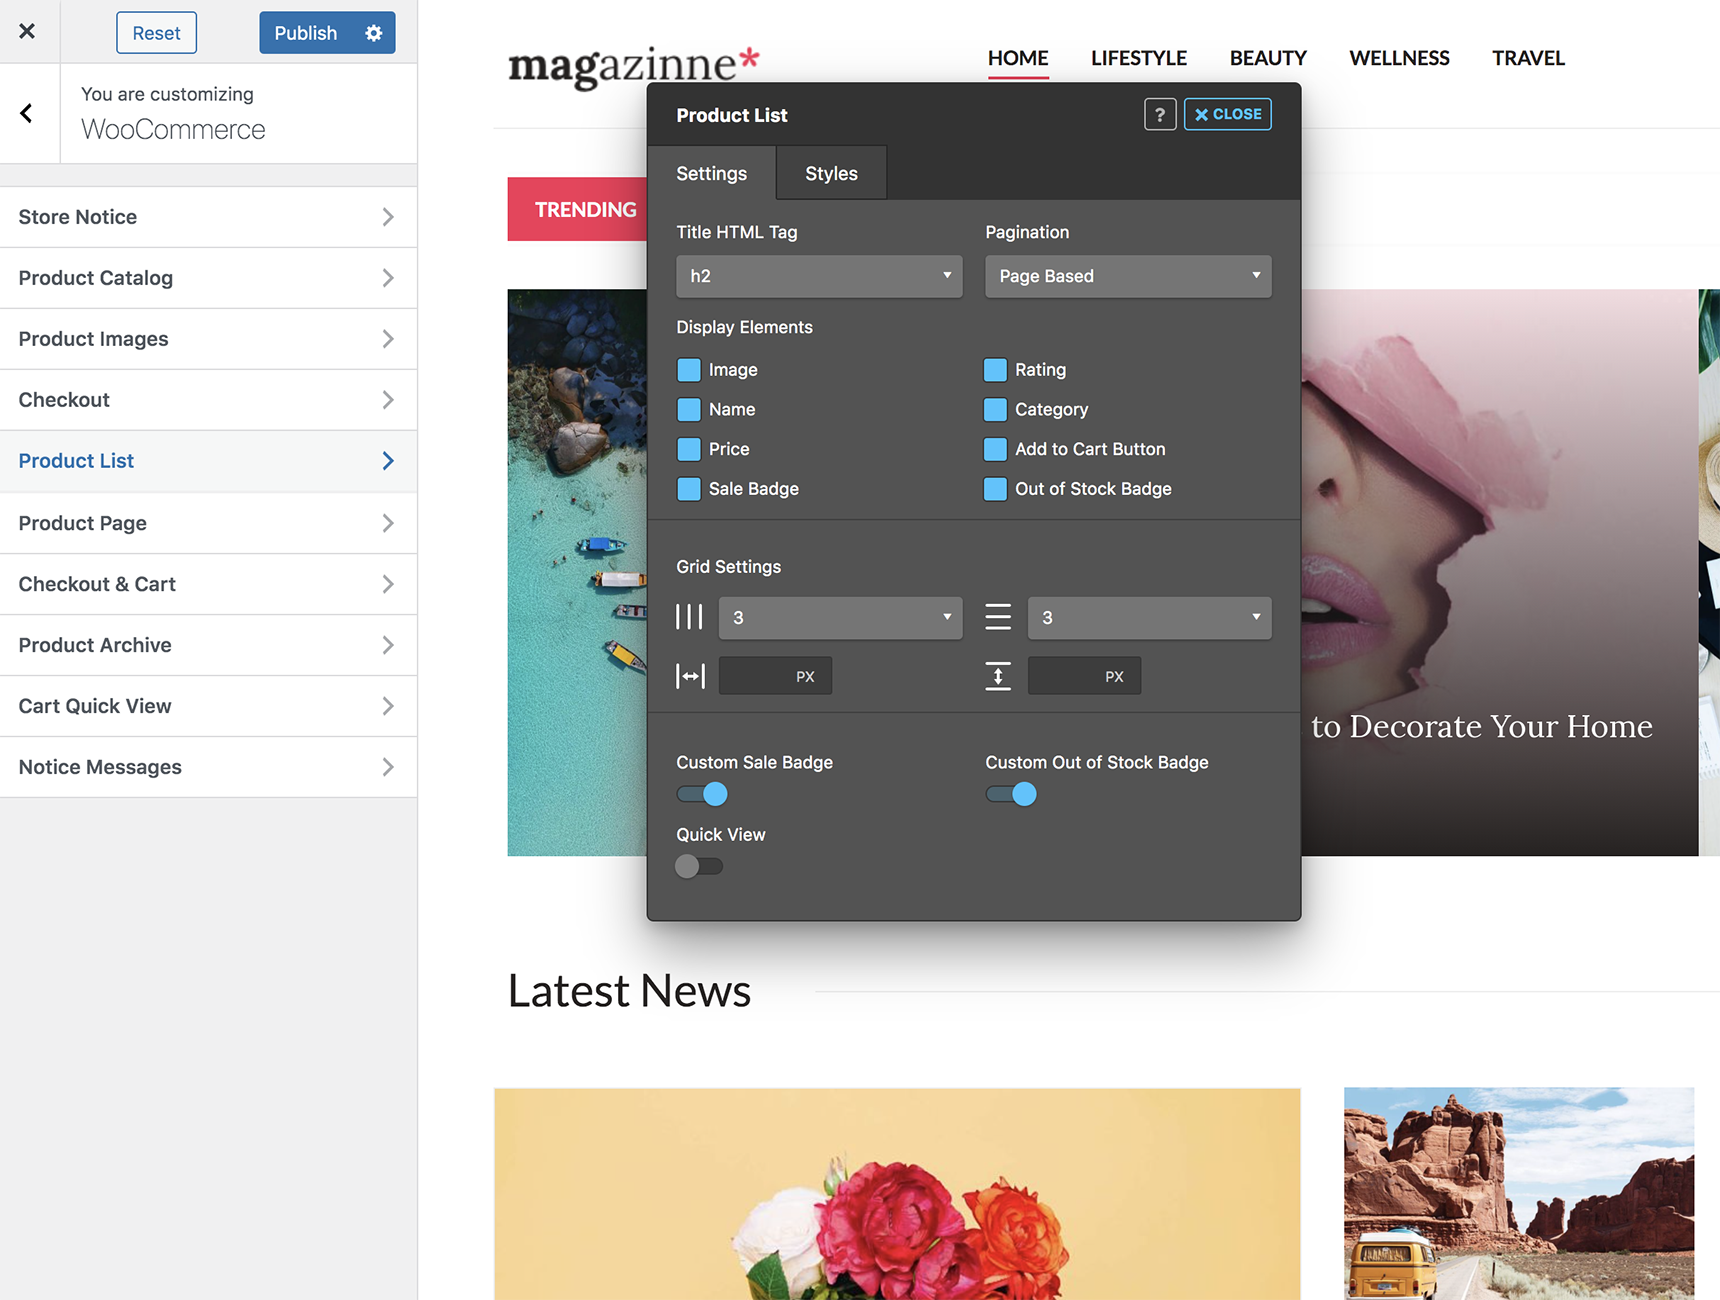
WooCommerce settings like Store Notice, Product Catalog, Product Images are default settings and not related to Jupiter X. You can read about them in the WooCommerce documentation.
Product Archive
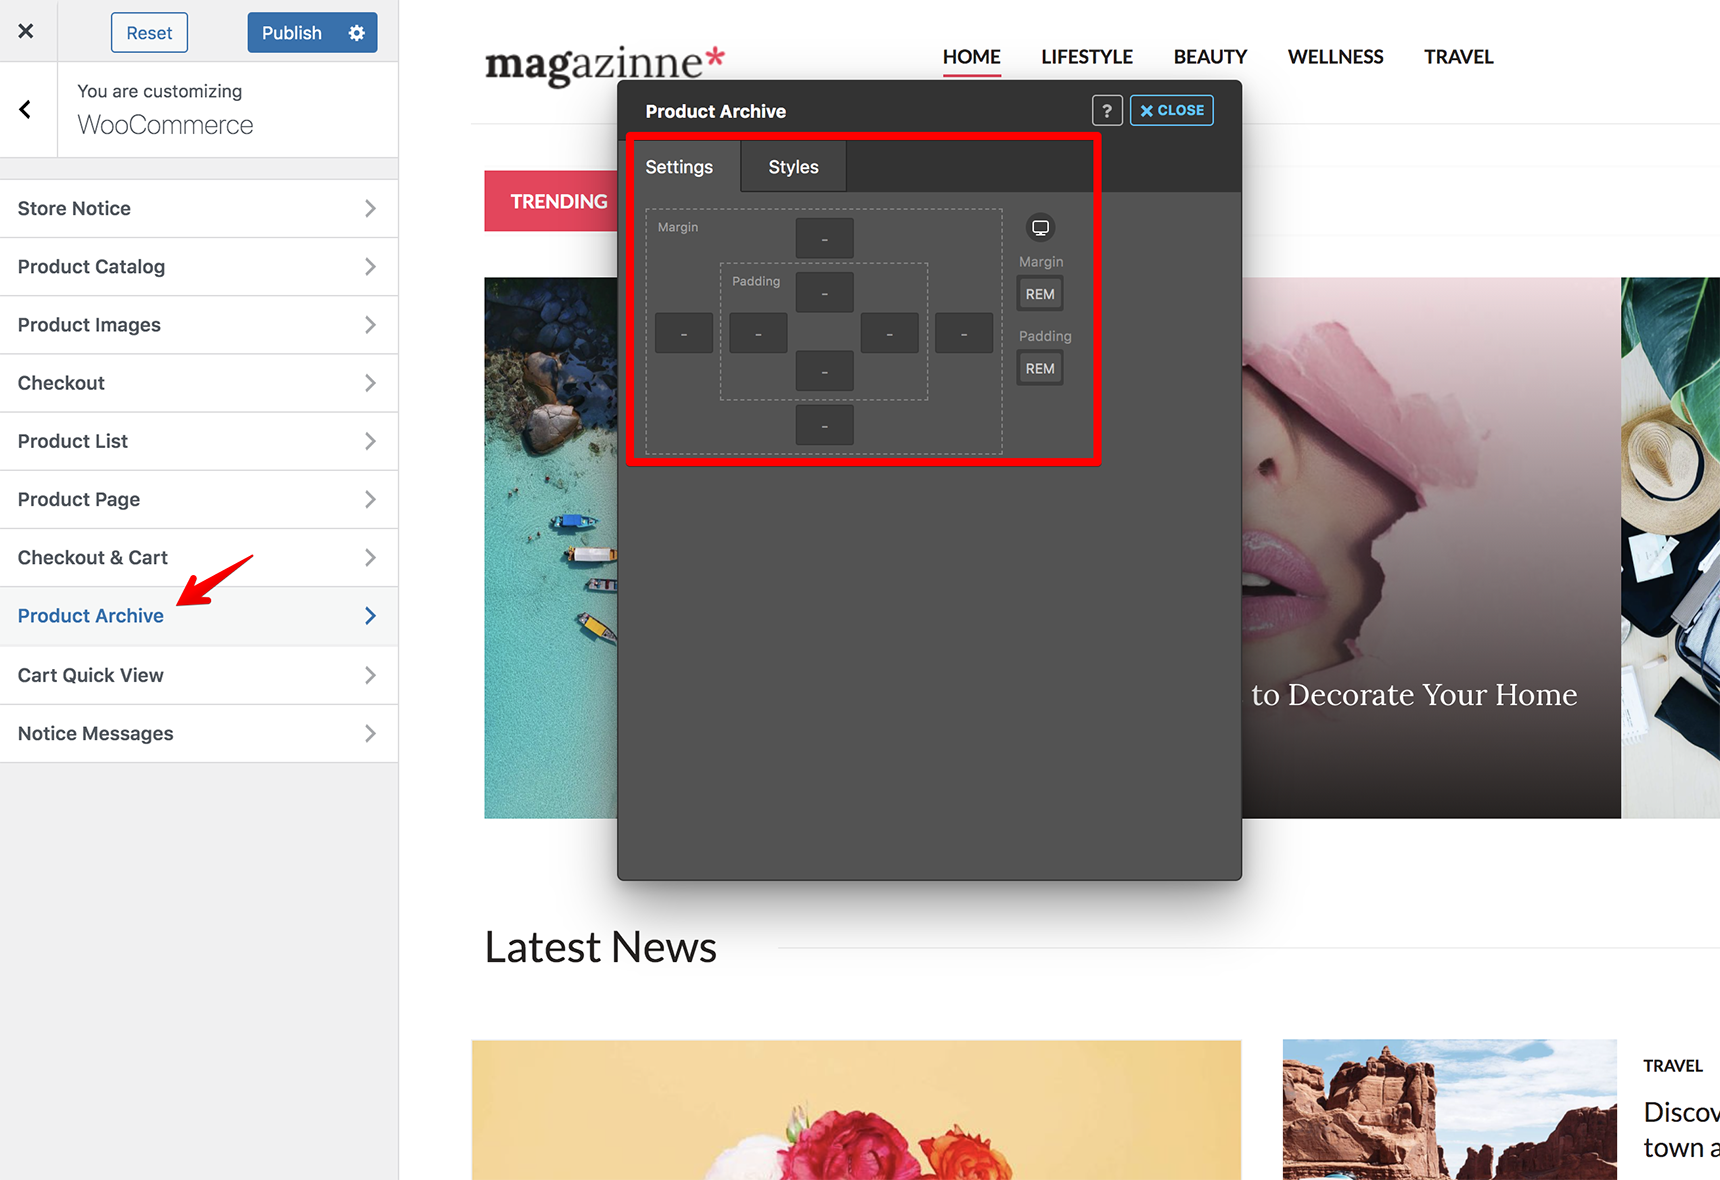
In the “Product Archive” tab you can set margin and padding values that will be applied on WooCommerce archive/category pages. Also there is a “Styles” tab where you can edit the color, fonts for the title and description on the archive pages.
Product List
The settings in “Product List” allow you to enable/disable different elements, set columns and rows for the products. Also you can style the elements like “Add to Cart” button, product title, Sale and Out of Stock badges, etc. Jupiter X documentation has an article related to Product List that describes the options in detail.
Product Page
This tab provides the settings for single product pages. There are 8 templates you can select for single products. You can view their examples on Jupiter X demo site (hover the Shop menu item and check the links Layout 1 – Layout 8).
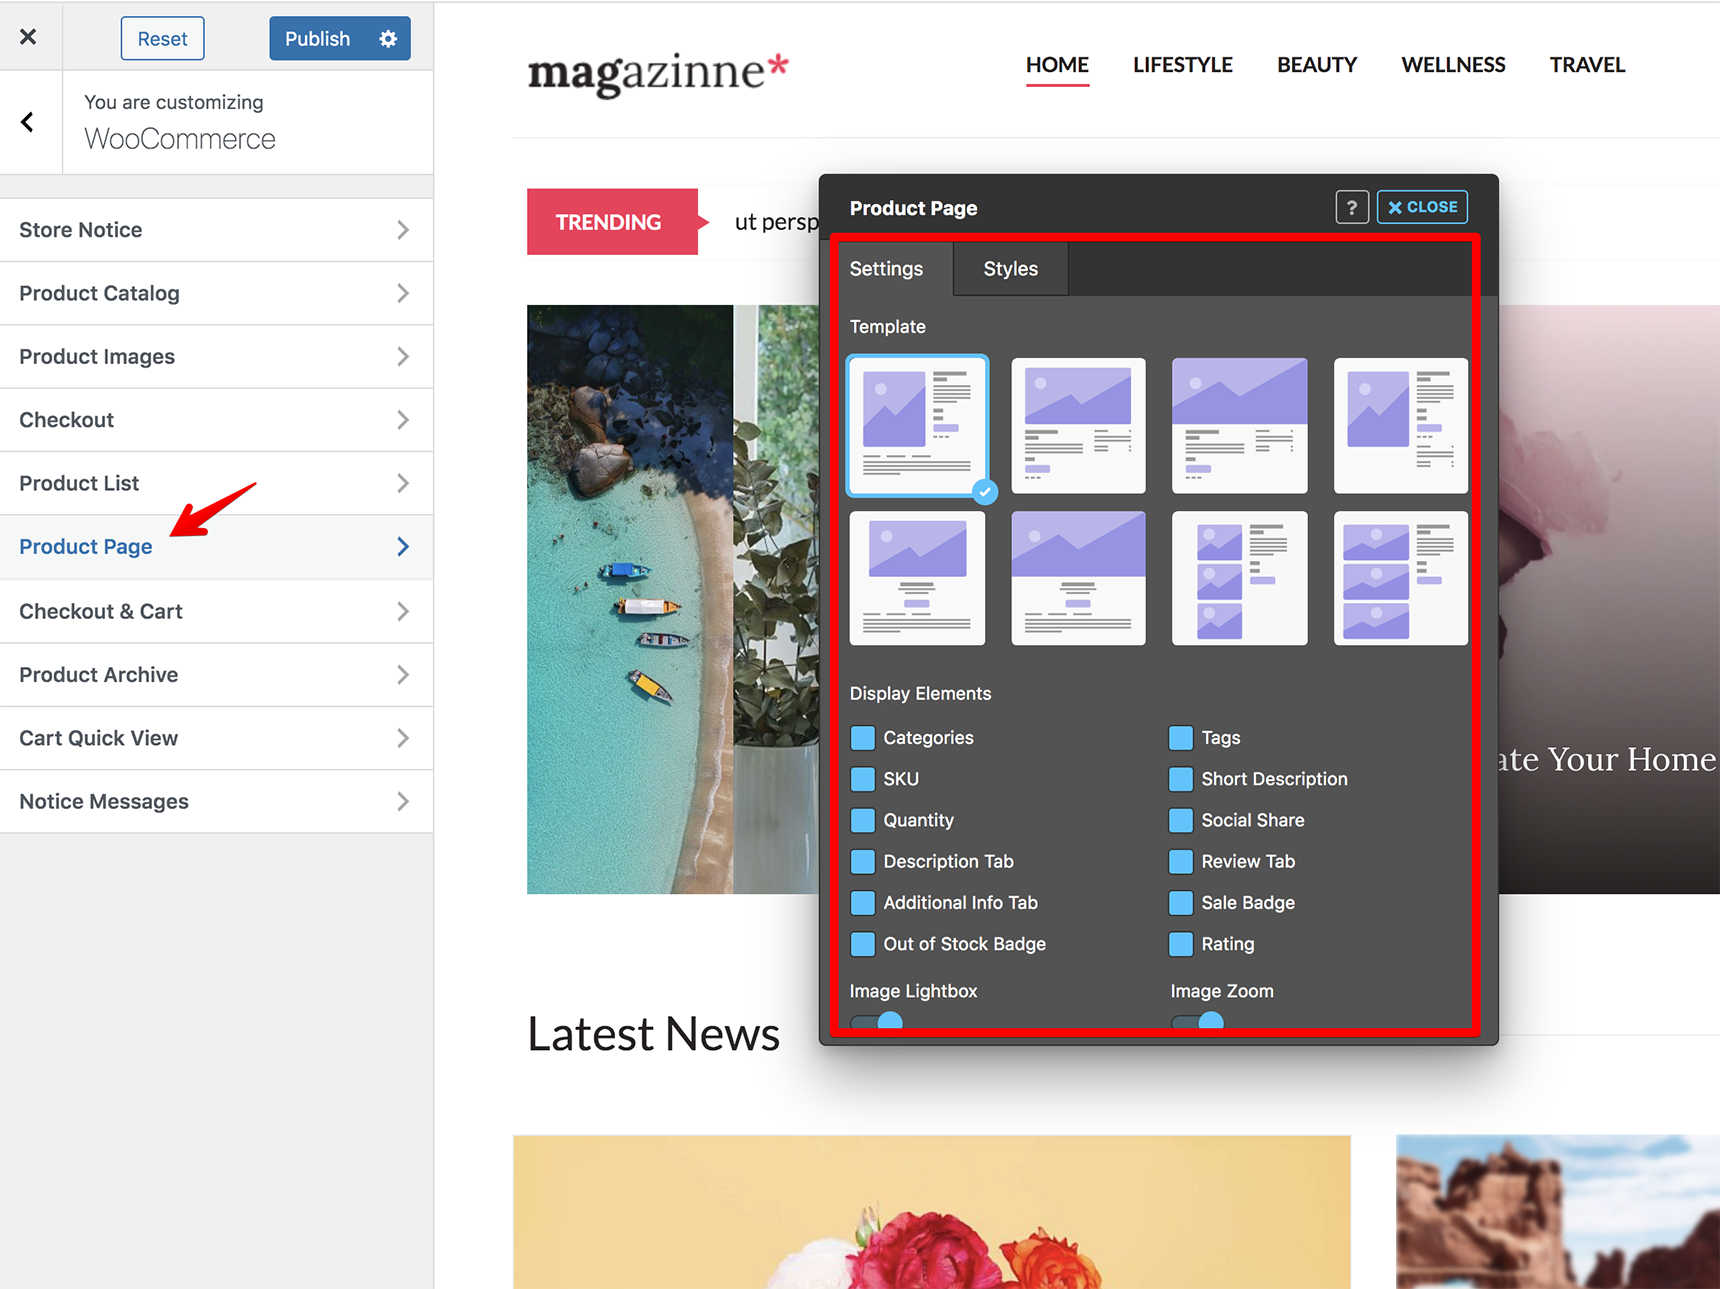
There are also options to enable/disable different elements on the page like Categories, Tags, Short Description, Review tab, etc. In addition, you can disable Image Lightbox and Image Zoom. The “Styles” tab provides styling options for the elements, such as changing font family or font size for product name, setting border for an image, styling social icons and so on.
Checkout & Cart
The “Checkout & Cart” tab has an option to disable steps, which you have by default on the Cart and Checkout pages.
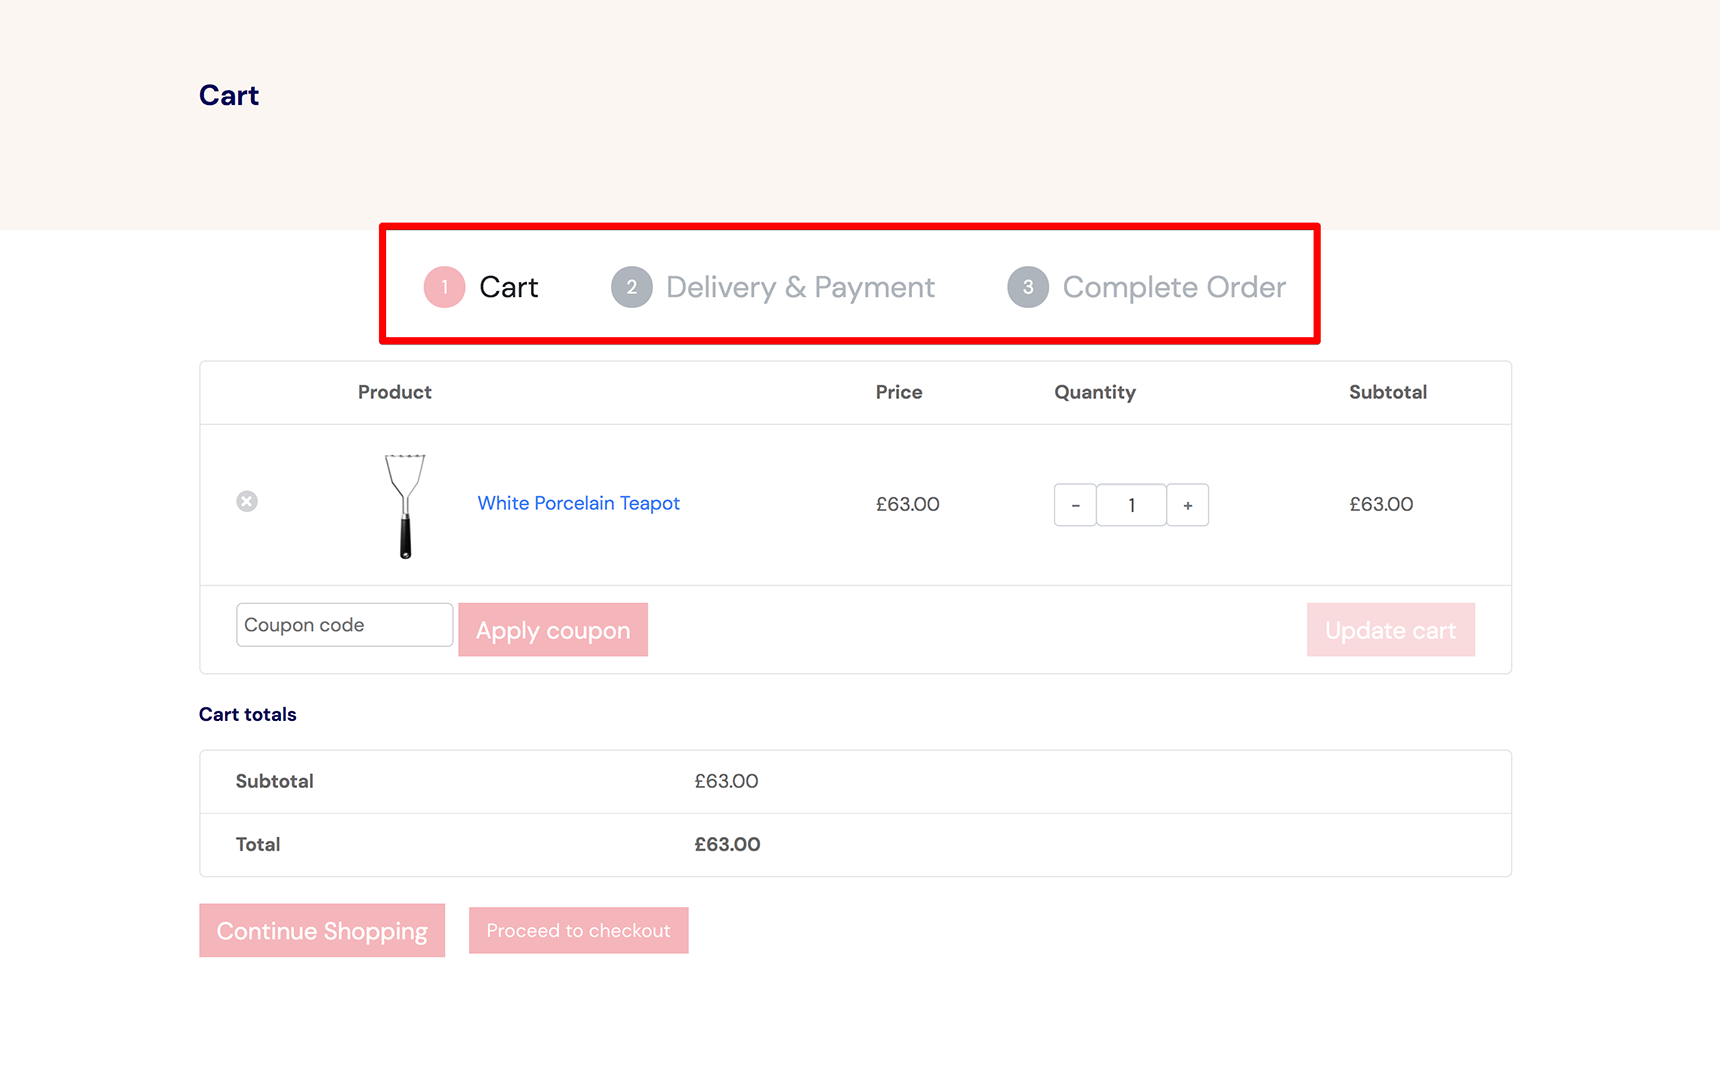
Additionally you can style these steps, headings, buttons, thumbnail and others in the “Style” tab.
Creating a Custom Shop Page With Elementor
WooCommerce creates a default Shop page that is not editable and other content can’t be added to it.In this case we have a solution: create a custom Shop page using Elementor editor where you’ll be able to add any content you need. Of course, you need to display products on your Shop page, and to do this you can add the JX Products widget to the Elementor editor.
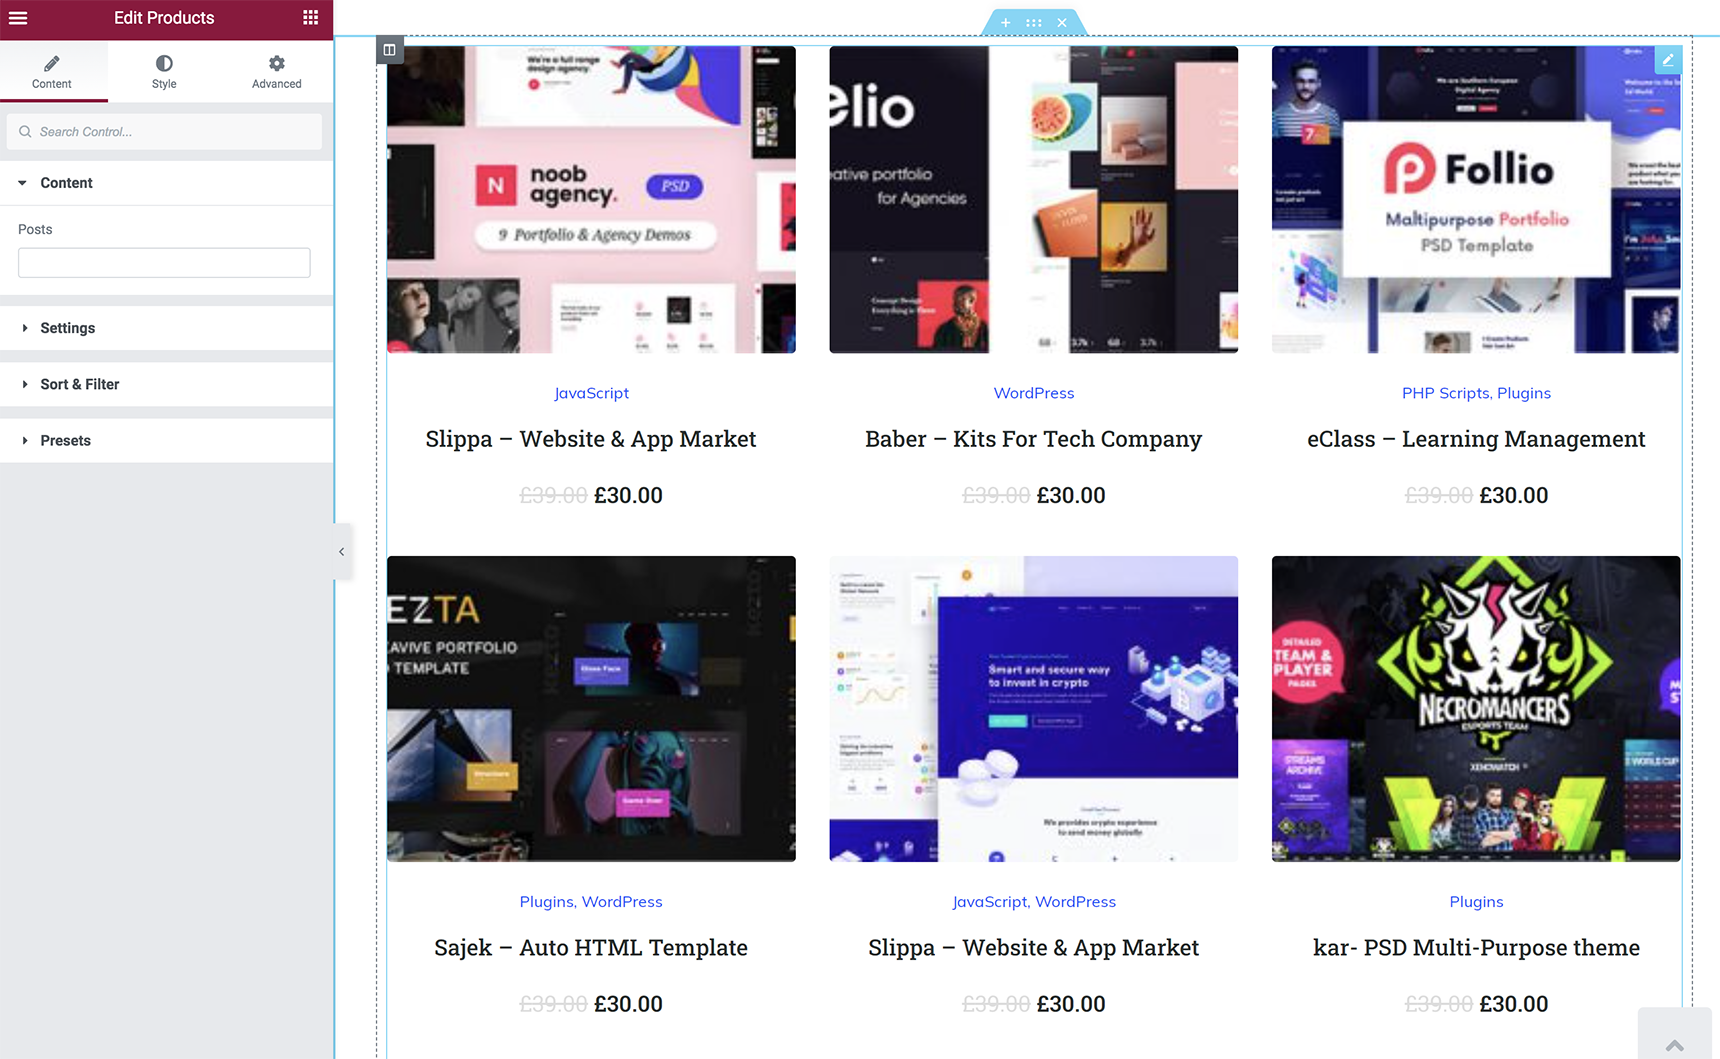
Its styles are taken from Customizer > WooCommerce > Product List. So, if you want to change the title color and font size or customize the button, you need to edit the Style settings in the Product List inside the Customizer.
By the way, any other content can be added to your custom Shop page in Elementor, including, for example, some custom text or a sidebar, search form and others.
If you wish to create custom templates for archive and single product pages, you have to install the JetWooBuilder plugin (it’s bundled with the Jupiter X theme). This plugin will help you build astonishing templates in combination with Jupiter X, Elementor, WooCommerce, and JetWooBuilder.
JetWooBuilder allows you to override the default shop pages in WooCommerce from single pages to the archive and category pages. It also offers customization on checkout and cart pages. So, if you aim to build a completely custom shop page layout, you can make use of the JetWooBuilder plugin. Here is JetWooBuilder’s official website.
By the way, we already have a blog article about JetWooBuilder and what templates you can create for your store.
Although JetWooBuilder gives you the ability to override WooCommerce pages, another tool can be very handy: Jet Smart Filters. This plugin is also bundled with the theme. It allows you to use better filters on your archive pages to provide better usability for your end-users.
JetSmartFilters plugin is made for the Elementor page builder and it’s very handy. You’ll give users a possibility to apply multiple filters. There are different filter types to add, including the checkboxes, range filters, search filters, etc. You can find detailed instructions on how to apply filters to WooCommerce products in this article.
Increase Conversion Rate
If you are looking for a way to monitor customer engagement, the best tool for this will be Growmatik. This powerful conversion tool will measure your marketing with conversion & growth reports. Growmatik is a robust marketing automation solution that automates your entire marketing and drives more sales through personalized web pages, emails and popups within one tool.
Learn more tips and tricks for improving conversion in this article entitled “What is conversion rate and how to boost it with personalization”.
Wrapping Up
Using a combination of WooCommerce, Jupiter X and Elementor allows you to build a custom ecommerce site without needing to write lines of code. All you need to do is:
- Install and configure WooCommerce
- Install Jupiter X and import a demo template if needed
- Customize your product pages via Jupiter X Customizer settings
- Create a custom Shop page with the Elementor page builder and use additionals tools like JetWooBuilder, JetSmartFilter
So give it a chance and build a WooCommerce store with Elementor. After that, you’re ready to sell your products!



No comment yet, add your voice below!