Most theme developers simply don’t pay that much attention to the design of the author page. If you have a blog or magazine website and want to display author information on a specific author page, you are often limited to your theme’s default author page design – and it might not be enough.
Fortunately, there are tons of methods to overcome this issue. Possible ways to customize an author’s page in WordPress range from developing the author’s page template on your theme directory, to using different types of archive templates or using third party plugins, all are. Let’s discuss three of these methods and explore the pros and cons of each.

1 – Using the Ultimate Member plugin
The Ultimate Member plugin has wonderful user management features. One of its features is the User Profile pages. By using the profile pages, you can easily get additional author info when you click on any author link in your blog. Let’s see how it looks.
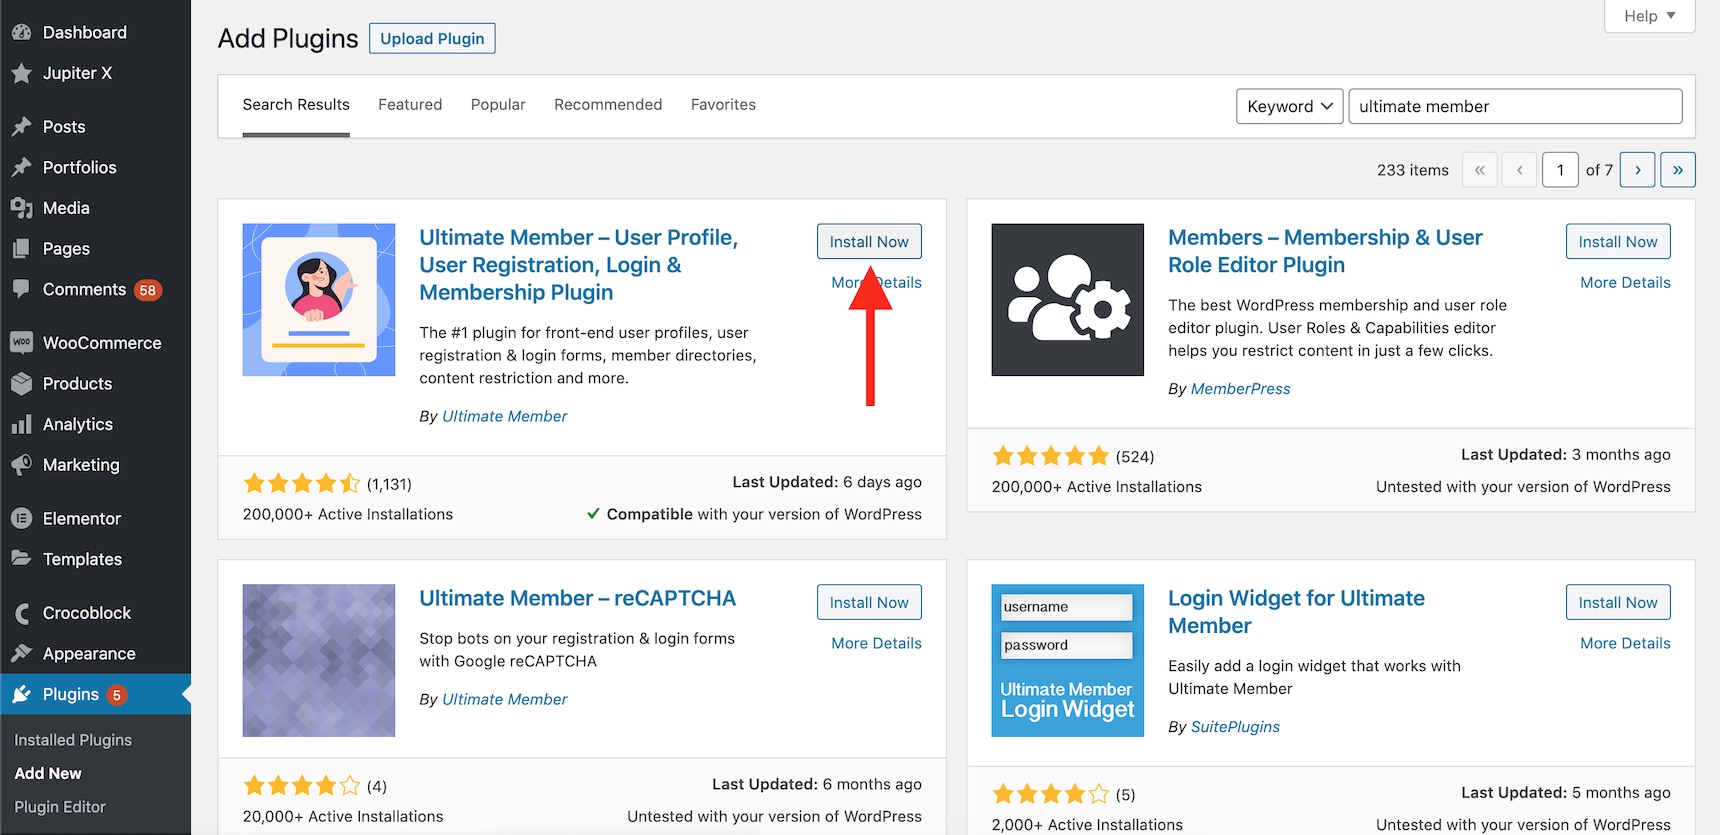
Install and activate the Ultimate Member plugin through the WordPress -> Plugins pan.
After installing, click on the Create Pages button on the top notice bar to make sure you have all the required pages for the Ultimate Member plugin available.
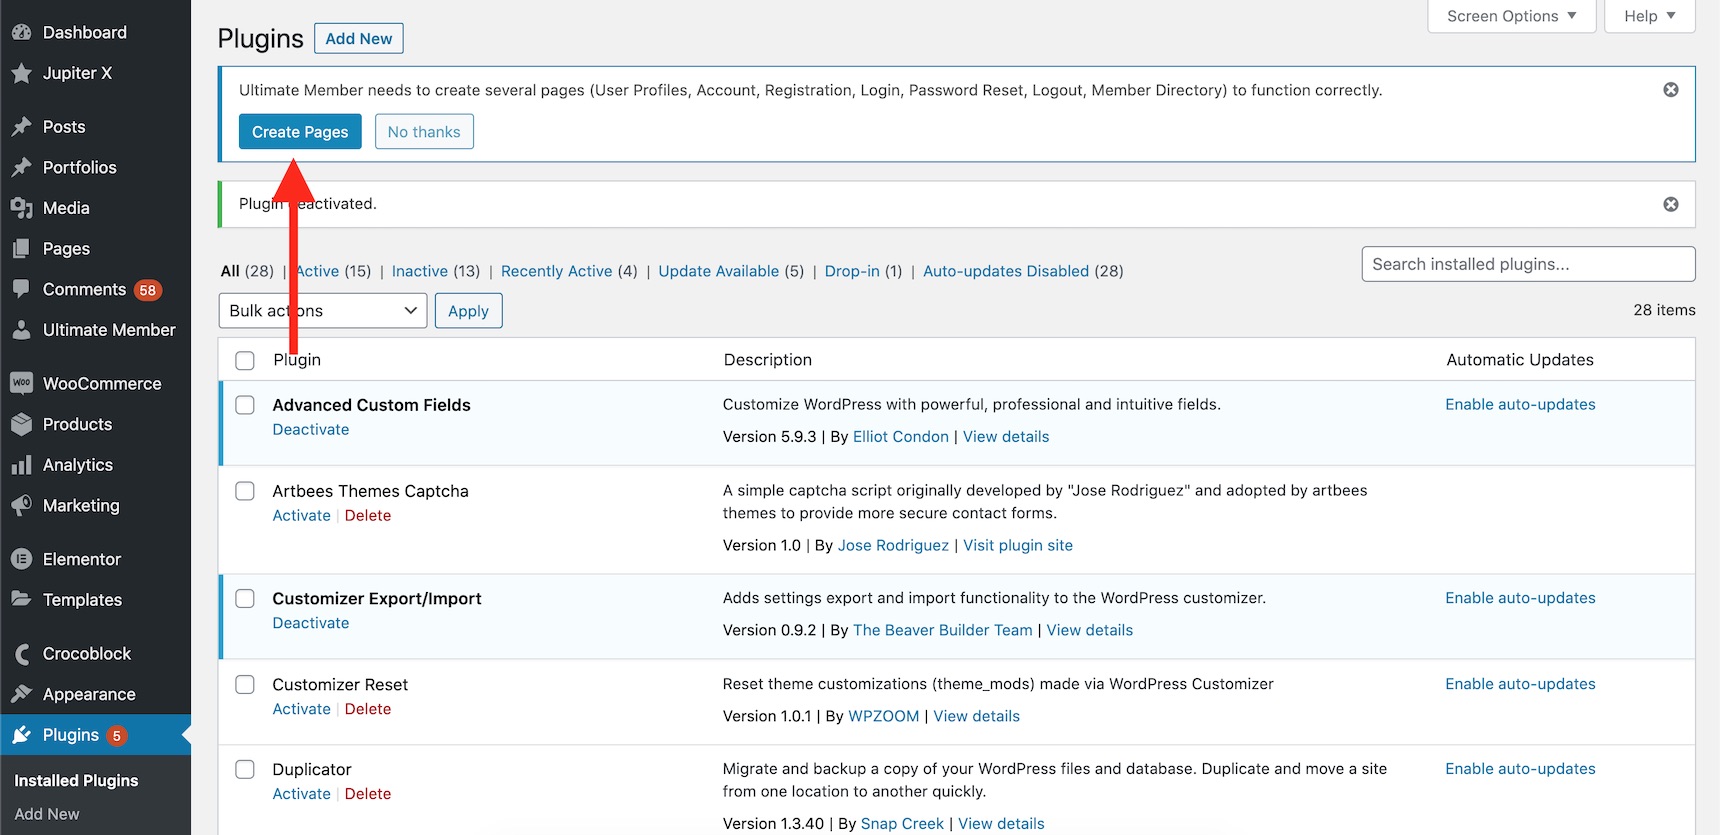
If you don’t do that, you need to create the pages manually and set them through the Ultimate Member configuration.
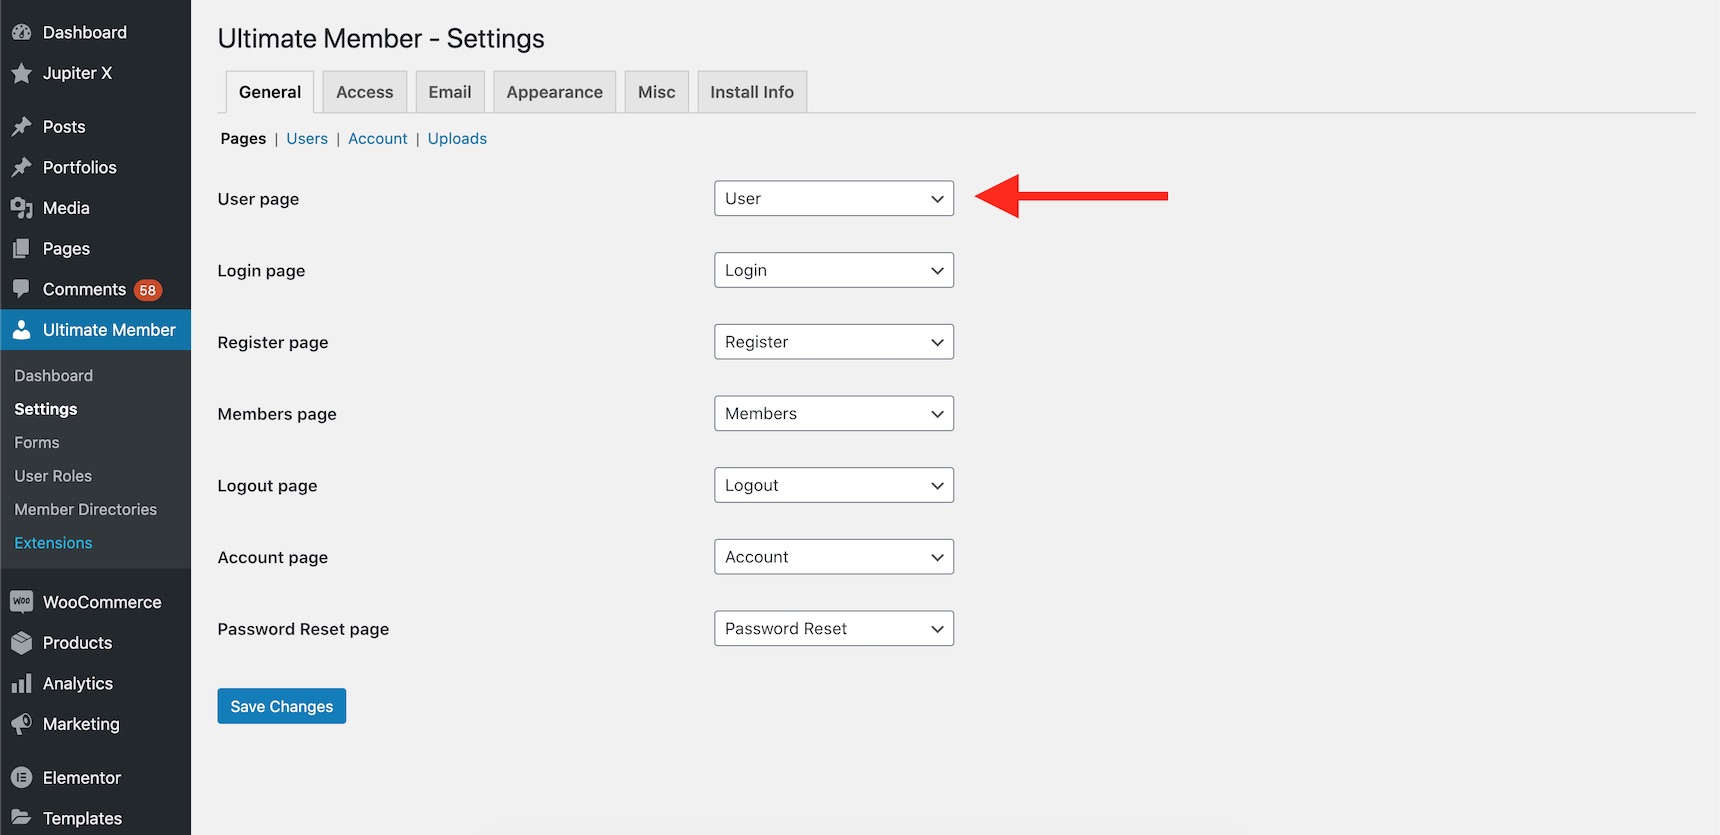
The user page will be considered as your author profile page. So, if you just refresh your author page, you will see that it will be redirected to the profile page and will look different.

If you wish to add more info and custom metas to your profile, you can do it via the Ultimate Member form editor. Just navigate to Ultimate Member -> Forms and click on the default profile. Please note that you can create custom login and registration forms with custom meta fields and you can then show those fields on the profile pages.
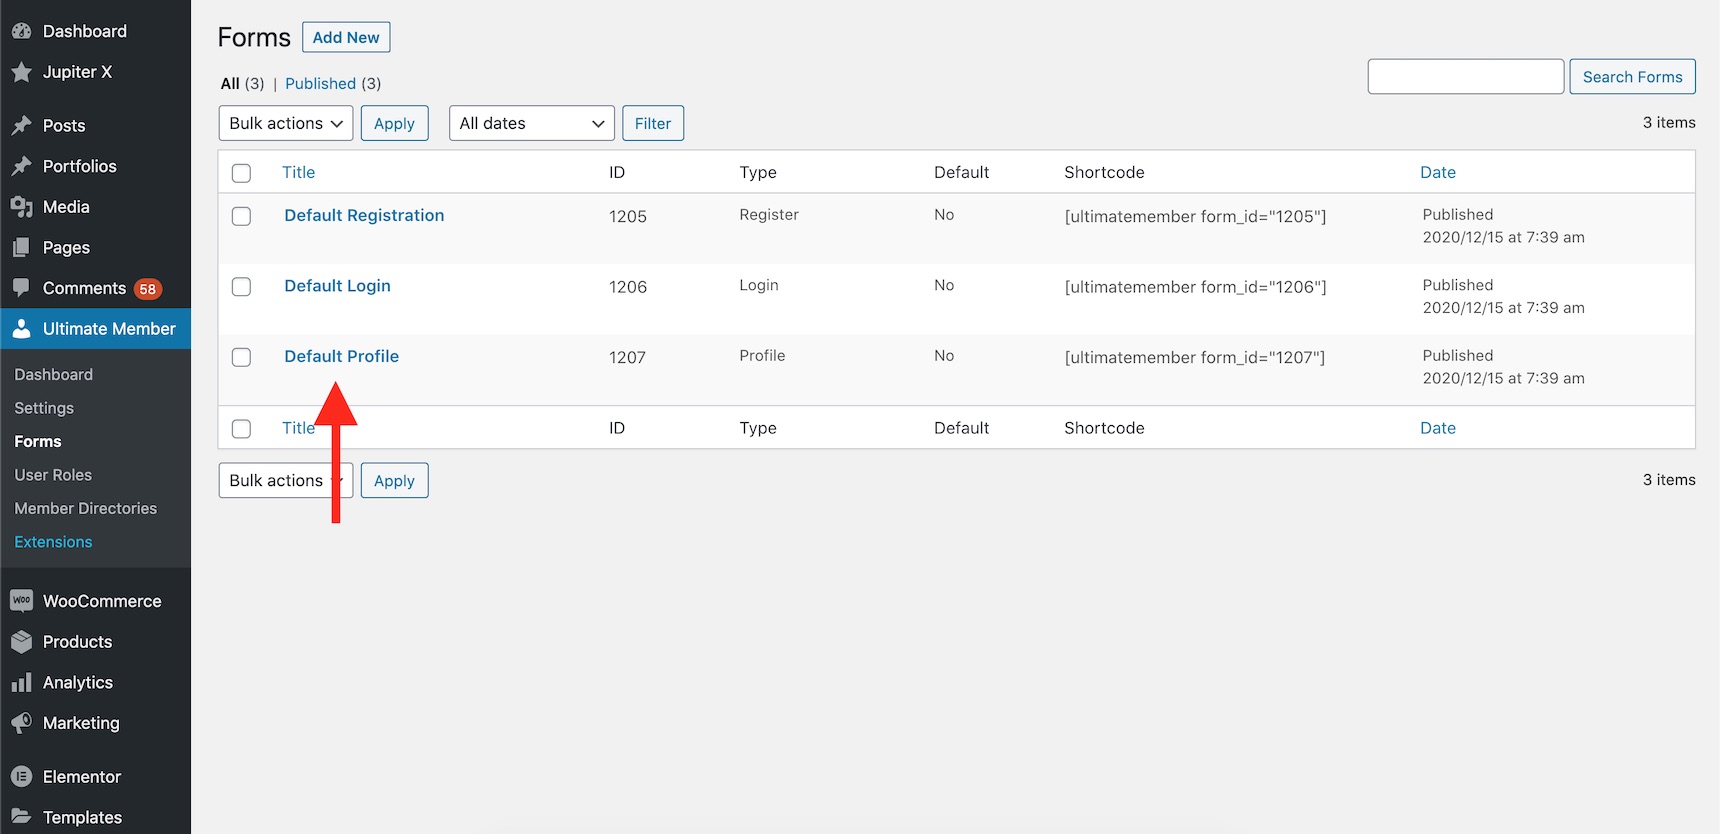
You can edit the layout and add as many meta fields as you want into your profile page. I added a registration date field to show you how it works.
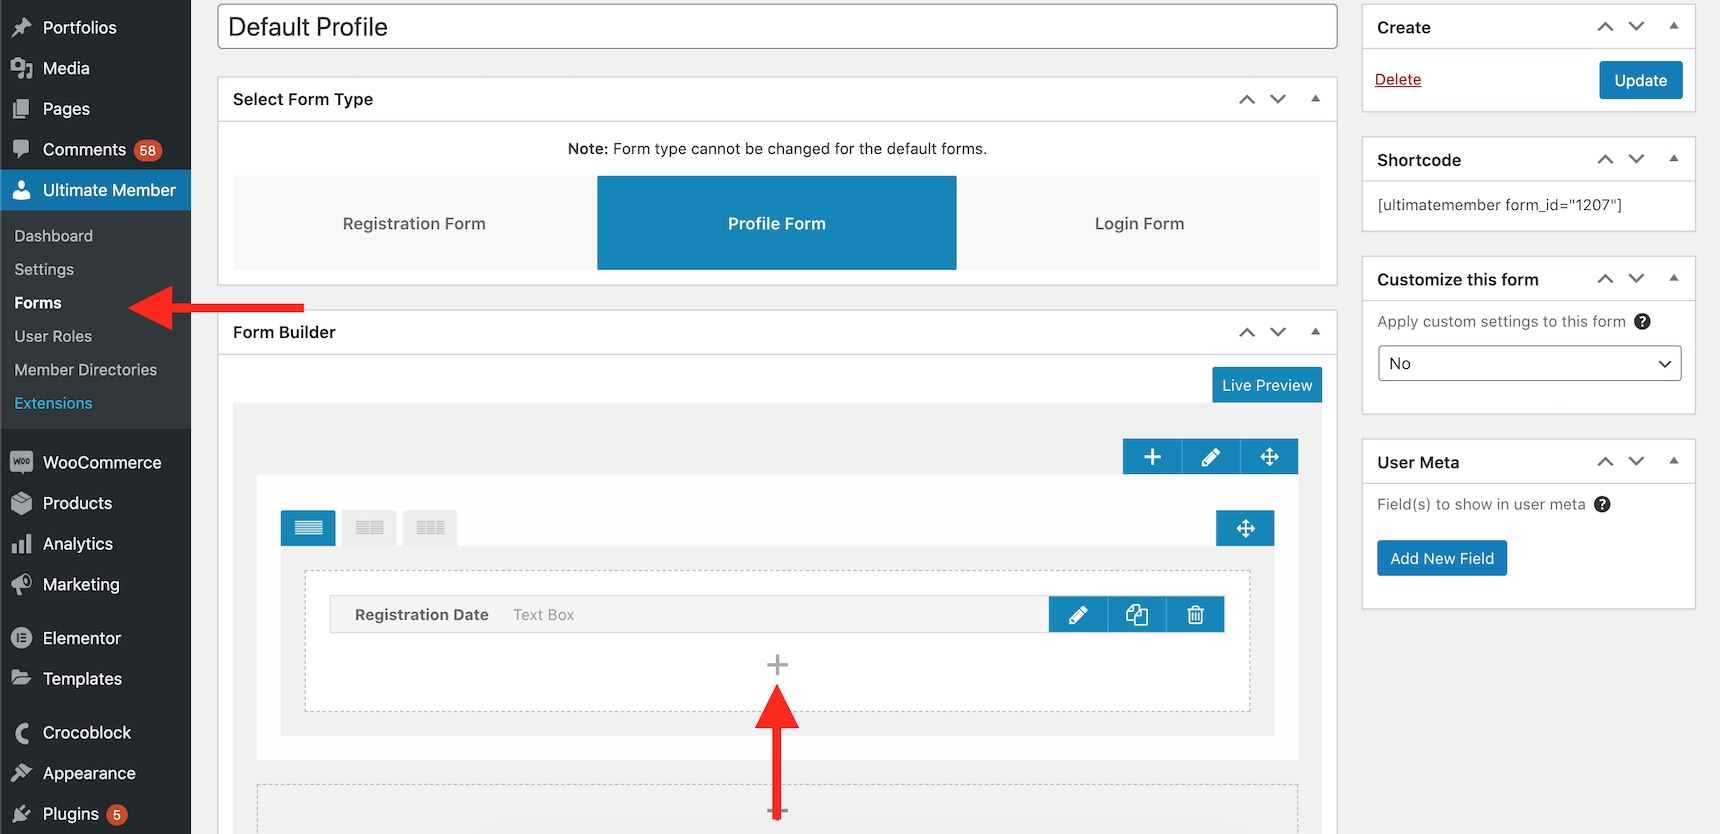
And here are the final results:
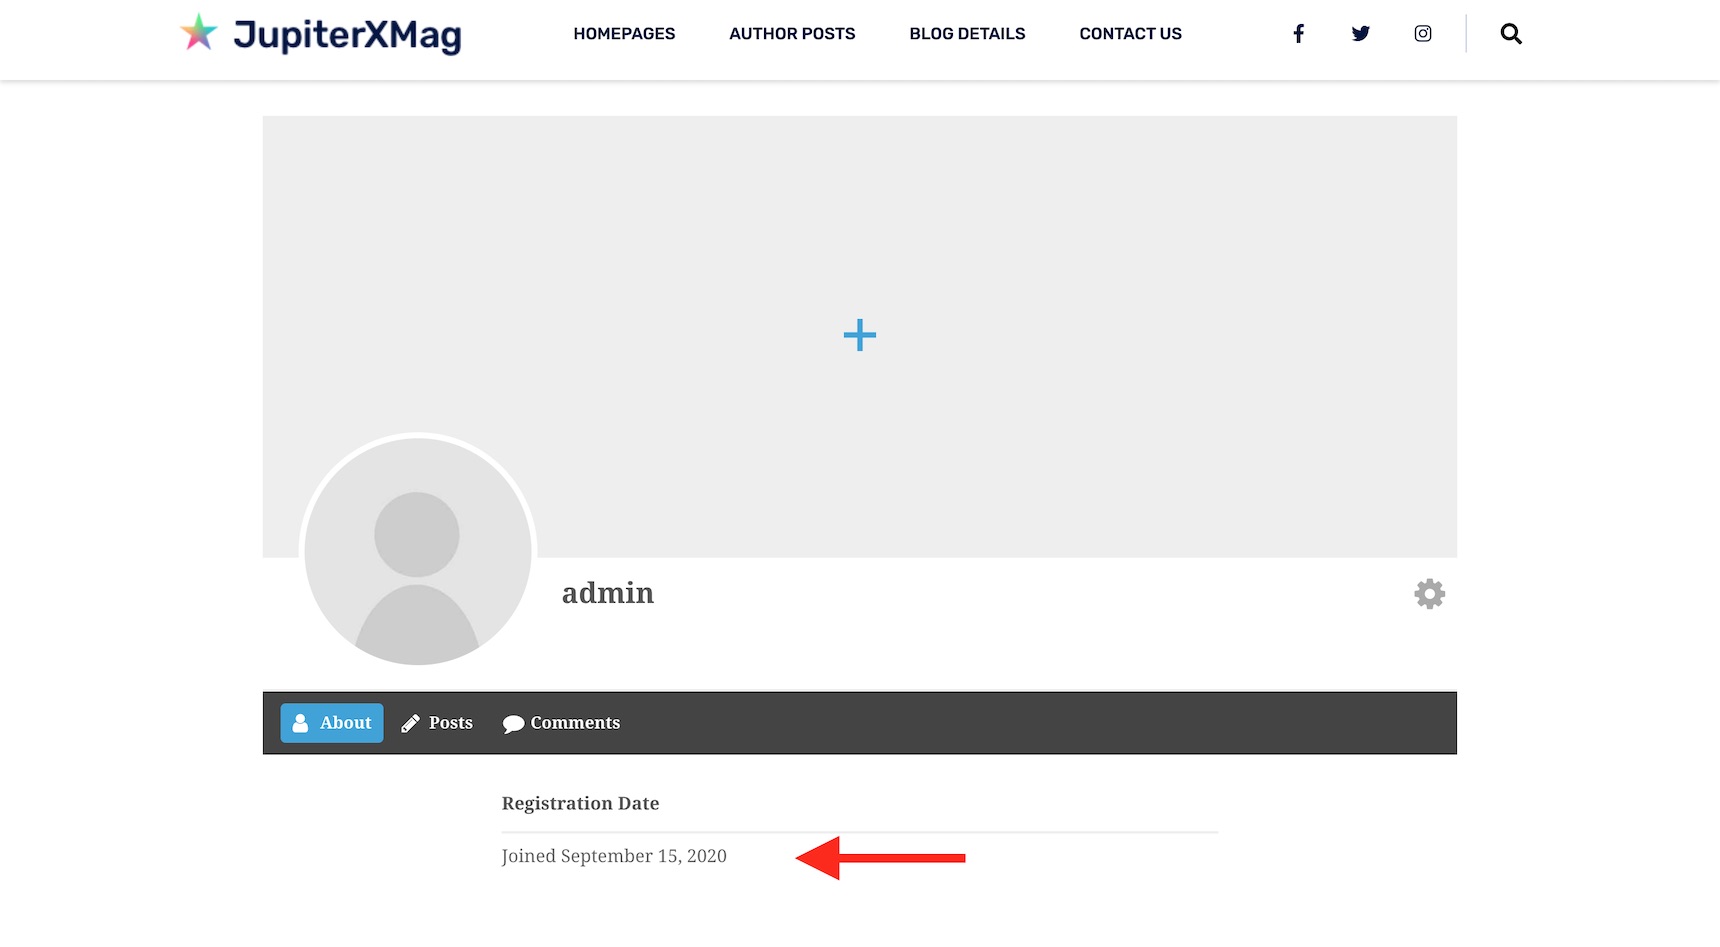
You can see the author posts in the posts tab and the comments in the comments tab. You can add as many tabs as you want using this extension. The user can also have a cover image on the profile page. You can disable this cover image through the Ultimate Member configuration.
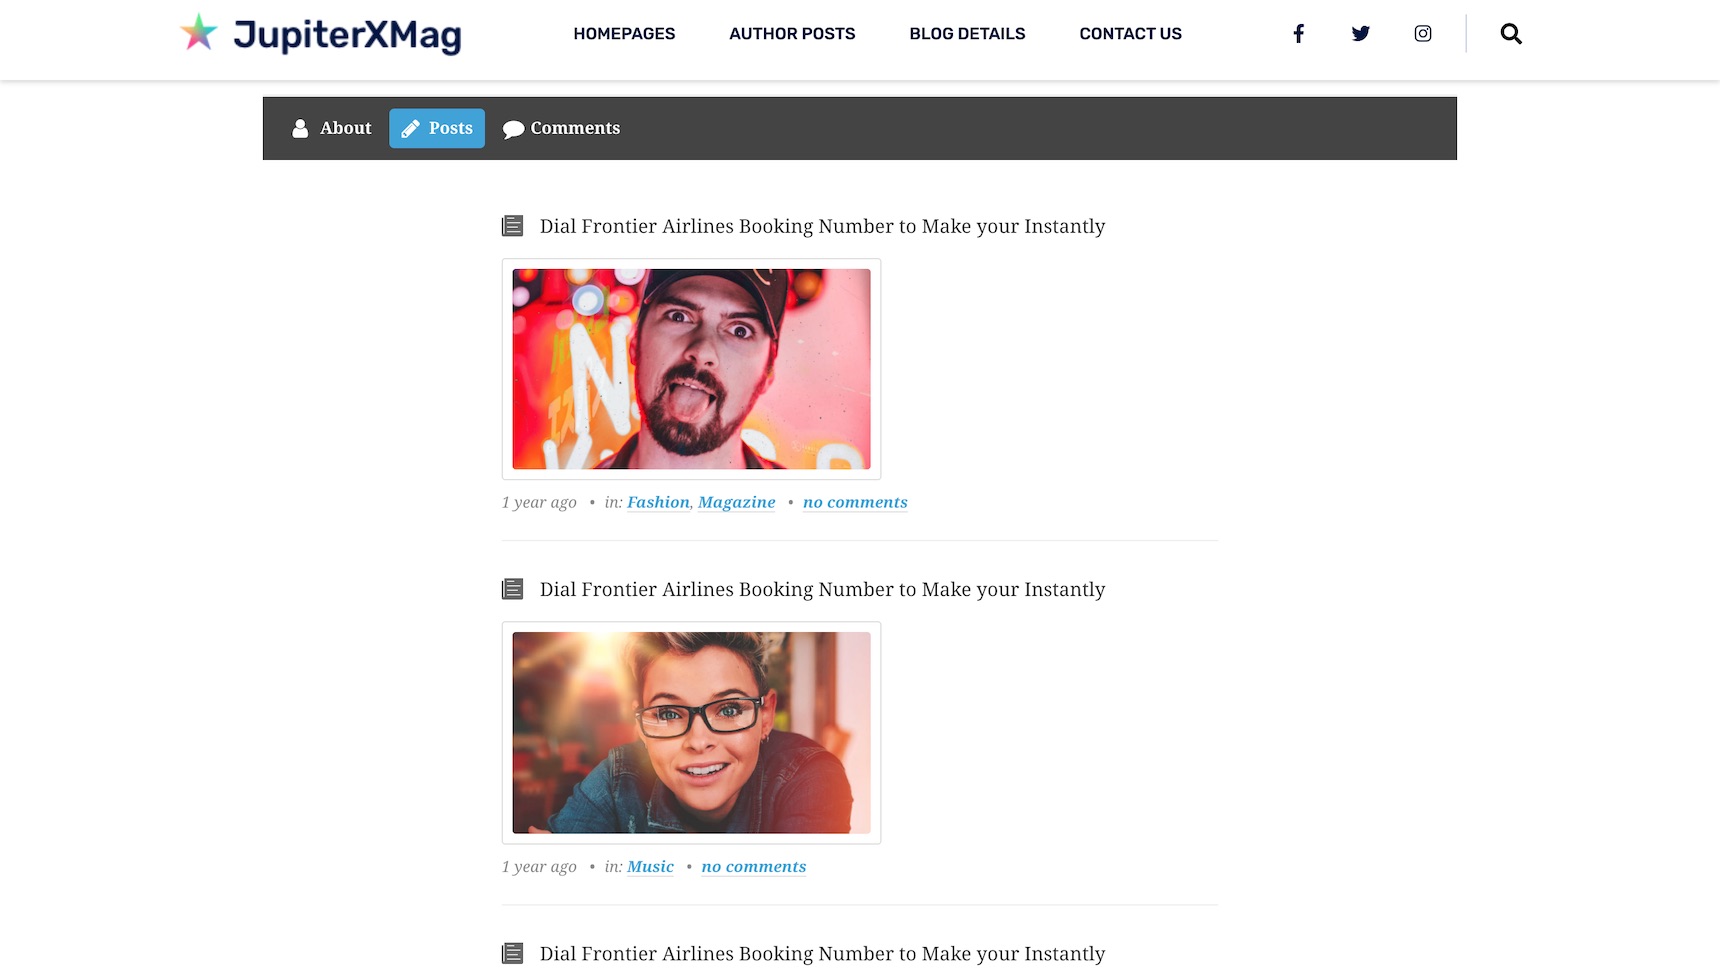
There are several other options you can use to customize the profile pages, and you can also override the Ultimate Member template files in your child theme. If you found this useful, don’t hesitate to rate them on WordPress plugins repository.
This approach might be useful when you have lots of guest authors and you want to run a member’s directory and make it possible to show each user profile.
2 – Using custom archive templates
Jupiter X has a built-in custom archive templating feature, which allows for you to easily make an author’s page in WordPress. Since the author’s page will be considered as archive pages, you can create a custom author’s page using the archive template feature. The upside is that you won’t need an extra plugin. However, the downside is that you won’t be able to distinguish between the author’s page and the calendar archive pages.
So, in order to create a custom archive page, you can use the Customizer and navigate to Blog -> Blog Archive and create or assign an archive template.
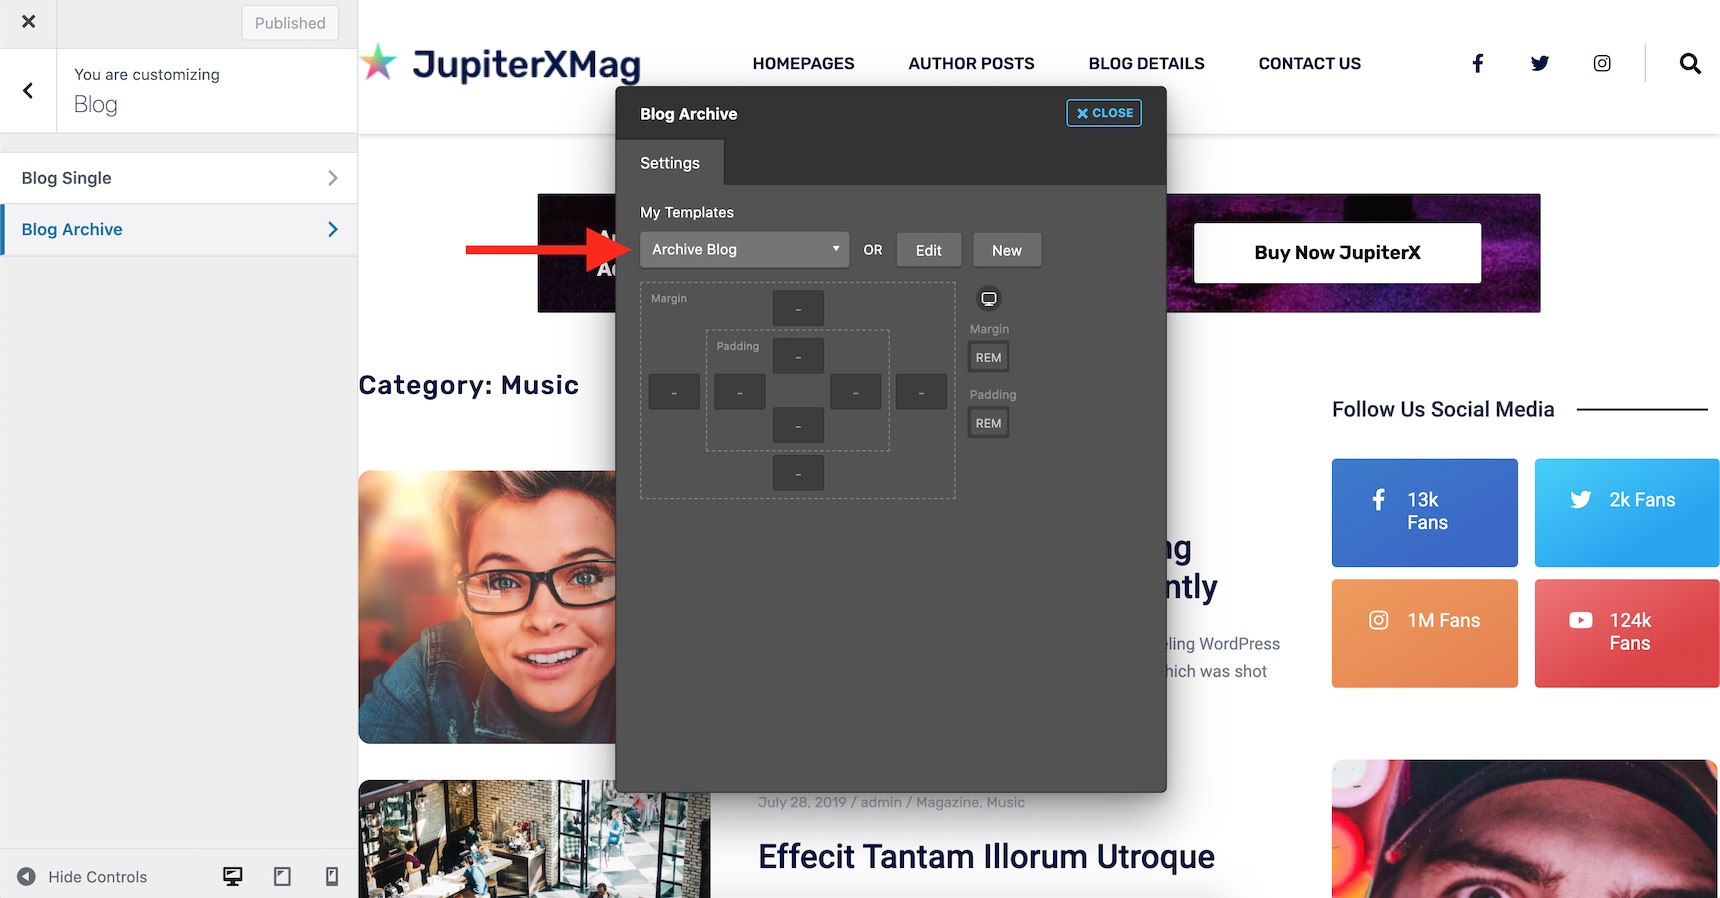
This feature was introduced in Jupiter X 1.10, and you can use it only if you are using Jupiter X theme. For more information, please check out this article. The results would be like your archive page (depending on your designed template) with the title of the author’s name.

3 – Using custom made pages with 301 redirection
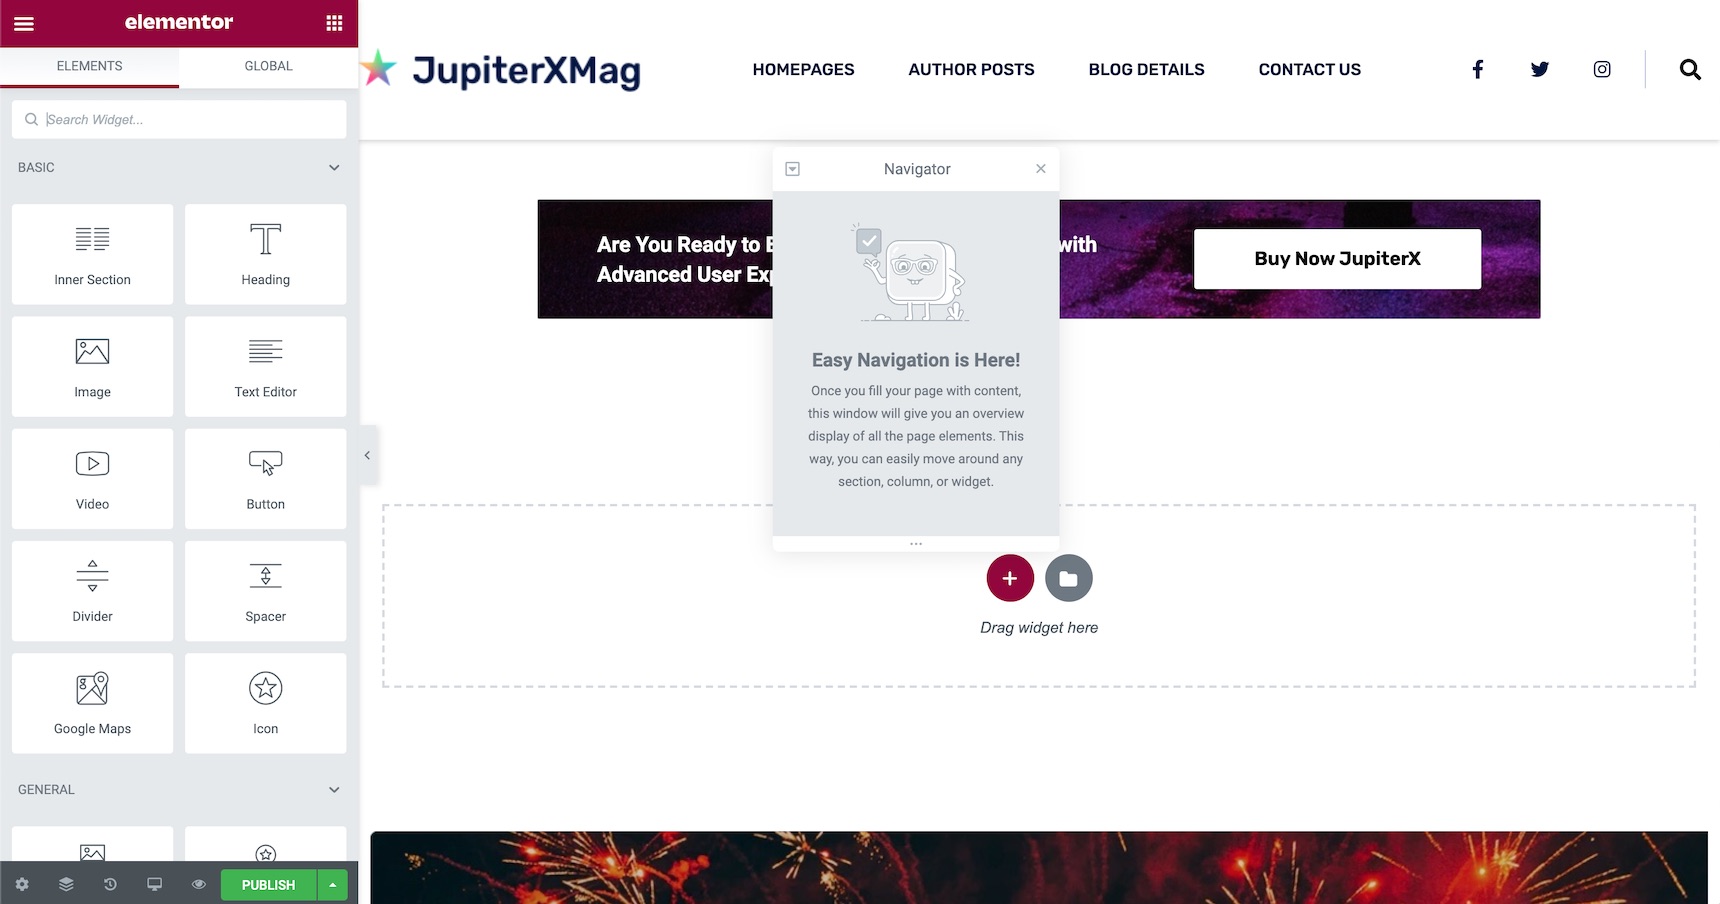
There is another excellent approach to customizing an author’s page in WordPress if you have a few authors. This approach allows you to have a fully customized authors page and it uses a simple mechanism: create your custom pages then redirect the author’s page to the custom pages one-by-one using a 301 redirect plugin. This way, you won’t have any limitations at all. You’ll be able to add whatever design, layout and type of content you want to your author page, and you’ll benefit from all the features available on your page builder. To do that, simply create a page and add your content to it.
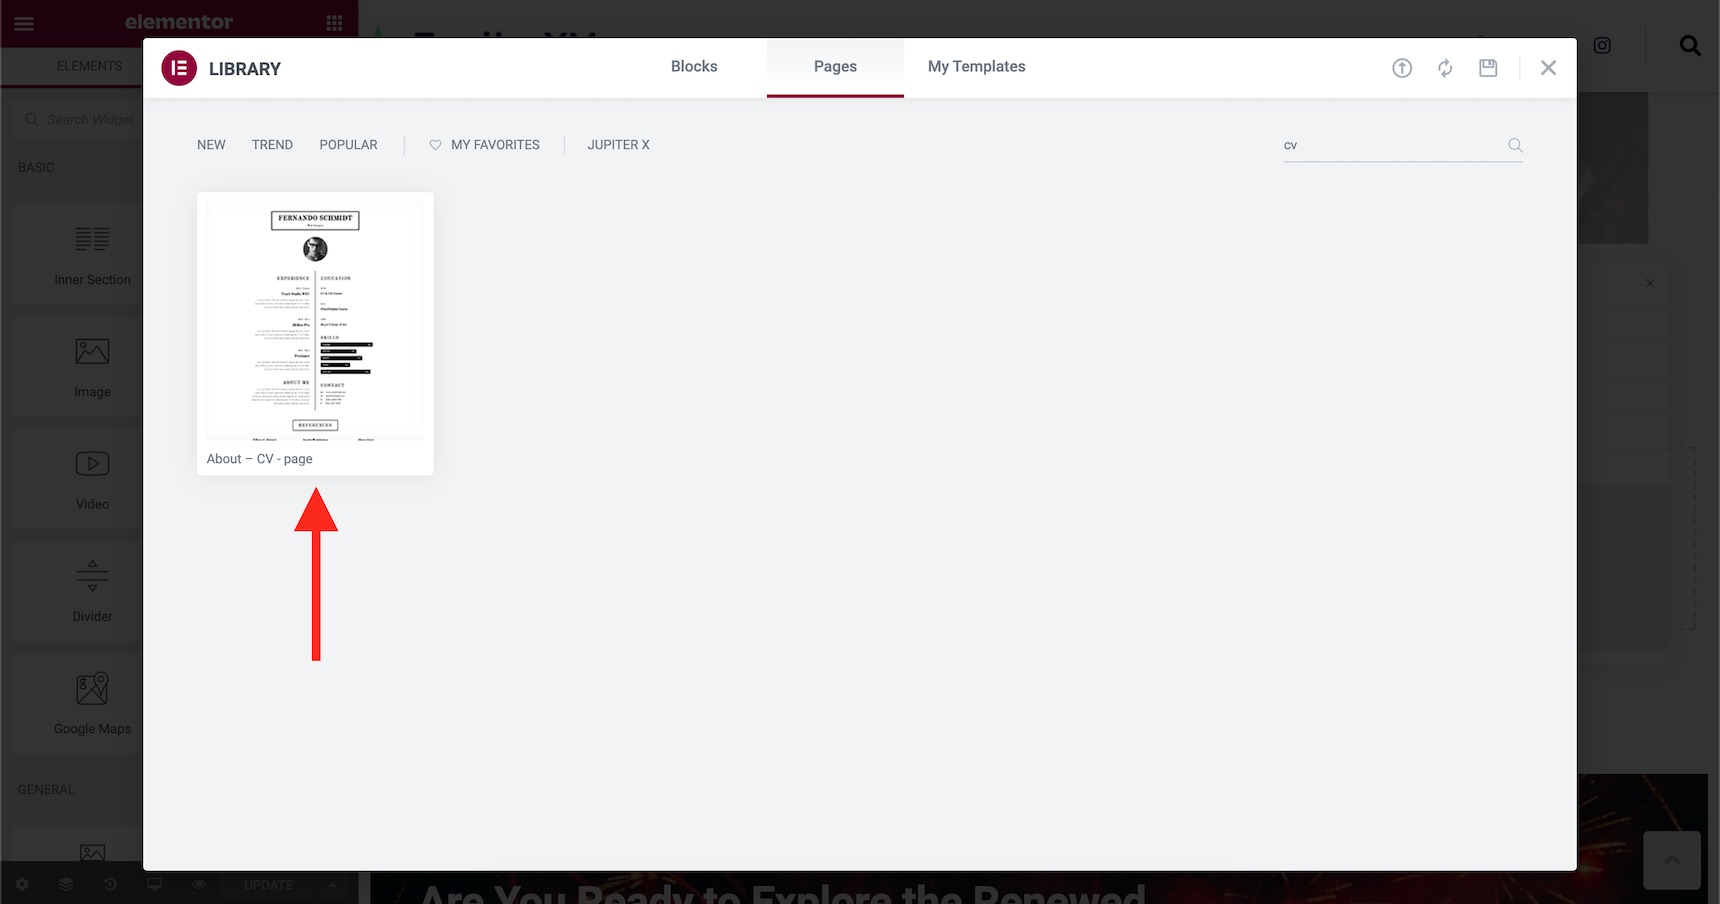
I will add a CV template from the Elementor templates repository to make the process easier.
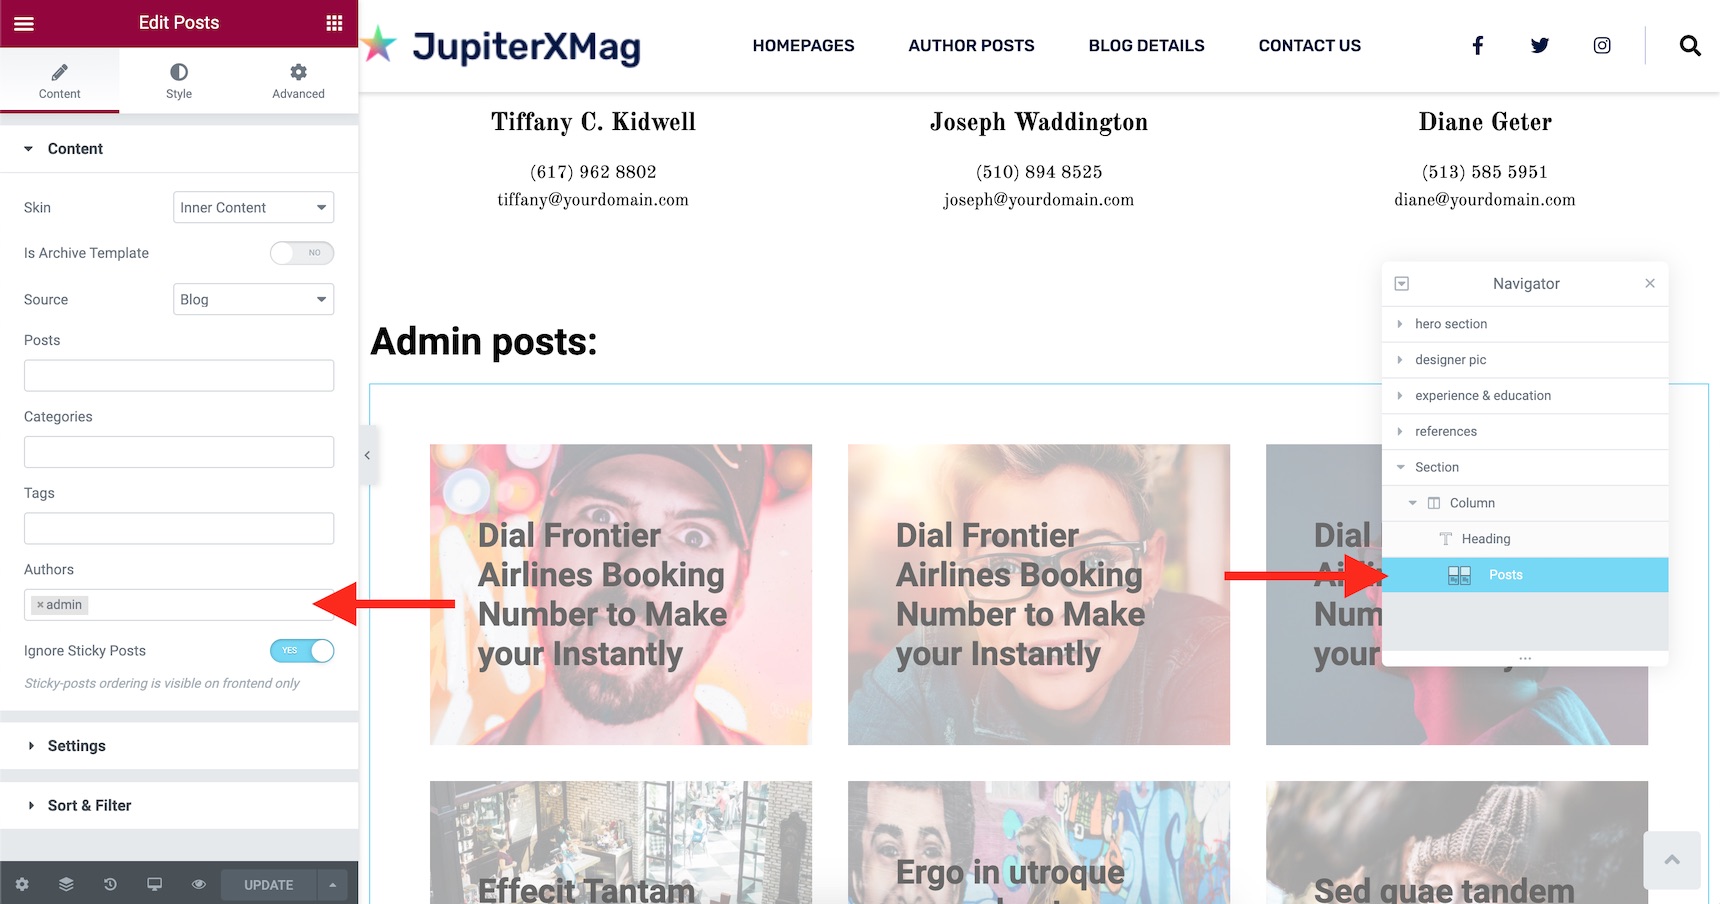
After adding the template, I’ll go ahead and add a Posts element into the page and set it to only show the posts from my desired author.
This will be my final author page:

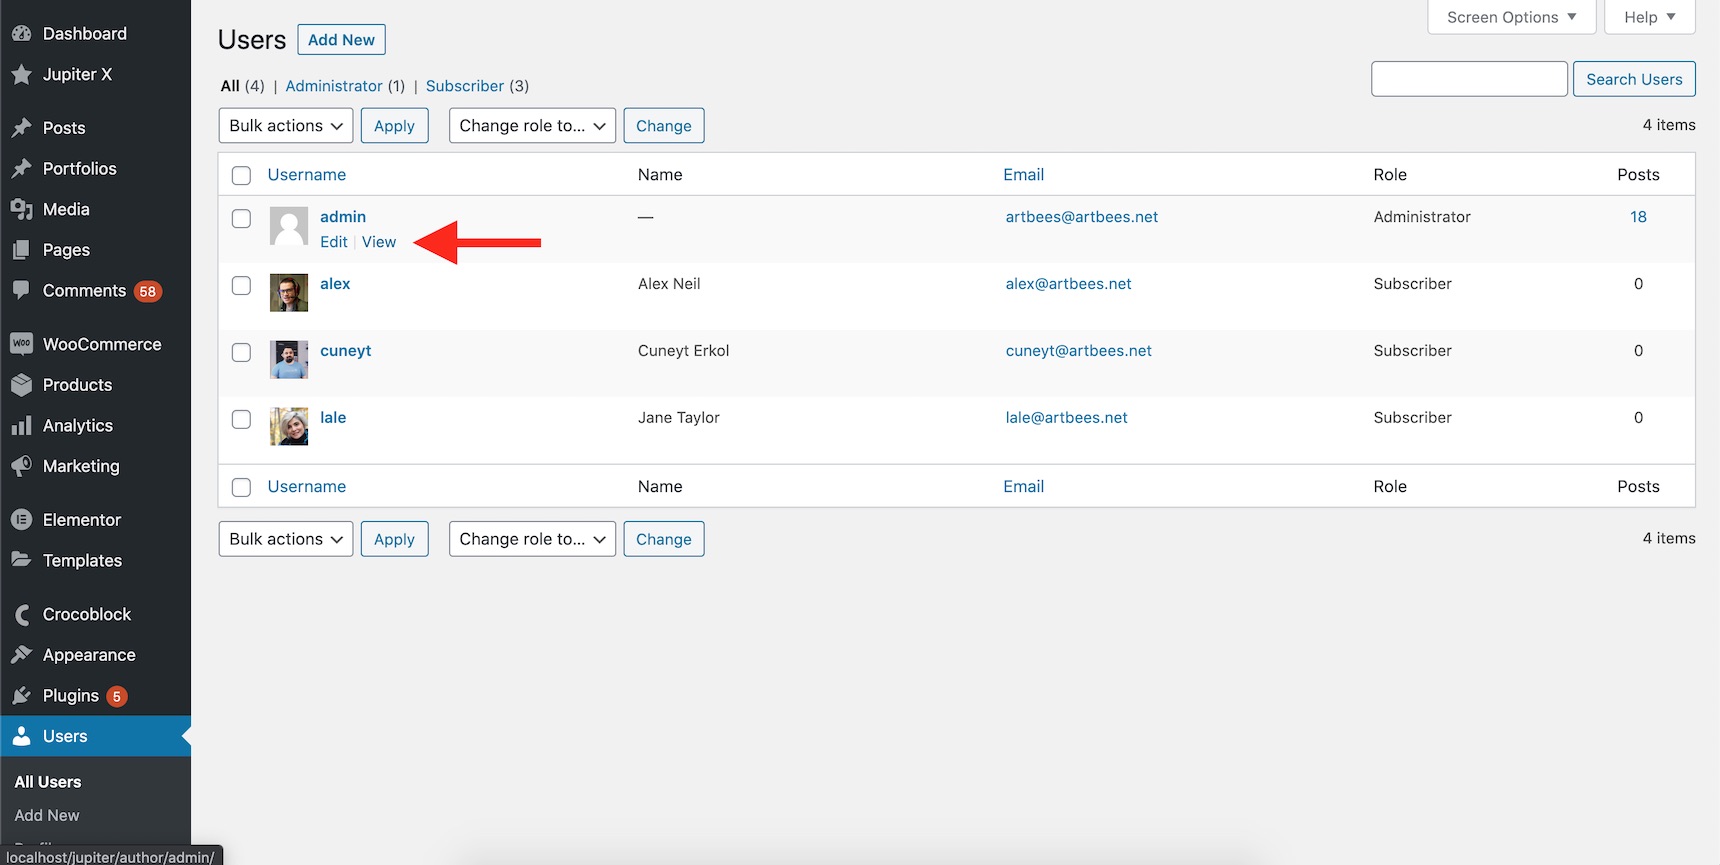
The only thing left is to redirect the authors page to the custom-made author page. To find the author page, navigate to WordPress Users and hover on the author’s name. The “view” button has the correct author page. Copy that link.
Now, you’ll need to either install a 301 redirect plugin or use your .htaccess file to redirect your old author page to the new custom author page.
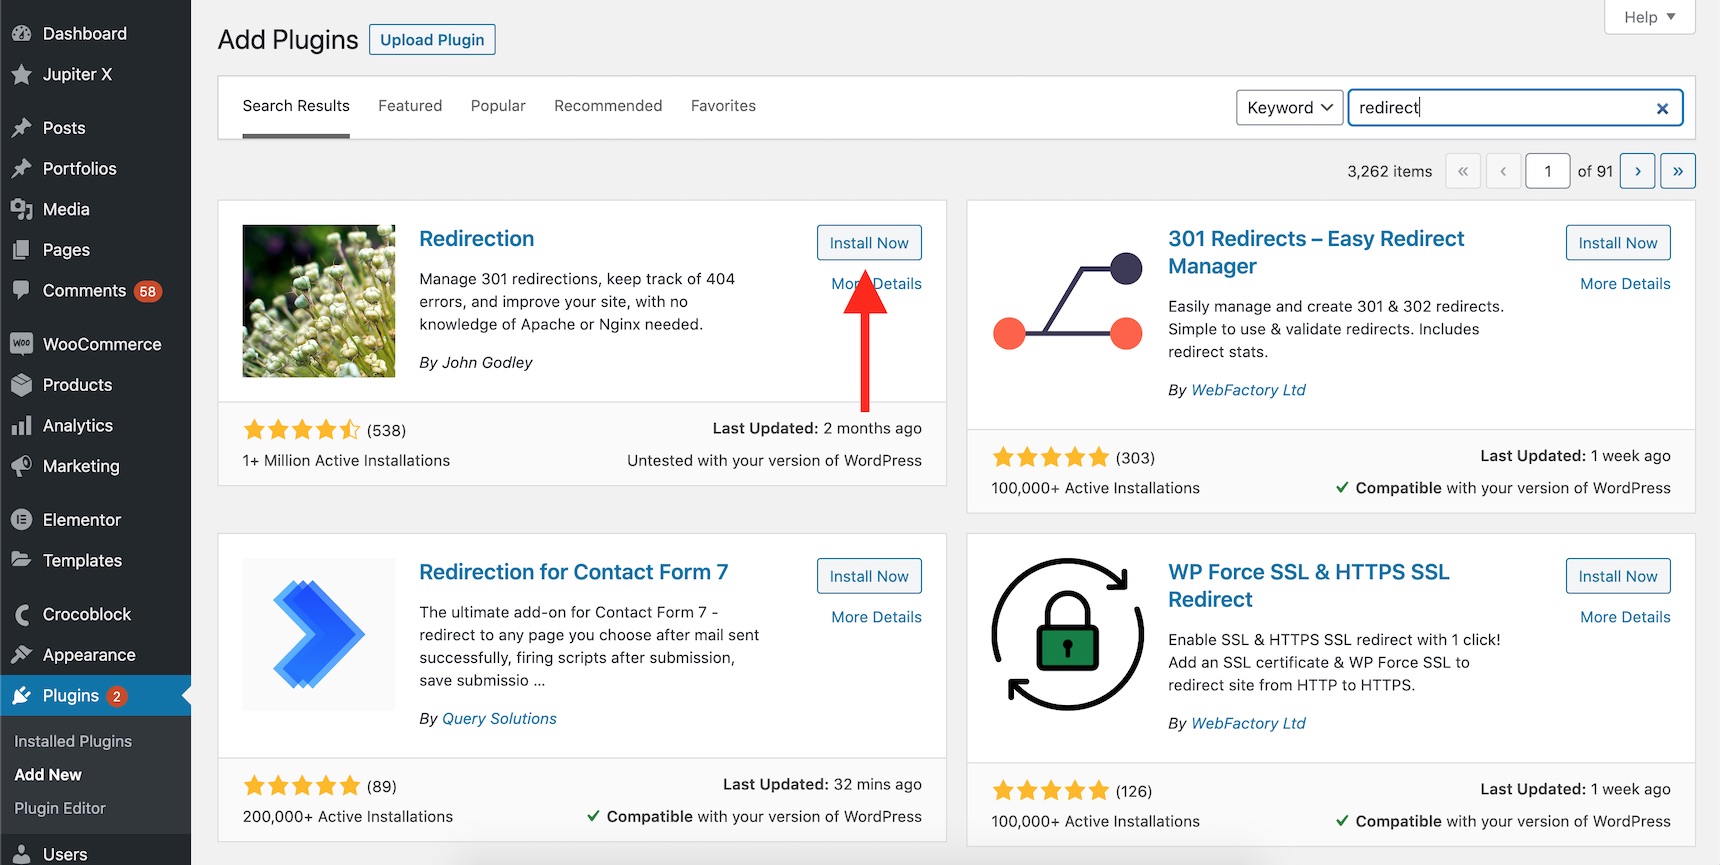
Using the 301 redirect plugin, you’ll need to install it through WordPress -> Plugins -> Add New.
Search for the “redirect” keyword and install one of the plugins.
Now, add the Source URL (your current author page), the Target URL (new custom author page) and add the redirection.
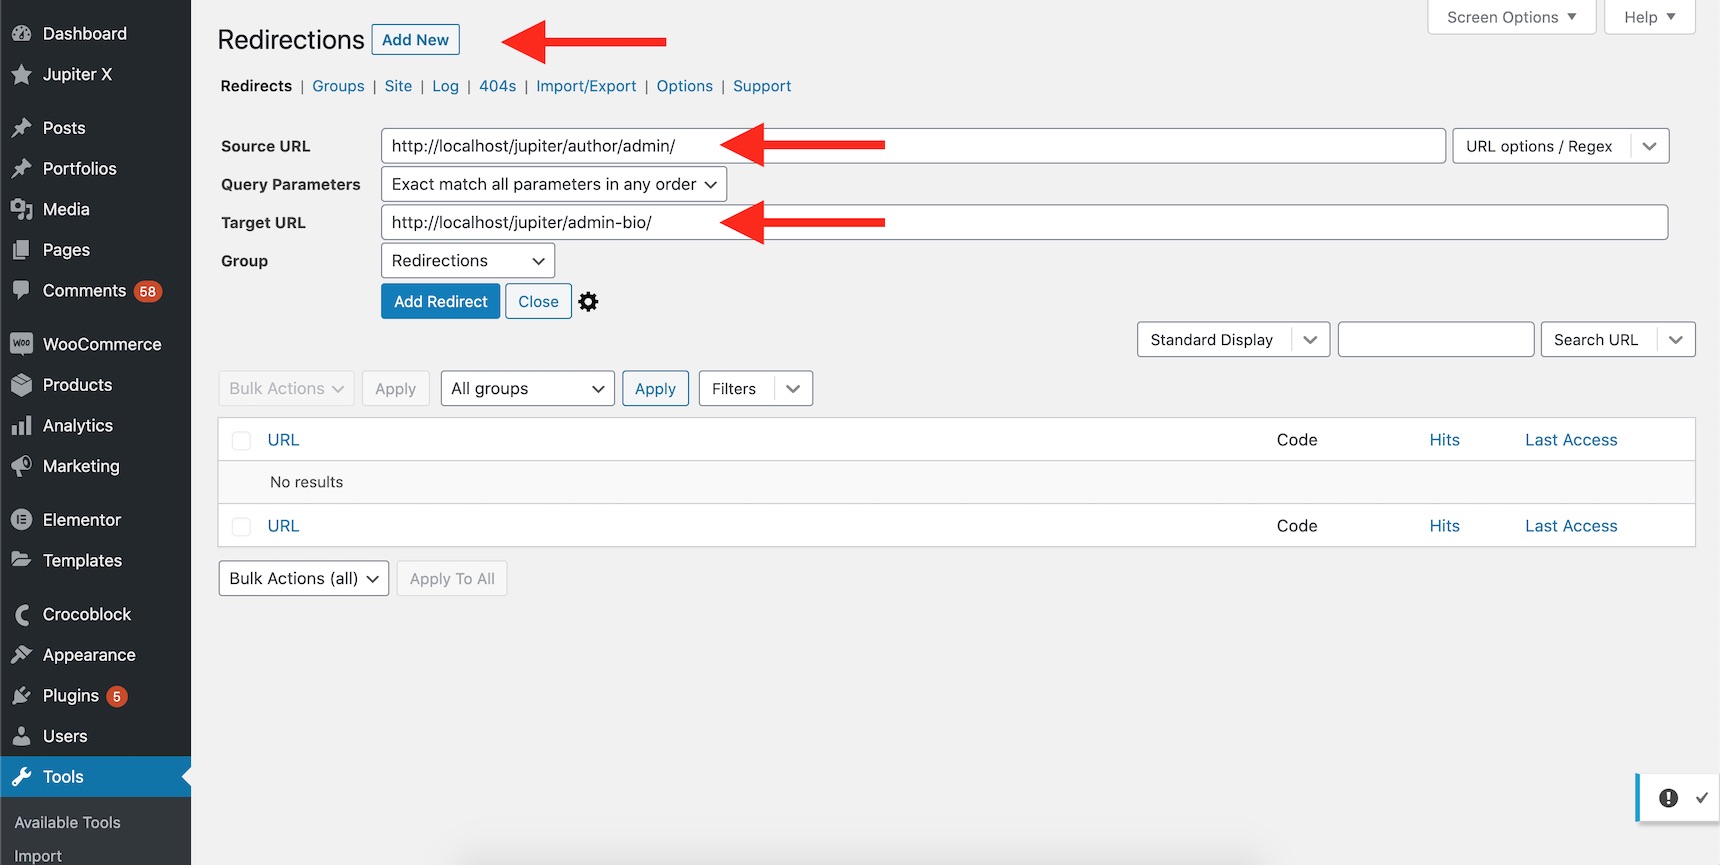
Now if someone clicks on the author’s name anywhere on your website, they will be redirected to your customized author’s page. It’s also a good idea to include author boxes at the end of your posts containing your name so readers always catch a glimpse of it.

Wrapping up
There are other methods out there to create a custom author’s page in WordPress. Sometimes it’s worth developing the author template files on your theme or child theme. But not everyone wants to go through the hassle of coding. In this article, we discussed three methods to override the default author’s page. There certainly are more methods and plugins available to do this. If you believe there are easier steps to create an author page, please do not hesitate and share it below in the comments section.


1 Comment
Hi very interesting and useful post, especially when it comes to the 301 redirect.
I’m curious to know if the 301 approach has any negative impacts on SEO or the functionality of the website?