So in this post I want to share with you ways you can design templates without having to do a lot of extra coding. My goal is to give you some pointers before starting your project to save you time having to tweak and redesign your project. Hopefully this post can help also those who are not using Artbees Themes as most of these points apply to all major WordPress themes.
So let’s get started. Starting from a bird’s eye view of WordPress Themes, I’d say that there are three main ways people prefer to use a WordPress Theme:
- WordPress as a readymade solution: in this case the user needs a quick result and will simply import and edit one of its numerous templates based on their immediate needs and taste.
- Customizing WordPress templates: for those of us who want to go deeper into customisation, one can make structural changes to the layout and elements used, modify other visual factors or add extra functionality by using plugins or custom-coding.
- WordPress from scratch: for people who are up for the challenge to design their template from nothing and then convert it to a WordPress theme.
Now at this point in my career, I’ve definitely had more than a few bad experiences when I’ve put a lot of time and effort into a project only to find out that some or most parts of my design are not convertible to the chosen WordPress theme. This ends up usually being because it doesn’t comply with the theme’s features and functionalities. Then I’d have to spend another chunk of time trying to figure out which changes needed to be made in order to convert those parts via a WordPress theme; sometimes this was a quick fix, but more often than not it took a lot of time and energy. As a last resort there were dire situations where I ended up having to completely redesign to add the functionalities my design required (those were not pleasant days).
I know this also happens far too often in agencies that design templates in house. In some cases they may outsource the conversion part to a custom WP service such as Artbees Care though then what can happen is that their partner company can ask them to tweak or redesign the template leading to more hours redoing the work you did in the first place. The point is, we all don’t want to waste hours redoing work or paying an extra fee to change the theme codebase that, in reality, you could design with your target theme specifications and capabilities in mind. You want to be able to design a page with the layout, elements and functionality that fully complements your chosen theme.
[call_to_action title=”Get your website the custom design it deserves by Artbees designers ” target=”_blank” url=”https://themes.artbees.net/pages/artbees-care-wordpress-customisation-services/?utm_source=custom-design-related-docs-posts” type=”link”]
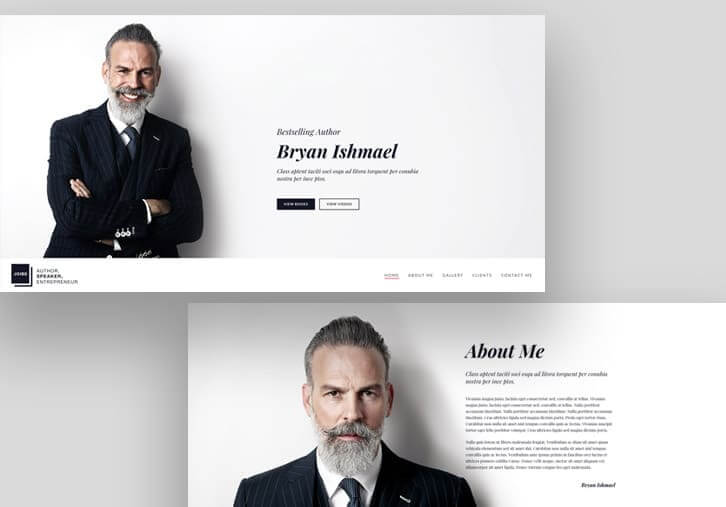
Alright, so to make the most out of your time and manpower, here are 15 tips to consider before starting your project with Jupiter or The Ken:
15 Rules for Designing for WordPress
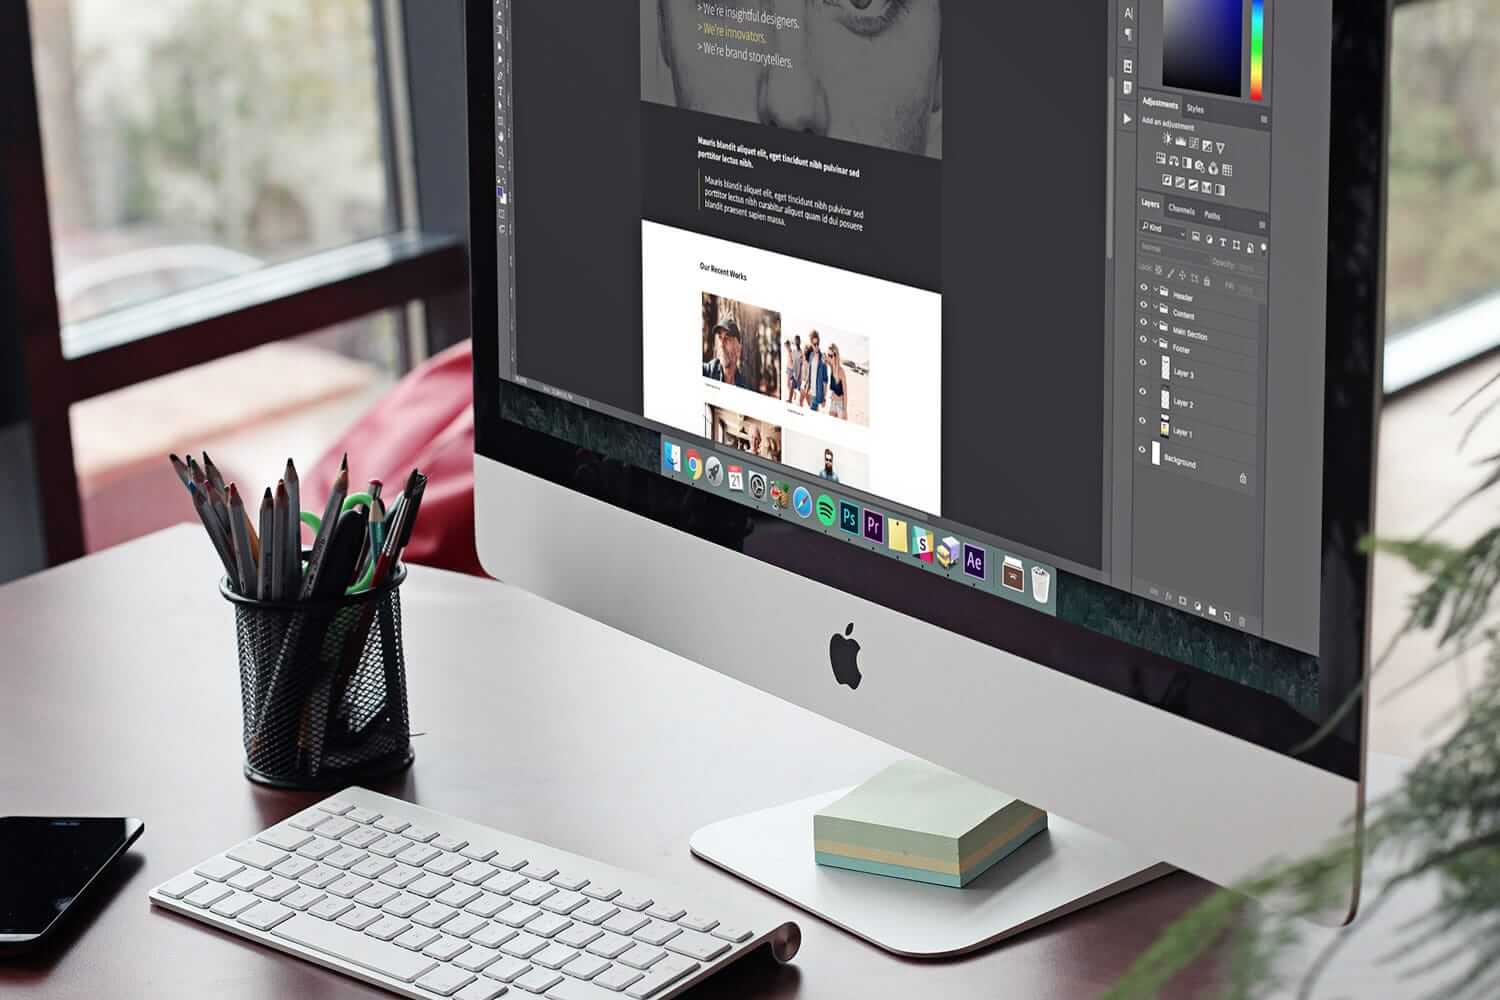
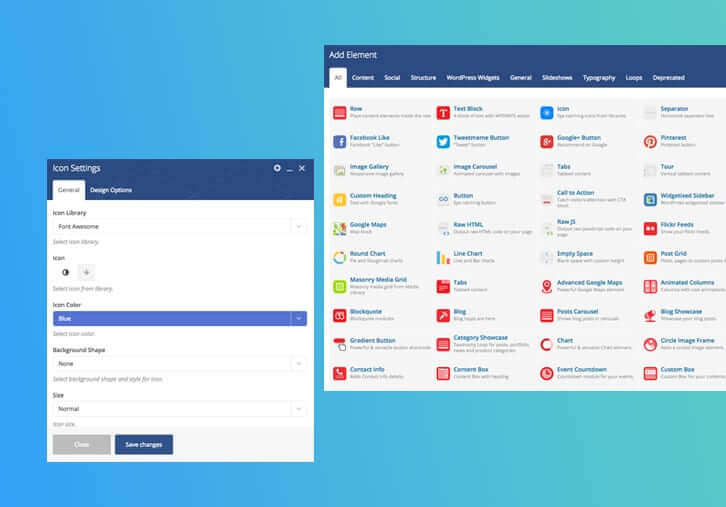
1) Review the themes’ shortcode base before starting the design process
This may seem obvious but is usually overlooked (particularly for those of us who aren’t direction readers). Every WordPress theme has a library of standard elements that can be used across your website which are regularly called shortcodes. Jupiter and The Ken also have a large collection of shortcodes with specific styles and options to customise. Make sure to review your themes’ shortcode for what features and customisation options they offer.
2) Set an accent color for your website
This is not just aesthetically important and a basic branding practice but can also save you a lot of time in the final phases trying to retouch the final design to make it look more seamless and part of a unique brand.
3) Don’t go with any more than a two font-family—ever
Artbees Themes are compatible with two font families which means in order to use more fonts in your design you’ll need to use TypeKit integration. Some agencies may not pay extra and use TypeKit integration. Keep in mind, though, that using more than two fonts is usually considered a bad branding practice and should be done only when you have a specific reason for it.
4) Use compatible plugins with the theme
If you’re planning to use custom plugins as part of your design to add some additional functionality (e.g. ContactForm7 for your contact forms) make sure that they’re compatible with the themes you’re using first! Incompatible plugins may break your layout or particular shortcodes.
5) Check for the copyright status of the photos you use
I once designed a template for a client with great-looking images I had copied from different resources. The client was really happy with the look of template, but when I started to convert my template to WordPress I noticed that many of the images were protected under copyright which meant I had to change the images. My client ended up not liking the template with the new images and wanted the original template images. I had to redesign the template from scratch!
6) Avoid page-level customisations as much as you can
Expert WordPress designers always know that the best way to customise the look of a theme is to use global theme settings that apply to all pages or a group of pages (like a particular post type). Try to design in a way that will not require a lot of customisation in page options or the conversion process can end up being very tedious.
7) Use pre-loader for complicated layouts
If your template has a complicated layout with a long list of elements on one page, make sure to activate pre-loader for that page or your page may look ugly while browser is downloading and sorting its content. Most of the major WordPress themes offer page preloader functionality.
8) Be aware of image size limits
Every theme may have particular image size limits. The best practice for many WordPress themes including Artbees Themes is 300 kb in size and 2000 px in width.
9) Use Javascript-dependent elements in your design wisely
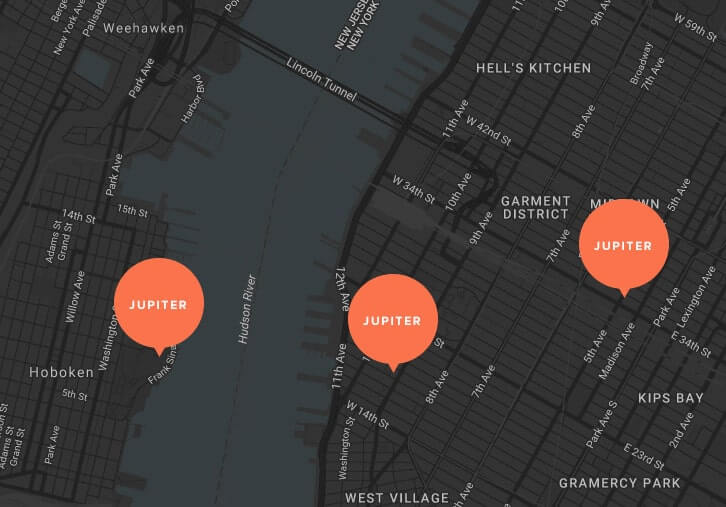
Many regular shortcodes require Javascript to properly function (e.g. Sliders, Carousels, Hover animations, Google Maps, Flipbox, etc.). Though keep in mind that Javascript can cause a page to load more slowly and you may need code modifications to improve your loading time.
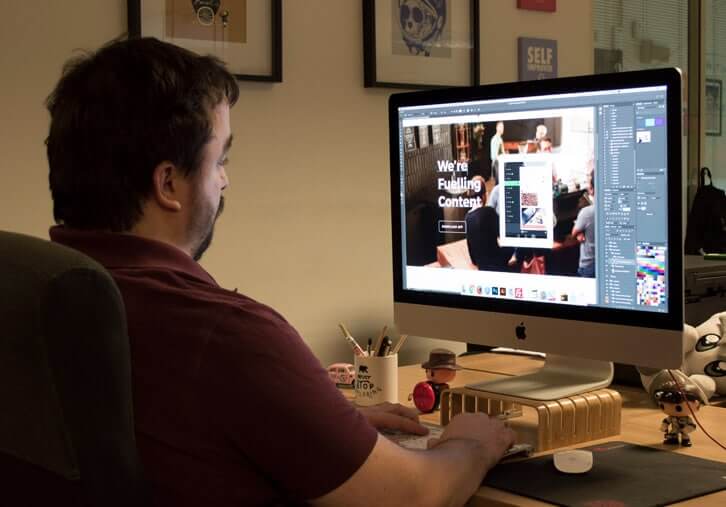
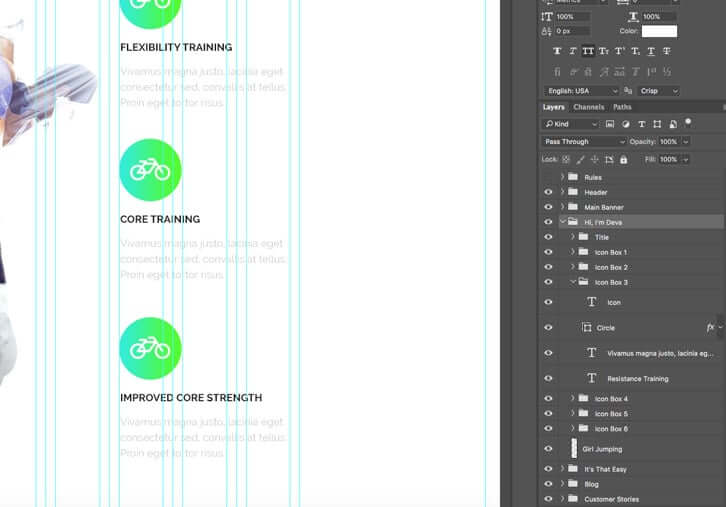
10) Design must be done on Photoshop or Sketch
Adobe Illustrator can be your web template design software of choice but the company that’s converting your outsourced templates can end up hating it! The standard and most popular formats to design web page templates are Adobe Photoshop and Sketch. Using another software to design your pages can increase the amount of time it takes to convert them as not many are using it.
11) Avoid completely different layouts in your page templates
There is no merit with having completely different layouts for every page of your website. The beauty and professionalism comes from unity and intentional use of visual elements in your page. Converting templates with a totally different structures can be very time-consuming and will need a lot of page-level customisation.
12) Beware of your theme’s supported grid system
You should be aware of the breaking points in your layout and design accordingly.
Most of the standard WP themes including Artbees Themes use the standard 12-column grid system (1920px) but it can also be other systems such as the 16, 18 or 24 column.
14) Use Headings based on their importance
This may sound like obvious, but still many designers do the bad practice of using big fonts in the middle of their design. The Headings in your page should follow a descending hierarchical order from the most important to least important. This is the only way your page will be properly indexed by search engine crawlers.
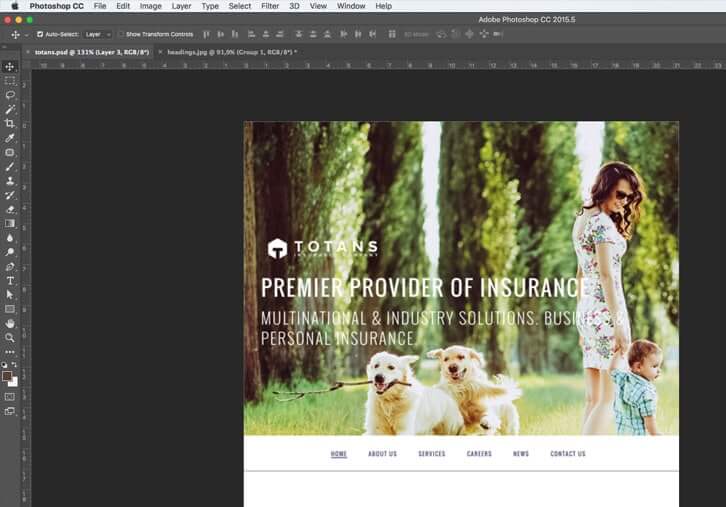
15) Prepare your images for exporting before sending to developer
The images you use in your PSD file will be exported by the developer during the conversion process. Make sure to put your images in properly named and ordered layer-folders (in Photoshop and Sketch) so your developer can easily export them. Beware that the developer will optimise the image for the web and there will be a loss of quality to your overall imagery. If you are using smart objects, make sure the image included in the smart object file is the same size as the one appeared in your design.
Oh and one last little tidbit! Provide logos in retina size or your developer will for sure call you to send one!
Following these tips can save both you and your developers time and resources. Trust me, your partner agency will be so grateful to you for providing WordPress-ready designs for conversion! Let me know in the comments what other things you think your fellow designers should keep in mind when designing for WordPress or a particular Artbees Theme!

2 Comments
This is so true. I’ve used 30 plus themes and a few times been so disappointed after getting into my page layouts only to find out the theme can’t do what I need it to do because of the lack of shortcodes or it’s not compatible with visual composer or other important plugins. Page load times are key to improving user experience and SEO rankings. Optimize your images with something like TinyPNG as well before you upload them to your theme and don’t oversize your images. If the grid area for an image is 600×600, size your image that size before you upload it. Don’t upload a 2000×2000 image and then force theme theme or wordpress to resize it for you. You’ll get better compression resizing in photoshop first.
Thanks a lot for the tips Curtis. I actually missed some of these! 🙂