Almost all of the themes out there provide you a way to customize the footer for the website they belong to. But have you ever wondered if there is a way to break the mold and build a brand new design to create a custom footer? This was a question frequently asked by Artbees users – now it’s possible with the new Jupiter X theme!
In this article, we’re going to discover how we can customize our footer area with the Jupiter X theme via the default options and then see how we can create a completely new footer design from scratch. The tools we need for this tutorial include:
- A WordPress website
- Jupiter X Pro theme
- Elementor Page Builder
- Raven Plugin (Exclusively developed by Artbees to extend Elementor free functionality)
Let’s have a quick overview of how we can customize our website footer with the default options first since it’s an easy and fast method for having a beautiful footer. After that, we’ll show you how to create a completely new footer from scratch.
Customizing the Default Footer in Jupiter X
The first method will use the Jupiter X Customizer settings. As mentioned, it’s powerful enough to build a completely customized footer. However, when using this method, you have only one footer for your entire website, and in case you need a different footer for other pages, you’ll need to create a custom footer and assign it to those pages. We’ll get to that later. For now, let’s look at how we can access the footer customizer and apply some changes on the prebuilt footer.
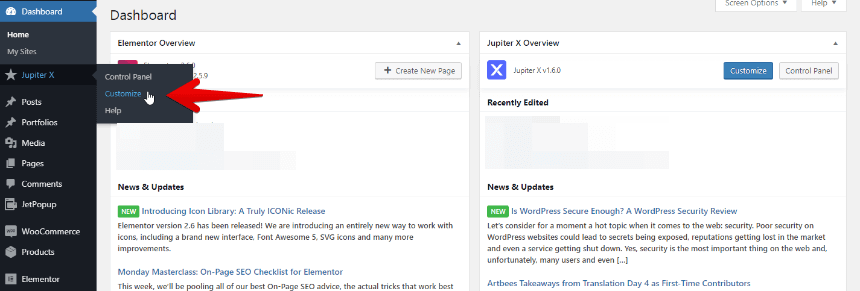
From the WordPress left sidebar click on Jupiter X > Customize.
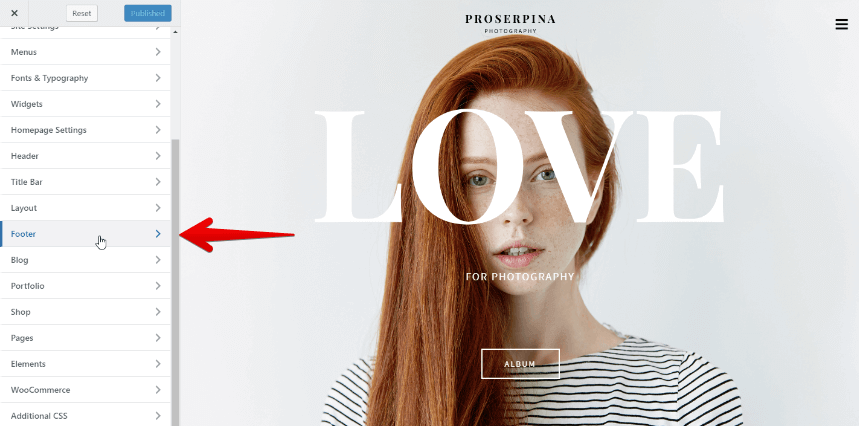
Then find Footer from the list and click on it.
These settings will allow you to customize everything in your footer including static/fixed behavior, showing/hiding the sub footer, making it full width, and showing/hiding some other elements on the footer like Copyright text and menu.
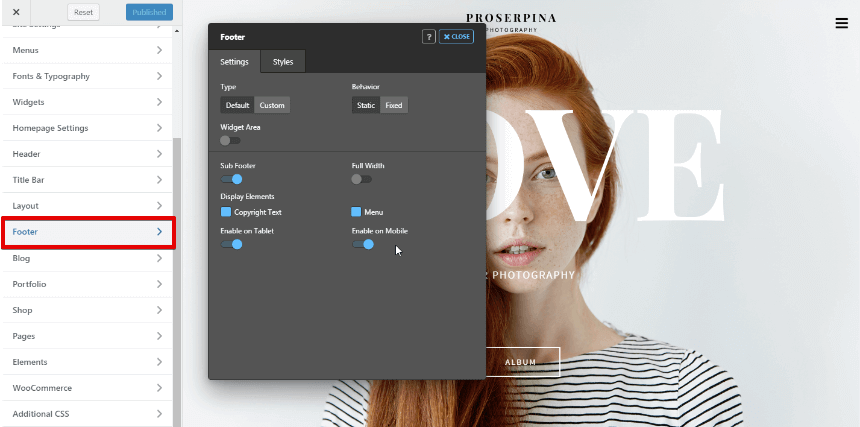
The cool part is the Widget Area option. As soon as you enable it, you’ll see how many layouts of widgets you can choose for your footer. You can then populate the footer widget areas from WordPress Appearance > Widgets.

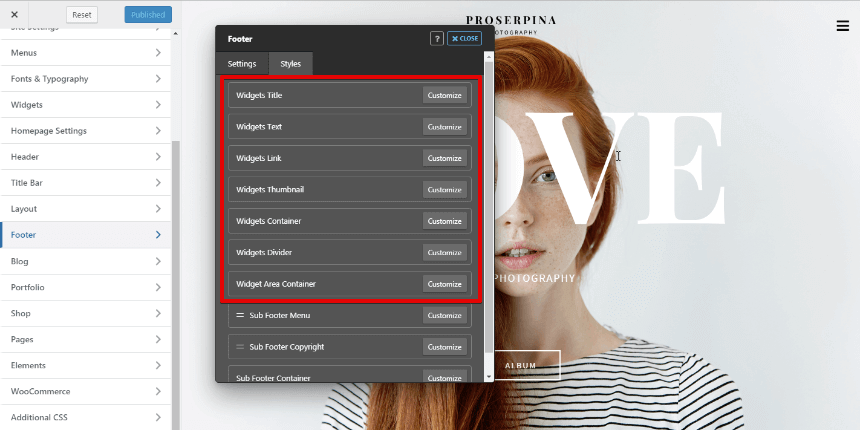
As soon as you enable the Widget Area, you’ll be able to see the widget styling options in the second tab. It has a set of options including Widgets Title, Texts, Links, Thumbnail, Container, Divider, and Container Styles which allows you to customize every single corner of your widget. And you can do all of it live.
It’s pretty neat, isn’t it? Now, let’s see what we can build as a custom footer.
Creating a Custom Footer in Jupiter X
This is the part where you’ll need the Elementor and Raven plugins. Elementor will give you the ability to build fantastic layouts, and the Raven plugin will let you create custom footers and headers on Elementor (free version) and also will give you 22 new elements to use. You can find more information about Raven plugin here.
The great thing about a custom footer is that you are no longer limited to the WordPress widgets. You can put anything you want, anywhere you want in your footer. Also, Jupiter X Pro offers a set of bundled plugins that extends the number of elements and effects (such as Jet Elements and Jet Tricks) that you can use in Elementor. You can utilize them as well.
To use a custom footer on your website, you must:
- Create your custom footer in Elementor.
- Assign it to all pages on your website or to a specific page.
We’ll walk you through this process step-by-step.
Creating a new Custom Footer in Elementor
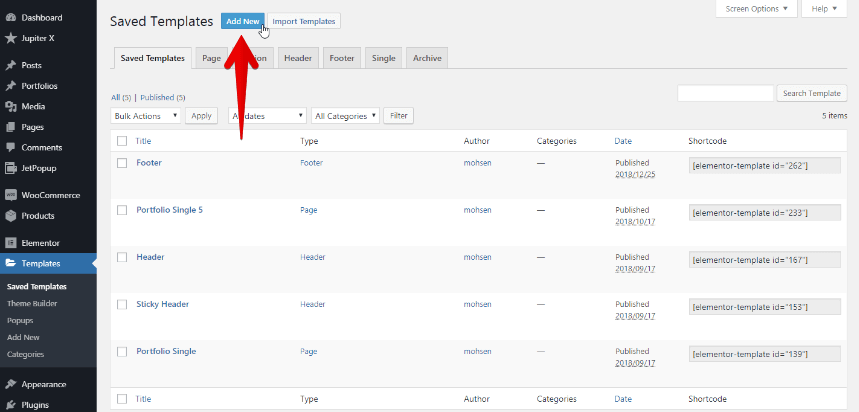
1. Like every other WordPress modification, the first step will start from the backend Side Dashboard. From the menu on the left in, click on Saved Templates beneath Elementor.

2. Next to the Saved Templates title, click on the Add New button.
Note: If you are using Elementor Pro, you may see your old footer templates in the Theme Builder instead of Saved Templates.
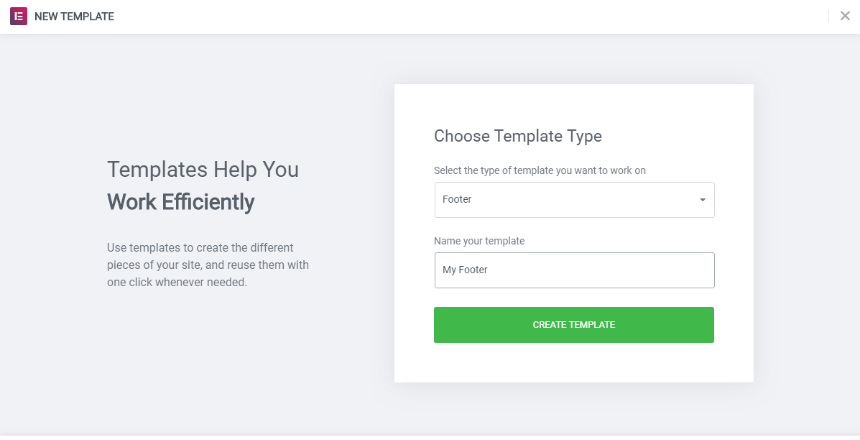
3. For the template type select Footer, give your footer a name and click on the Create Template button.
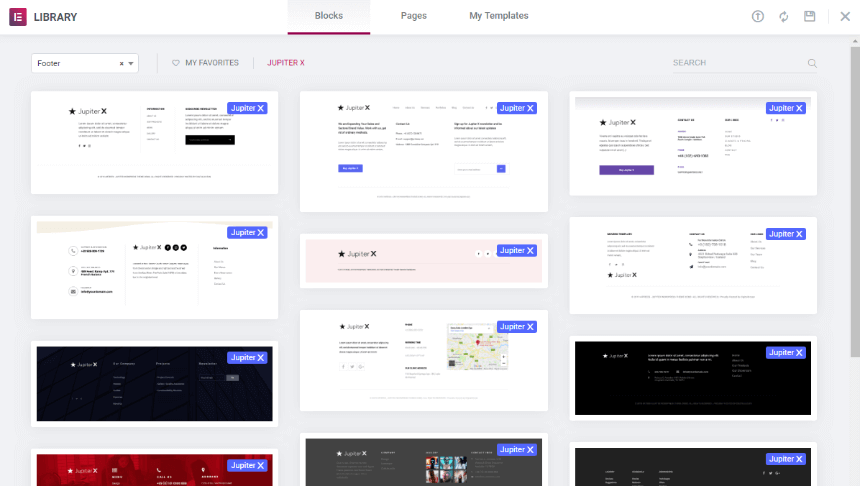
4. You will now be redirected to the Elementor page editor where you can choose a footer template from the library or create a custom footer from scratch using Elementor. Some of the pre-made footers are part of Elementor Pro and, in order to use them, you must first purchase Elementor Pro. You can also use the pre-made Jupiter X templates, which are free.
To see the Jupiter X templates, simply click on Jupiter X. You can use your preferred template by clicking on the Insert button.
If you don’t want to use pre-made templates and plan to create your custom footer from scratch, simply click on the “x” icon. That will redirect you to the Elementor page editor.

5. If you’re using a pre-made template, you can customize it or add new widgets. In order to customize a brand new footer (without using a pre-made template), first determine how many columns you need for your footer template. Then add your desired Elementor’s widgets to it, such as Site Logo. Since this is same as creating any other content on your page, in case you needed more information about how to add and modify content on your template, you can check some Elementor Tutorials and the Jupiter X knowledge base.

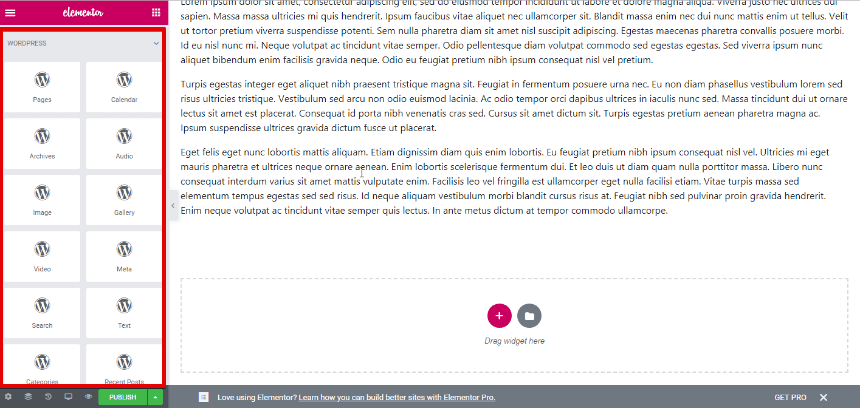
You can also add WordPress widgets to your footer template by going to the WORDPRESS category in the Elementor widgets panel.
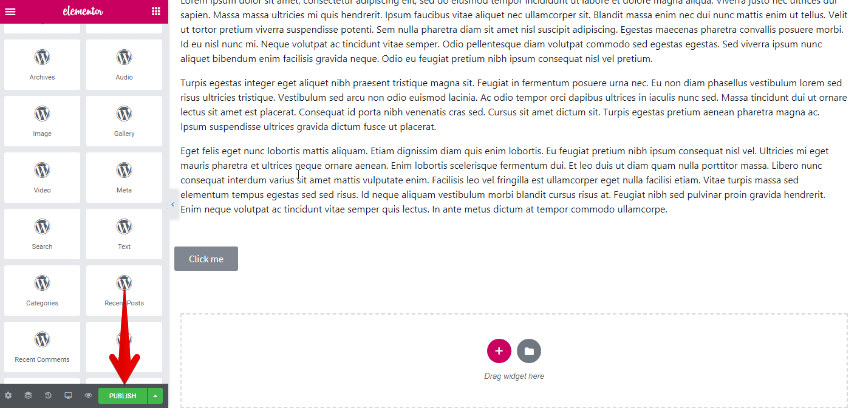
6. Publish the template after customizing it.
Important Notes!
1. In case you are using Elementor Pro for a footer template with Display Conditions, some of the Jupiter X footer customizations may not work properly. To fix this:
Make sure the Display Conditions are not provided for your footer templates.
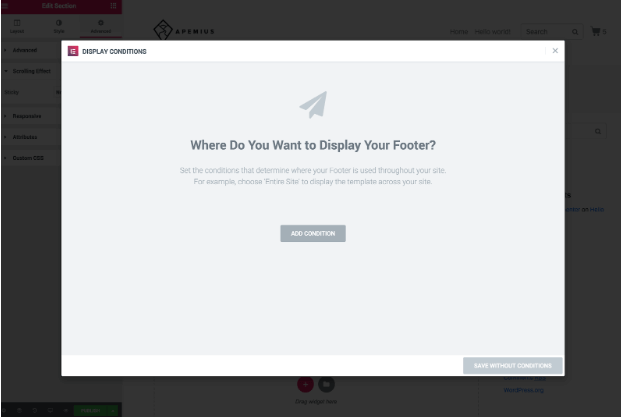
Simply save a template without conditions.
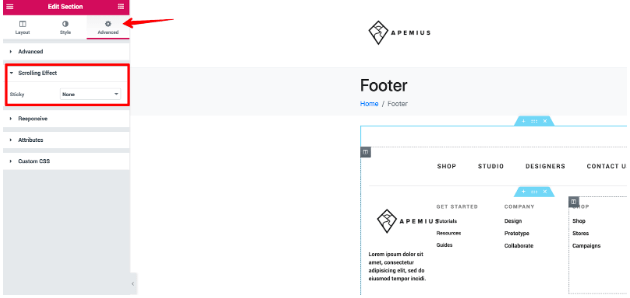
2. Make sure the Sticky option under Scrolling Effect is set to None in the Advanced settings of the Section container in your footer template.
Assigning a Custom Footer to your Website
Now it’s time to assign our beloved footer template to the website.
1. From the menu on the left in WordPress, go to Jupiter X > Customize.
2. From the dashboard on the left in Customizer, click on Footer.
3. For the Footer Type, select Custom and assign your footer from Template.
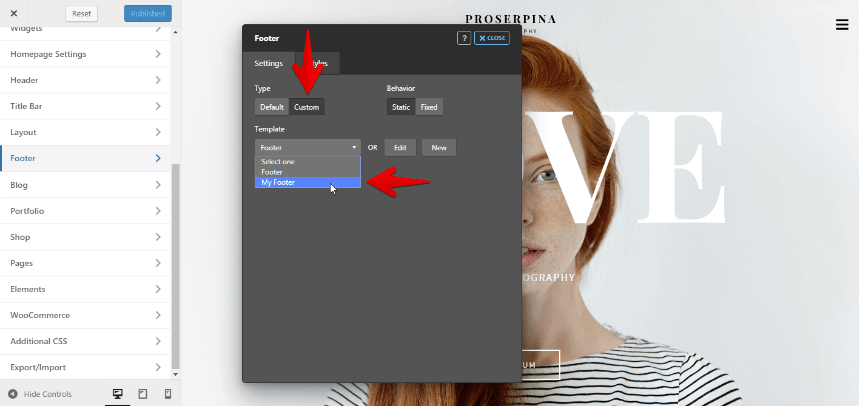
4. Click on Close and Publish the changes.
You’re done! Now, refresh your page and see how your new footer looks on your website. One thing to mention is that you can add as many footer templates as you want and assign them to different pages. Have a look at this tutorial to find more!.
Summary
Footers are like the summary of an entire website. Having a good summary that contains relevant links and content at the end of a page will send your viewers to the right place.
In this article, we learned how to get rid of the technical coding stuff when creating a footer and easily build customized or new footers using the Jupiter X theme. Now, you can channel your energy into creating amazing your content instead of worrying about how to build a footer because every tool you need is ready for you!

No comment yet, add your voice below!