Are you struggling to keep your blog up-to-date? Or do you have a list of great ideas for blog topics but are unsure when to publish each one? If so, then an editorial calendar can help you schedule the posts and assign due dates. In other words, editorial calendars for your WordPress blog allows you to have a plan for your post – there are even some calendar plugins that will help you create a content calendar.
What is an editorial calendar?
An editorial blog calendar is more than just a calendar. It allows you to set it and forget it. It’s hard to simply wake up and know what to blog about that day, how long it’ll take to make a post and how much information you should provide so freely, among other things.
With an editorial calendar, your blog starts working for you, instead of you working for it. Your blog will become a powerful tool for your business that attracts new customers.
Why do you need an editorial calendar for your WordPress blog?
Editorial calendars make it easy to keep track of your blogging schedule, blog post ideas and holidays that might inform your blog topics. Other reasons to use editorial calendars include the following:
- Keep your content consistent.
- Organize your writers and contributors.
- Visualize and share your strategy with your team.
- Fill in any content gaps.
- Plan your SEO strategy before creating content.
How to create a WordPress blog editorial calendar
1. Determine how many posts per week you can write
When starting an editorial calendar, you first need to determine how many days you will actually post. Don’t try to post seven days a week if you don’t have time for it. It’s better to consistently post twice a month than randomly post every day for one week followed by three months of no posts at all.
2. Define topics for each post day
Think of over 5-10 blog topics related to your business that your customers are interested in. You must know who you are talking to in order to create an editorial calendar of topics that will engage your audience.
3. Brainstorm post ideas
It’s better to take a pen and a paper and write down everything that pops into your head. You should provide interesting and useful information for your potential customers that will attract new readers.
4. Create an editorial schedule
You can do this step with a paper calendar, Excel sheet, etc. Below I’ll show 2 plugins that can be used with Jupiter X theme to create a schedule.
5. Write and share your post
Of course, you have to write posts in order to build your blog. Write at least two blog posts. Schedule those two blog posts to be published on the days marked on your editorial calendar. You can pick a day of the week and write as many posts as you can in one business day so you can focus on other things on other days. It is really up to you. Then once you have a finished post, share it! Share it across your various social media – even send out a newsletter if you want. Your audience won’t know to tune into your valuable information if you don’t tell them to.
Creating an editorial schedule
There are several editorial calendars that integrate directly into WordPress. These calendars will show your planned WordPress posts and allow you to schedule new content.
We’ll review two of them:
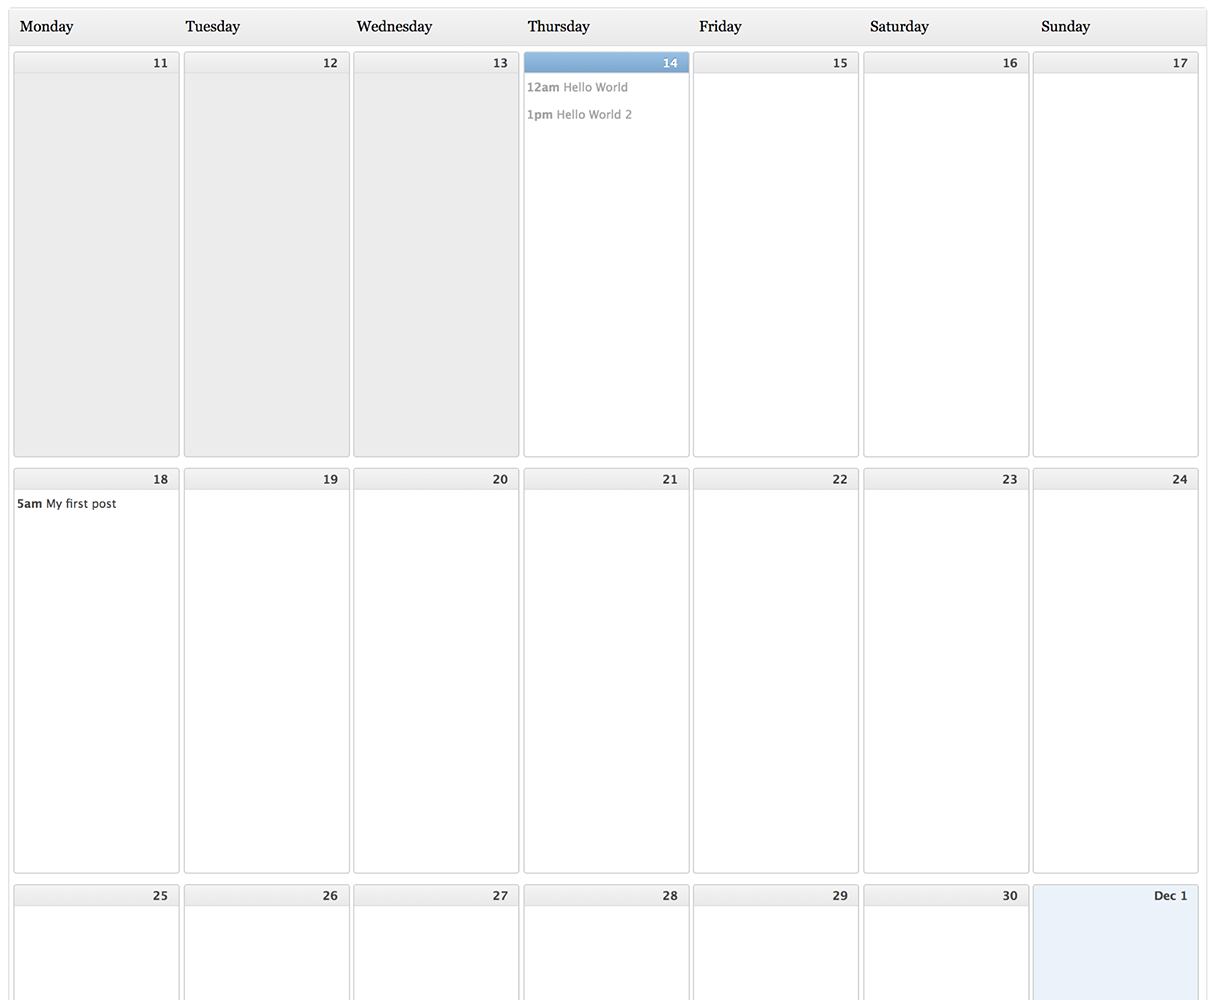
Using the PublishPress Calendar, you can easily see when content is planned and when it was published. You can also drag and drop content to a new publication date.
The calendar gives you a powerful overview of your publishing schedule:
You can read more about how to install the plugin in the PublishPress documentation.
When you add a new item to the calendar, it will automatically be saved under the Pitch category and assigned to your user account. To see all of your content and its categories, you can go to the PublishPress > Content Overview tab:
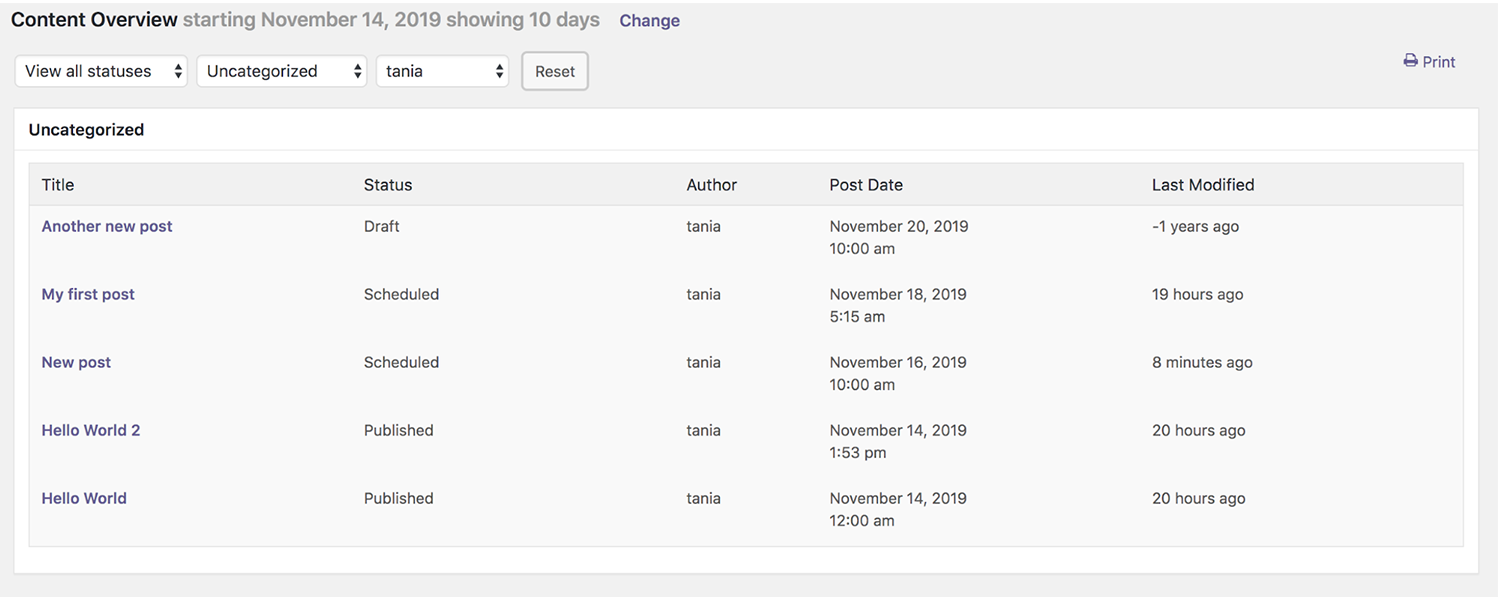
The Content Overview screen allows you to drill down and see content organized by status, categories or users. You can find out more information here.
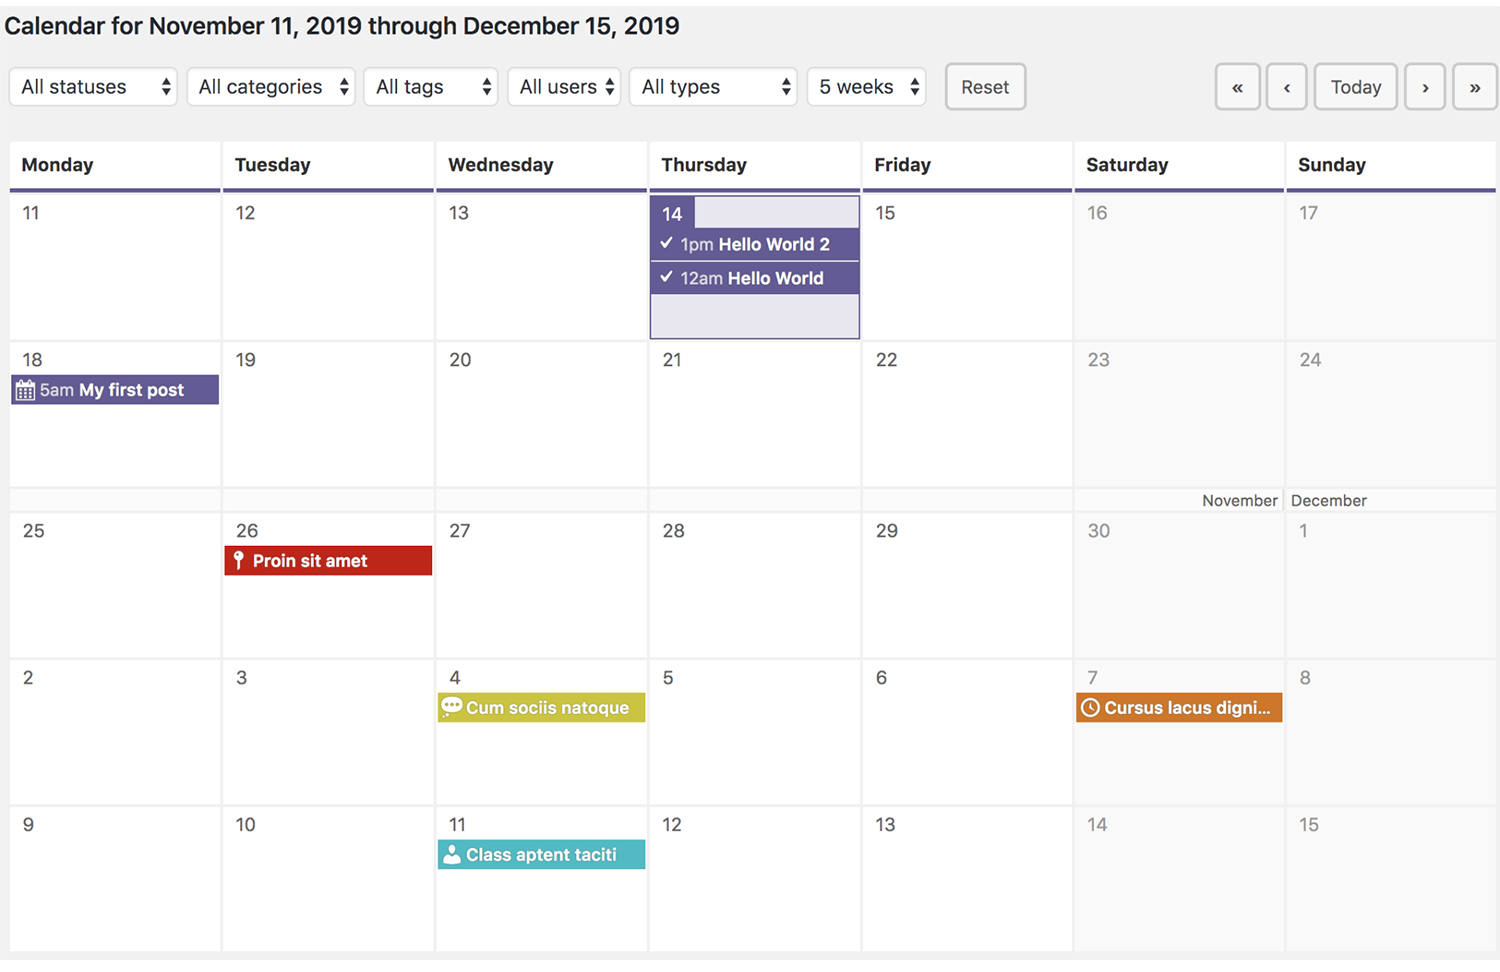
The calendar gives you a powerful overview of your publishing schedule. By using the Editorial Calendar, you’ll easily be able to see when content is planned and when it was published. You can also drag and drop content to a new publication date. By default, you see all the WordPress content you have planned for the next six weeks. If you need to drill down, you can filter the calendar by post status, categories, users or post types.
Read more about this calendar here.
Custom Statuses is a feature that allows you to create custom post statuses such as “In Progress” or “Pending Review.” You can further define statuses to match the stages of your team’s publishing workflow. A detailed description can be found here.
So the key features of PublishPress include the following:
- An editorial calendar to help you schedule content
- Notifications for custom events, so you don’t miss anything
- Custom post statuses, so you know how every article is progressing
- Editorial comments on team members’ posts
The Editorial Calendar plugin gives you an overview of your blog and when each post will be published. You can drag and drop to move posts, edit posts right in the calendar and manage your entire blog.
With this plugin, you’ll be able to do the following: –
- See all of your posts and when they’ll be posted.
- Drag and drop to change your post dates.
- Manage your drafts with the new drafts drawer.
- Quickly edit post titles, contents and times.
- Publish posts or manage drafts.
- Easily see the status of your posts.
- Manage posts from multiple authors.
To install the plugin, you can follow the steps as for any third-party plugins described here.
After activating the plugin, you can access the calendar via Posts > Calendar:
There are no settings to configure and no options to fiddle with. You can start using it immediately. Clicking on the calendar menu takes you to a screen with a calendar display that includes all your published and scheduled posts.
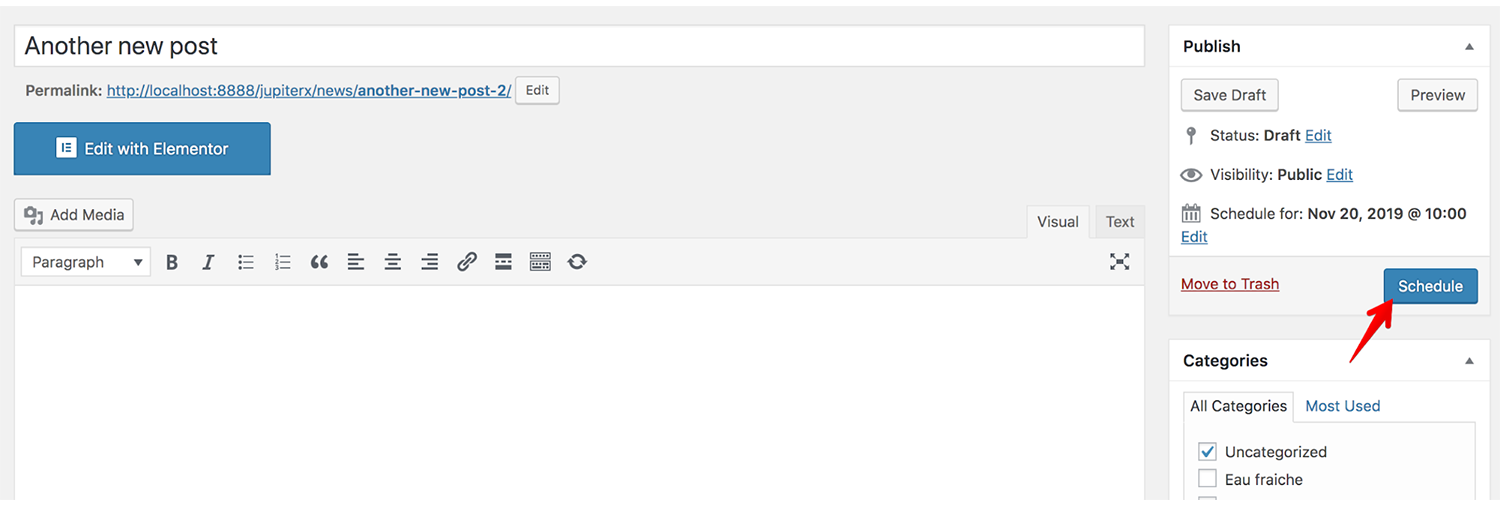
Creating new posts is as simple as hovering over any date on the calendar and clicking New Post. This brings up a Quick Edit popup that enables you to add the post title, content, publish time and status right there in the calendar. Default posts will be created as drafts.
Draft posts will not be published automatically unless you actually set the status to Scheduled.
Published posts in the calendar have View and Edit links that link directly to the post’s permalink and the edit screen. Draft and scheduled posts have an additional option for Quick Edit that enables you to edit the post title, content, publish time and status using the same popup mentioned before.
Conclusion
Creating an editorial calendar for your WordPress blog content can be time-consuming, especially if you are posting regularly, but is a vital part of successful blogging. Using a plugin can make it easy to setup and manage your scheduled posts.


No comment yet, add your voice below!