Different platforms are improving everyday, like the way you can market online, create a blog or maintain a website. Using IFTTT with WordPress is one technological innovation that can help you maximize your online presence and boost your productivity.
One concept that can greatly help you out in the online world is marketing automation. It basically refers to a program or platform that efficiently executes day-to-day marketing tasks to enhance your productivity and efficiency. With marketing automation, you can reach your goals faster and have more time on your hands to focus on more important things.
In this post, we’ll show you how using IFTTT with WordPress can help you out in carrying simple commands is.
What is IFTTT?
IFTTT (stands for If This Then That) is a service that allows you to string together different conditional statements that would lead to perform a certain action.
The IFTTT service is built upon its use of channels. At the moment, there are 76 channels that are developed around a third party service, such as WordPress, with more being added regularly.
The different components of IFTTT are: Trigger, Action and Ingredients. Combining these three would result into a Recipe. A Trigger is the part of the Recipe that launches a command when a specific action is carried out. An example of a trigger could be, “When I publish a post to my blog.”
Once activated, the Trigger launches an Action associated with the Recipe. This Action is activated on another service and can carry out any function assigned to it.
Let’s go back to our example. When a post is published, the Action can be, “tweet about it.” With this Trigger and Action, it would activate the Recipe and a pre-specified tweet will be posted on your connected Twitter account everytime you post a new blog.
IF “I publish a blog post on my WordPress website (THIS),” THEN “tweet about it (THAT).”
On the other hand, Ingredients are pieces of data that make up the Trigger. Using our example above, the ingredients would be Post Title, Post URL, and Post Content. You can add more based on the available options.
Using IFTTT with WordPress
After understanding the basics of using IFTTT with WordPress, it is good to take note of one of the many channels where you can apply it. WordPress is a good place to start as it allows you to connect your blog to IFTTT, regardless of the type of WordPress website you own. Once activated, you can either use it as a Trigger or an Action.
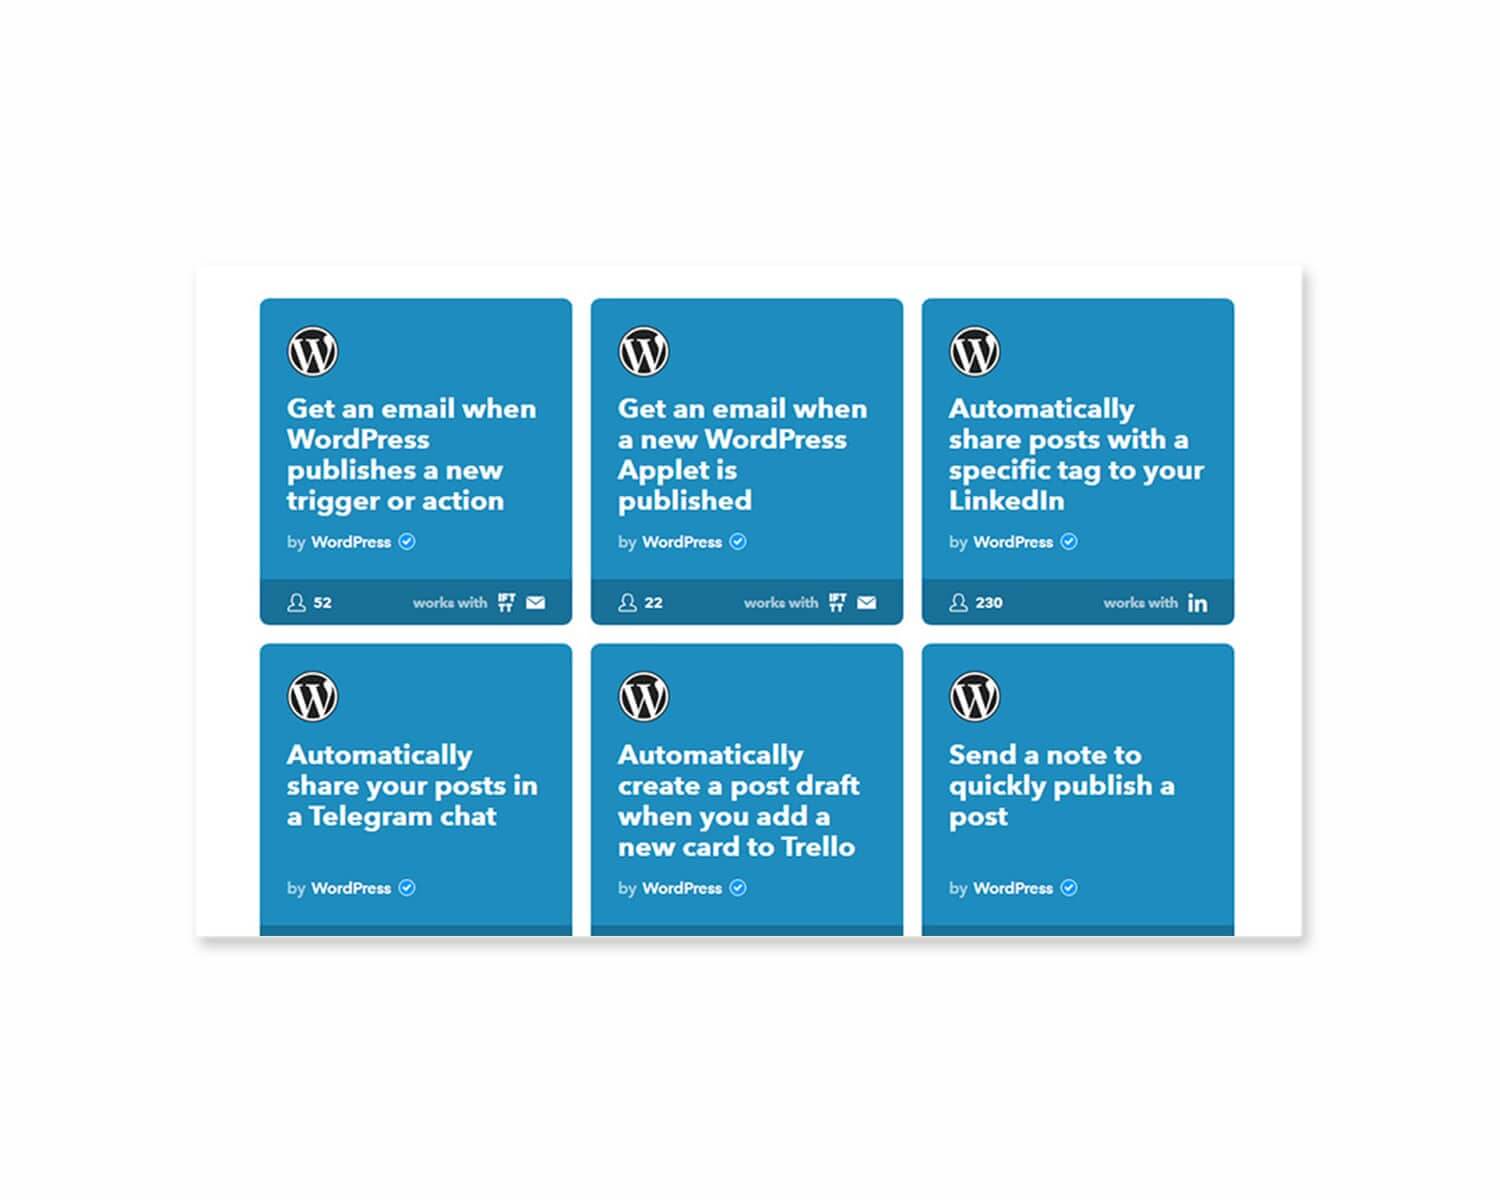
Here’s a short list of Recipes and service connections you can look into so you would have an idea on how to maximize using IFTTT with WordPress.
Content creation recipes
- When I post on Blogger, post it on WordPress (Blogger)
- Create a draft post in WordPress when you add a new note to a notebook (Evernote)
Collaboration recipes
- Automatically share new posts to a Slack channel (WordPress)
- Publish a WordPress blog post when you add a new Trello card to a board (Trello)
Content sharing recipes
- Automatically share new posts to a Facebook page (WordPress)
- Automatically post your new blogs on Facebook (WordPress)
- Automatically tweet your new blog posts (WordPress)
- Automatically cross-posts from WordPress to Tumblr (WordPress)
Productivity recipes
- Archive new posts to an Evernote notebook (WordPress)
- Back-up new WordPress posts to Google Drive (WordPress)
These are just some of the recipes you can check out and there’s a whole lot more where these came from! If you can’t find what you’re looking for, you can make your own recipe for free and share it to the community. Trying these out would be a great way to familiarize yourself in implementing IFTTT with WordPress.
Setting up a WordPress site with an Action (Automatically post your new Blogs on Facebook)
- Log-in to https://ifttt.com/. You can use either your Facebook or Google account.
- Go to https://ifttt.com/wordpress to see the list of available actions for WordPress.
In this example, we will guide you to use the Automatically post your new Blogs on Facebook.
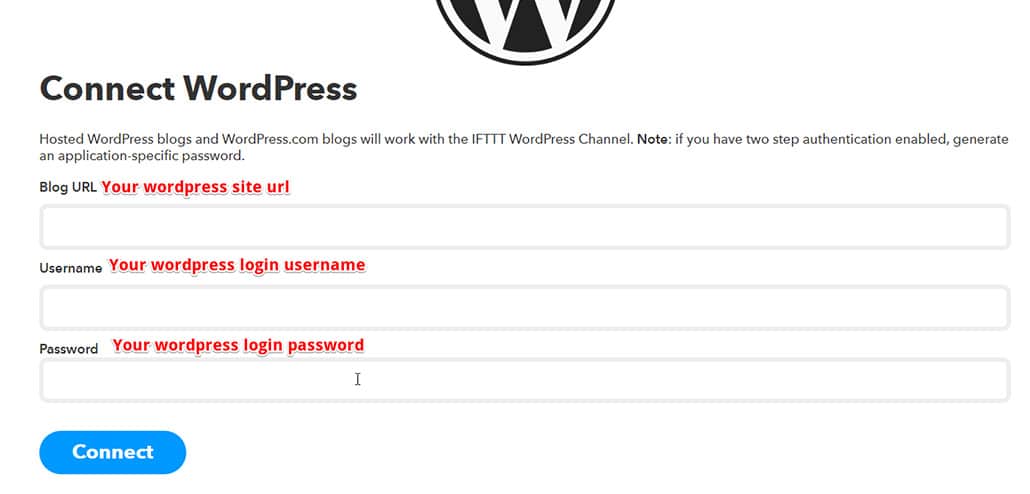
- Connect your WordPress site to the service. Click the “Connect” button.
- Fill-out the form, and click “Connect”
- After a successful log-in, you will now have access to the Action Page.
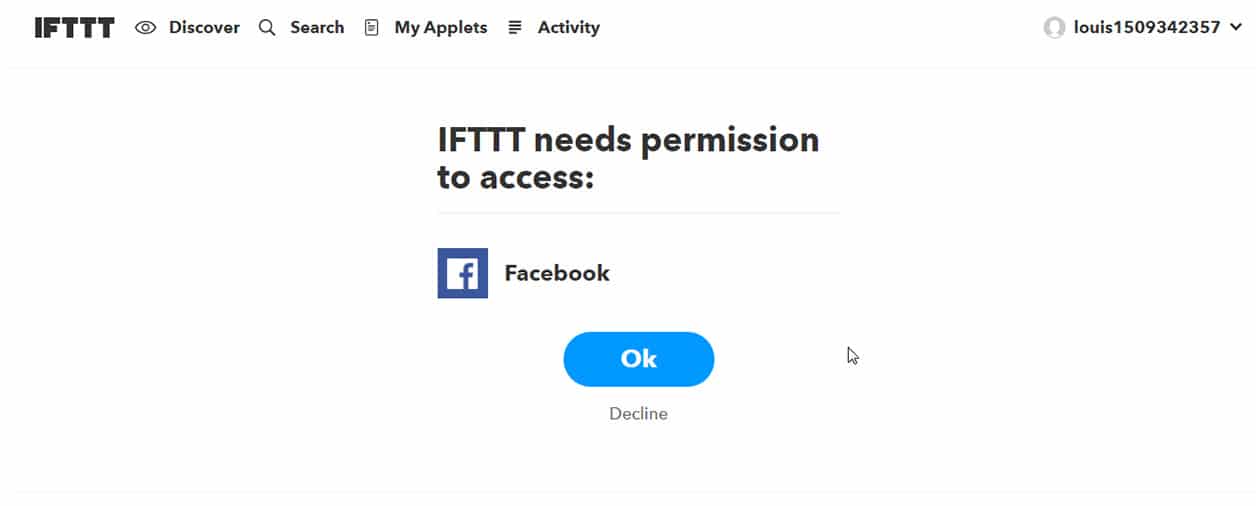
- Click the “Turn On” button. This action will require permission to access your Facebook Account. Just click “OK”.
- After that, you will see Create a link post > Message (Optional). You can edit the text or leave it blank.
- Go to your WordPress site. The go to Posts > Add New > Set up your Post with content and featured Image.
- After placing the relevant content and featured image, click “Publish”.
- Check your Facebook account. You will see a post from your WordPress sent from IFTTT about your new blog post.
Wrapping Up
Day-to-day marketing tasks need not be tedious and repetitive. Be more efficient and productive by using IFTTT with WordPress to reach your marketing goals faster.


No comment yet, add your voice below!