
So you’ve decided to run A/B testing on your WordPress site with Google Optimize but you still don’t know much about it?
Google Optimized is probably the best tool out there to help you analyse the results of A/B testing on your site. It’s a widely popular tool that helps you gather important data about your website visitors’ behavior and use those results to improve your conversion rates.
In this article, I will cover the basic steps that are essential to running successful A/B testing in WordPress.
What is A/B Testing?
A/B testing is a user experience research technique also known as Split Testing. This technique is best used when we want to receive user feedback on the new design of a page/post/product, for example.
Site owners tend to use default pages for products, pages and posts. These pages contain all the necessary information users need, such as product information, images, process, etc. Each page has a predefined layout and style; however, things change over the time, and new trends in design, new technologies in user acquisition or shifts in user behavior may trigger us to make changes to our pages. Unfortunately, changing your webpage can be a difficult process, and it’s tough to decide which changes are worth it and which are not. That’s where A/B testing comes in handy.

Before making significant redesigns to the site by adding a new design or removing some information, it’s a good idea to experiment with these new features by running A/B testing to reveal how users will interact with the new changes. A/B testing is good to use when:
- Testing different names for pages or products
- Unveiling a new landing page with different content and setup
- Testing different colors for CTA buttons
- Completely redesigning a page using different content, layout, media and CTA buttons
The process of A/B testing involves a random experiment where two or more page designs (posts, product pages, etc.) are displayed for different segments of the audience. The purpose of the experiment is to define which version has the greatest impact on sales or makes the biggest impression.
Suppose you need to test a redesigned landing page with new pictures and videos. You can’t simply make changes to your real working page. Instead, you have to create a new page and redesign it with new content, new media and layout. Once you’ve done this, you can run a time-scheduled experiment by randomly sending your users to those pages.
After finishing your A/B testing, all you need to do is collect and review the results of your test. These results are usually highly dependent on the characteristics of your A/B testing, but in general this technique will simplify the process of making changes to your pages.
It’s also very important to choose the right tools to perform your A/B testing. In this blog post, we will use Google Optimize, the most popular tool for running A/B testing for WordPress.
Setting up Google Optimize
There are many A/B testing tools out there and they all have their advantages and disadvantages. Some of them are expensive and some of them are completely free to use, some of them have features that you will never use and some of them are just the essentials.
In my opinion, Google Optimize is an excellent tool to start experimenting with A/B testing because it’s free to use and easy to set up and, while it does not have a dedicated plugin for WordPress, it’s very easy to integrate in WordPress. Another benefit of Google Optimize is that it ties in with another great tool, Google Analytics, which you are probably already using. The integration of those two plugins makes Google Optimize even more useful than its competitors.
Setting up Google Optimize is easy and can be done in several steps. Let’s dive in and see how it works:
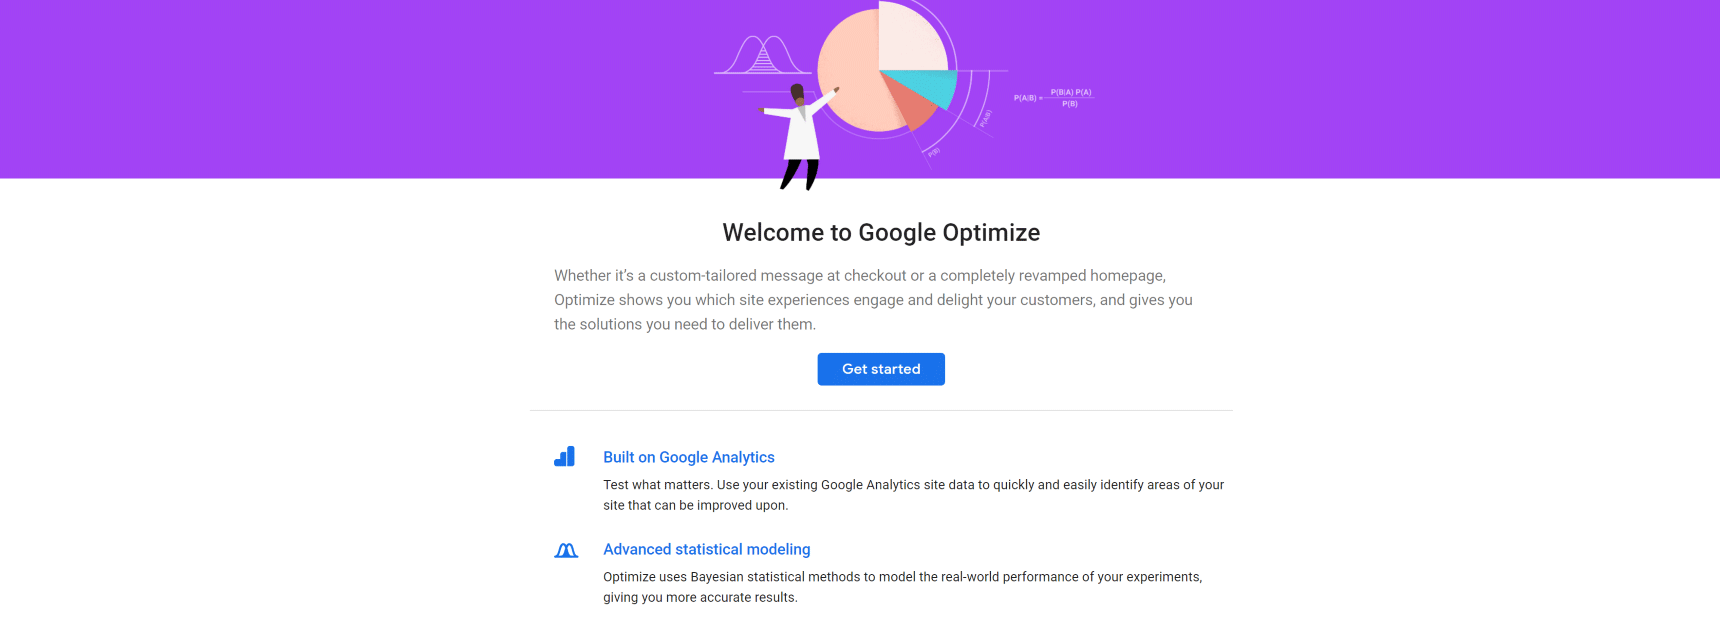
Open up the Google Optimize page and click the Get Started button to start:
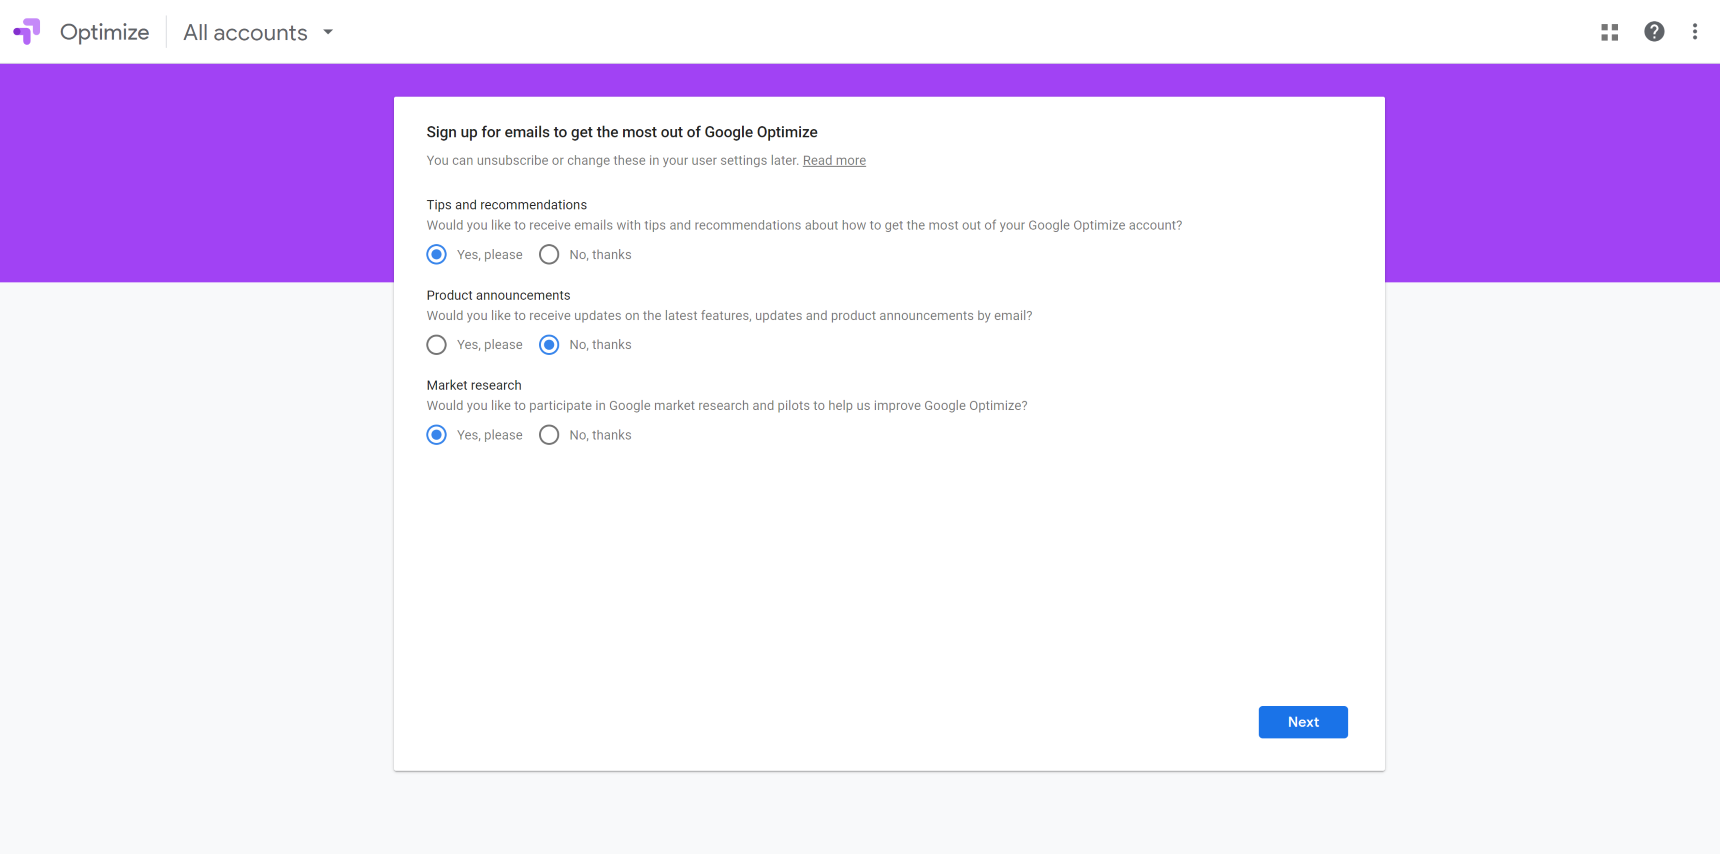
Google will ask several questions about sharing your data with other services. You may select whatever options you want here as it will not affect the functionality of the service.
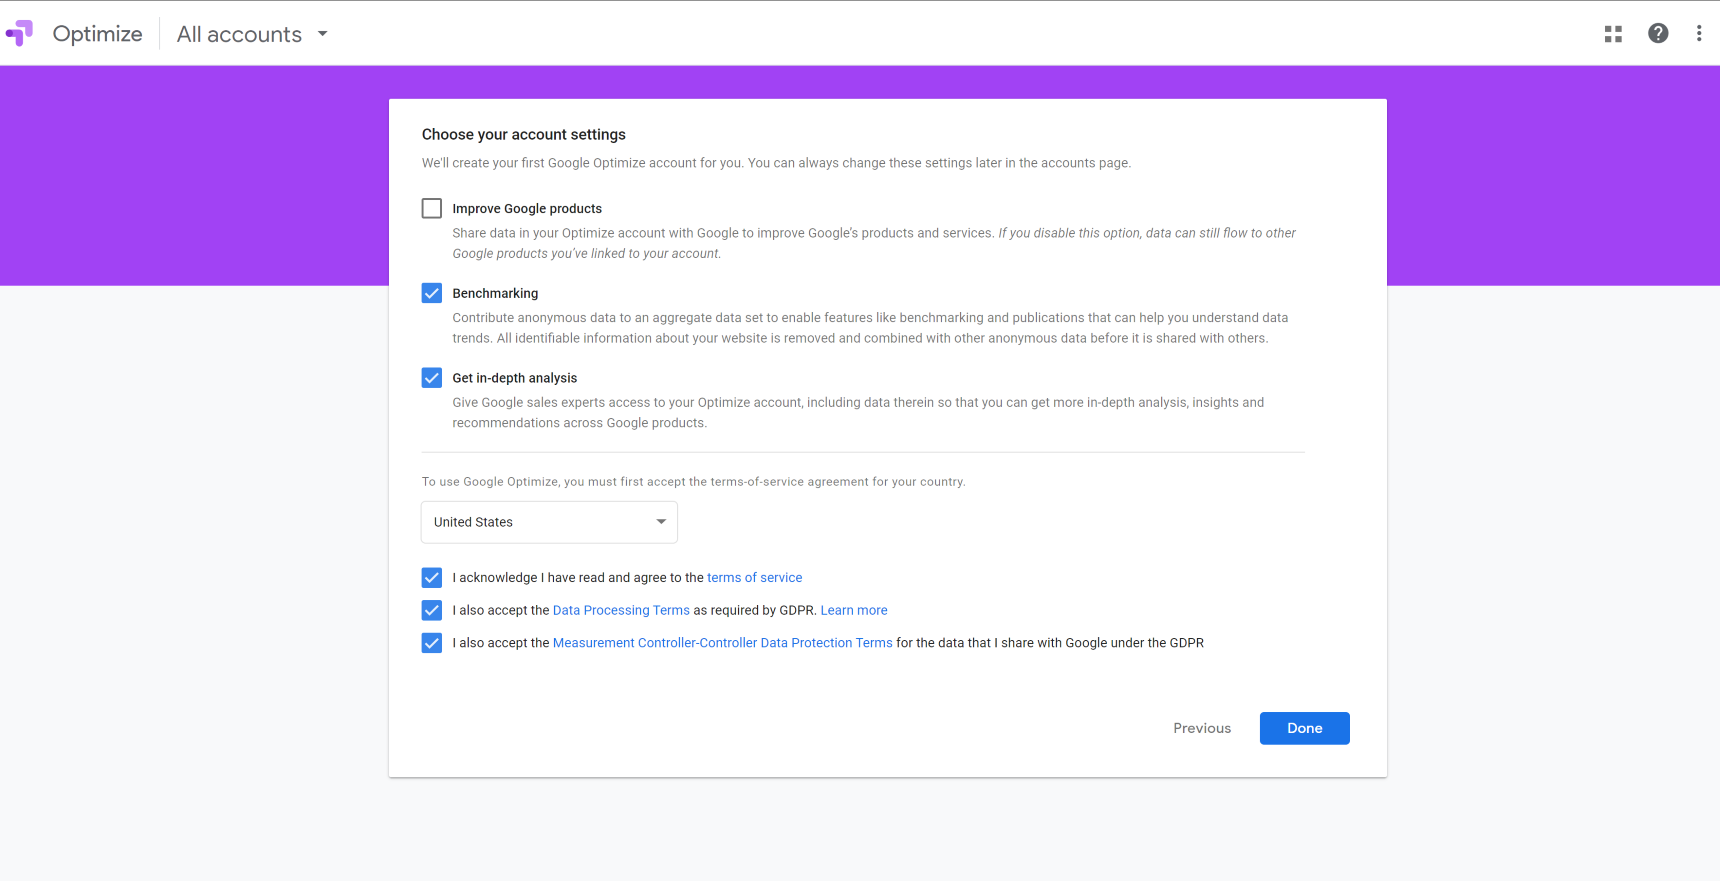
In the final step you will have to agree with the offered services and click Done. Then you will be able to view the Google Optimize dashboard.
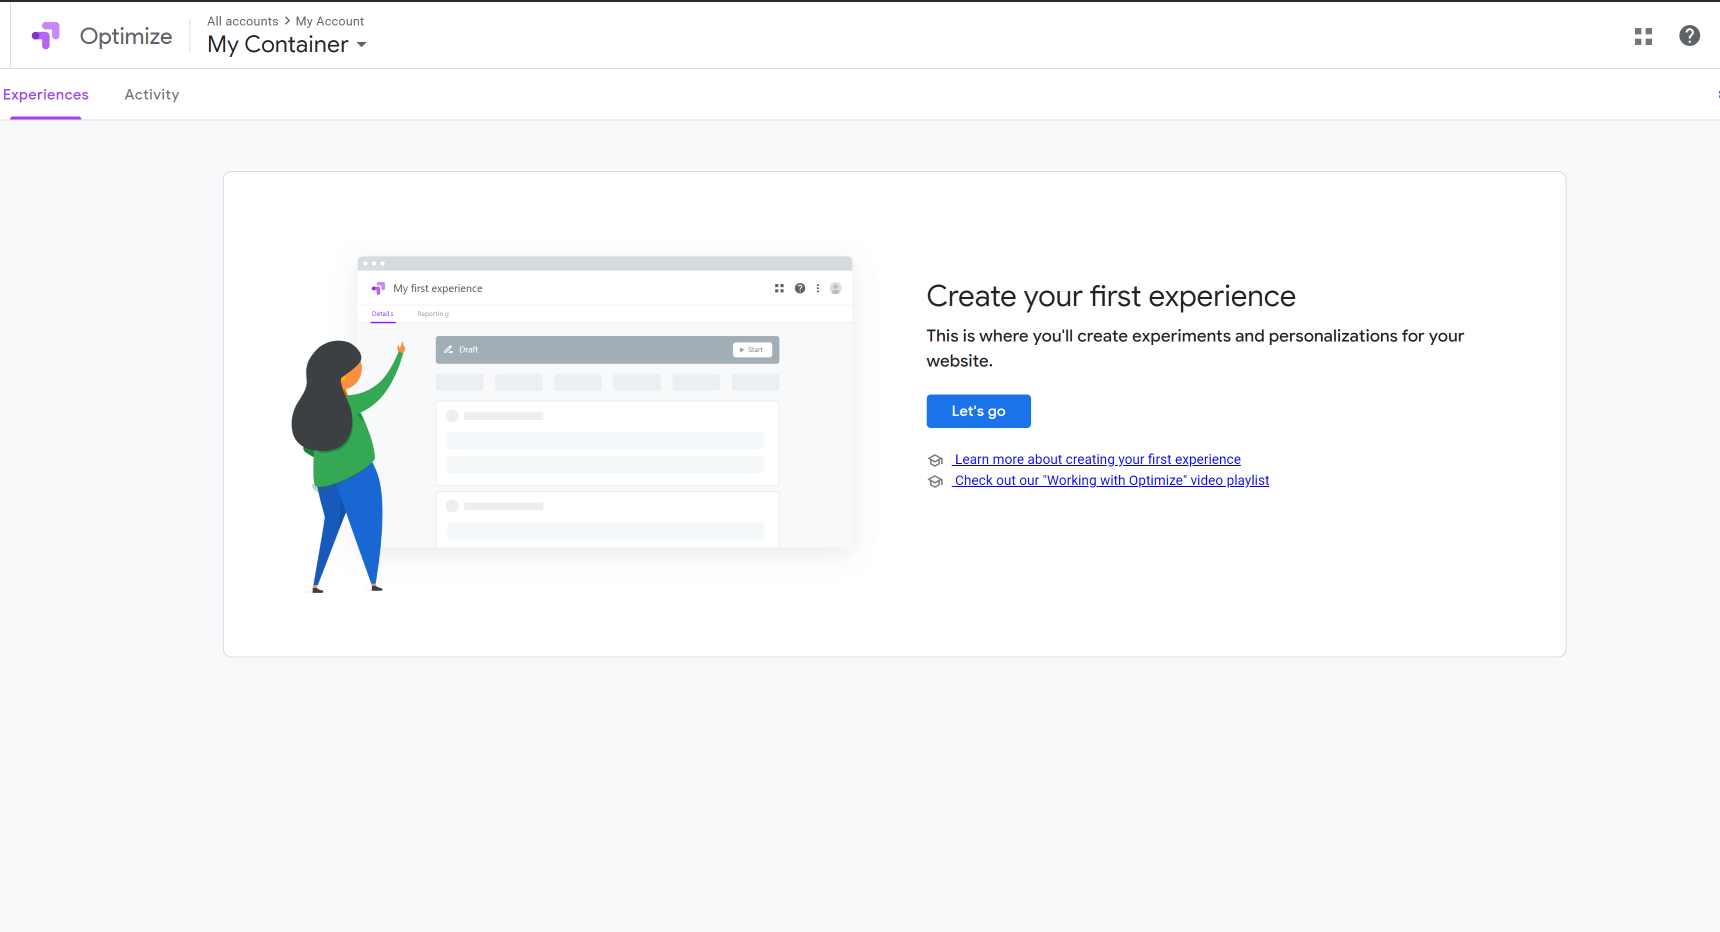
You will see this window in Google Optimize where you can start a new campaign starts by clicking on the Let’s Go button:
Pretty easy right? Once those steps are complete, we’ll need to link our site to the Google Optimize dashboard.
Linking your site to Google Optimize
Google Optimize can be linked to your site through two different methods:
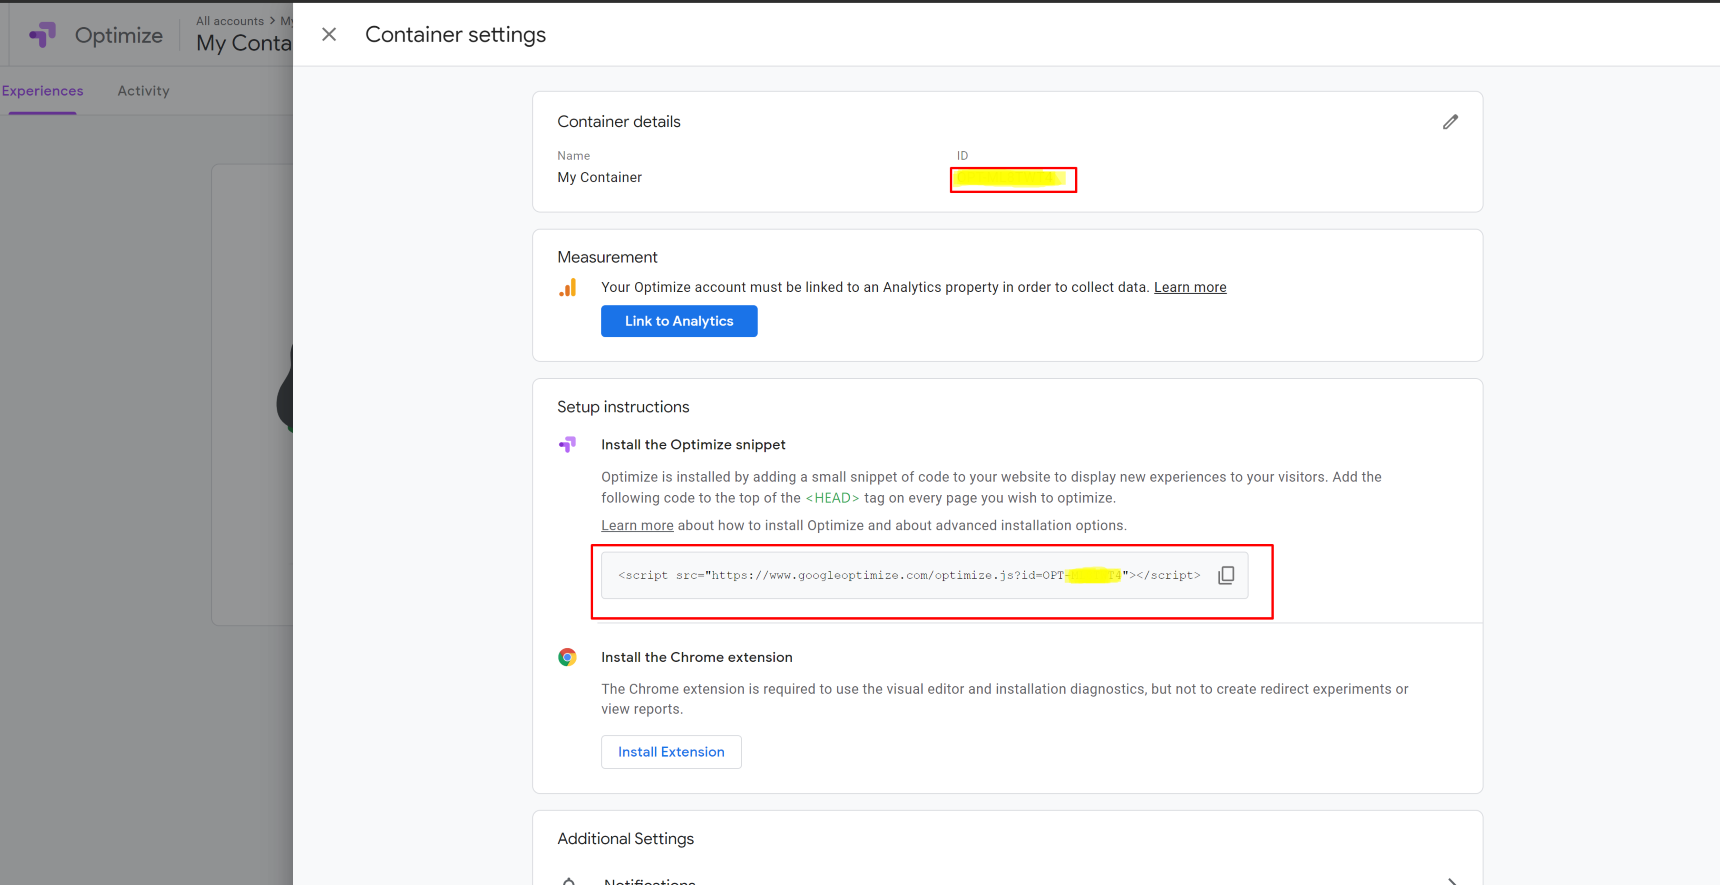
The first method is to simply add this code snippet at the top of the <head> tag of your website:
<script src="https://www.googleoptimize.com/optimize.js?id=OPT-XXXXXXX"></script>This code is unique, contains your Google Optimize code and can be found in your dashboard by clicking on Settings at the top right corner:
We will not cover in detail how to add such snippets to your WordPress head tag in this article. Instead, I recommend checking out this link covering the entire process in detail.
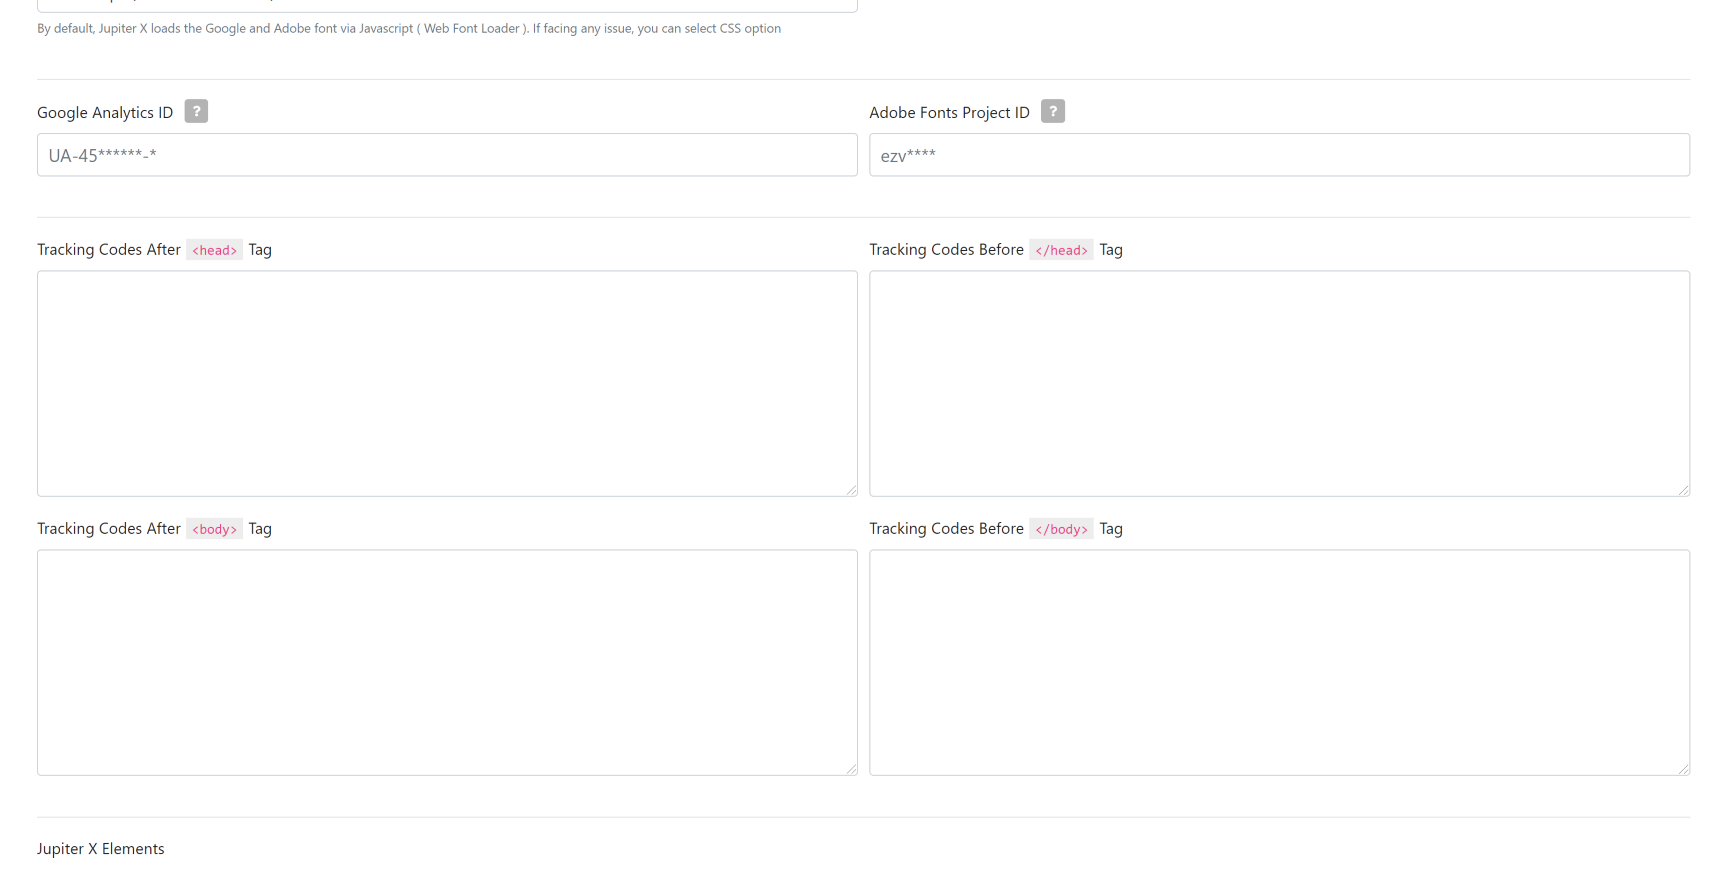
Luckily, adding this code in Jupiter X is very easy! Simply go ahead and navigate to Jupiter X > Control Panel > Setting. There you will see the option to add a linking code snippet:
The second method is easier and can be done using WordPress plugins. These plugins take care of integration since they already support Google Optimize in addition to their main functions. These plugins include:
- Google Site Kit: This is an official plugin from Google that’s used to connect several other Google products to your website, including Google Optimize.
- GA Google Analytics: In this plugin, you’ll need to provide a Google Optimize tracking code to connect Google Optimize. Please see the above image for an Optimize code.
Based on this information, it’s up to you to decide which method to use. If you only want to add Google Optimize, you may need to add the link to your WordPress Head tag. If you are thinking of adding some other Google products, then you may consider using the Google Site Kit.
Create and run your A/B testing
Now that we have everything set up, we’re ready to create our first A/B testing! Go ahead and click on the Let’s Go button (we posted a screenshot above) and give your project a name. You’ll also need to provide a link to the page you want to A/B test:
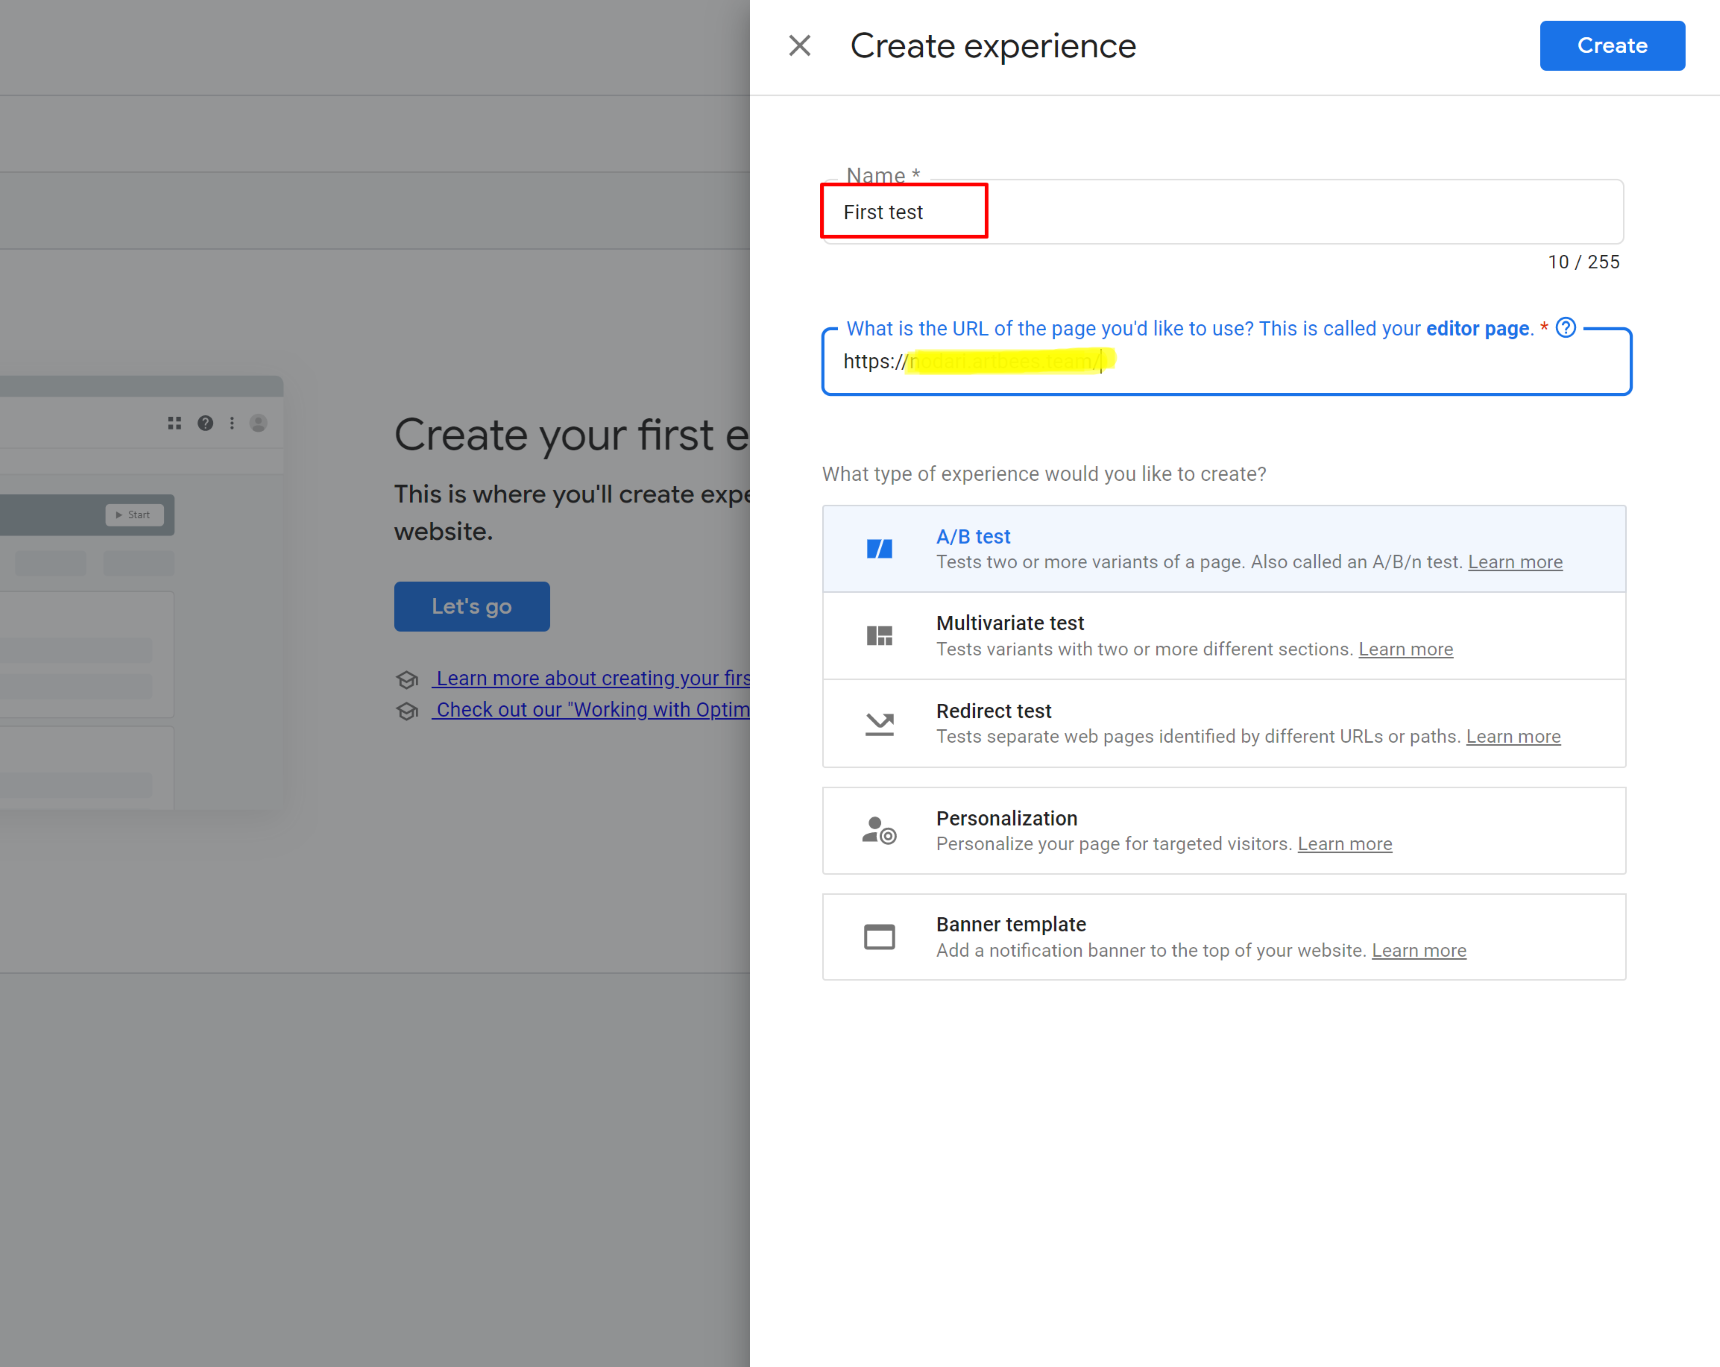
Once you click on the Create button you will be redirected to a page where you’ll need to add variants of your existing pages:
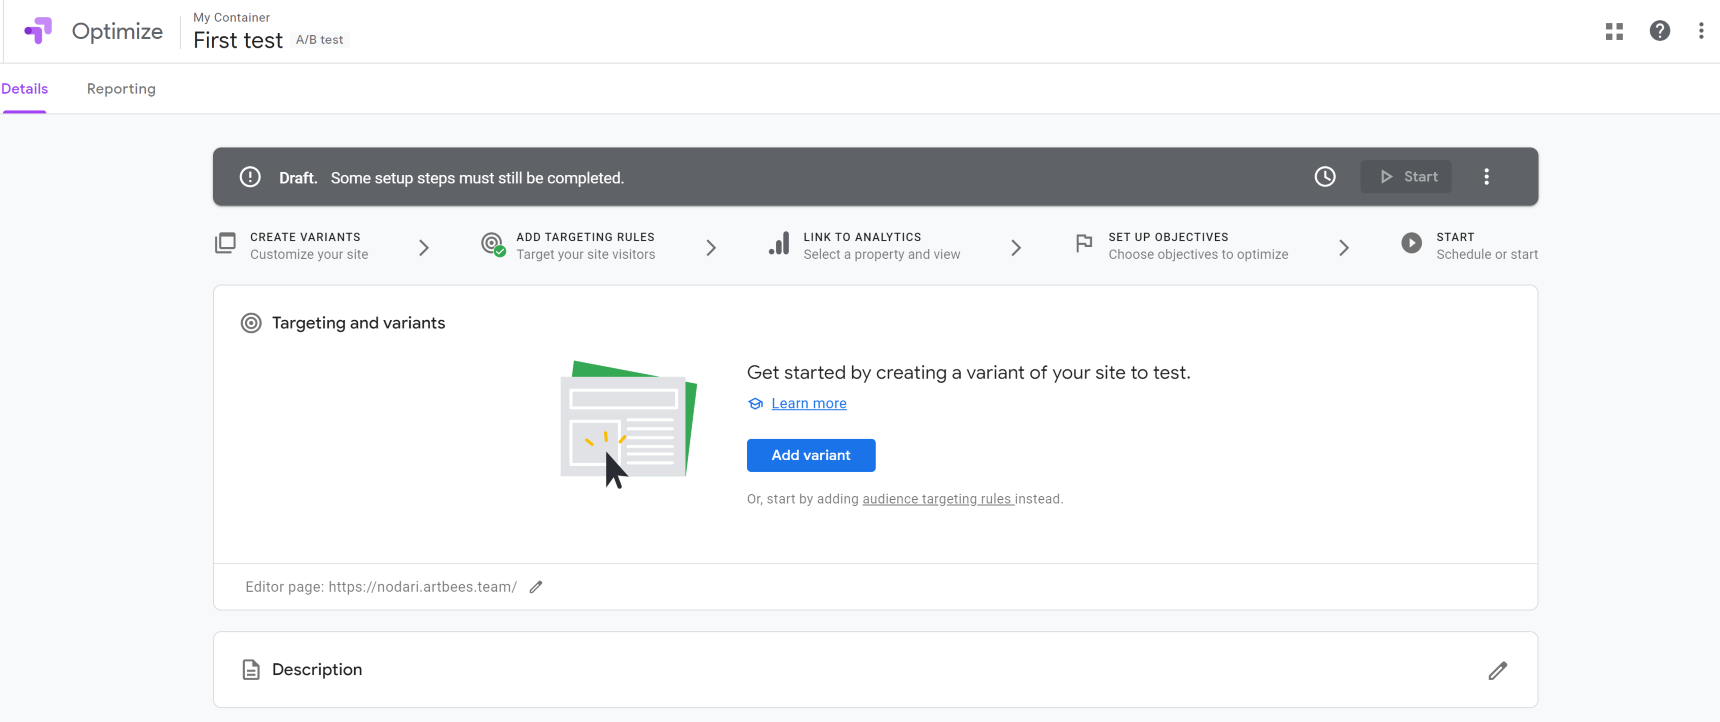
Use the Add variant button (Please note that the Google optimize Chrome extension is required to edit pages via Google extension. The program will offer to install the extension when you first click on Add Variant). Input the name of your test page, such as “Better Color for CTA,” for example, and click Done. A variant of the page will be created for testing and you will see this screen:
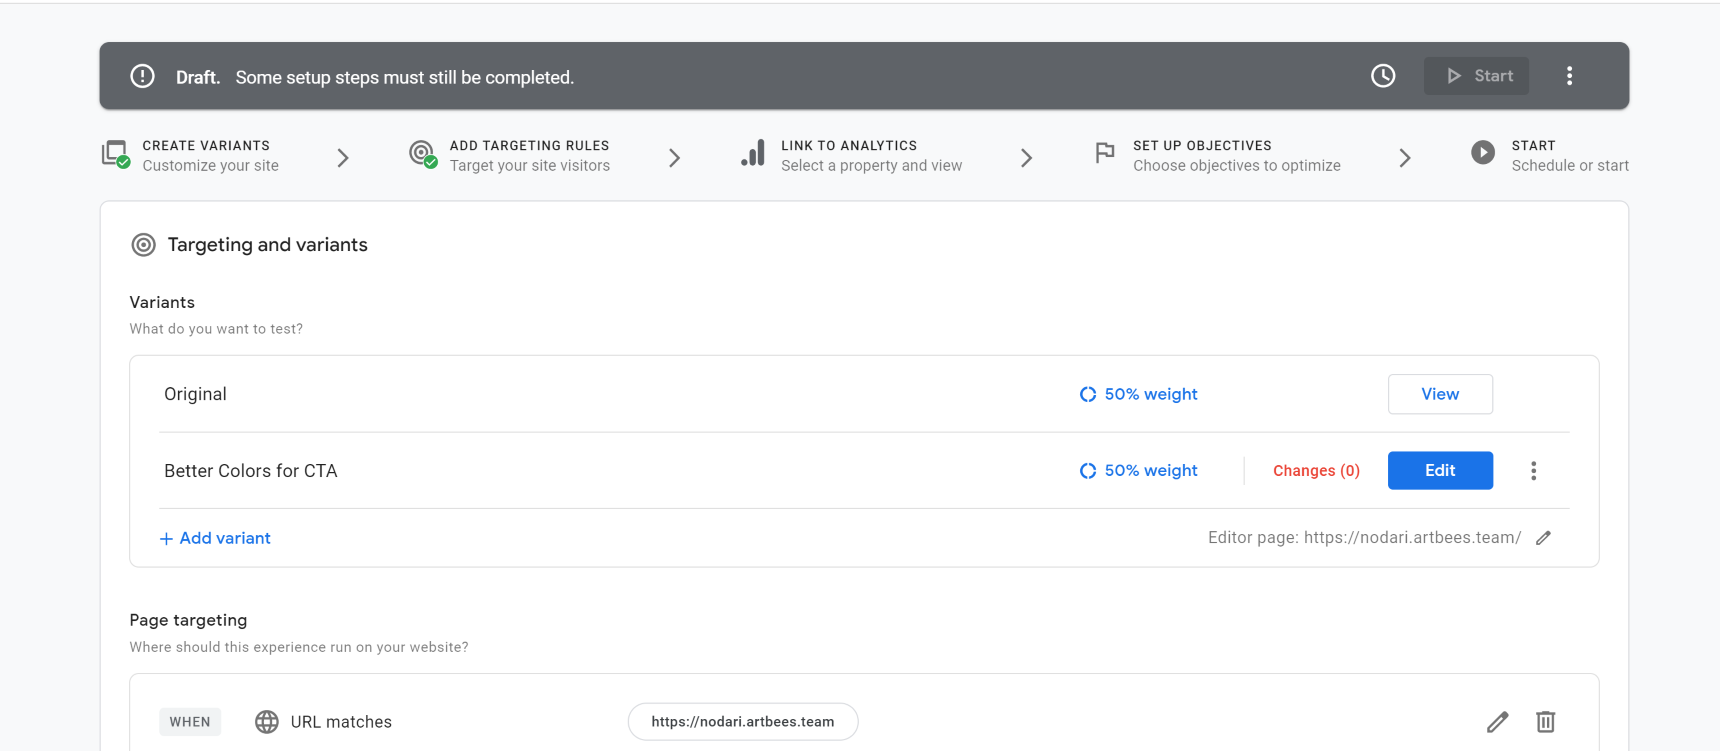
Now, click on the blue Edit button and your page will open in an editor. For example, this is original page view before editing:
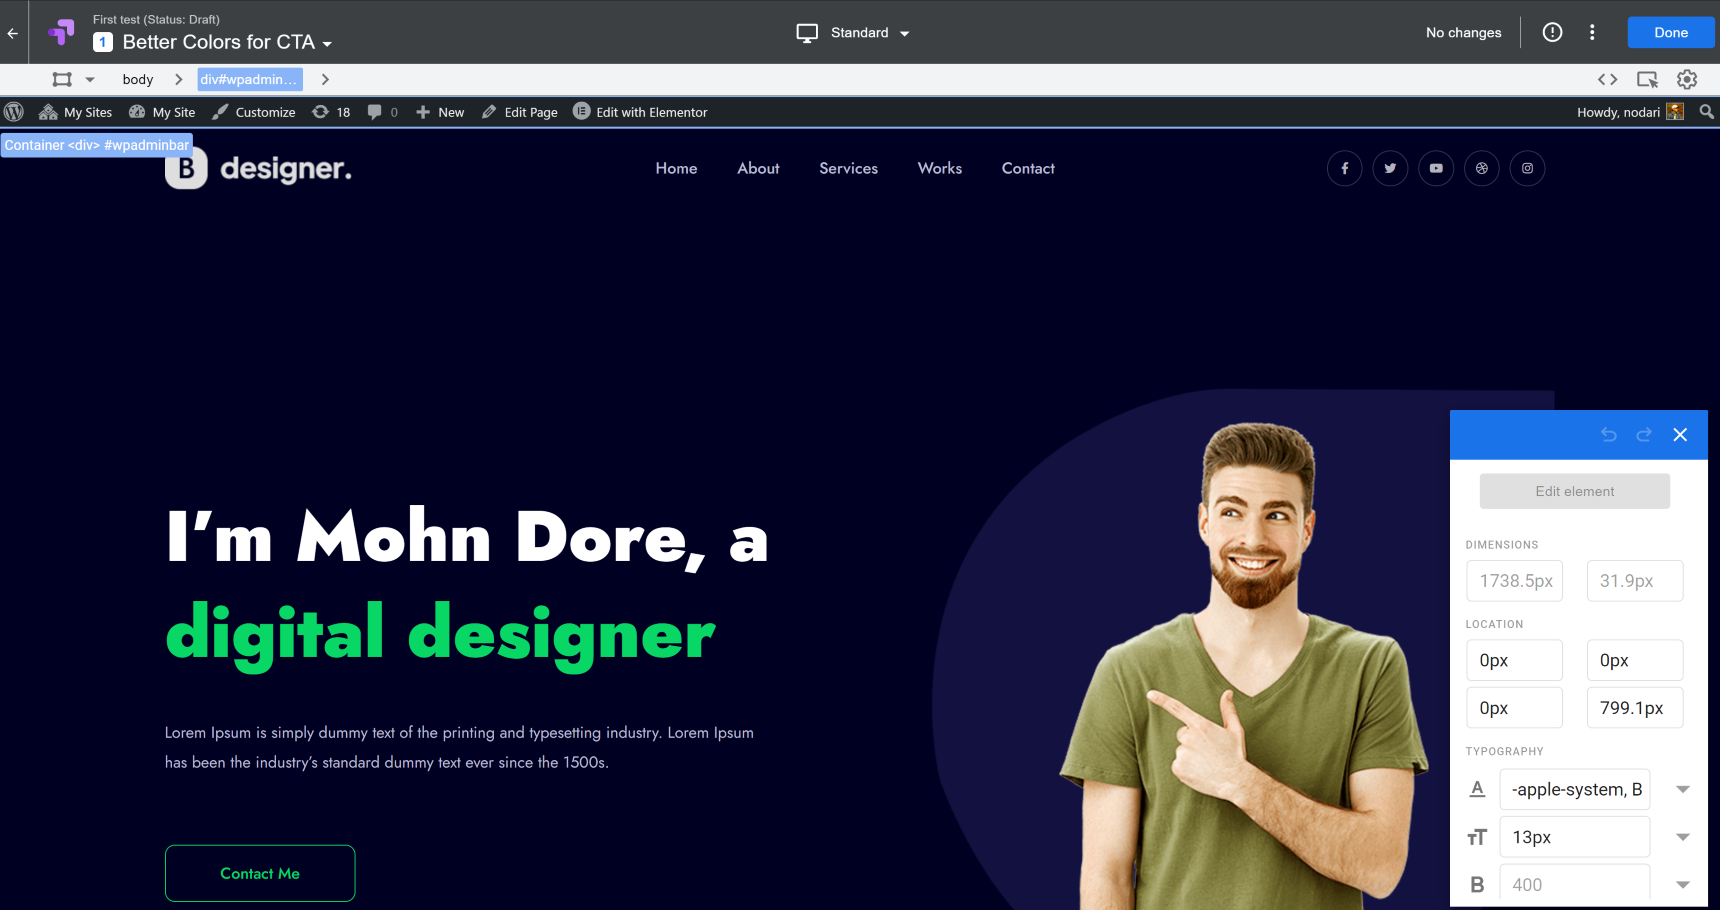
And this is the same page after editing:
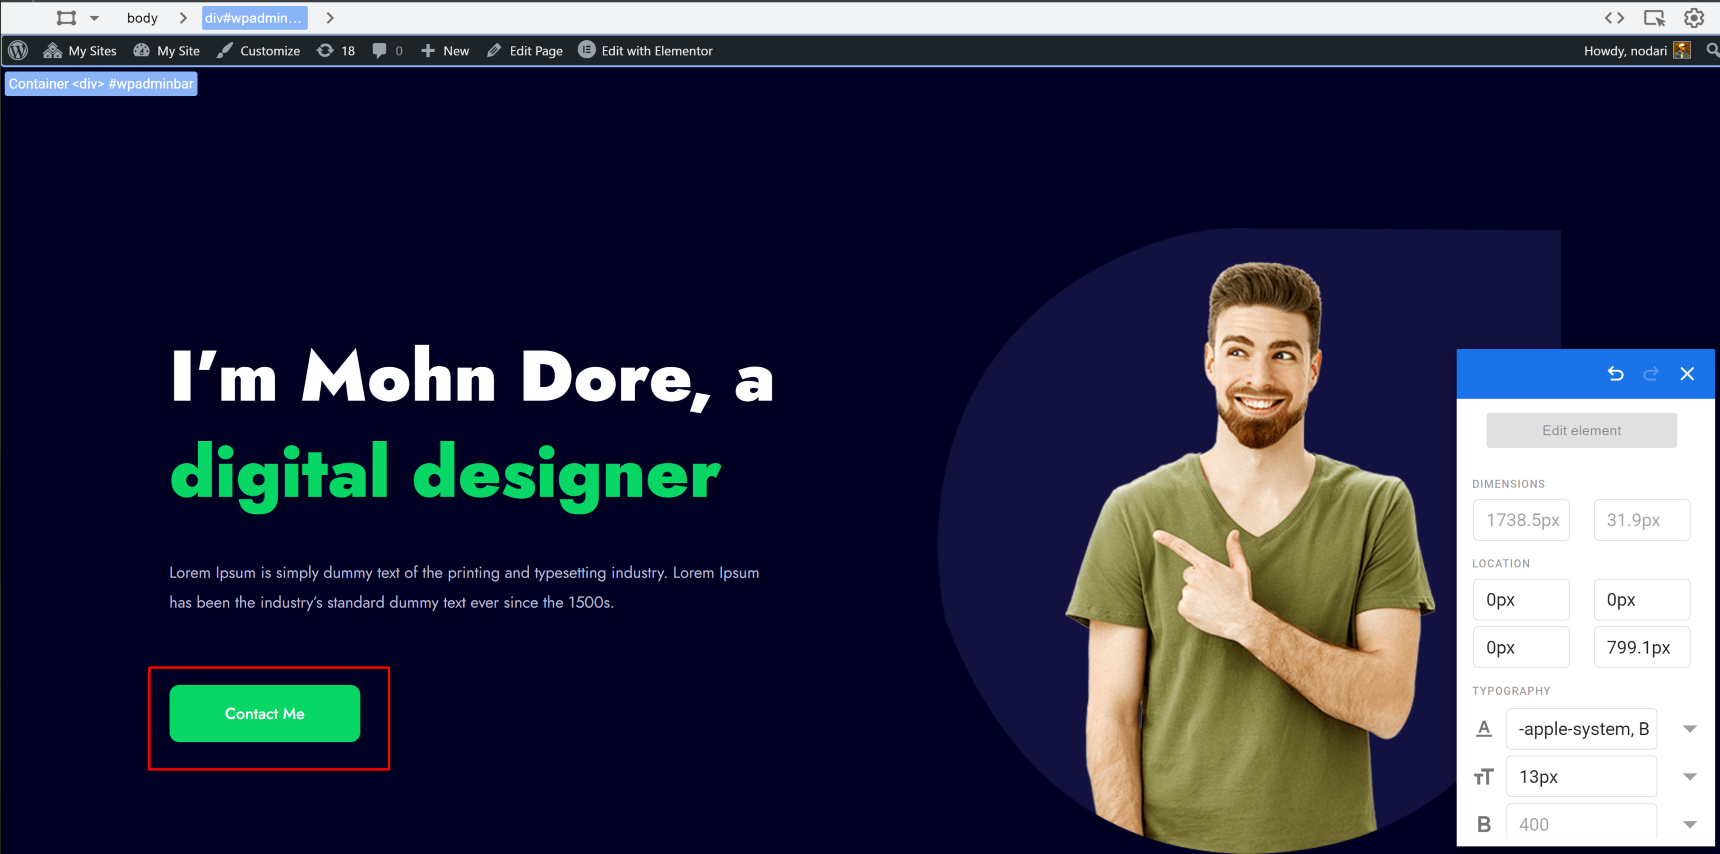
As you can see, I changed how the CTA button looks. I’m interested in determining which button is more attractive: a transparent button or one with solid color.
Once you are done, click on the Save button at the top corner and then Done. Your testing page has already been published and you will be redirected to the screen containing the variants page.
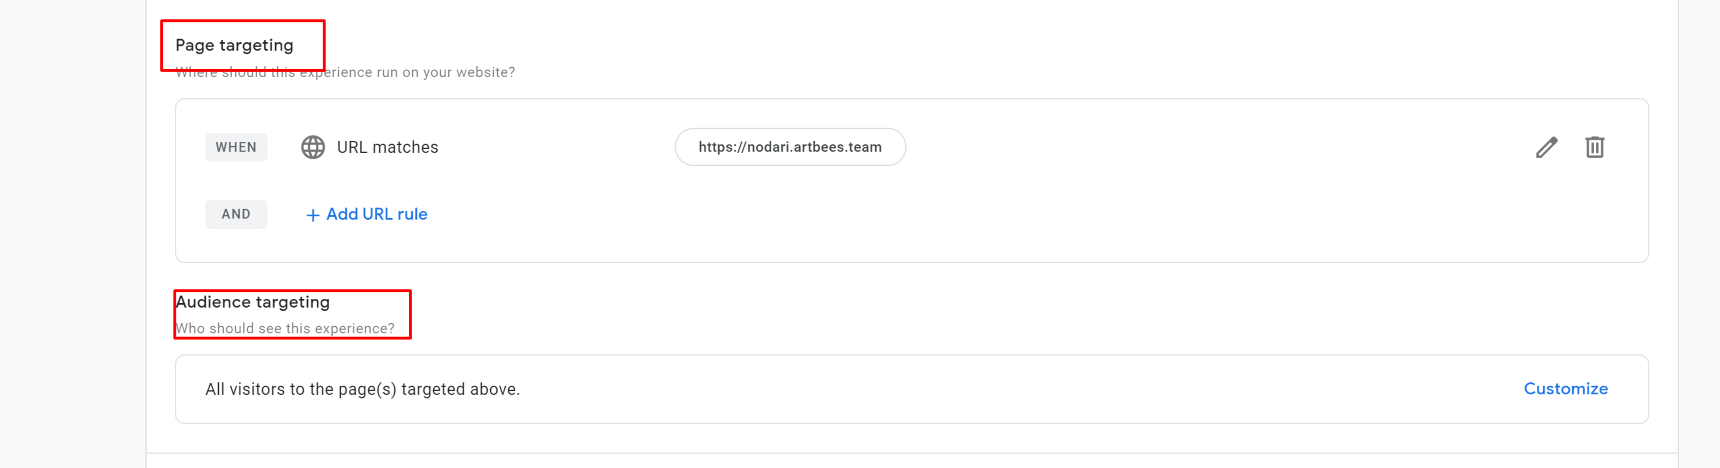
From there you can add as many variants as you want. After you make your test pages, just scroll down to see the Page targeting and Audience targeting sections. Here you’ll need to set up rules of appearance for your test page and select the audience you want to show your test to:
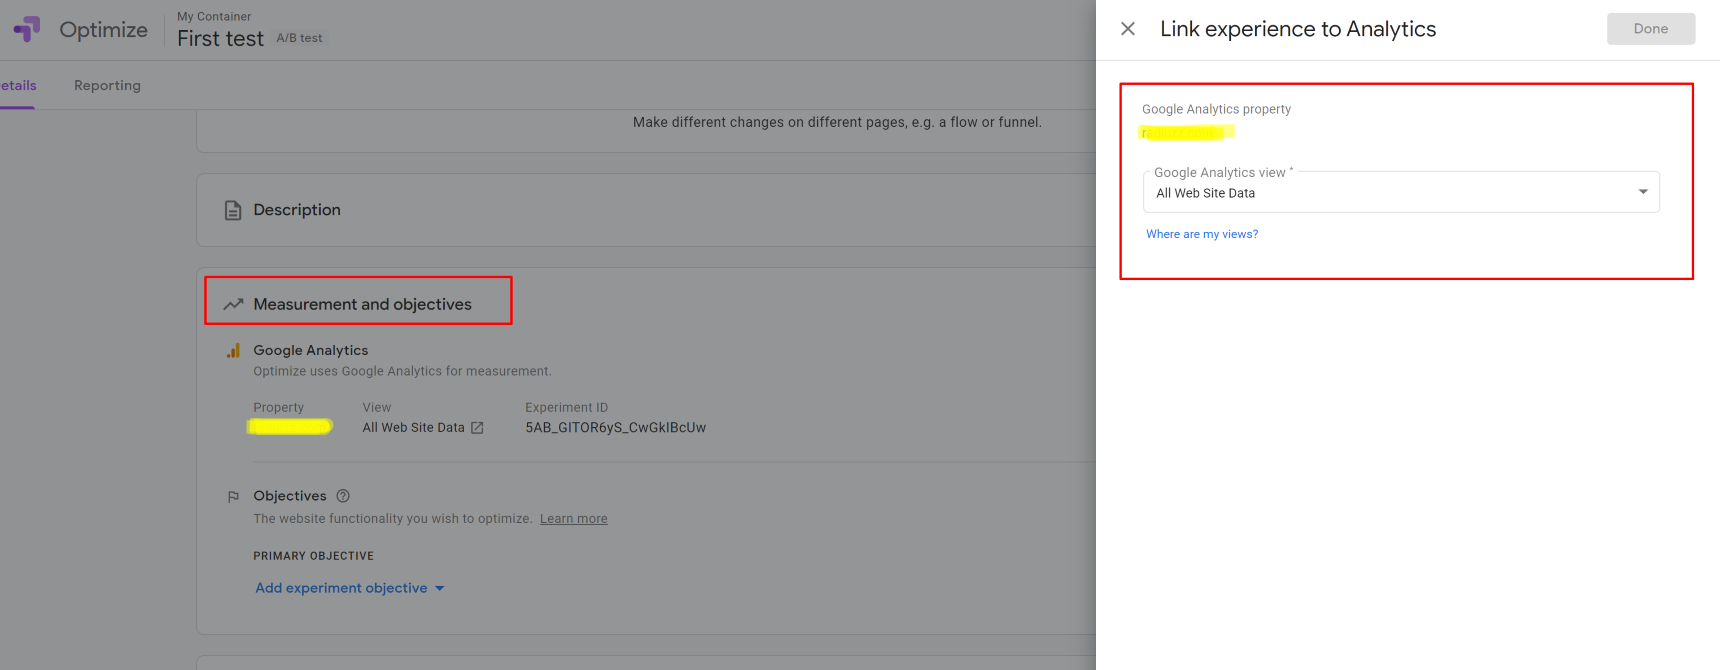
On the next step in Measurement and Objectives, Google will ask you to link Google Optimize to one of your Google Analytics. Choose one from the link and it will be selected:
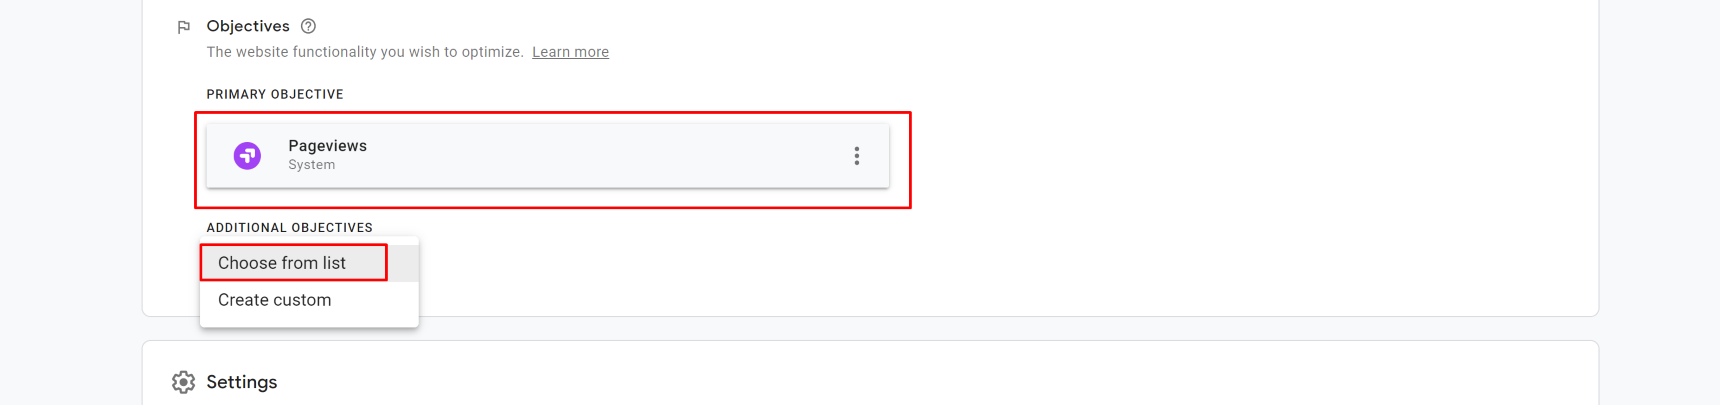
On the final step in the Objectives, choose the objective of your test and save it. There are predefined objectives to choose from but you can also add custom objectives as well:
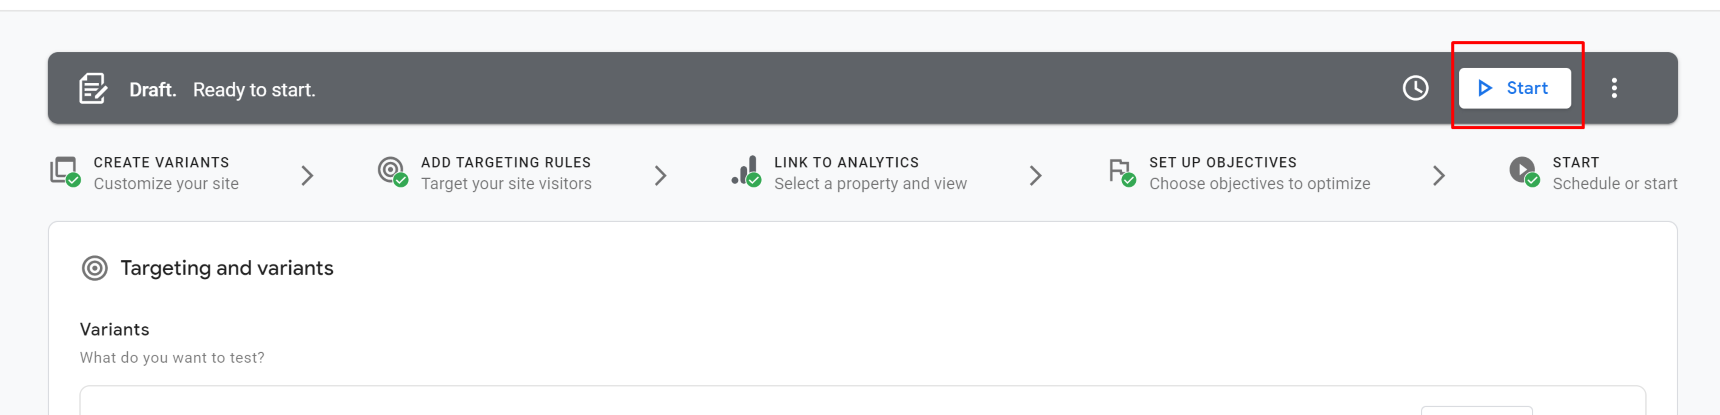
Once you have completed all of these steps, scroll up and you will see that the Start button has been activated. This means that you’re ready to go!
Test results review
Now, once you have everything set up and are running your A/B testing, you can take a break and wait for the results. Don’t expect to see them immediately, as it will take more than a week to see normal results on your results page, which will look like this:
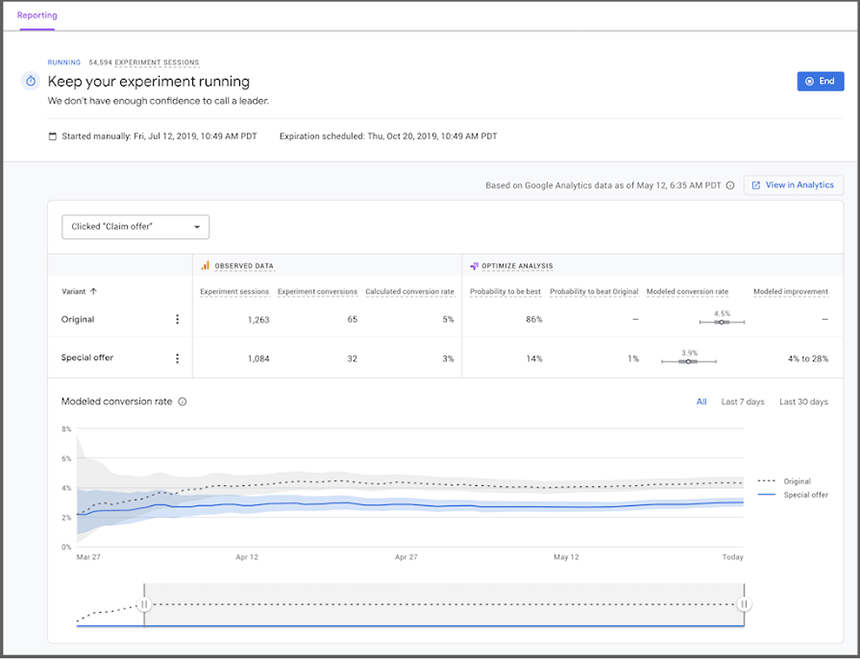
As you can see from the results above, you should now have a clear understanding of how the experiment was performed. Conversion rates for the original page are still better than conversion from the special offer test page, which means that the changes are not so effective since the original page performs way better than the new test page.
Conclusion
Now that you know more how to properly perform A/B testing with Google Optimize, you have the chance to steer your website in the right direction. Making changes on your website, especially if you have a large audience, may be risky unless you test them first. With a clear understanding of A/B testing in WordPress, you can stay one step ahead and run experiments and testing campaigns to get more constructive feedback from your audience.

No comment yet, add your voice below!