WooCommerce is the world’s most popular eCommerce platform. And yes, it’s highly customizable. But adding a bunch of snippet codes to your theme or coding a custom product list to have a unique products page is really difficult.
On the other hand, what if you want to change the styles of every element in the product list? you must overwrite its CSS and check if the new styles are the one that you prefer or not. Man, It’s really time-consuming! Isn’t there any better solution to customize products list on your website?
Well, the answer is positive! Jupiter X solved that problem by introducing Shop Customizer. Jupiter X Shop Customizer allows you to customize almost every untouchable part of your WooCommerce shop including product list, product single, shopping cart, and checkout pages without writing any single line of code. Also, you can see your changes live and do trial-and-error testing easily and quickly.
When you create a custom product list with Jupiter X, you are able to:
- Show/Hide product elements such as Image, Name, Price, etc.
- Define the number of columns and rows of products in the list
- Define the space between rows and columns.
- Enable/disable pagination option.
- Change the style of every element in the product list page.
In this article, we will guide you, step by step, through learning how you can create a custom product list with Jupiter X by a practical example. But before customizing the Product List page, you must create it.
Creating a Product List page
Once you have WooCommerce plugin installed and activated, you can use Jupiter X Shop Customizer to modify your product list. WooCommerce usually creates necessary default shop pages for you by including Products List. To make sure whether they’ve already been created, you can check it from WordPress left menu > Pages > All Pages. The one labeled as Shop Page is your default Product List page which can be modified via Jupiter X shop customizer.

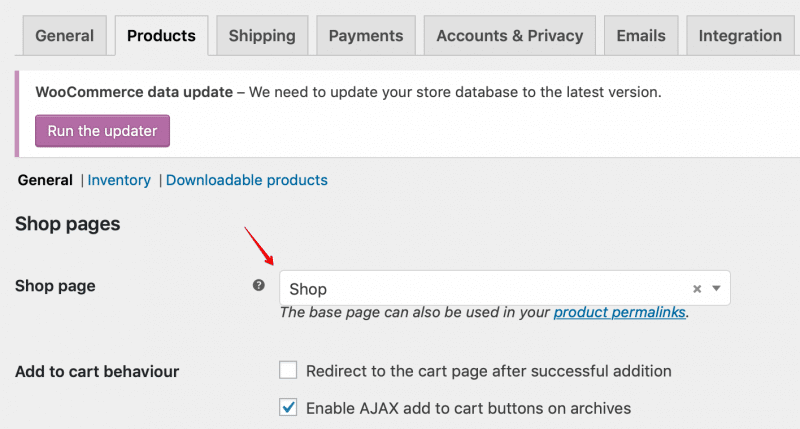
In case you didn’t find that page, you can create a new page in WordPress, then navigate to WooCommerce > Settings > Products and make sure Product Archive/ Shop Page is assigned to it.
Note: Before any customizations, make sure that your shop page is set to the Default template.

There are two methods to create Shop page or Product List for your website in Jupiter X. The one by Shop Customizer and the other, by Elementor. In this tutorial, we focus on creating Product List via Shop Customizer.
If you plan to create your products page with Elementor, you can use raven Products element instead of Shop Customizer. That Elementor widget allows you to create your custom product list page with Elementor. In case you’ve created your products page with Elementor, you can’t use Shop Customizer and you must only edit it via Elementor.
Also, be aware that all the WooCommerce default shop pages, including Shop Page, should not be edited with Elementor. Once you modified them with Elementor, you won’t be able to edit them even anymore, even through Elementor. If you accidentally edit WooCommerce default product page with Elementor for any reason, you have two option to restore it:
1. You can simply delete that page and create a new page. Then, navigate to WooCommerce > Settings > Products and assign Product Archive/ Shop Page to it as we explained before. Make sure the new page is set to a default template.
2. Switch to text editor mode and remove every existing code inside it. WooCommerce default shop page must be empty, according to WooCommerce documentation.
Customizing Product List with Shop Customizer
After creating Shop Page, you will be able to modify it with Jupiter X Shop Customizer. To customize the product list you’ve created:
1. From the WordPress left dashboard, go to Jupiter X > Customize > Shop > Product List.

2. A new window will open with all the available options to customize and style the Product List. Product List Customizer has two tabs: Settings and Styles tab. The first tab (Settings) allows you to enable pagination option, show/hide elements, define the number of rows and columns for your products page and more. In the second tab (Styles), you can change the styles of each element of the product list.
Settings
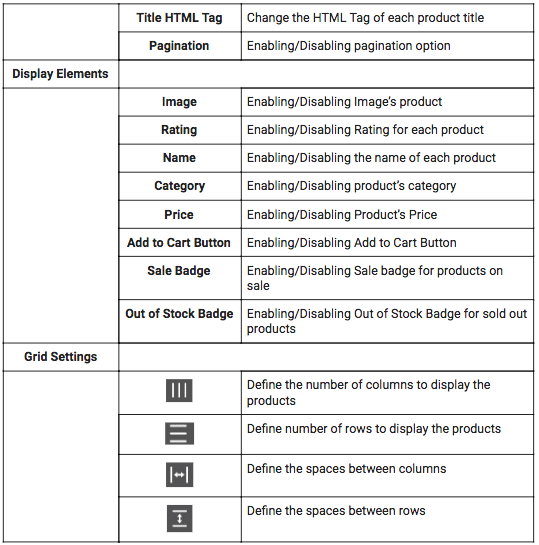
Here are the all available options in the Product List Settings tab:
Styles
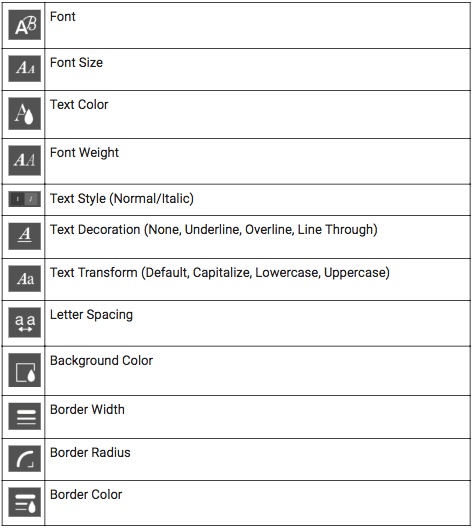
Here is the description of all available options for styling elements which can be found in the Styles tab by clicking on Customize for a specific element.
Margins and Paddings
You can set margin and padding for every available element in Product List.
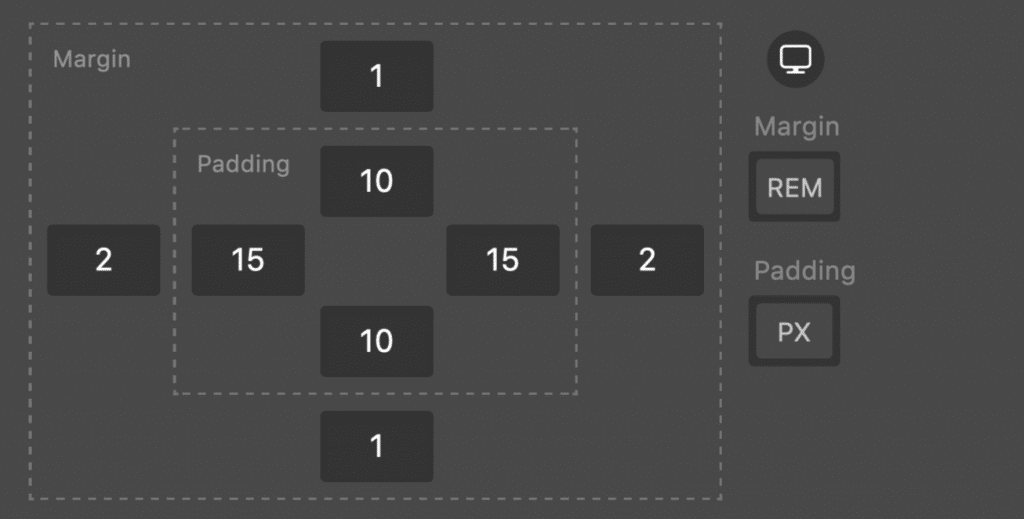
Units
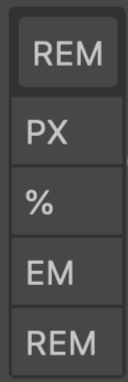
Units are crucial to set font-sizes, measuring spaces, setting the width, etc. Because of that, you can set different units for all the properties which have units. There are four types of units in Jupiter X customizer: PX, REM, EM, and %. By clicking on the chosen unit, other possible units will be shown, and you can choose another unit for the property.
Responsive Option
The responsive option is one of the important and useful features in Jupiter X Customizer. This option allows you to set different values for different screen sizes for some of the properties of a particular element. For example, you can choose different font-sizes for Tablet and Mobile screen sizes. For every property which has the responsive option, you will see the Monitor icon next to it. By hovering over the monitor icon, three devices will be shown and you can choose another value for them.

Case Study
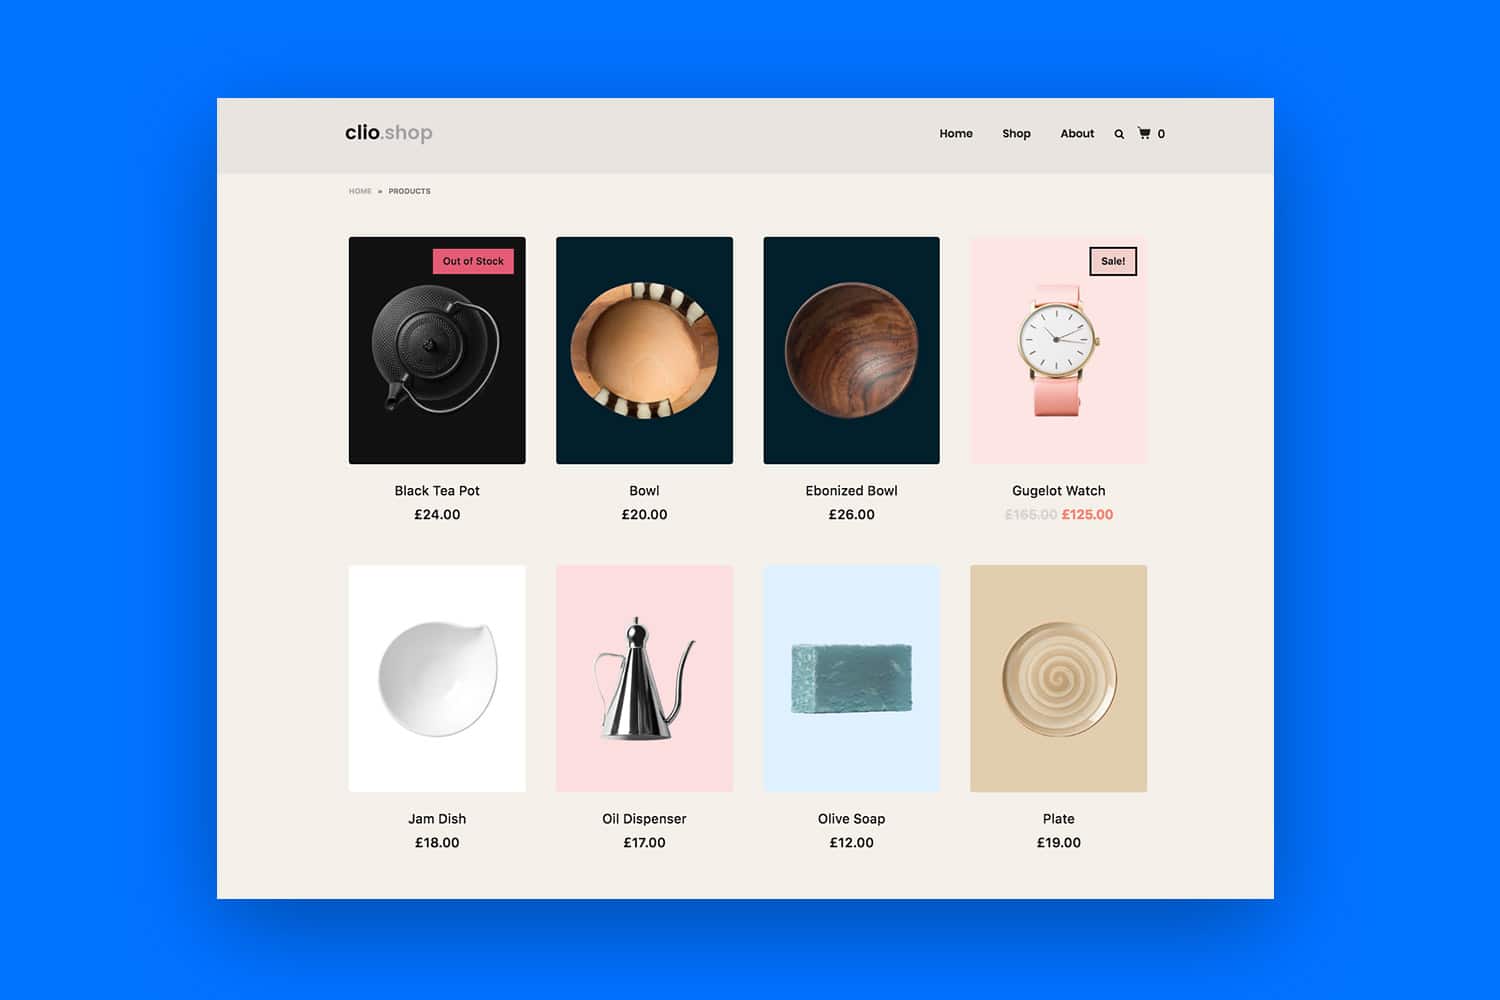
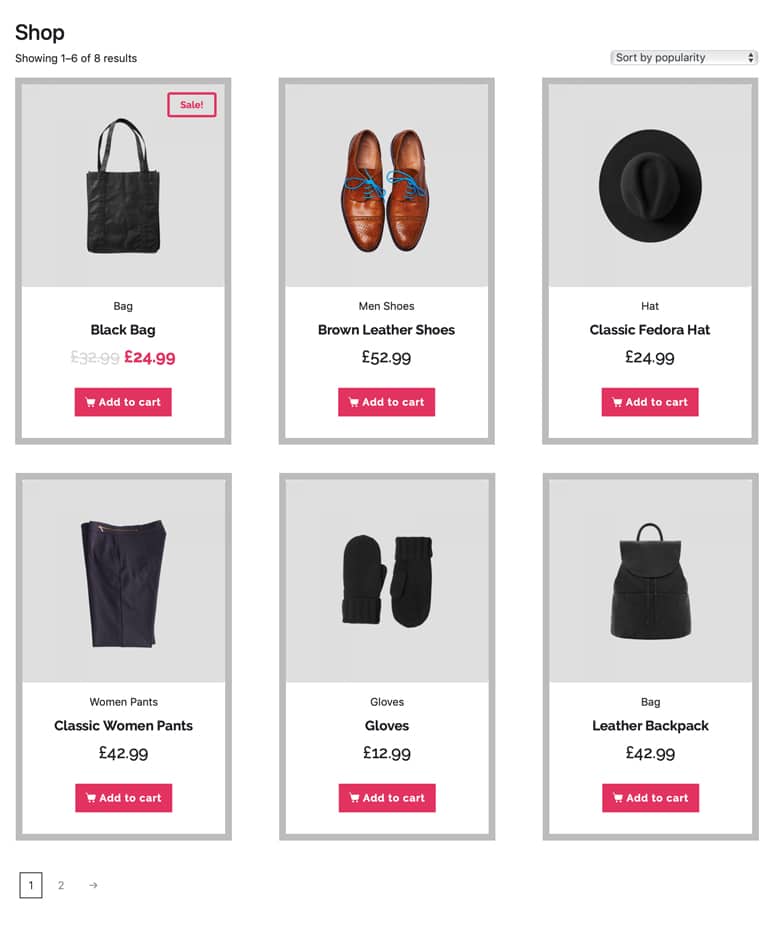
Let’s pretend that we want to create a Product List page with 2 columns and 6 products per page (demo is shown below). Pagination should be enabled so that users can navigate through pages.
Here’s what you can do:
1. Create a Product List page as described before.
2. Go to WordPress left Menu > Jupiter X > Customize > Shop > Product List
For this example, we want to enable the pagination and have 6 products per page in two columns. So, we set the number of columns to 2 and the number of rows to 3, so that we have 6 (2×3) products per page. In this example, we set Title HTML Tag to h2. You can also set the spaces between columns and rows.
Let’s now set the spaces between columns to 30px and rows to 70px. Finally, we want to display all the available elements in the Product List page, except rating. So, all you need to do is disable Rating option and enable all other elements. Final settings should look like this:

3. It’s time to style the elements you’ve enabled for products in the product list. So, navigate to the Styles tab. You can see all the available items you can customize theirs. By clicking on Customize on each item, you will be lead to the customization panel of that element.
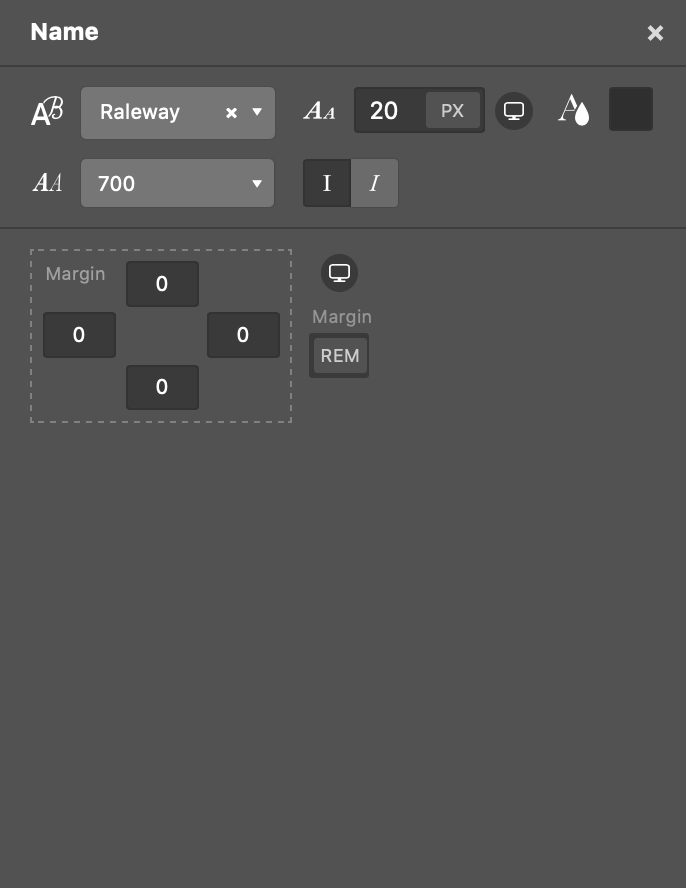
Let’s start with customizing Name element:
- Text Color: #333
- Font Size: 20px
- Font Weight: 700
Regular Price
- Font Size: 25px
- Font Weight: 500
- Text Decoration: none
- Text Style: Normal

Sale Price
- Text Color: #e63b6b
- Font Size: 25px
- Font Weight: 700
- Text Decoration: none
- Text Style: Normal

Category
- Text Color: #333
- Font Size: 15px
- Font Weight: 500
- Text Style: Normal

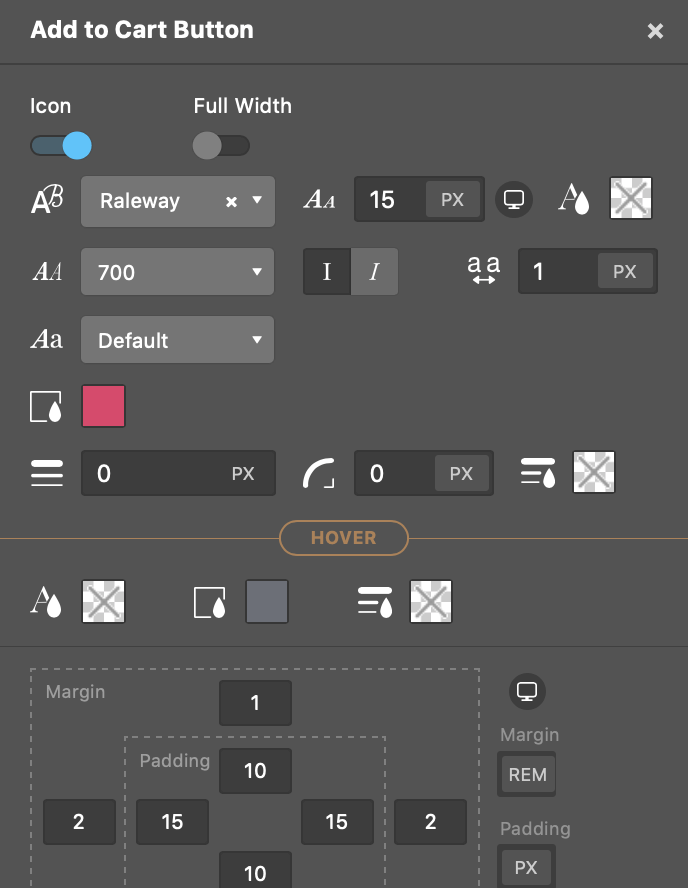
Add to Cart Button
- Text Color: #fff
- Background color: #e63b6b, Background color (Hover): #6b6f78
- Border width: 0, border radius: 0
- Letter spacing: 1px
- Font Size: 15px
- Font Weight: 700
- Text Style: Normal
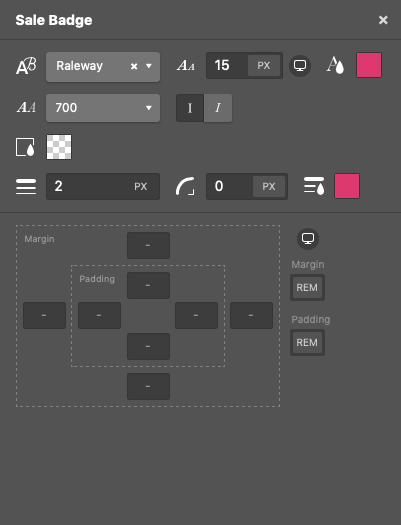
Sale Badge
- Text Color: #e63b6b
- Background color: Transparent
- Border width: 3, border radius: 5, Border color: #6b6f78
- Font Size: 15px
- Font Weight: 700
- Text Style: Normal
Out of Stock Badge
- Text Color: #888
- Background color: #fff
- Border width: 2, border radius: 0
- Font Size: 15px
- Text Style: Normal

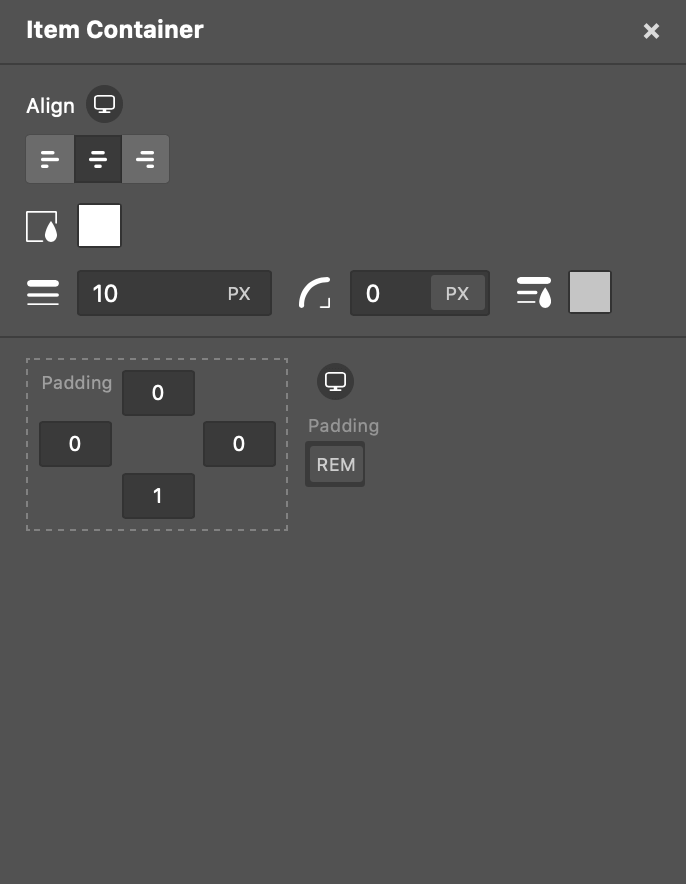
Item Container
- Text Align: center
- Background color: #fff
- Border width: 10, border radius: 0, Border color: #c4c4c4;
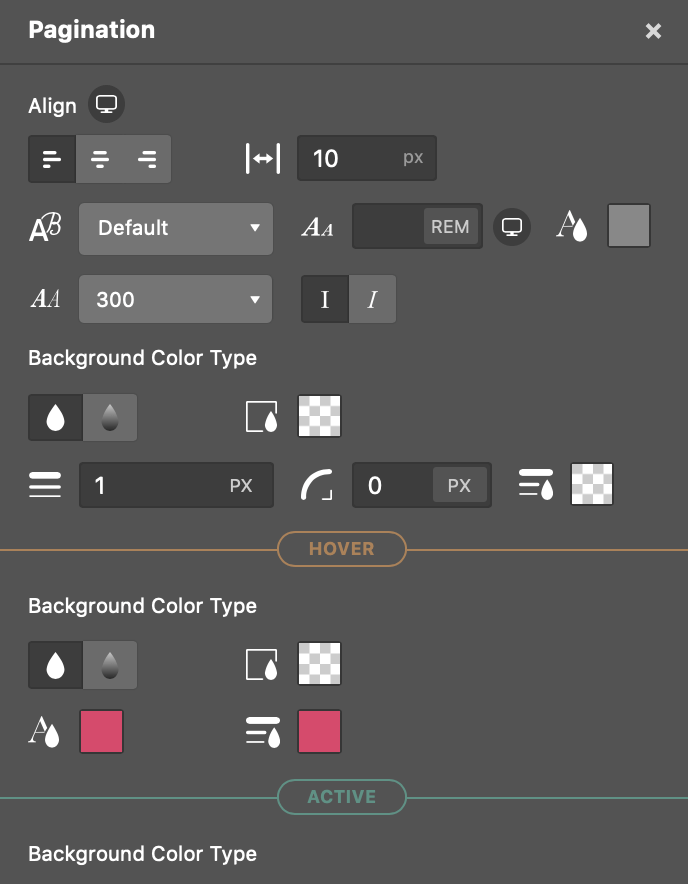
Pagination
- Text align: left
- Font size: 15px
- Background color: #fff
- Border width: 1, border radius: 0
After you’re done with all the customizations, simply close the Product List settings panel and Publish the changes.
Summary
In this article, we’ve explained how you can create a custom Product List with Jupiter X for your e-commerce website and how you can modify it via the Jupiter X Shop Customizer.

No comment yet, add your voice below!