
As the world suffers from the Covid-19 pandemic, many have lost the opportunity to follow through with their vacation plans this summer. As a travel enthusiast, I haven’t completely lost out and was able to spend time with family visiting places I had never had the chance to see before via Google Street View and a couple of virtual tour websites. For the first time, the Louvre museum provided a way to virtually visit its exquisite treasure of artwork that I’m sure only few people would have had a chance to see, even if this pandemic had not overwhelmed the world. This article will provide an overview of the fundamentals of virtual tours and will show you how you can create a virtual tour for your own website.
What is a virtual tour?
A virtual tour gives the audience the feeling that he/she is visiting a place – whether it’s a catalog, video, game, audio – or even listening to someone explaining something to you can be classified as a virtual tour. a. However, the most popular meaning of a virtual tour is a combination of panoramic images that are linked together and provide extra information on them, such as a map, tour guides, hotspot tips, videos, music, etc.

A good virtual tour will give you a good sense of the atmosphere of that place. Check out this Forbes article and enjoy visiting the top-15 ranked virtual tours around the globe.
How can I make a virtual tour?
To create a virtual tour on your website, you’ll need a camera, a tripod, an image stitcher and a virtual tour maker software. You’ll also need to take a 360° image by shooting the area around you using the tripod and camera, stitching them all together into one panoramic image and then putting it on a tour maker app. After adding your hotspots (among other things), you’ll need to build the output. In order to make a good panoramic image, you should understand projections. Imagine you want to project a sphere into a rectangle. There are multiple ways of doing that. Cartographers are already familiar with projection concepts, because they have to draw the map of a sphere on a surface.
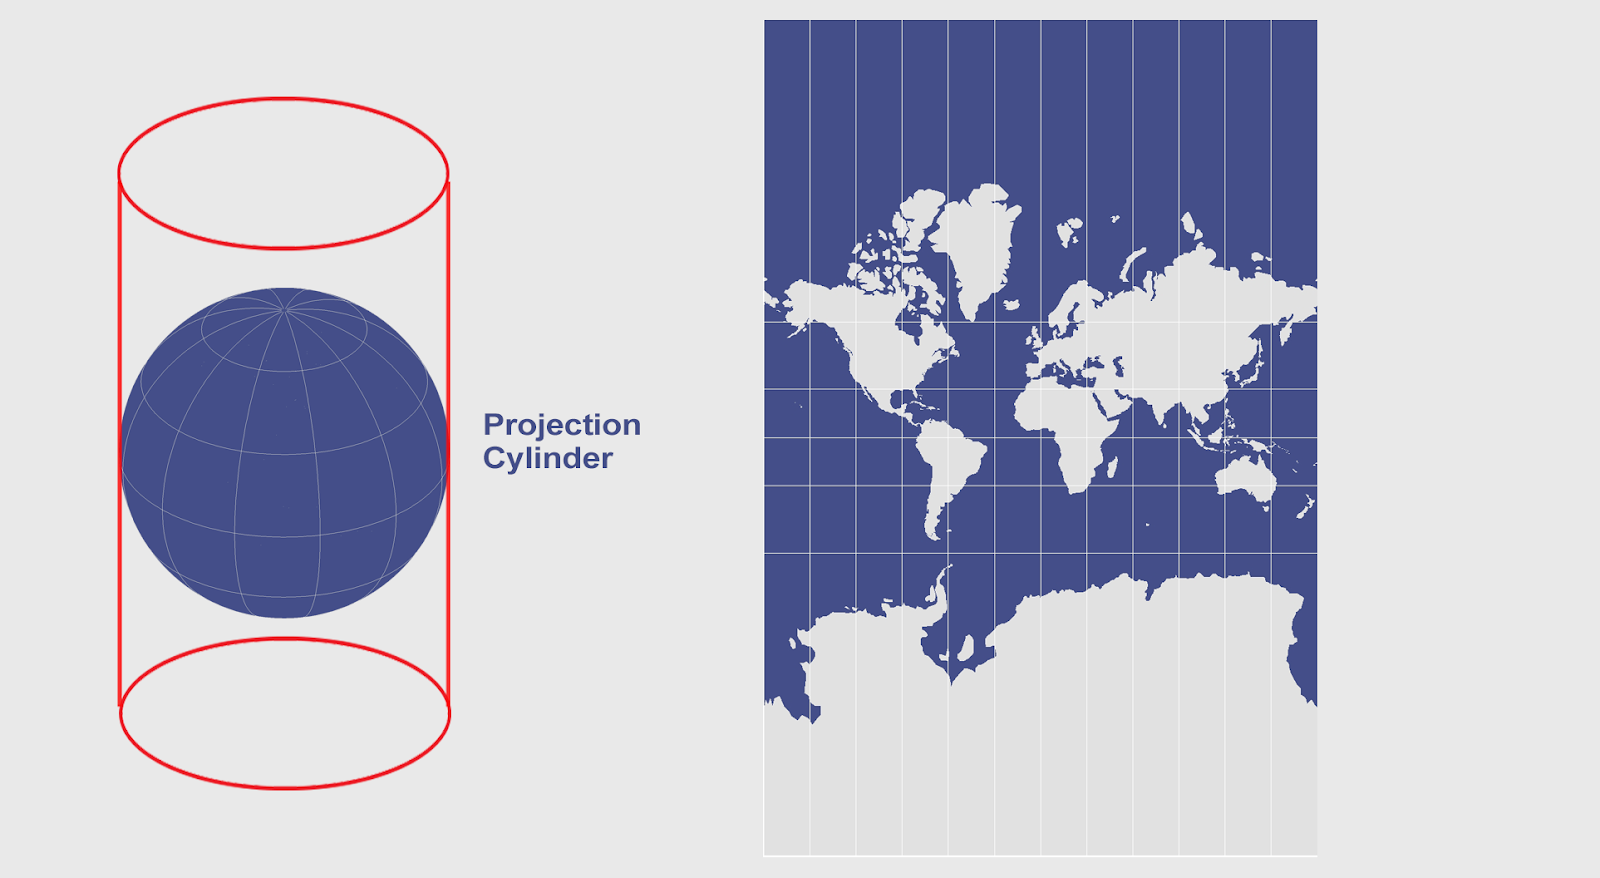
More information about different projections can be found here.
We’re first going to use an image stitcher to create a panoramic image. There are tons of image stitchers out there. One of the best free image stitchers is “Image Composite Editor” from Microsoft. Since it’s only available for Windows, if you’re using a Mac, you may give some other software a try here.
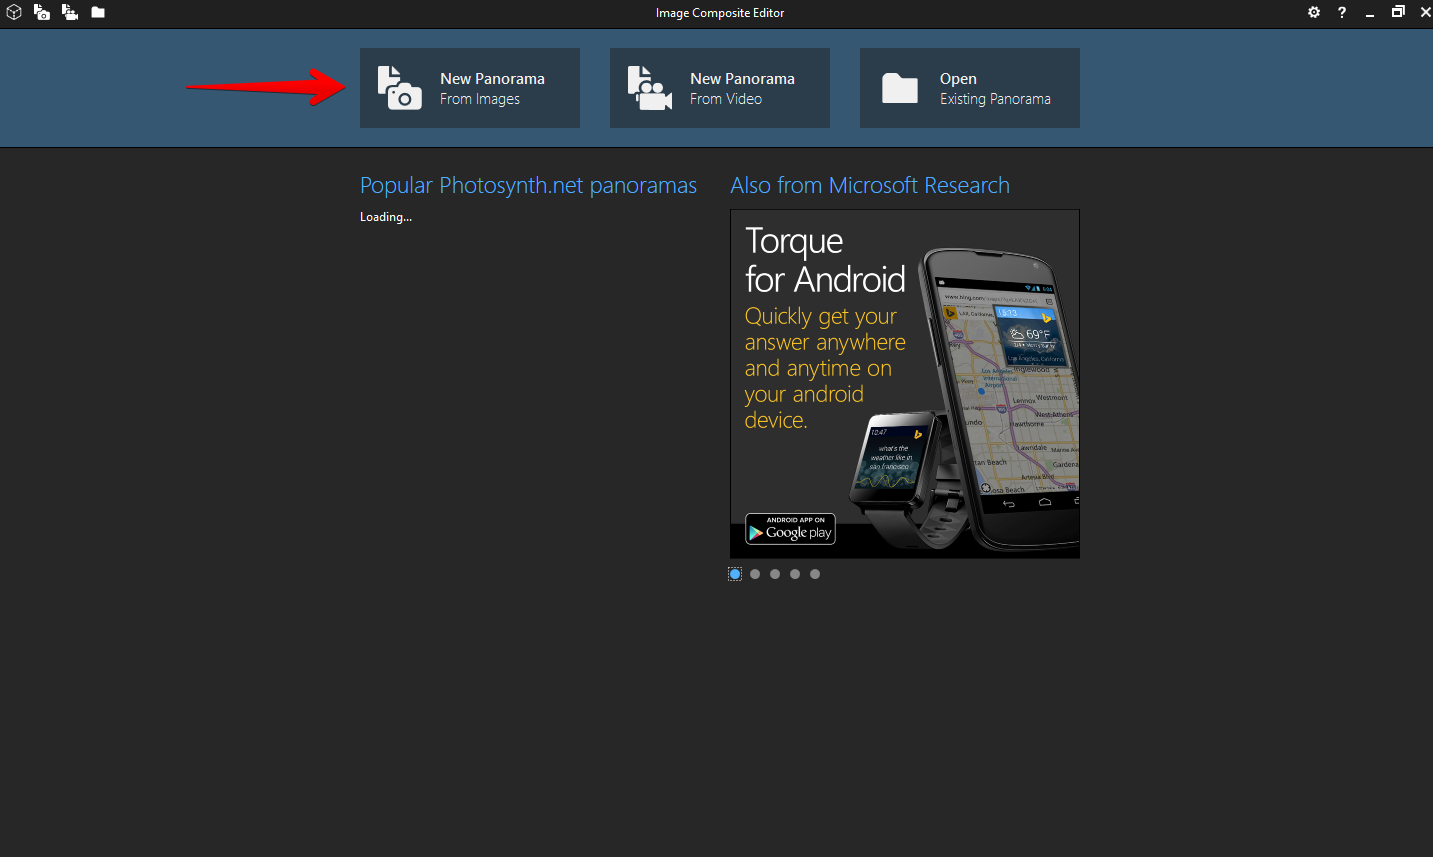
So, we’ll start by installing the Image Composite Editor app from here. After installing, click on New Panorama button on at the top.
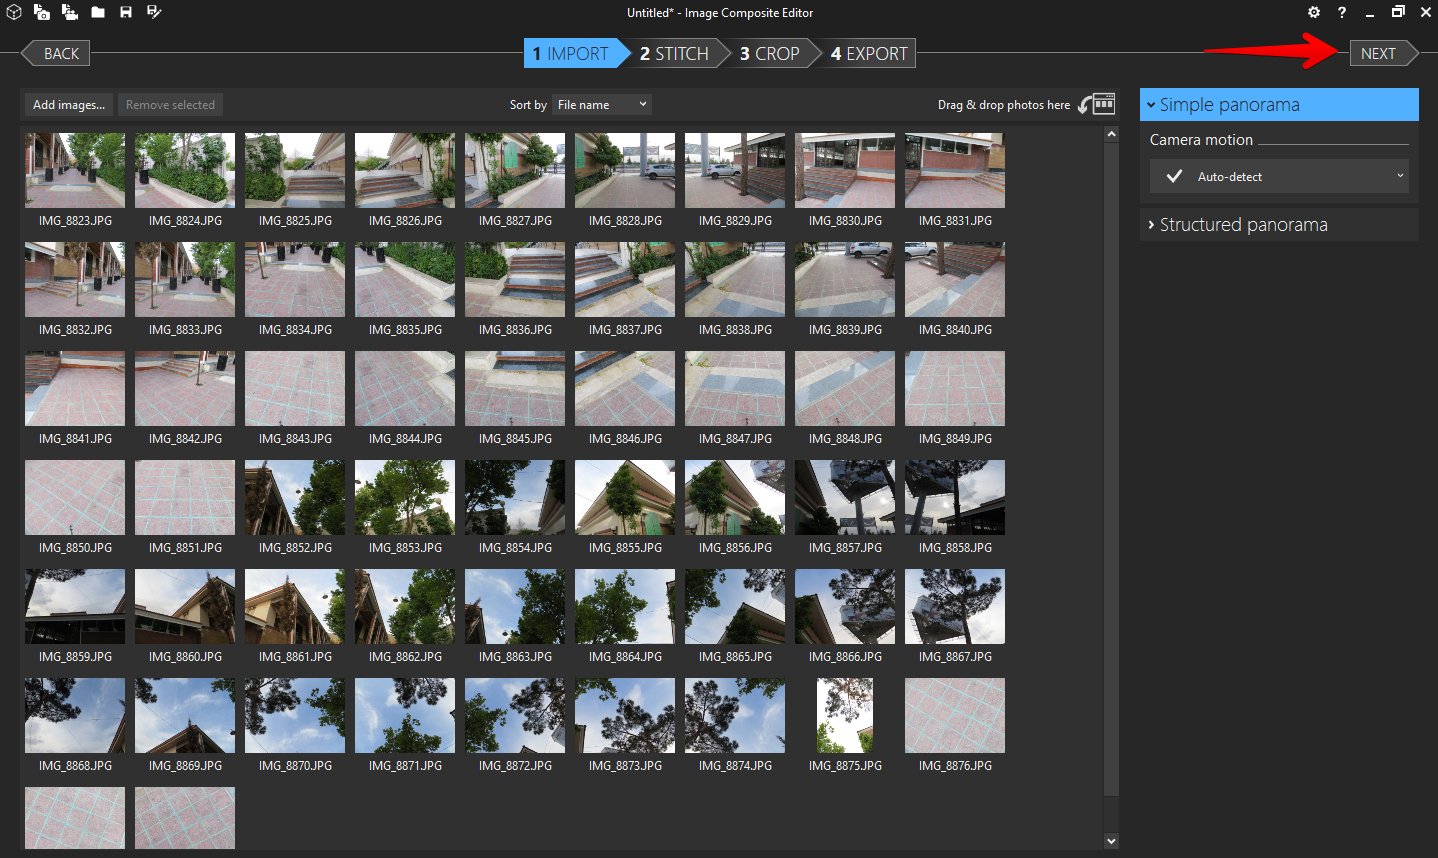
Here, you should select all the images that you shoot on a tripod, which should encompass the entire area around you. Depending on your camera’s wide-angle lens, the number of images might vary. Read this article to find out more about how to shoot a good panorama image.
After selecting all the images, click on the Next button.
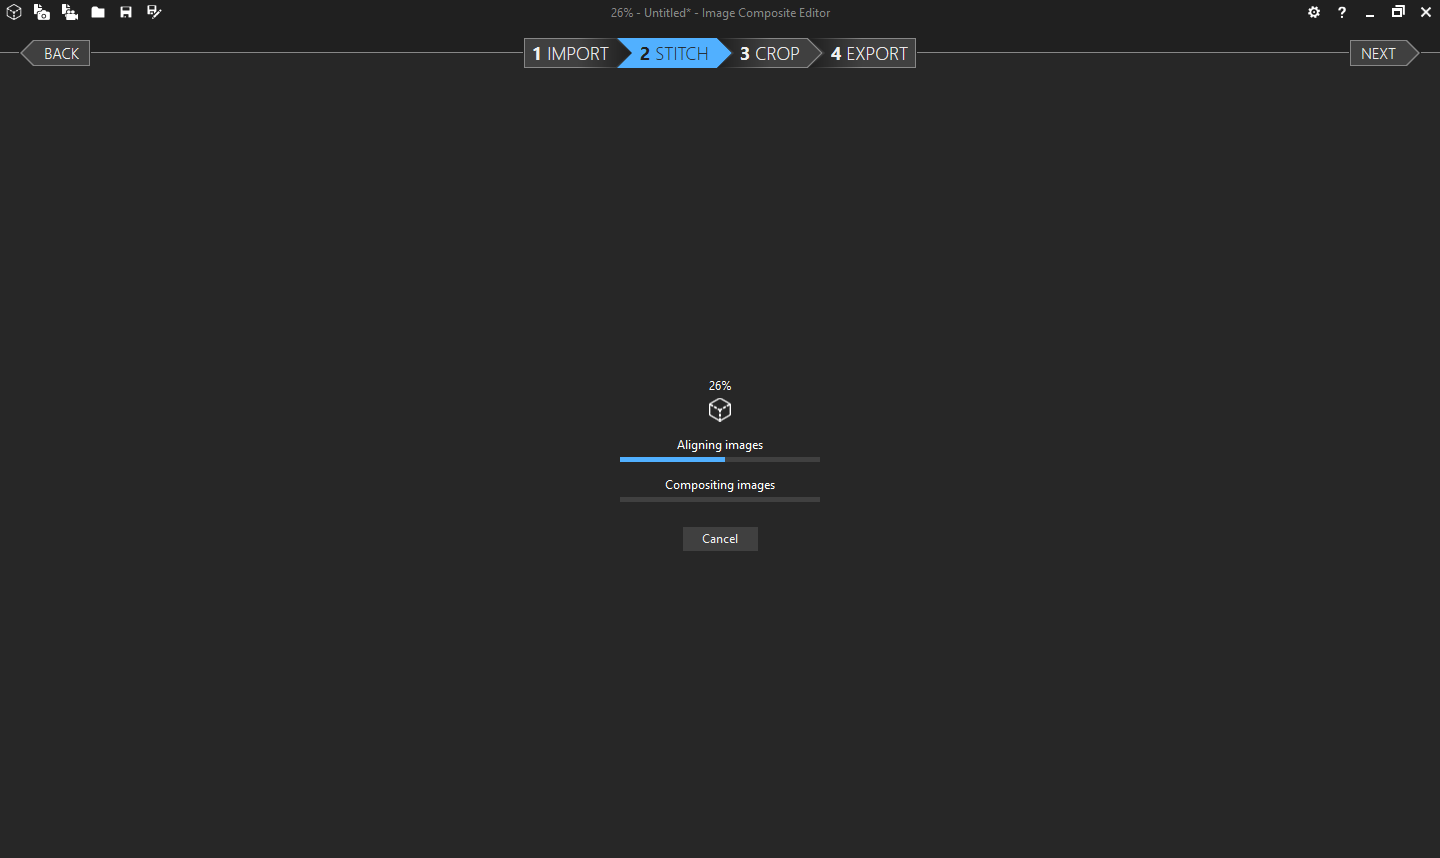
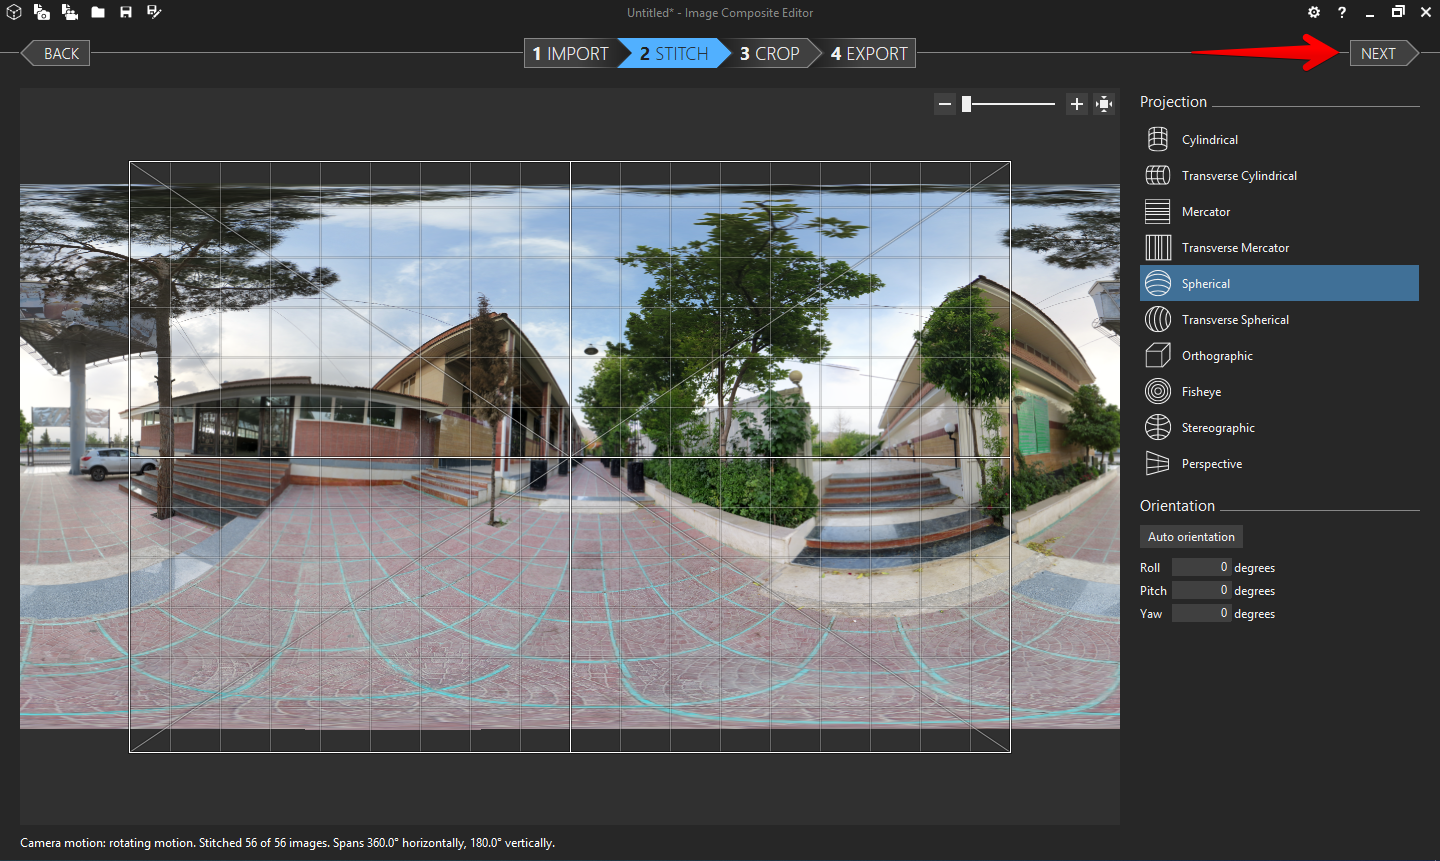
Let the app find the overlaps on each image and stitch them all into one.
If you’re with the results, click on the Next button. But make sure the image dimension is 360×180 degrees, otherwise you’ll have issues with some virtual tour viewers.
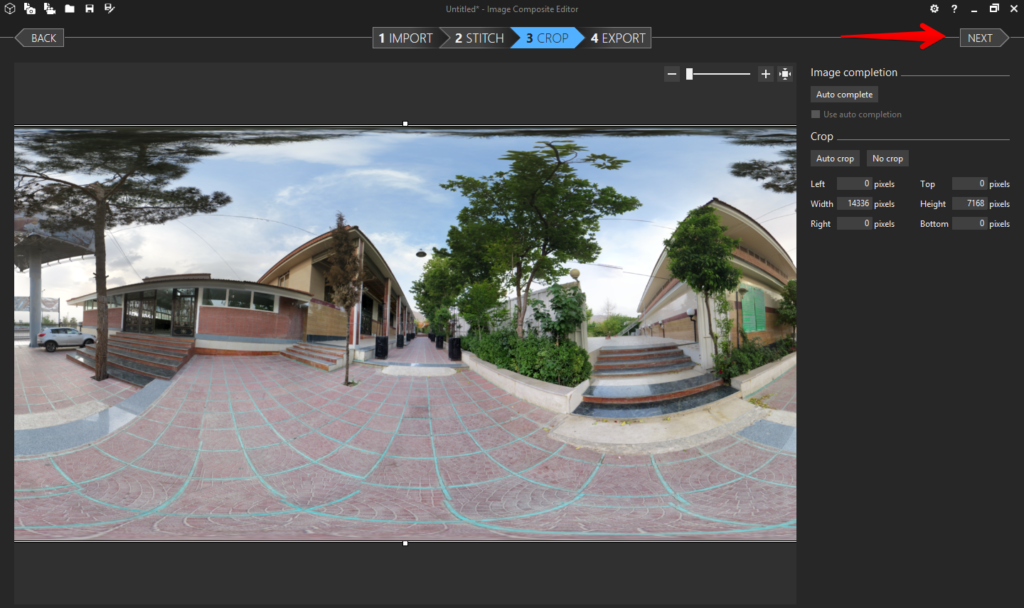
Here, you can resize the merged image and crop it, how you want. If you’re satisfied with it, click on the Next button.
It’s time to export the image to get one panorama file.
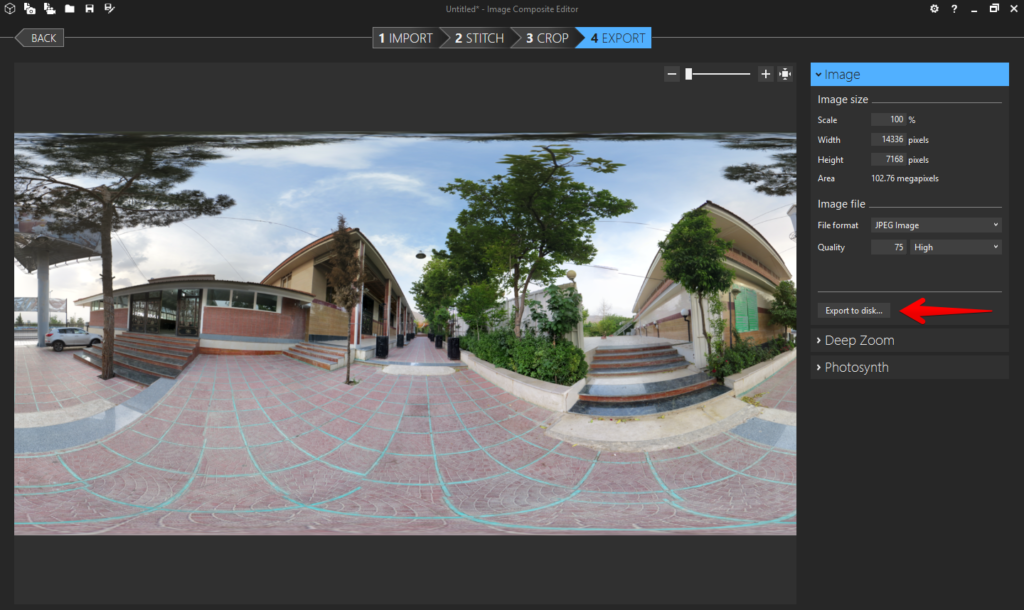
Save the file and build more panoramic images for the place you’re going to create the tour. The more nodes you make, the more details you can cover on your virtual tour.
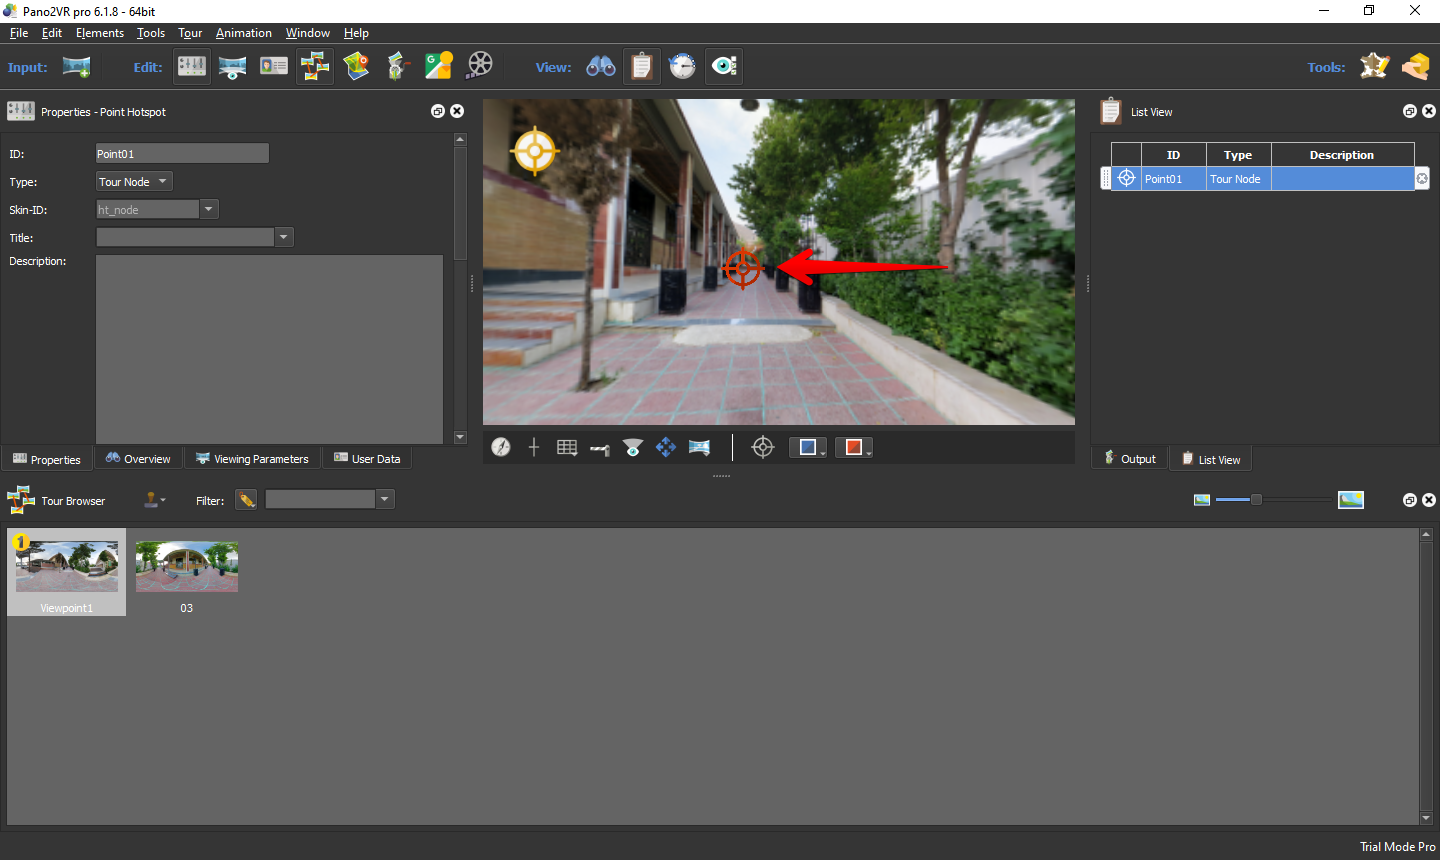
Now it’s time to create the virtual tour using the Pano2VR app. Download and install it from here. After installation, right click on the Tour browser pane and import your panorama images.
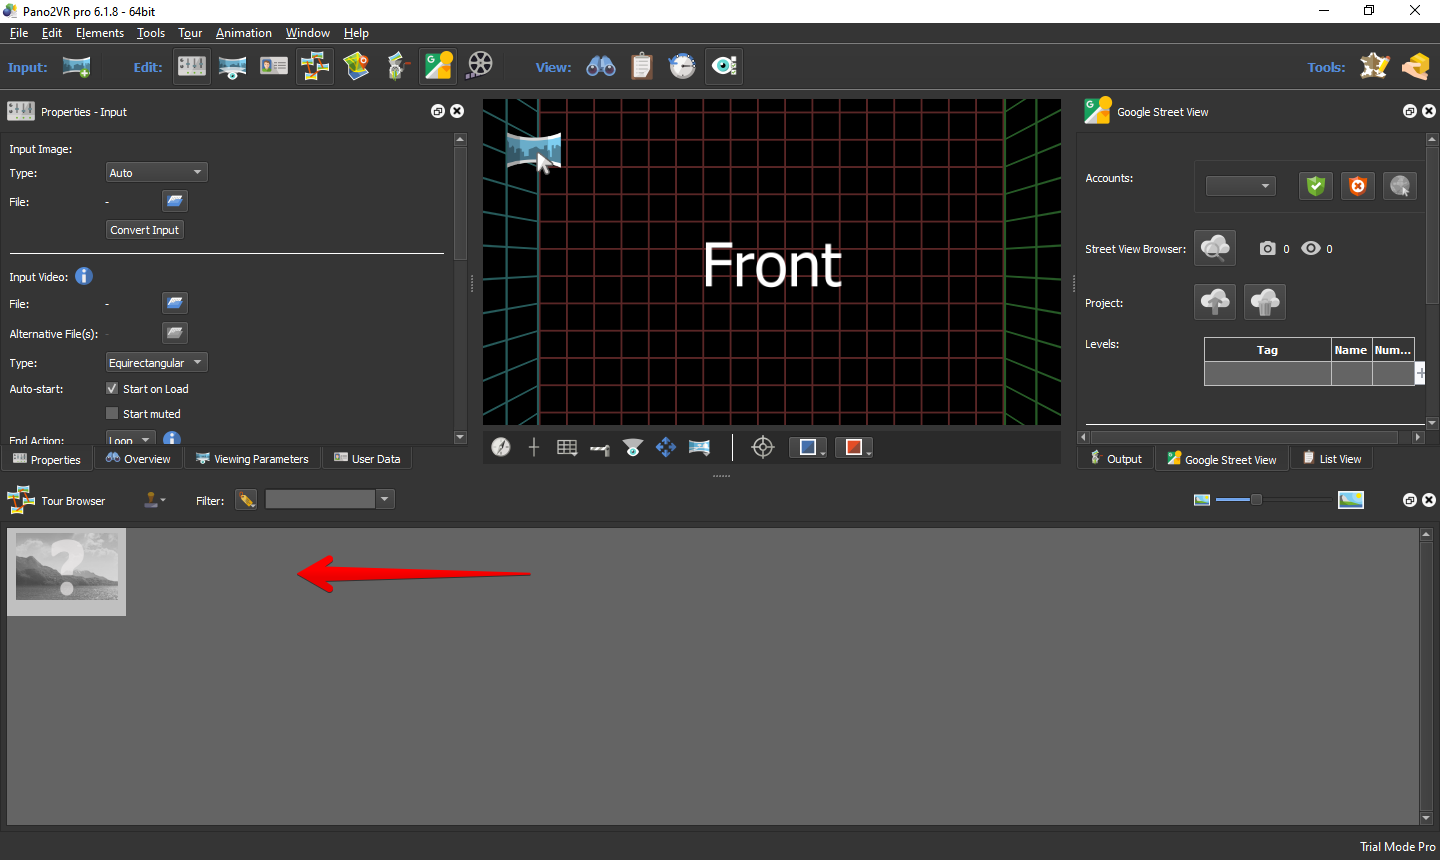
Add the hotspots, effects, skin, map, tour guide and anything else you want here. I added a hotspot to be able to move to the next panorama in my tour. You can find the documentation of this software here. Follow it to make an amazing tour.
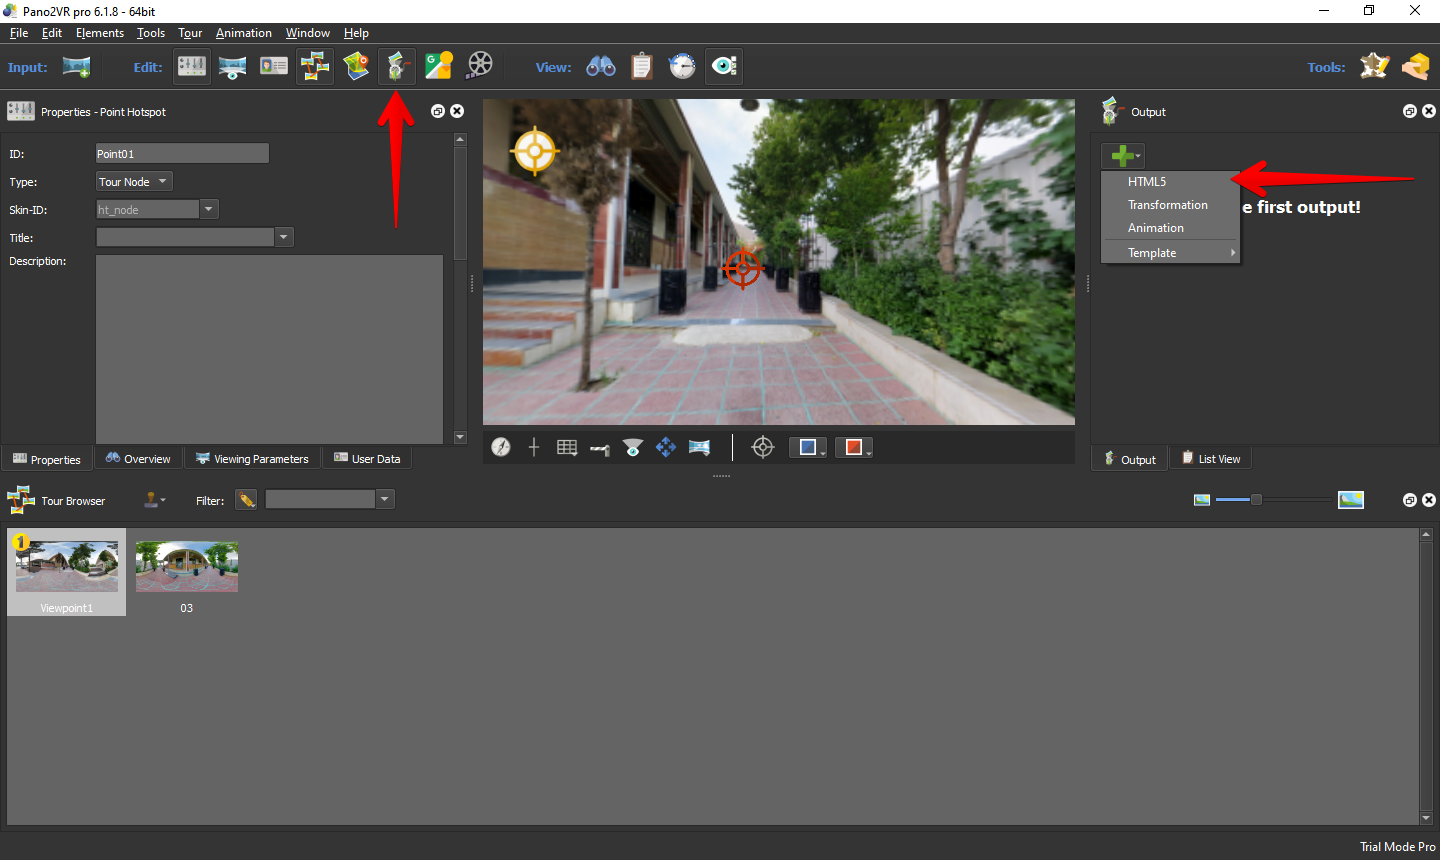
Now, click on the output icon and add the HTML5 output on the right panel.
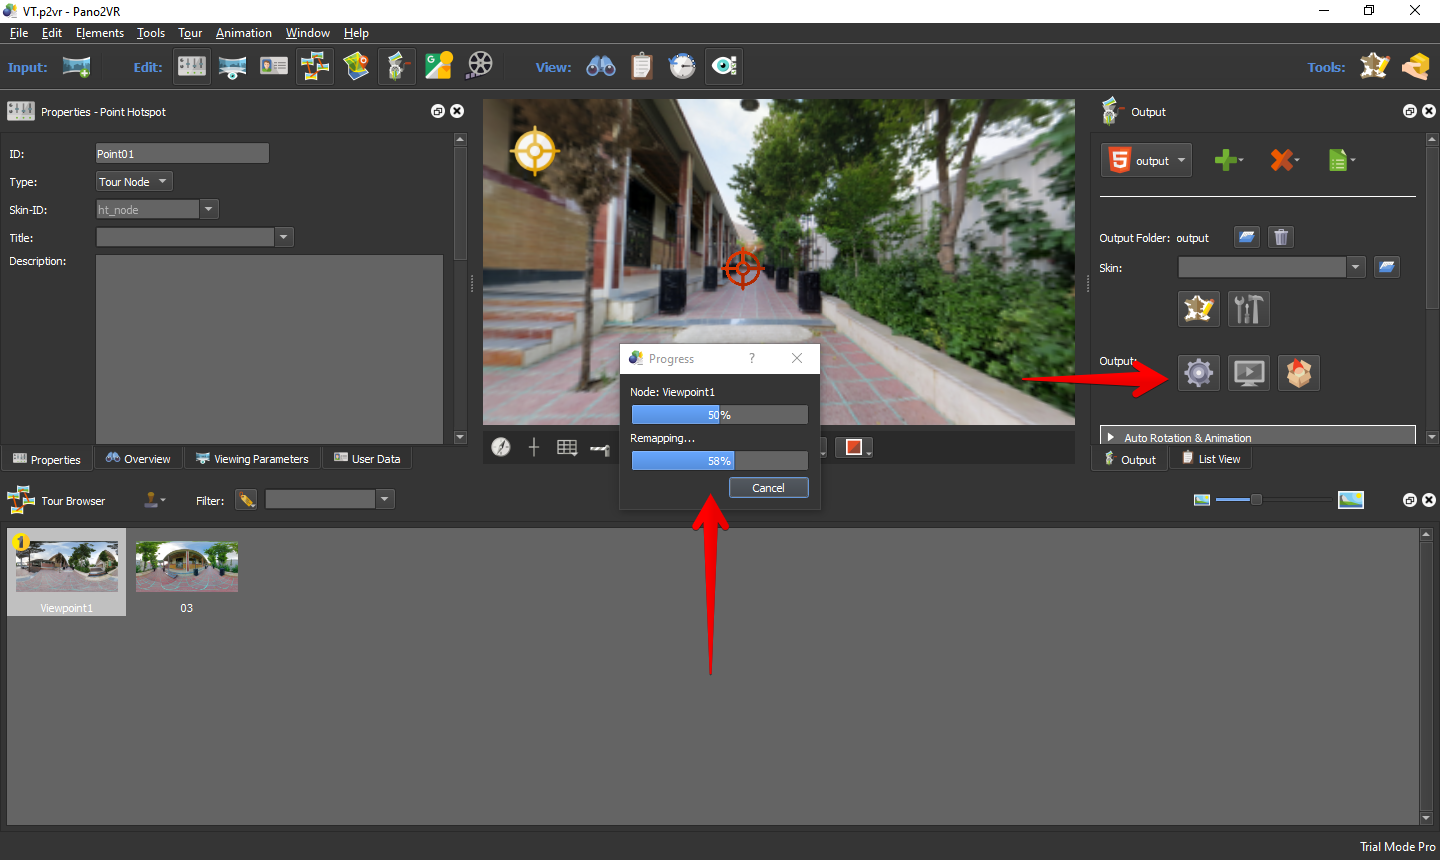
Set the proper output settings, click on the gear icon and wait for it to be finished.
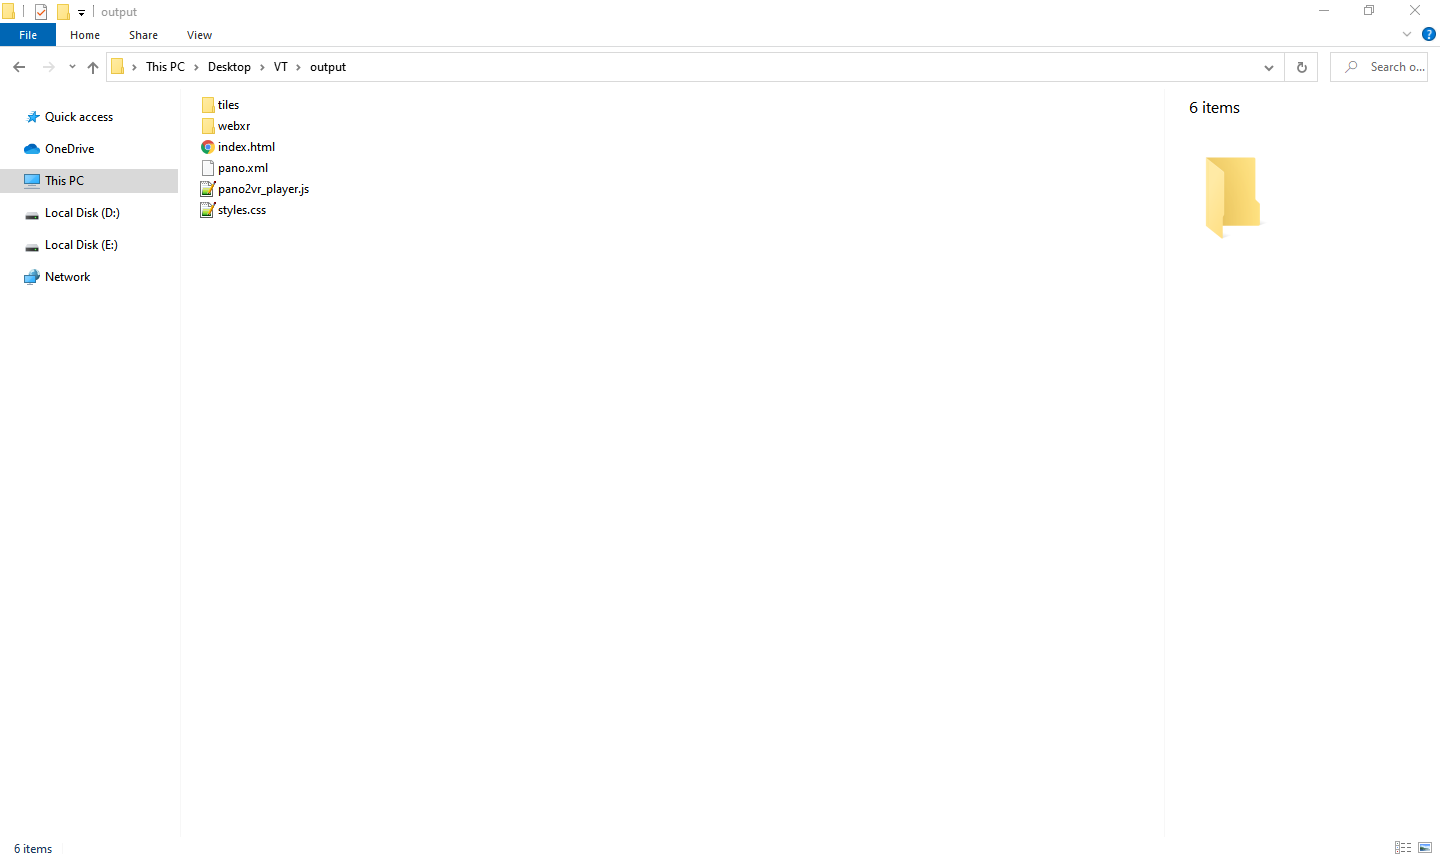
After completing the process, you’ll find the output folder like this. You’ll need all the files and folders here.
In the next step, we’re going to embed this tour onto a WordPress website.
How do I show it on my website?
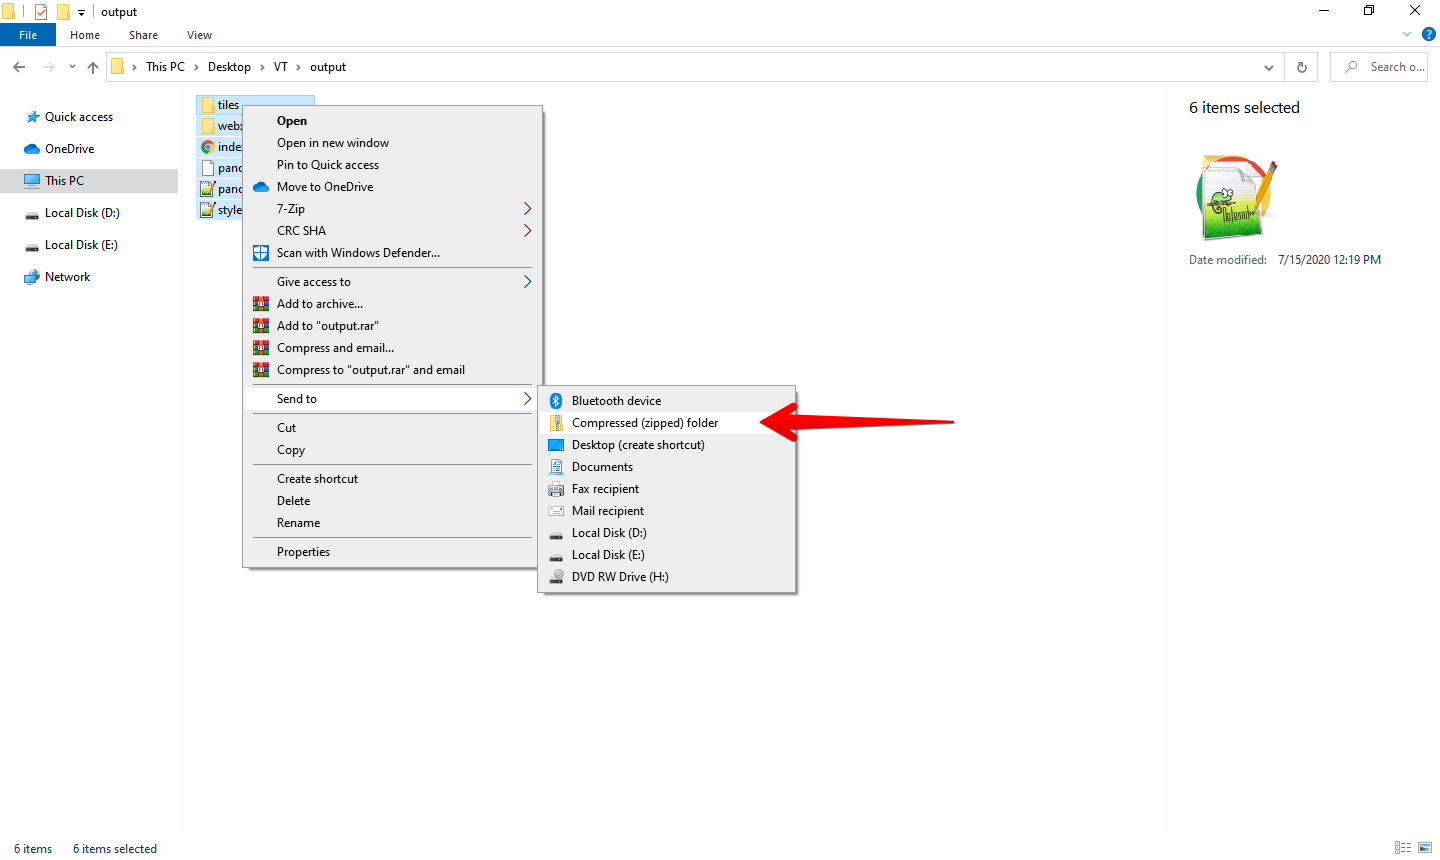
In order to embed the tour onto your website, you’ll need all the files on your output to be uploaded first. Simply make a zip package out of it first.
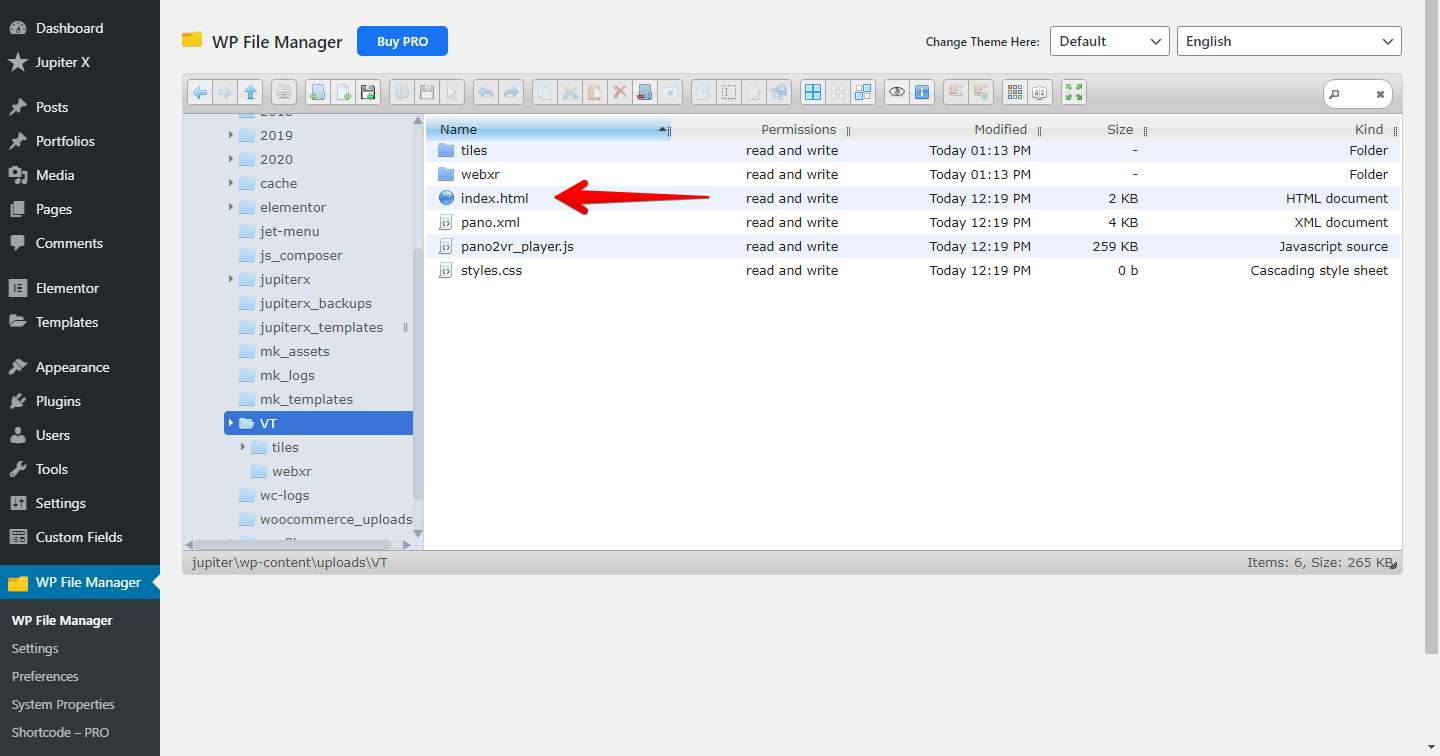
Using a File Manager plugin, create a folder on wp-content/uploads/ named “vt” to better organize your tour.
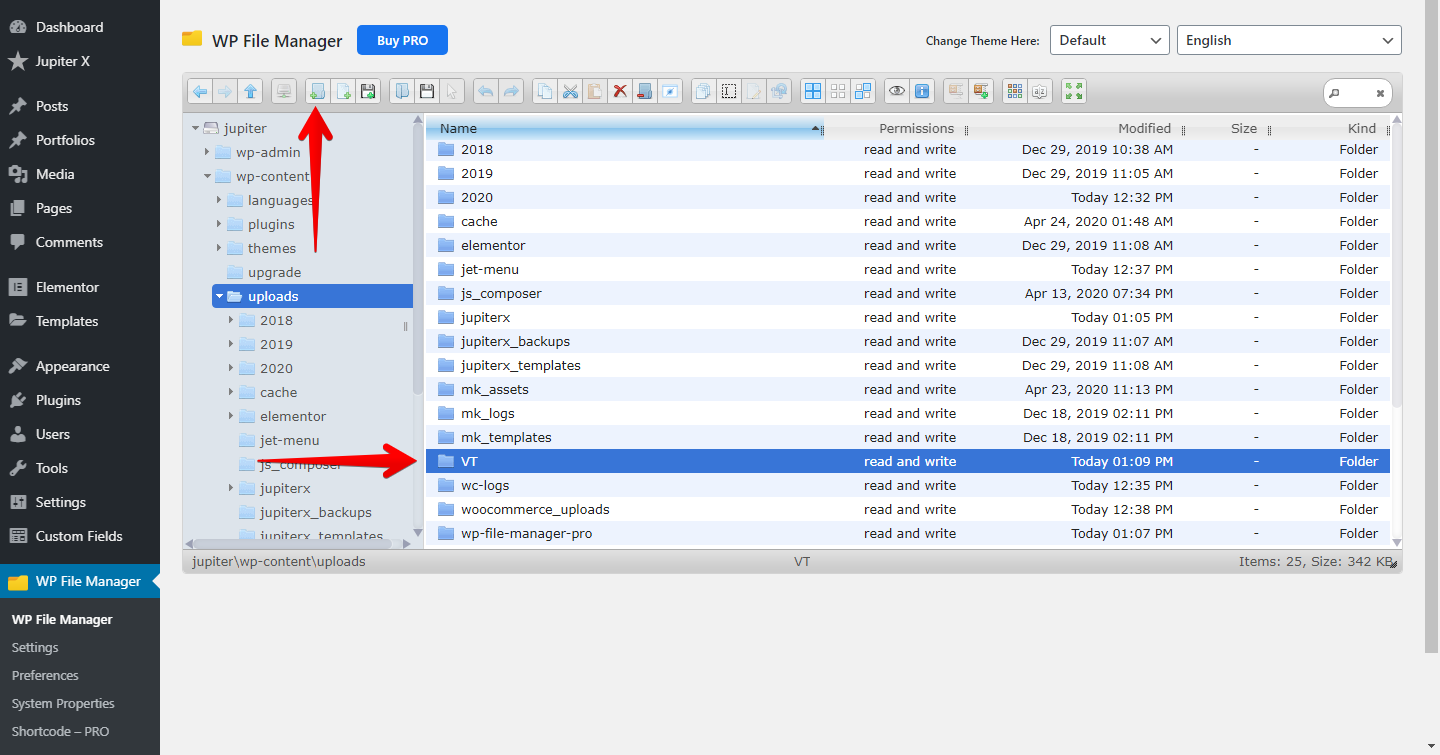
Now upload the zip file into this directory.
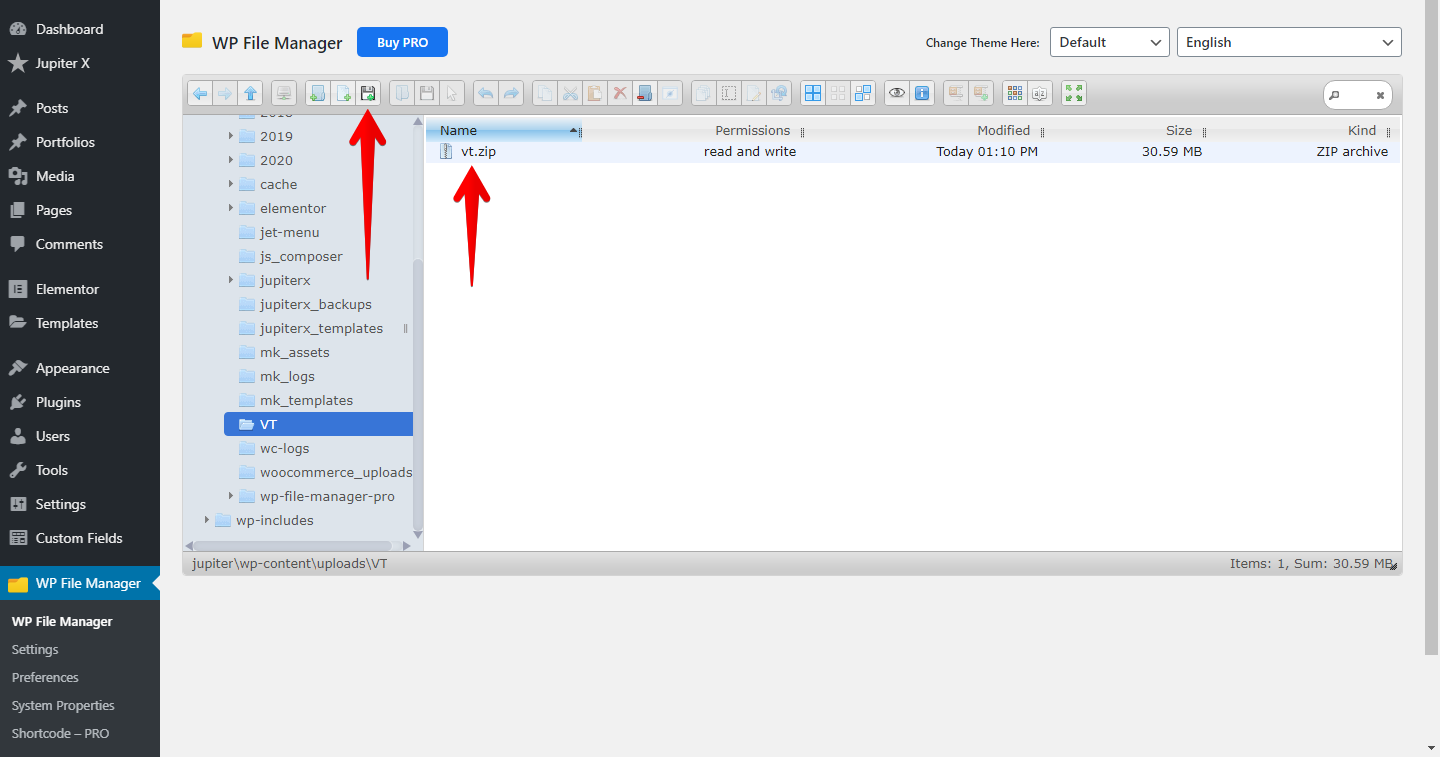
Right click on the zip file and extract it here.
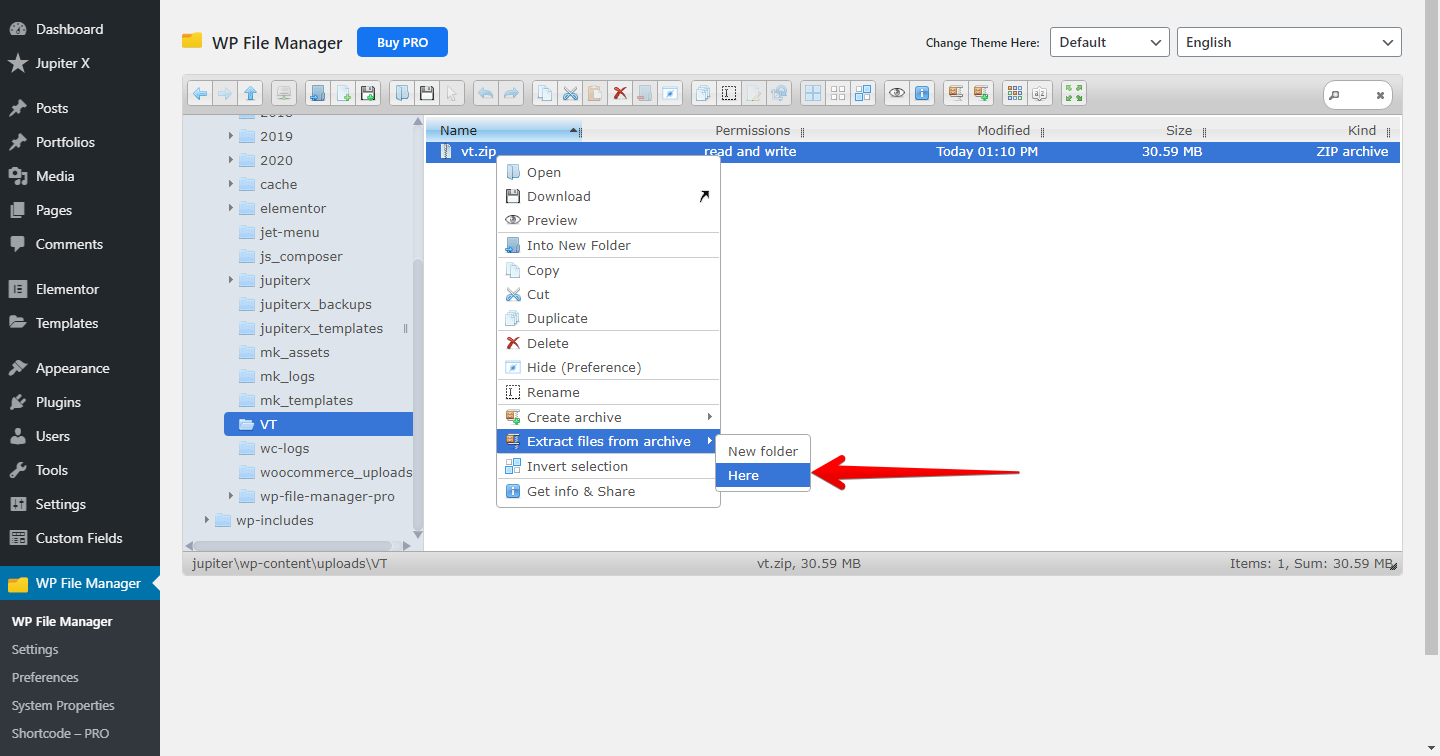
You can remove the zip file. Now, you’ll need to embed the index.html file into your page using an iframe.
Since I was using a local machine to make this sample, the URL of the tour file will be like this:
http://localhost/jupiter/wp-content/uploads/VT/index.html
Now, you can embed this URL into your page. Simply create a page.
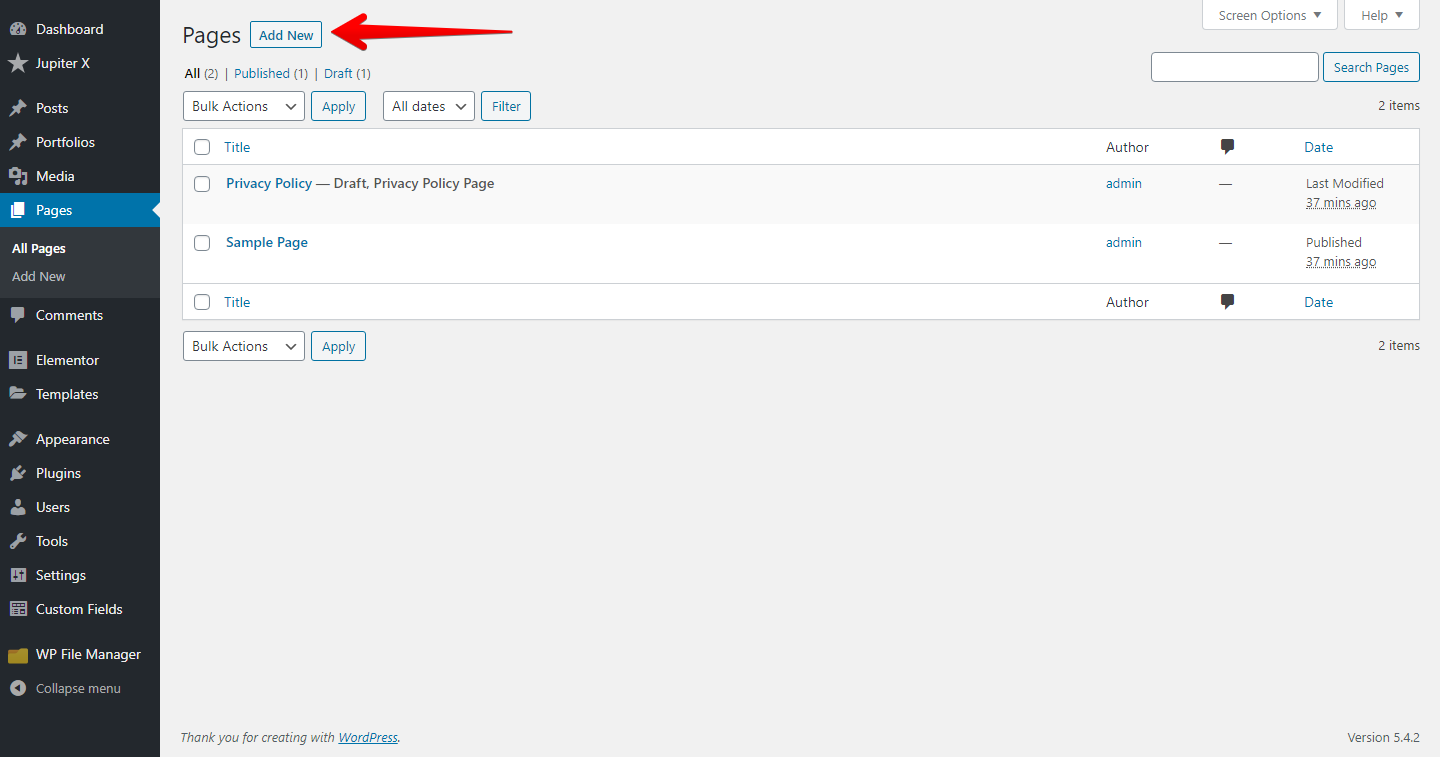
Using Gutenberg, add a Custom HTML block.
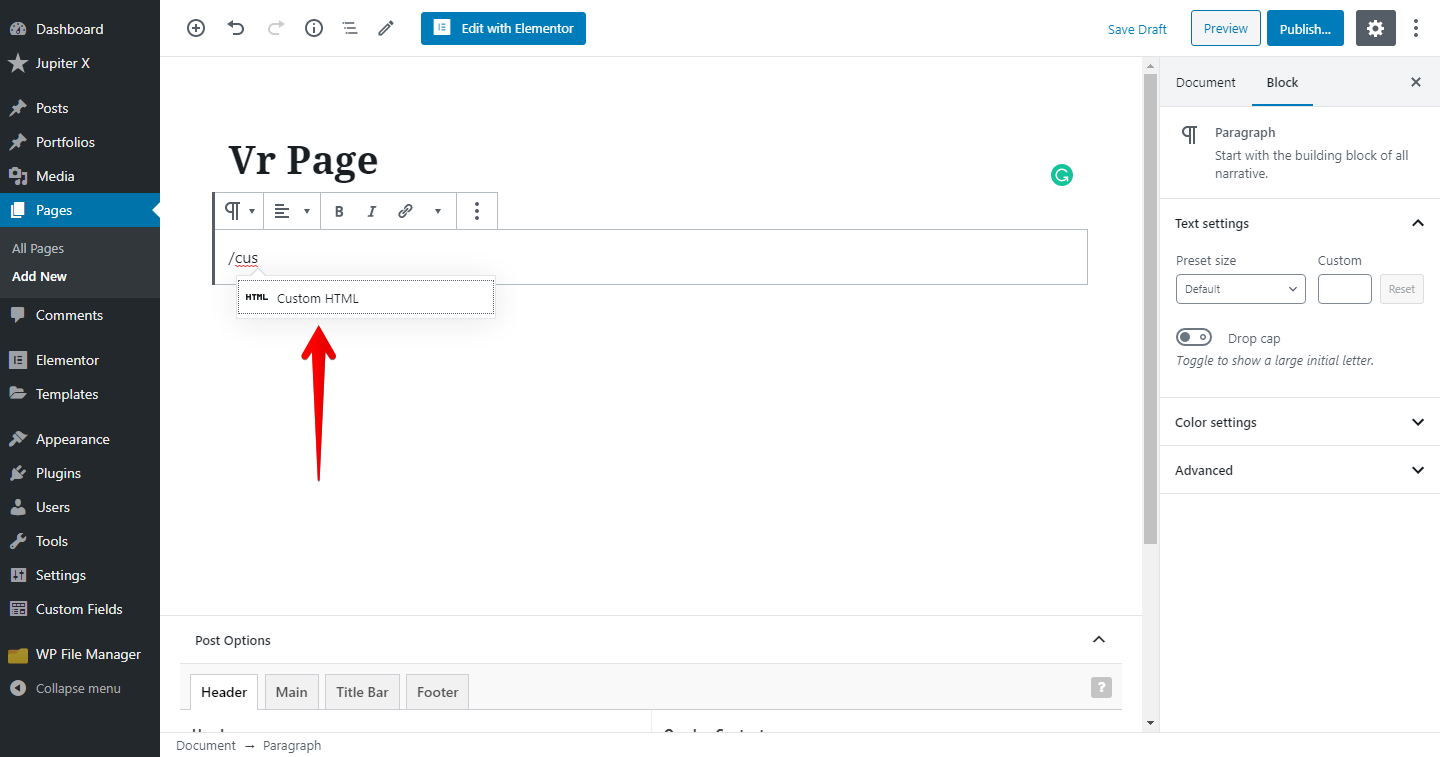
Put this iFrame code into the code block:
<iframe src="http://localhost/jupiter/wp-content/uploads/VT/index.html" height="500" width="90%" frameborder="no" /></iframe>You can use the same method to add the tour in Elementor tour. While editing the page via Elementor, add the Custom HTML widget to your page and put the same code on it.
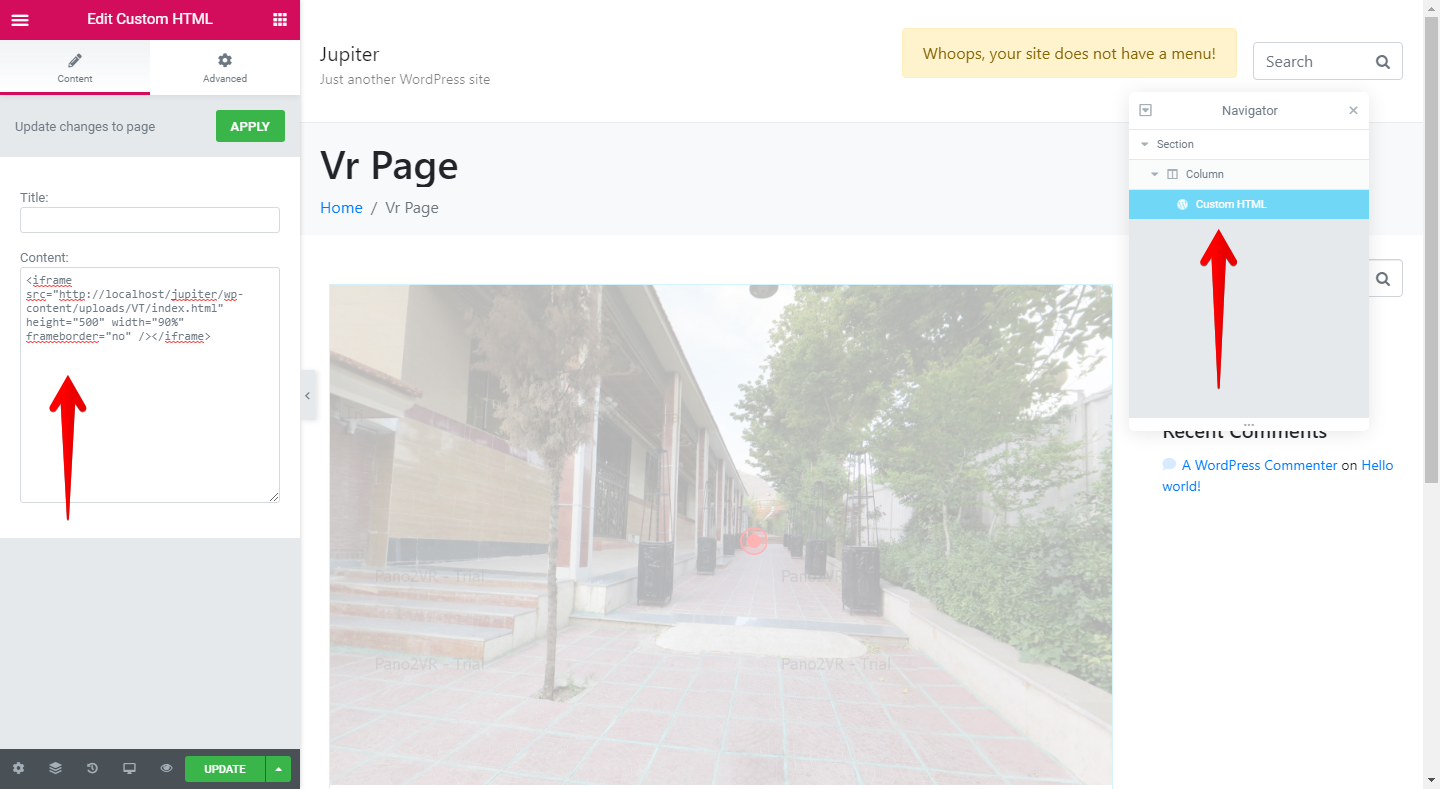
The results will be like this:
Final Words
Tip: Alternatively you can use tools like WP VR to create virtual tours on a WordPress website.
In this post, we learned how to create and embed a virtual tour onto a WordPress website. However, there are dozens of different methods to go about doing this. But the method mentioned above means that you won’t be restricted or limited in building a virtual tour. Although, it’s worth mentioning that other plugins might have fewer steps to take in embedding the panoramas onto a WordPress. However, they have their own limitations and you may need to look for a way to be able to bypass those limits. This method can work on any other website as well, not necessarily a WordPress website.

No comment yet, add your voice below!