
Hotels, car dealers, travel agencies, tools and hardware sellers – and almost all other business owners that sell some products or services – need a way to show their products to the buyers. If you own a business, you usually represent your products and ask your clients some questions to provide them with the best matches possible.
However, when it comes to websites, your clients need a way to find their own match by looking at products and services on a list. And the best you can do is provide some filters for your product list. Since time is gold, the faster the viewers can find what they’re looking for, the better chance you have in selling a product or service. The good news is that the listing feature along with the smart filters are now part of the Jupiter X theme with the help of its bundled plugins. In this blog post, we’ll take a deep dive to fully grasp how to create custom filters with Jupiter X. But, before we do that, let’s first see what we can do without a listing feature!
Using WordPress to display your product list
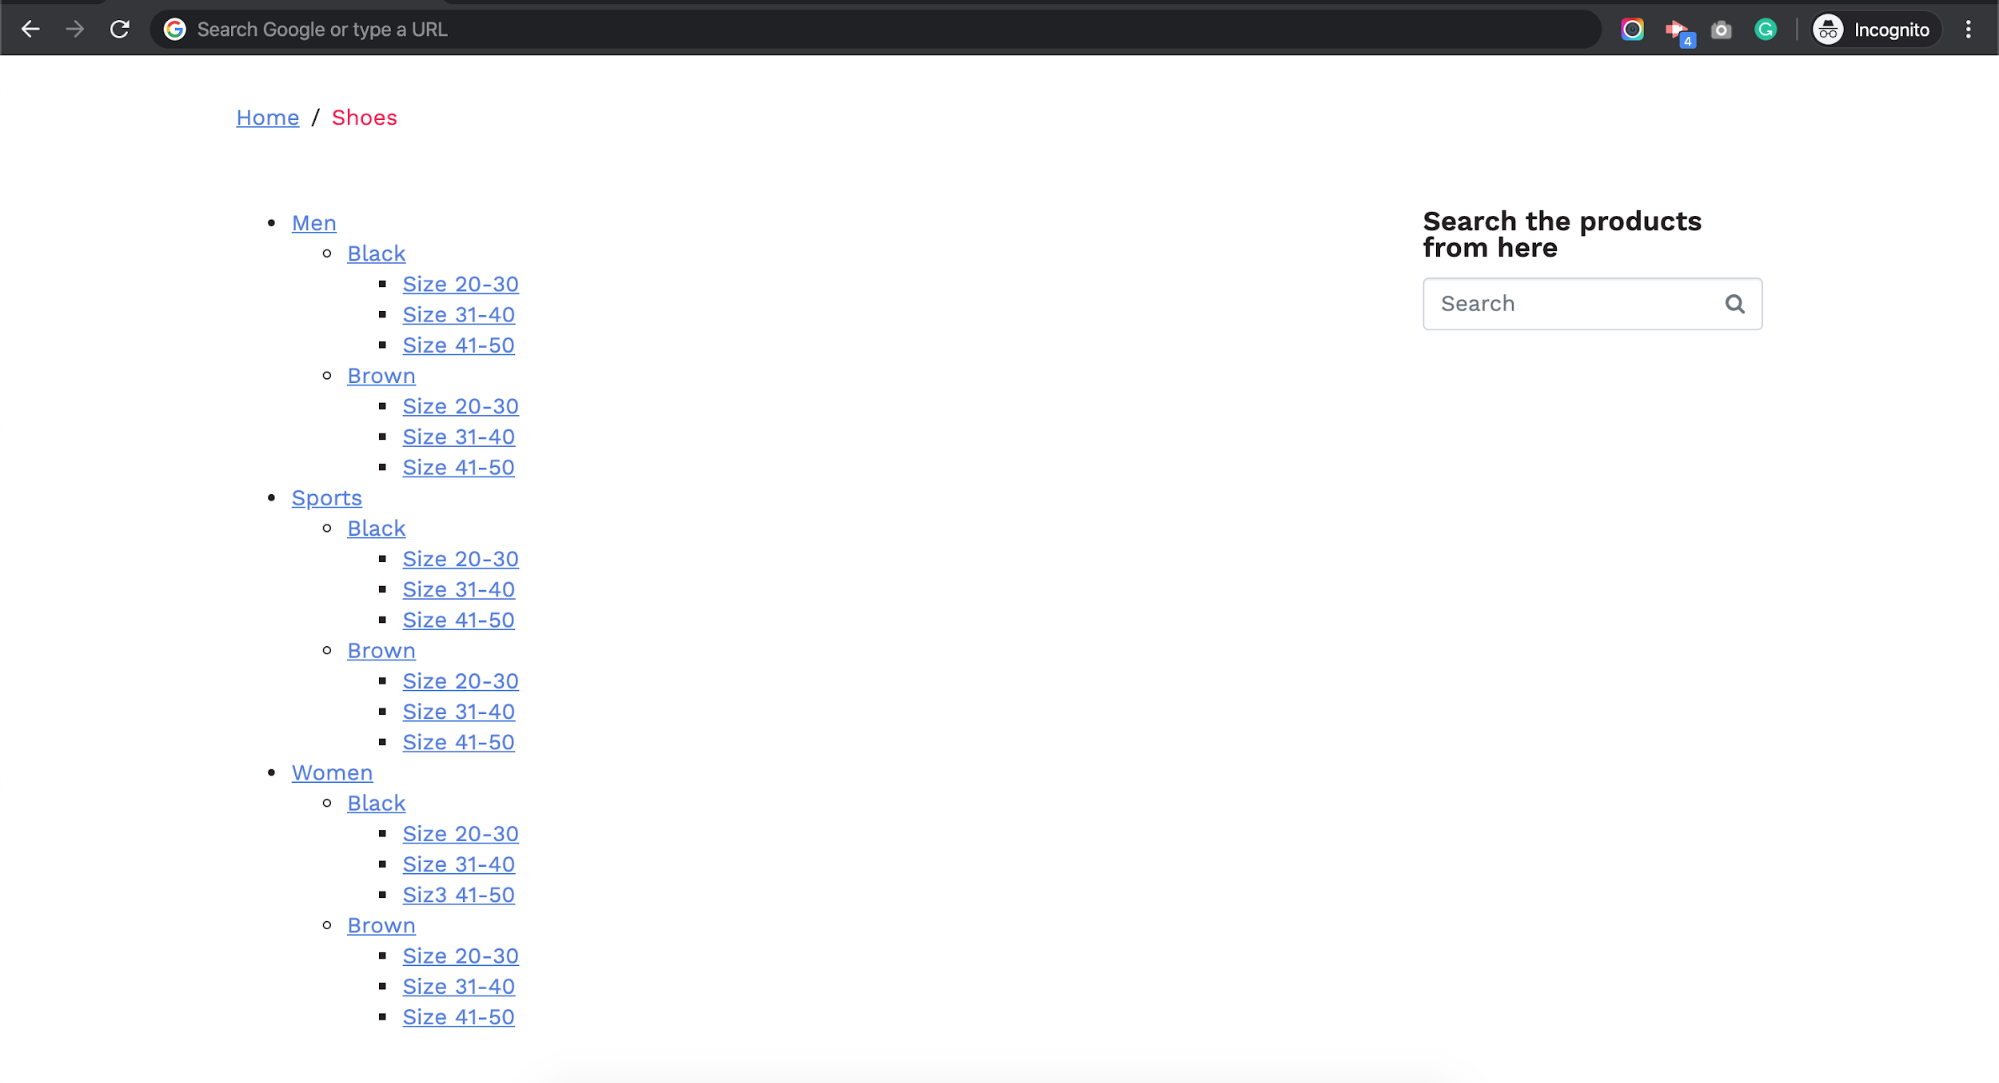
The simplest way to show a product list is to create multiple pages, link them to each other and use the WordPress search feature to provide a search feature for them. This doesn’t require any special plugins or extra coding – and it can actually be helpful in some cases. But if you own a shoe store, you wouldn’t want to feature your shoe list like this, right?
There are dozens of workarounds to create a better and more appealing listing. One of the popular ways is to use WooCommerce and its filter widgets.
Using WooCommerce to represent a list of your products
One way to create custom filters in Jupiter X is simply through installing WooCommerce and add products. It will allow you to have a shop page, archive page, category page and single pages where you can provide details about your product. Also, since it has a basket feature, it’s a perfect choice to feature the products you’re planning to sell. Many more plugins have been developed for WooCommerce to help you build a better list of your products. Simply using a WooCommerce and categorizing them with the minimum configuration with Jupiter X theme will give you results like the following:
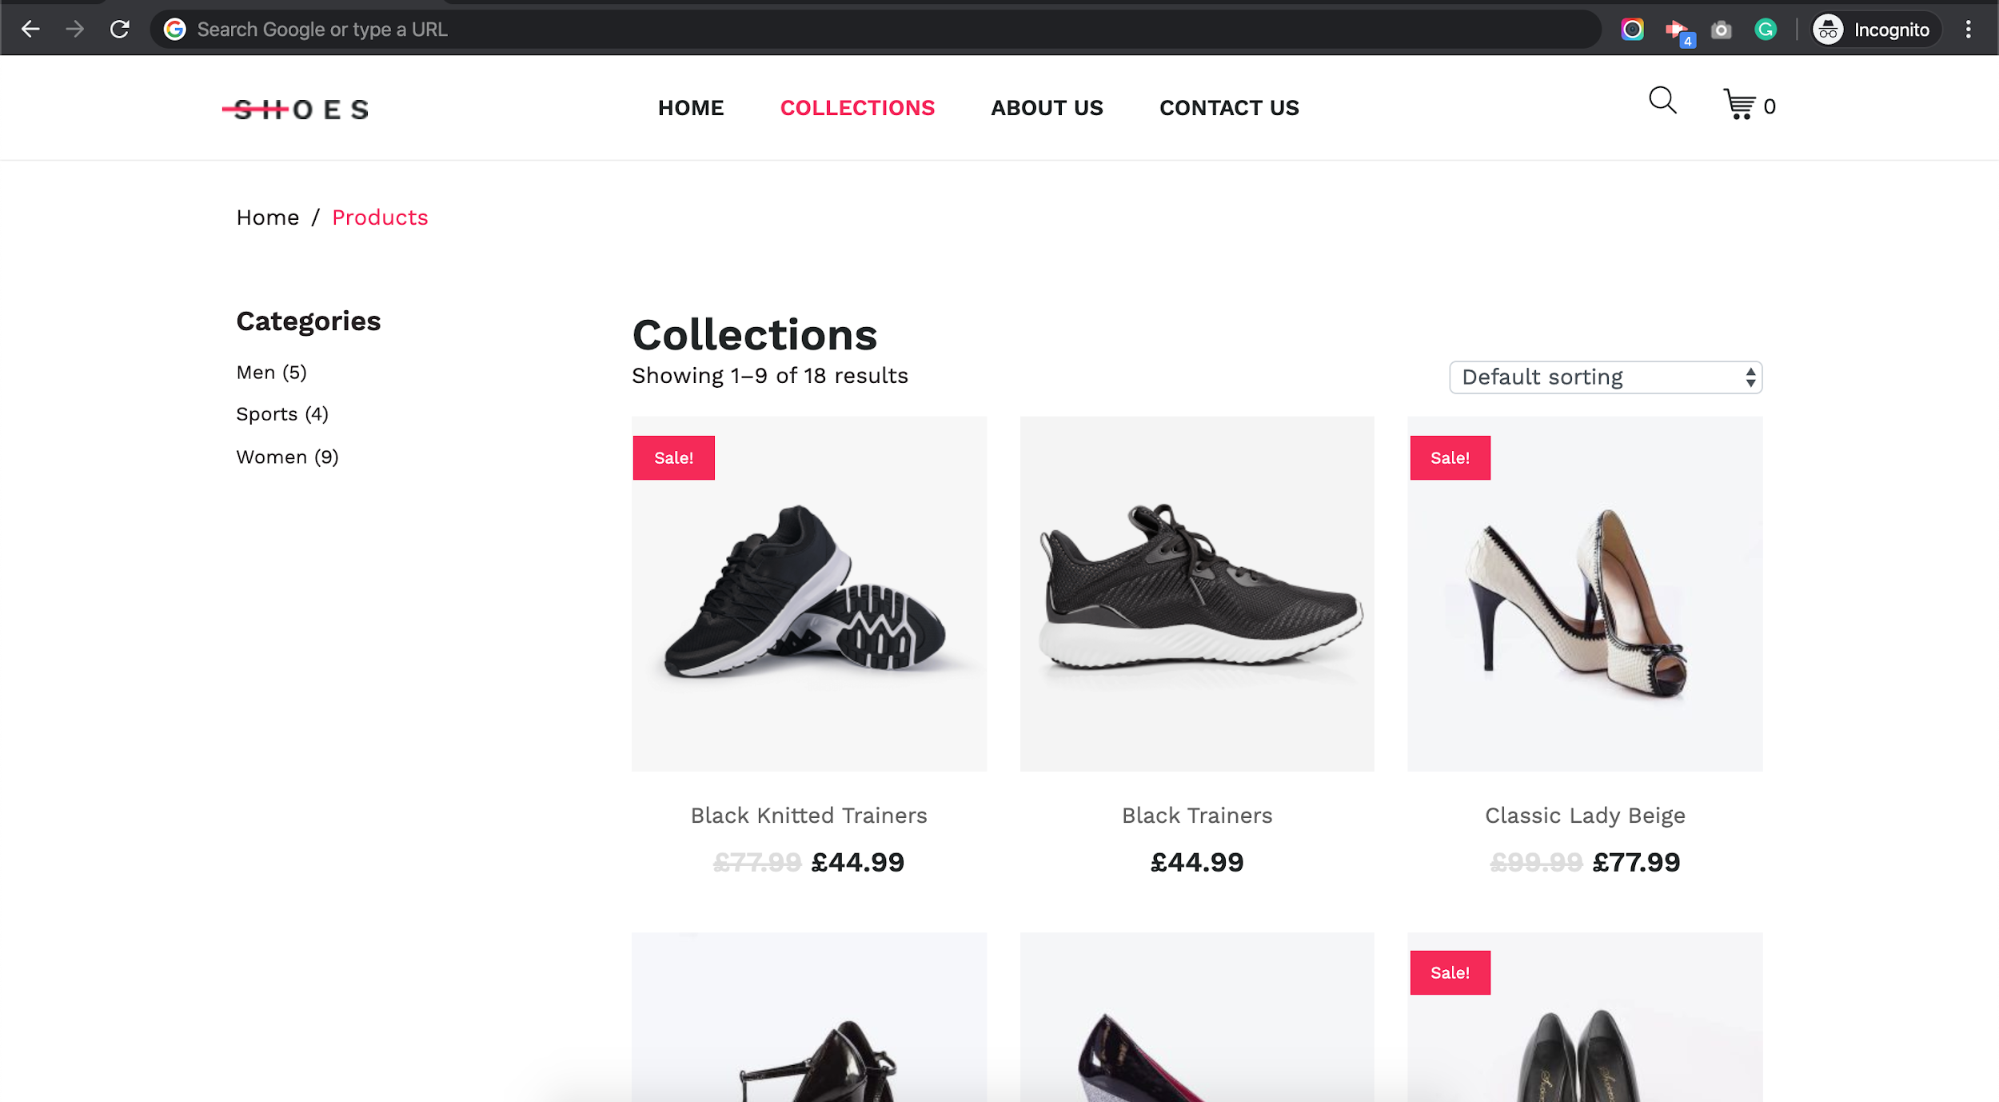
Much better than before, wouldn’t you agree? On the left sidebar, you can select different categories and actually filter the shopping products based on the category. Now if you want to add a new filter widget, for example, by price, you can easily add it through WordPress -> Appearance -> Widgets by drag and drop the “Filter Products by Price” to the sidebar that you are using on the products page.
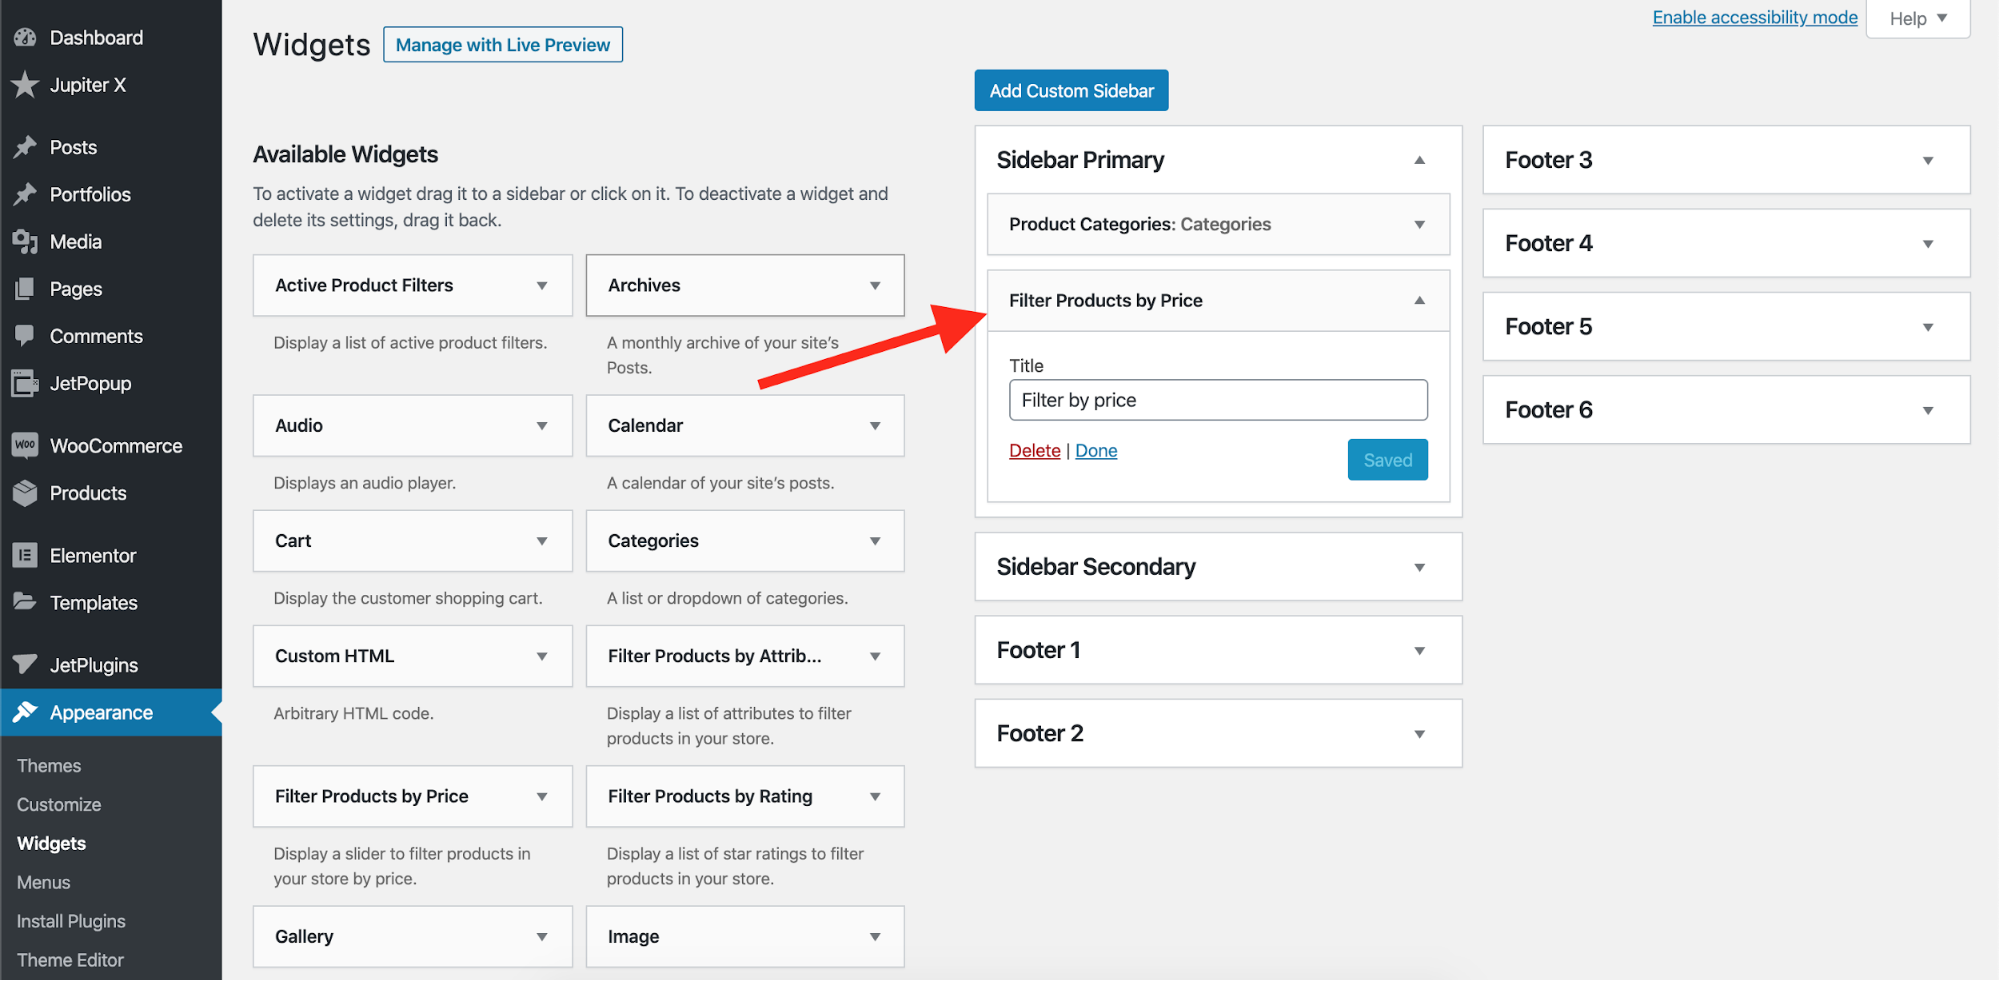
And it would look like the following:
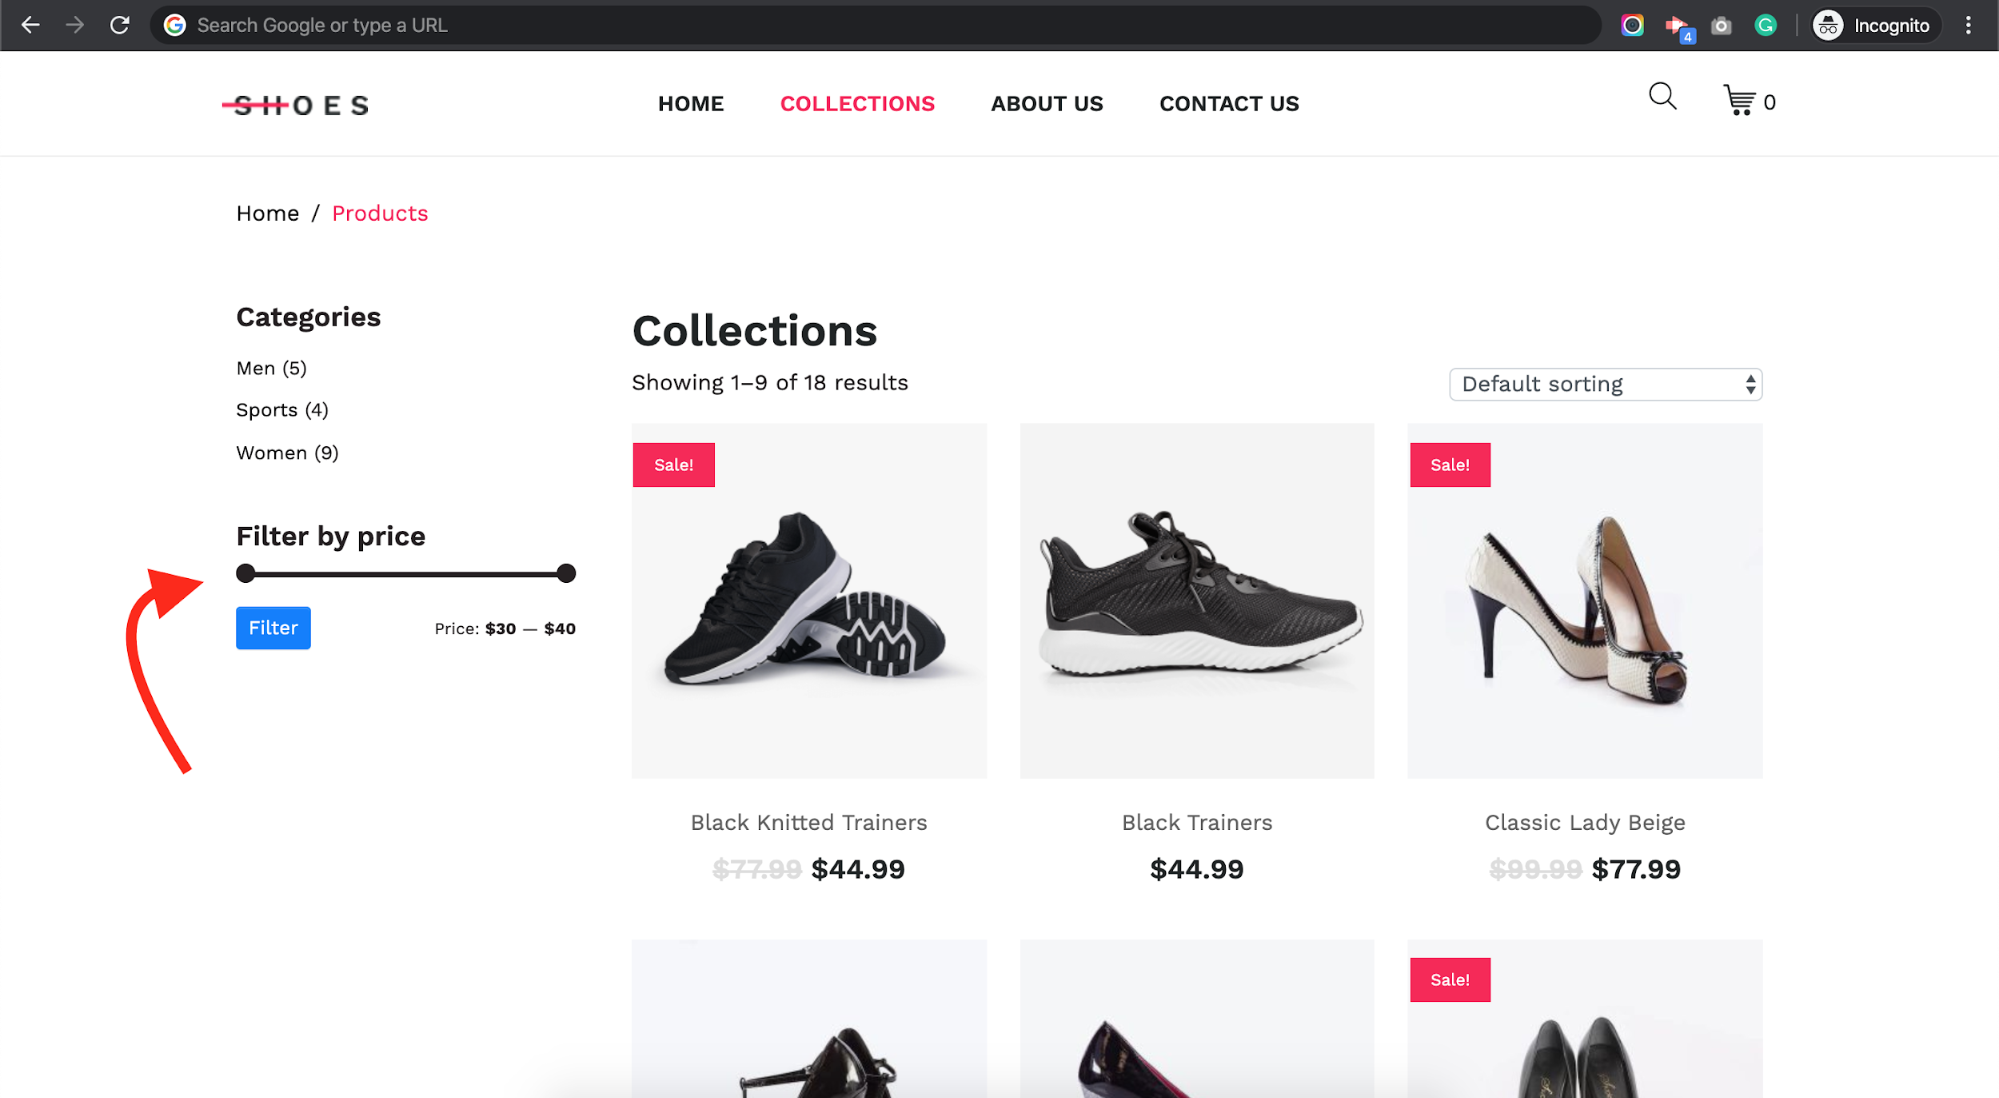
There’s no need to say that it’s easy to customize the shop page and layouts using the Jupiter X Shop Customizer.
As mentioned before, there are dozens of plugins out there that can help you have a better listing on your website. Also, there is a bundled plugin named Jet Woo Builder that can help you build stunning shop pages completely from scratch. A brief overview of Jet Woo Builder features has already been provided in the previous blog posts here and here.
Using JetEngine to showcase your products
The exciting part of creating custom filters with Jupiter X starts here. The better you design the user experience, the better chance you have to sell your products or services. Imagine that you have to provide a listing directory of your products but you don’t want to create an e-commerce website. As an example, you want to run a hotel website where it should have a list of available rooms categorized by the number of beds, price, amenities and etc – and you would also need to provide a way to filter them. In these scenarios, the best thing to do is to create a custom post type, add your custom fields to it and provide listing directories and custom templates for your post types. Fortunately, this is all available with the Jupiter X theme.
As for the custom post type and listing directory, there is a Crash Course series on the Artbees blog which shows how you can build a listing website step-by-step. You can find the published posts here and here. If I want to briefly explain the process of creating a listing directory using the Jet Engine plugin, it would be these four steps:
- Create a custom Post Type and custom meta fields for it.
- Create a Custom Post Type template for the single pages and assign it using Jupiter X.
- Create a Custom Listing template and based on that, create and assign it to archive post type templates using Jupiter X.
- Add Filters to the archive pages of your listing directory.
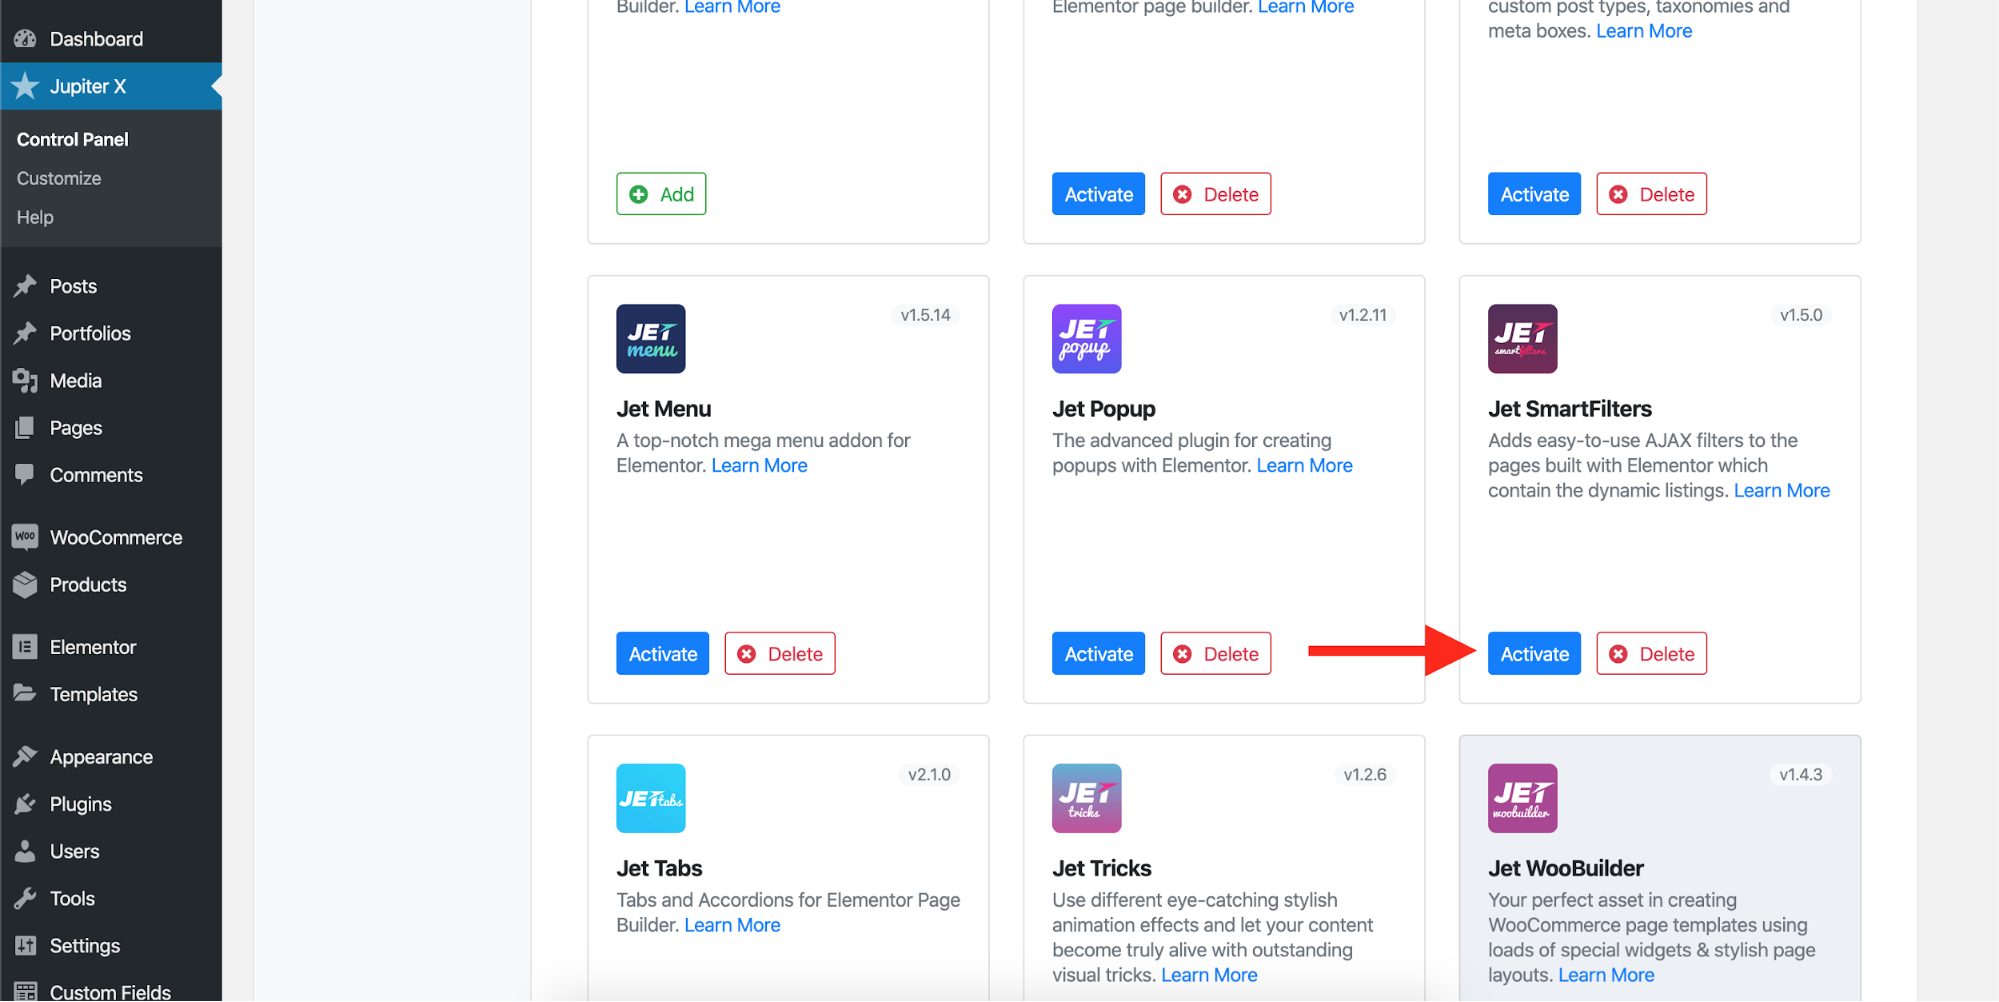
Let me introduce the Jet Smart Filters plugin for the last step. This is one of the bundled plugins with Jupiter X and aims to help you create and use smart filters on your listings. This is not only on the custom post types created by Jet Engine, but it can be used on WooCommerce and your regular posts.
You can install it for free from Jupiter X -> Control Panel -> Plugins and then activate it.
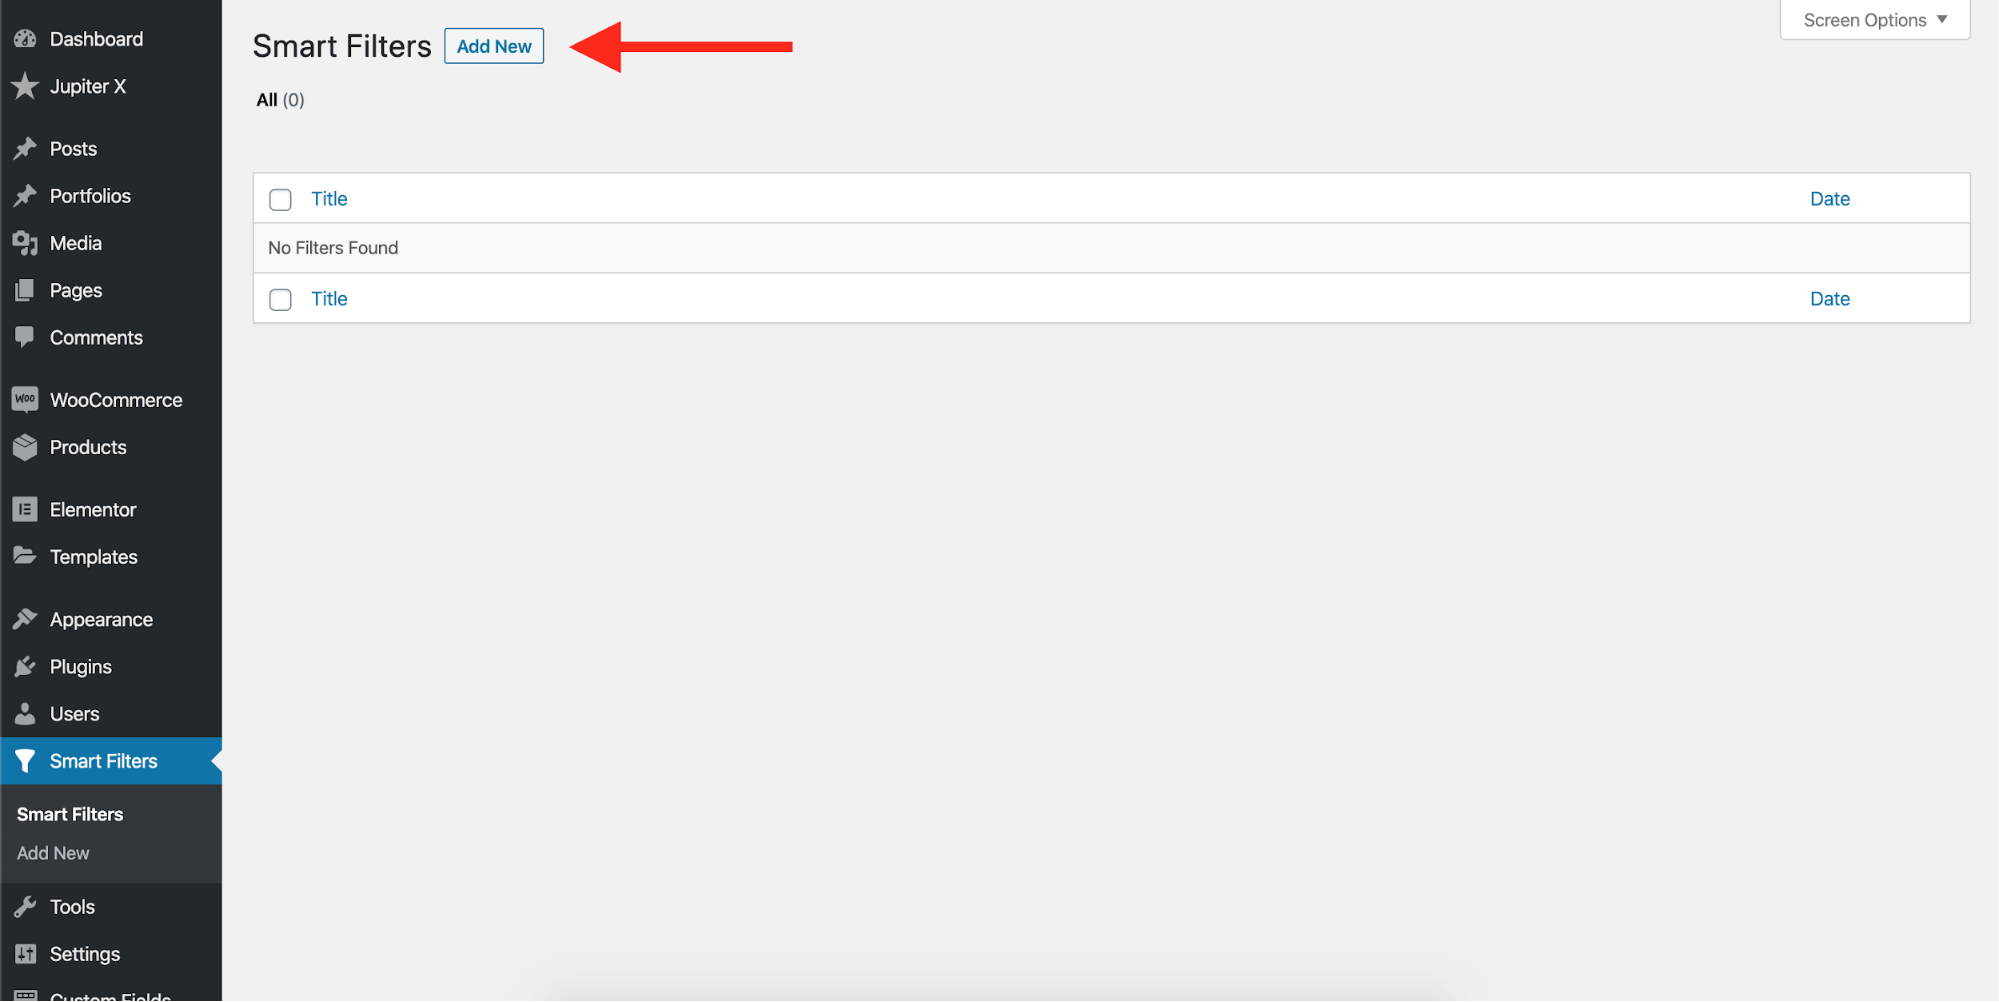
I assume you’ve already created your listing items as previously instructed in the blog posts here and here. Now it’s time to create a new Smart Filter by navigating to Smart Filters and Add New.
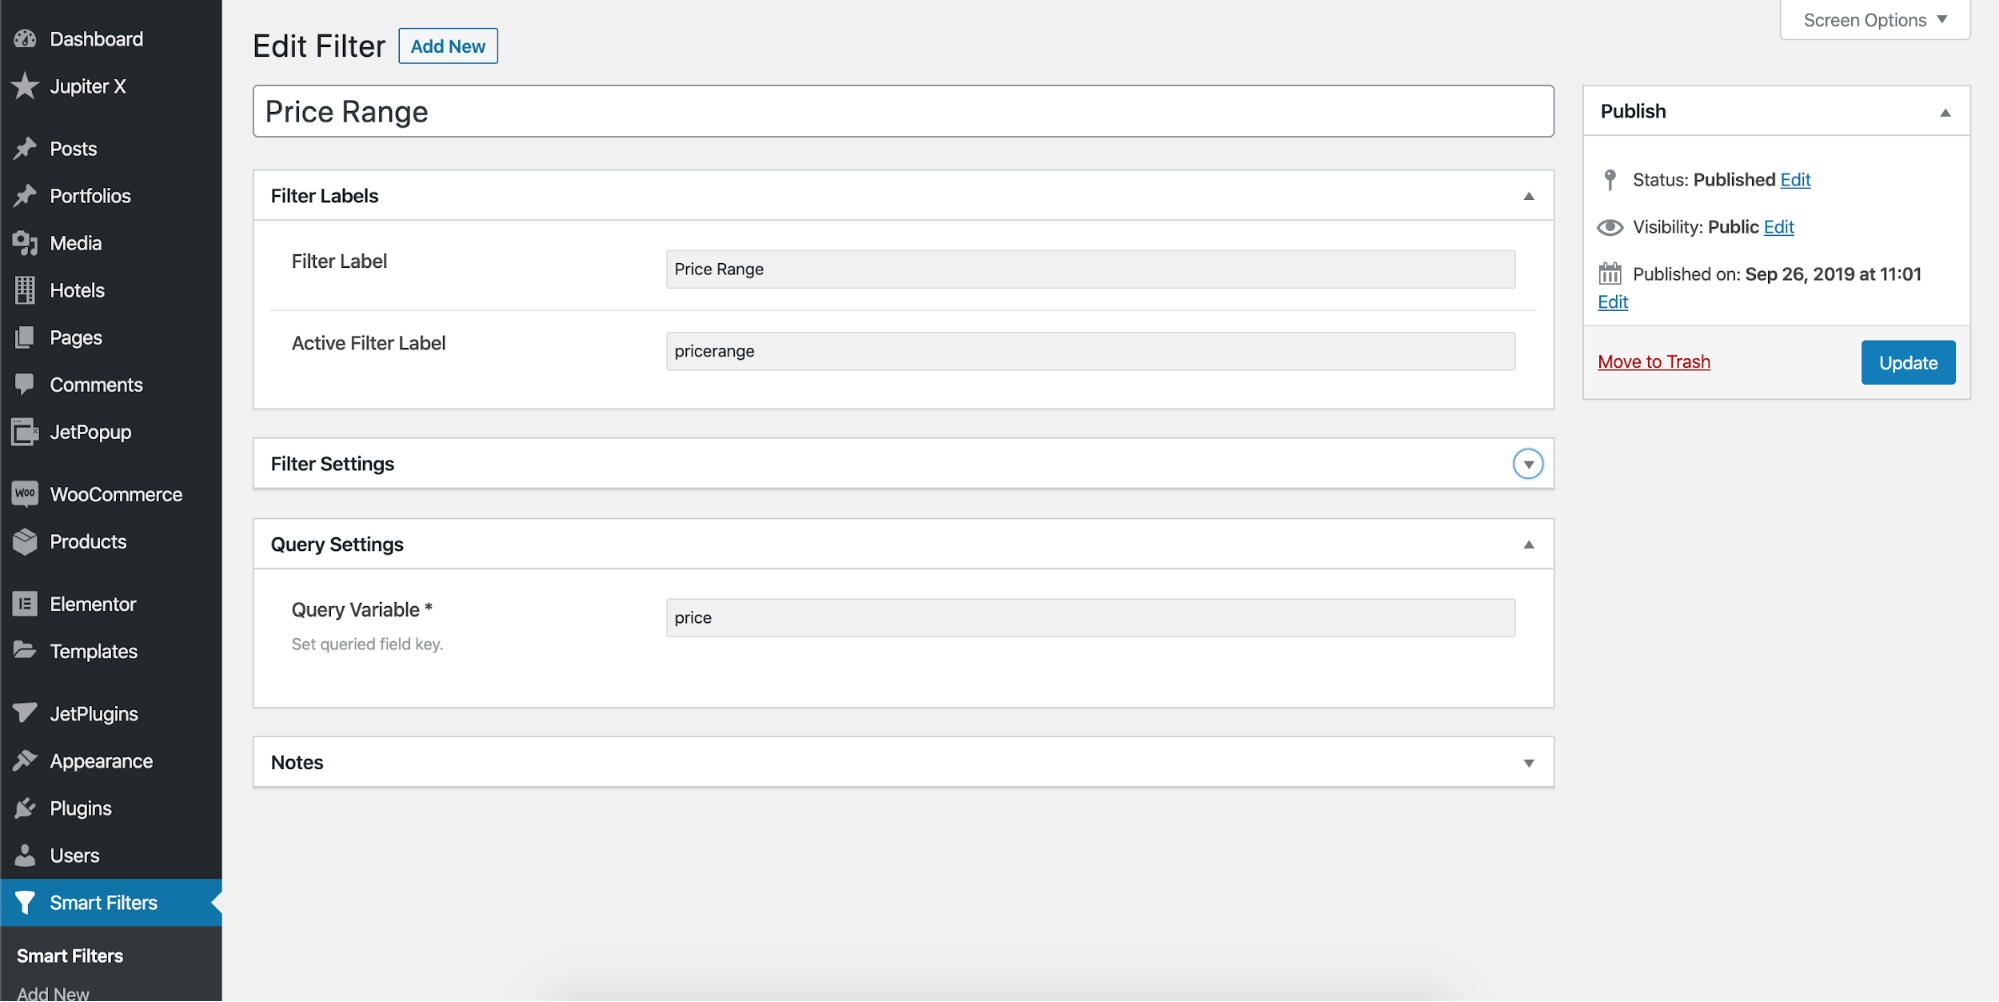
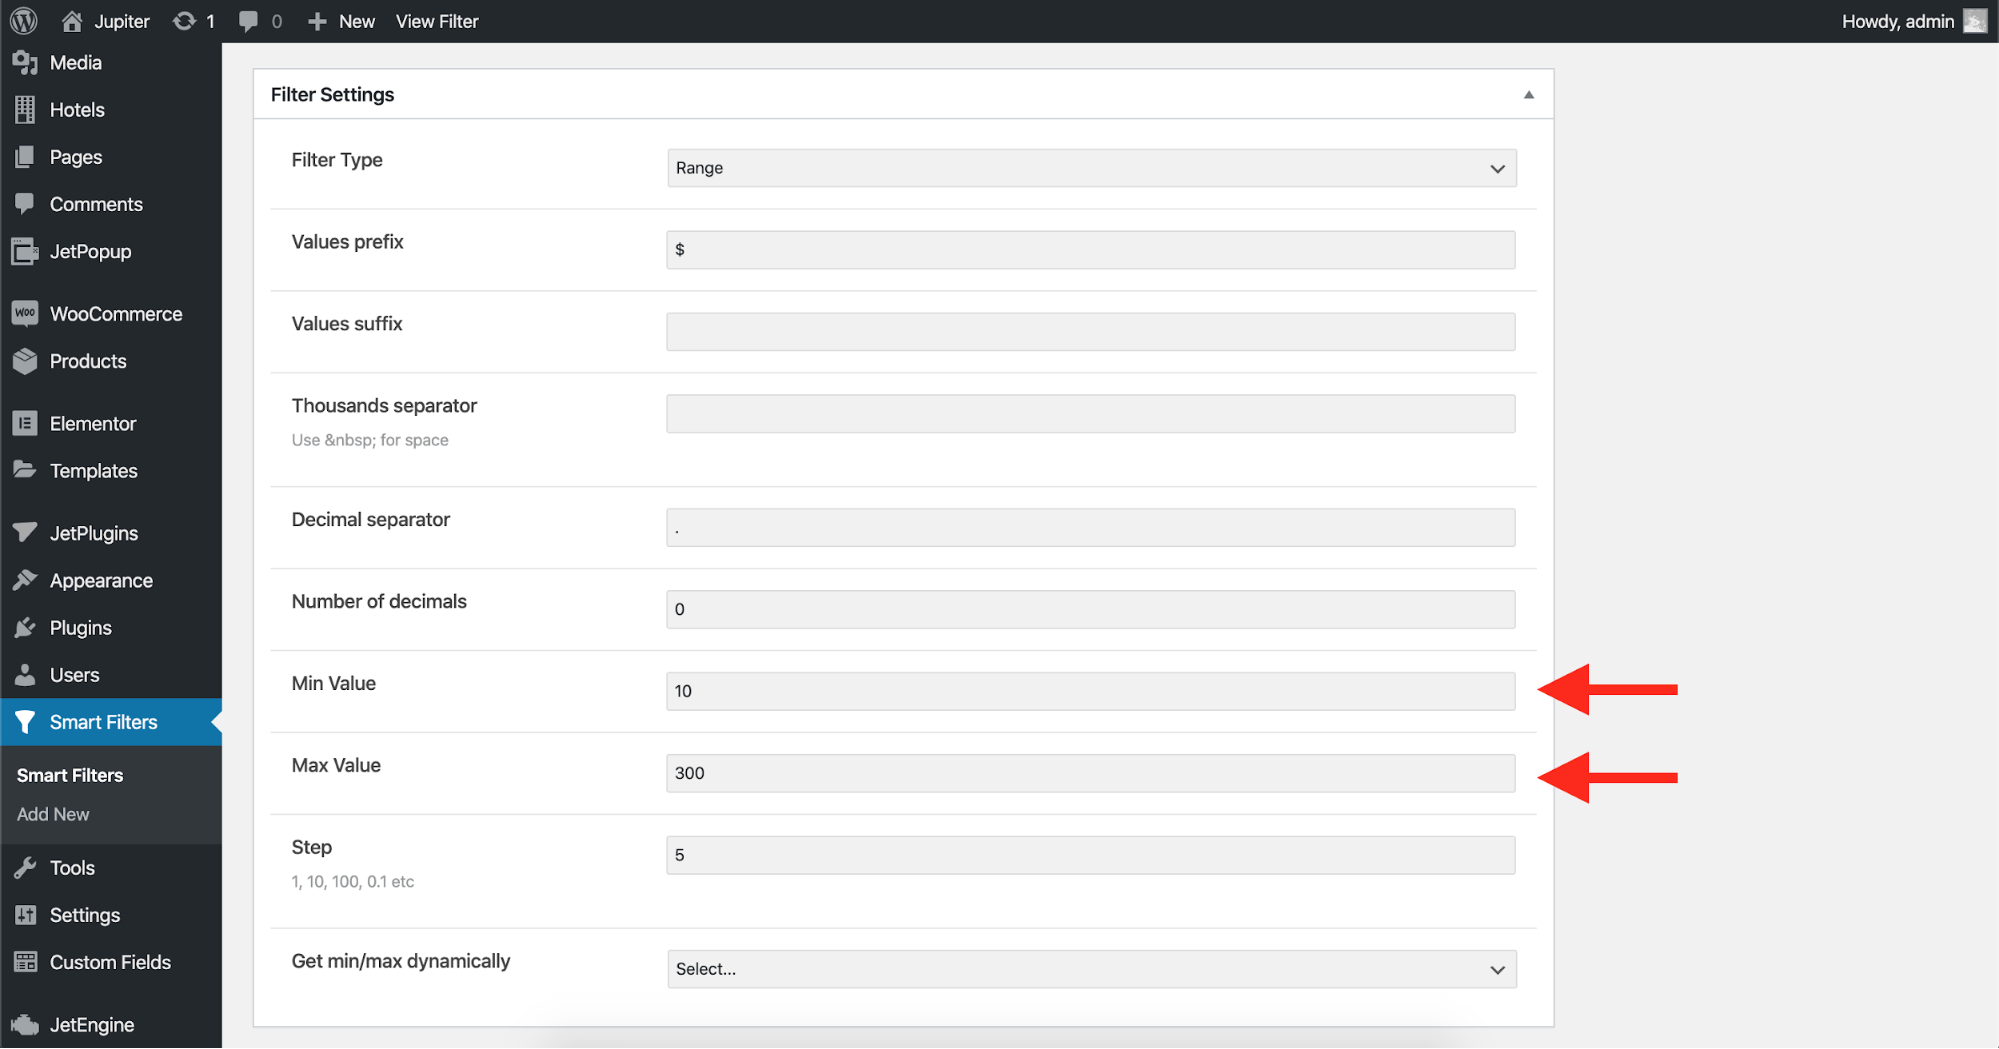
We’ll use this to filter the hotels based on the desired price range. So, we call it “Price Range” and set a minimum and maximum value to it.
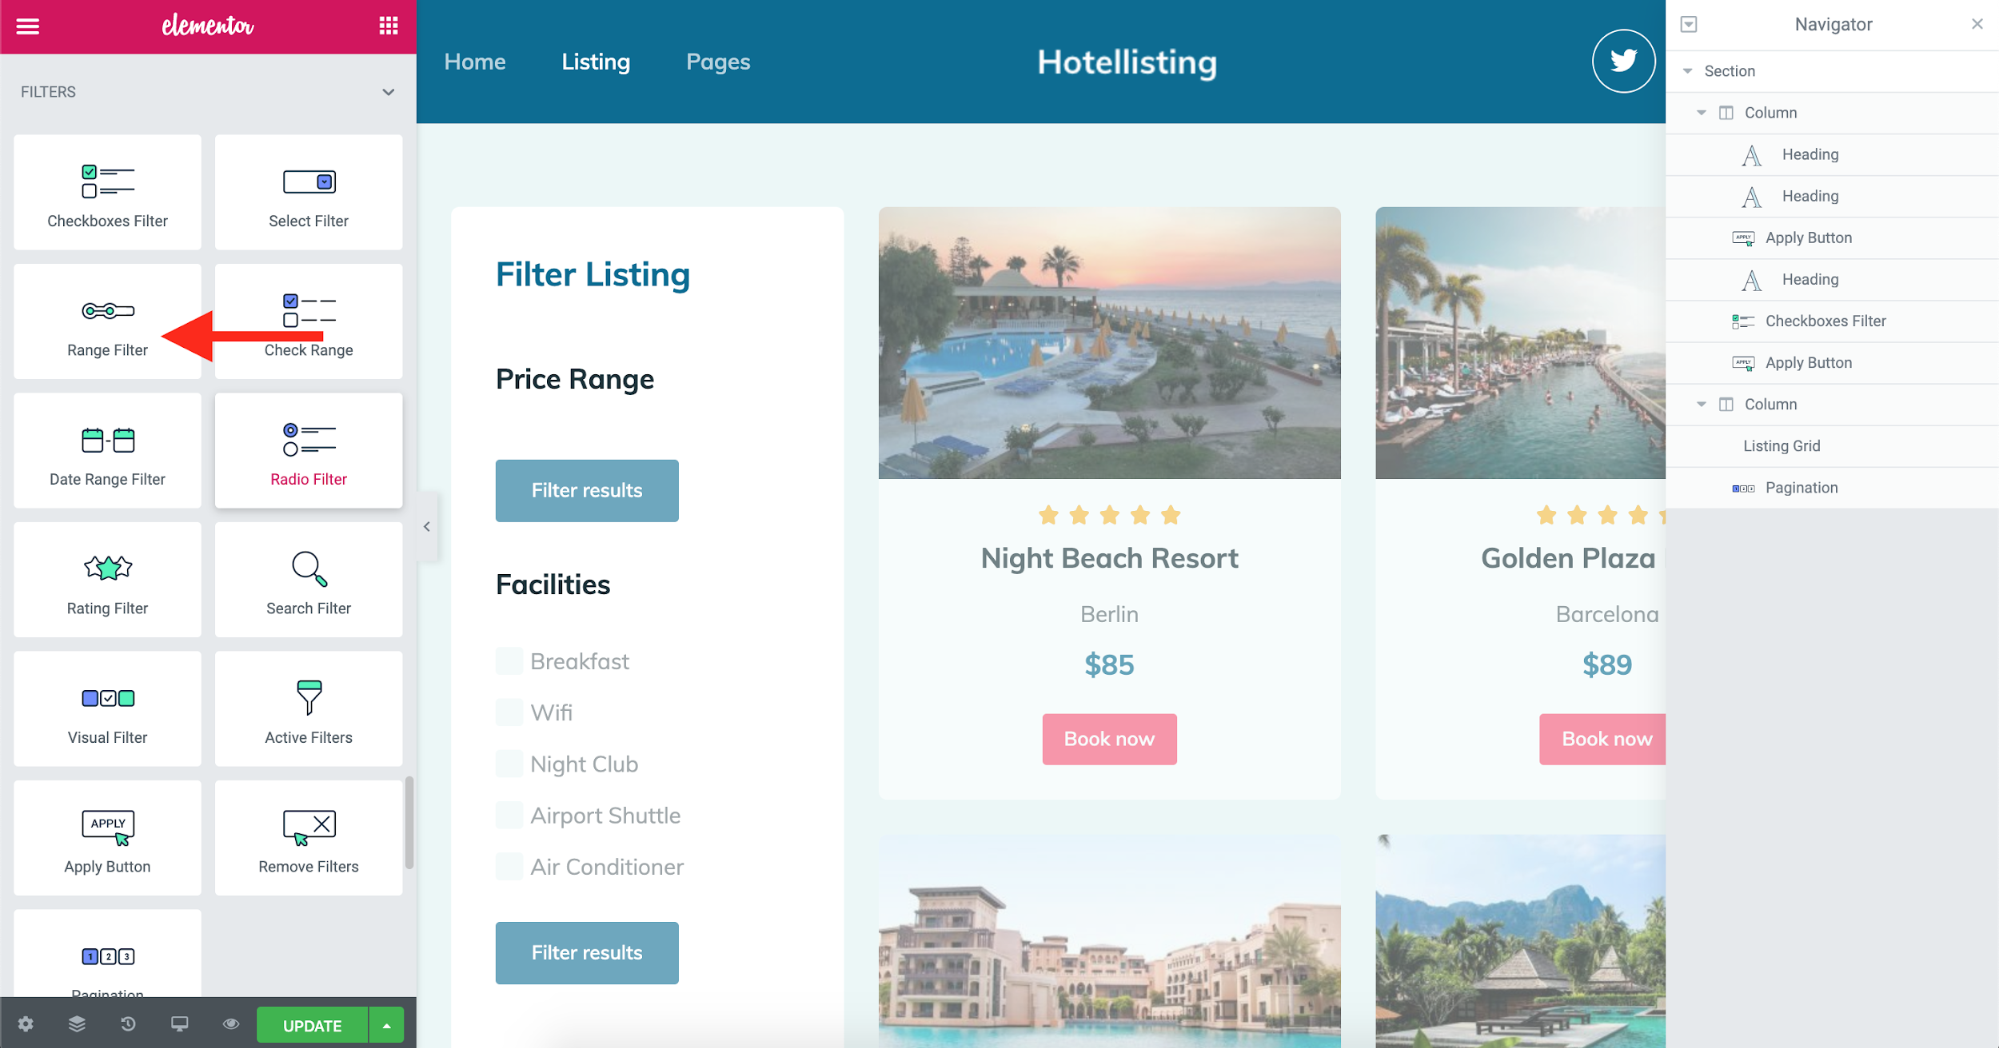
Now, it’s time to use our filter on a listing page. On the page where you have added your Listing Grid element, drag a Range Filter into the column you want to show it.
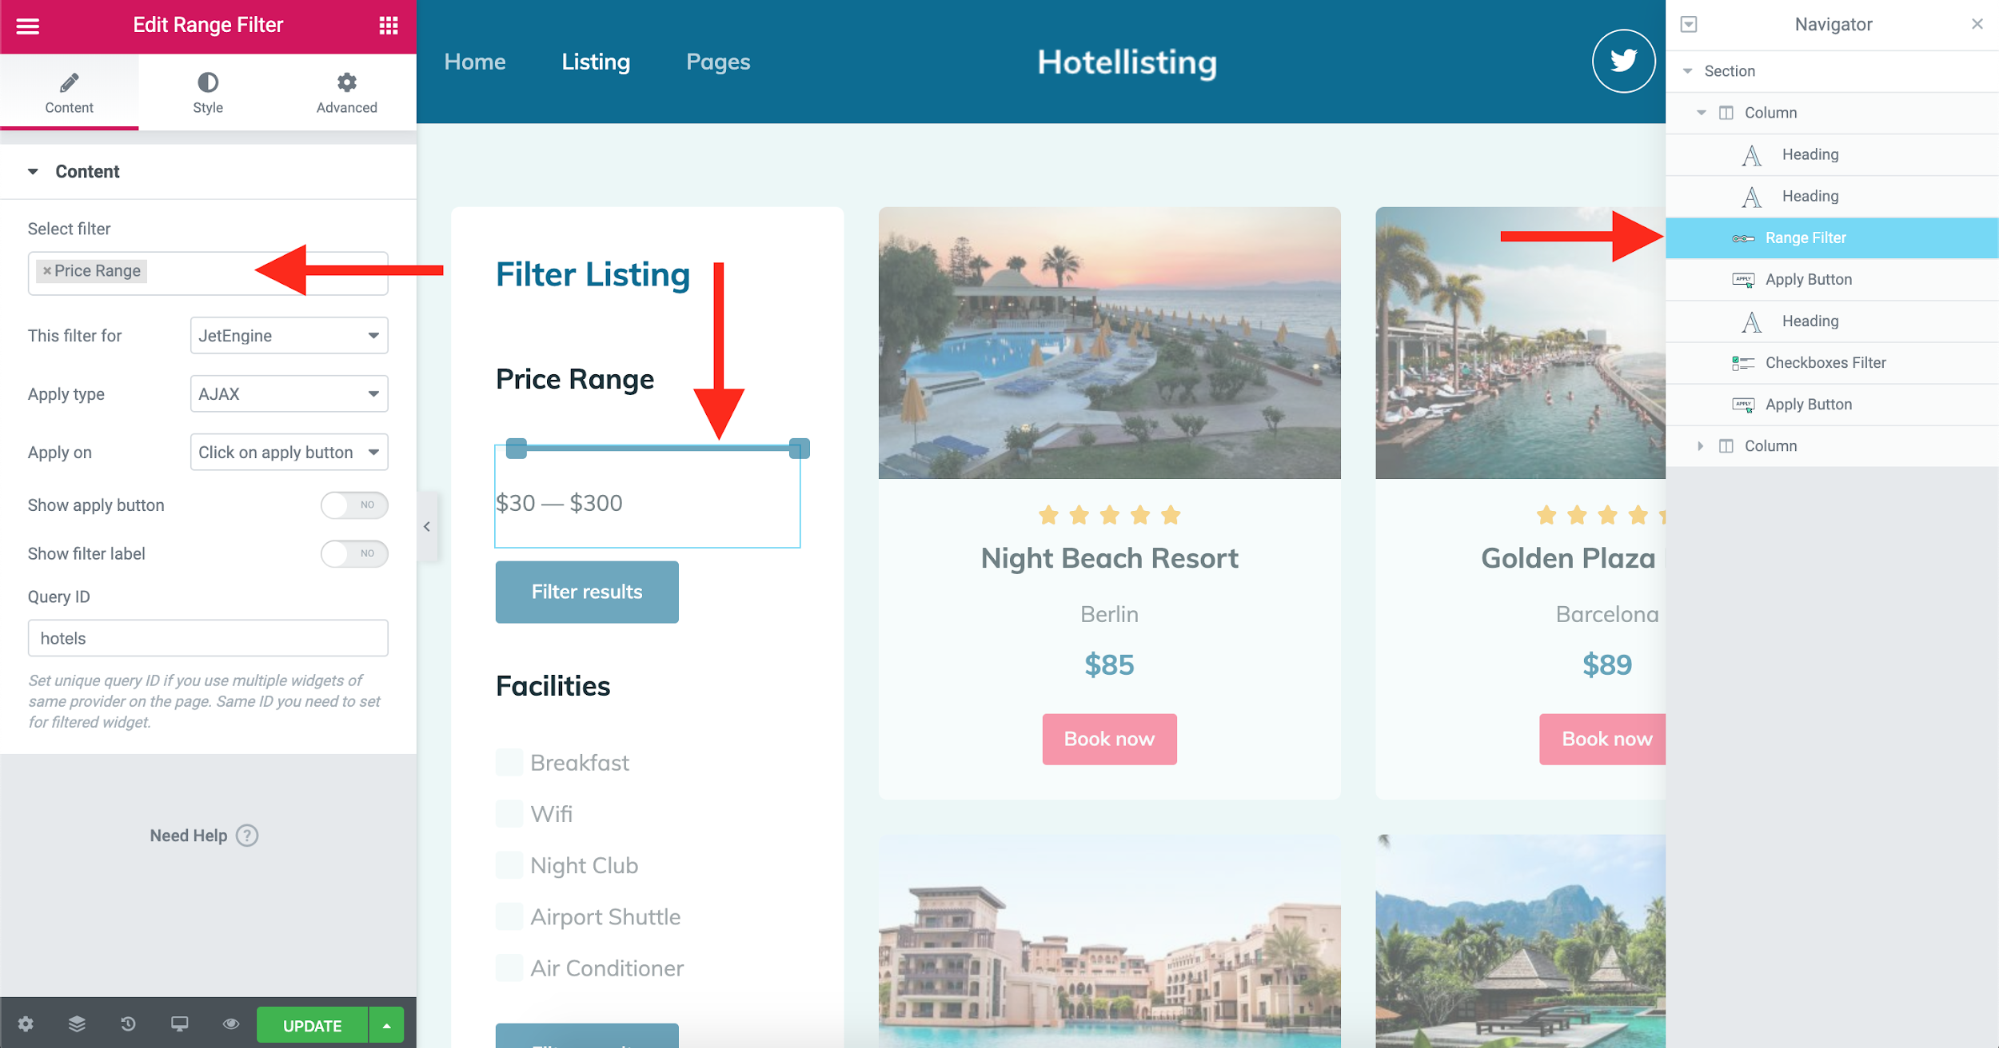
Then configure it to use the Price Range filter you created and assign it to the Jet Engine and set the Listing Grid Query ID.
Then update and publish the page. The final result would look like this:
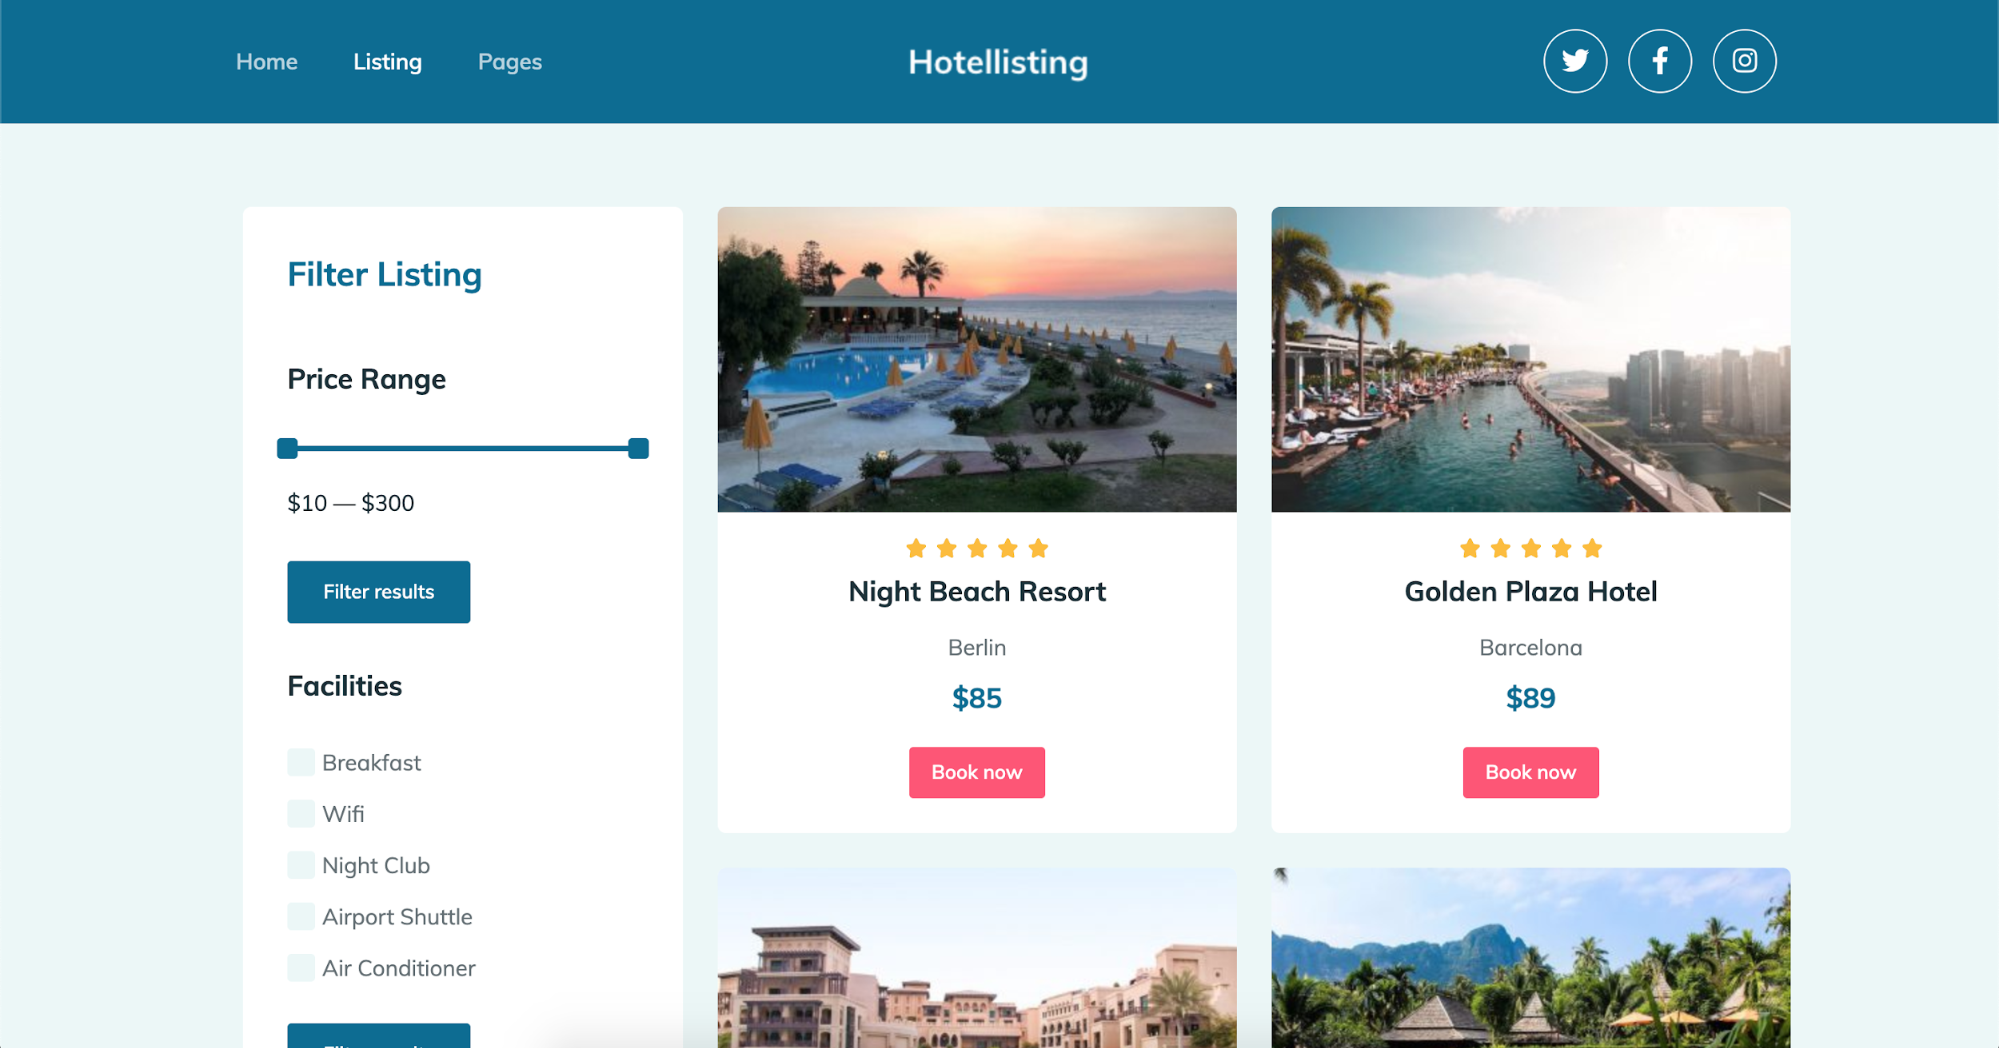
Now you can filter the hotels by their price on your listing page. As shown in the picture, you can create a different filter for the facilities. It’s actually part of the Hotel Listing template in Jupiter X. There are plenty of use cases you can make using these smart filters. Fortunately, Jupiter X provides a set of premade templates made for the purposes of listing. You can find them here and simply install them on your websites.

We’d also recommend that you take a look at the Jet Smart Filters documentation here if you are looking for more resources. Feel free to ask your questions below in the comments.
Wrapping up How to Create Custom Filters with Jupiter X
We need filters to provide a way to ease make it easier for our website visitors to find the best match of what they are looking for. Although there are dozens of ways to do it, we reviewed the following three methods we can use:
- Simple WordPress pages and search option
- Using WooCommerce and its filtering widgets
- Using Jet Smart Filters to create and use advanced filtering options
Each method has its own use cases. So, it’s better that you are first familiar with them and then put them into action based on your requirements.

No comment yet, add your voice below!