This is a guest post contributed to Artbees Themes blog by Kristin Savage.
Writing a brief for your WordPress developer is something you must never overlook or discard as unnecessary. If you want to get a high-quality end product, you must be ready to put in some effort to phrase what you want this product to be. Here are the things to keep in mind when creating a brief for your WordPress developer.
Why Is It Important?
A brief for your WordPress developer is important for four main reasons:
- It provides key details about what you want the developer to do and what you want the result to be.
- It sets the tone of your project and gives a general idea of what it is that you have in mind.
- It sets the timeframes and deadlines for the project describing when and what should be completed.
- It specifies the requirements and additional features you might decide to add later on.
If your brief achieves all of these, then your WordPress developer will definitely know what you want from them and what they must do to get the results you need. Now, let’s get into the step-by-step guide.
1. General Project Information
The first section of your brief contains general project information. It functions as a kind of introduction to your document that aims to provide some of the key data about the client and the project.
First, include your personal details such as your full name, contact information, the company or organization you are representing, and so on. Anything that you consider necessary can be added. If you are not the client, then include the details of the person who you are working for and who will be the client.
Second, include the basic details about the project such as the project’s name, timeframes, and so on. Don’t go into much detail about any particular piece of information in this section as these will be discussed later on in your brief.
2. Goals & Estimates
The next section of your brief must contain the goals and estimates for your project. Think of what you want to achieve with this particular endeavor and then also include what your personal goals are if you are in charge of it.

In addition to that, talk about the problems that the project will solve. These can be both big and small, but make sure to include at least one problem. Also, include estimates for your project and what you think it will achieve that is not connected to solving problems.
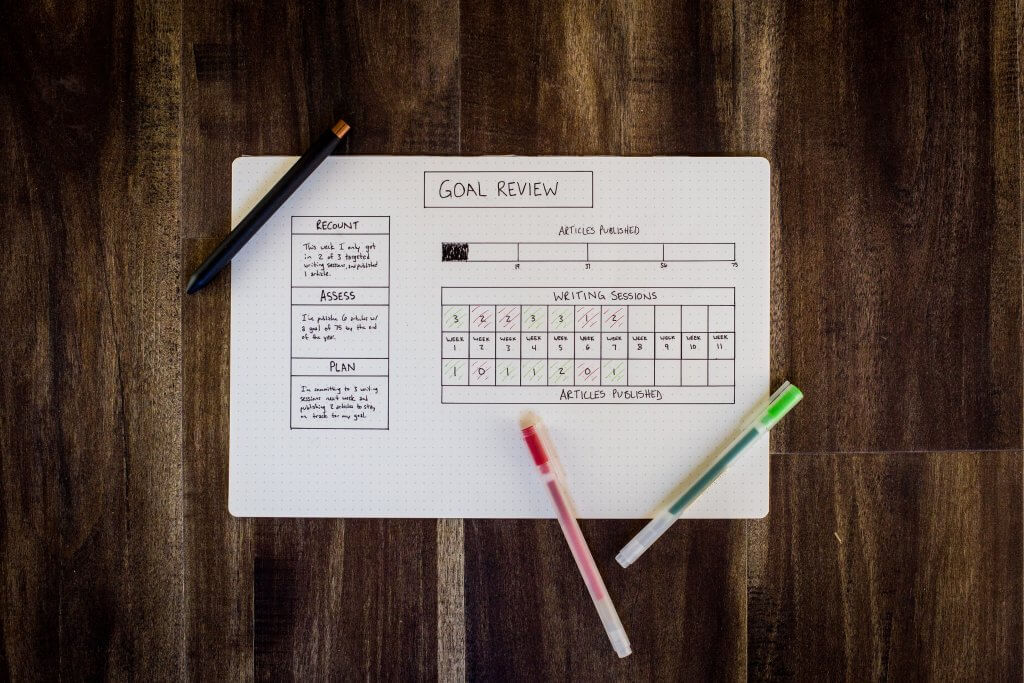
If you haven’t set your goals yet, it’s a good idea to use a goal tracking app such as Aha! to do this and keep your aims in front of you at all times as well as check progress.
3. Target Audience

The third section of your brief must contain the details about your target audience. If you haven’t researched this yet, then make sure to do it as soon as possible as this is a very important component of every successful project.
Describe such characteristics of your audience as its gender, age, occupation, location, interests, habits, and so on. Any relevant information will only be useful rather than a burden, so don’t be afraid to add something on top of that.
However, keep in mind that your audience may vary a lot and you may need to construct several customer personas. As long as you do this, you will be heading in the right direction with your project.
4. Detailed Project Description
This is the biggest section of your brief which goes into detail about every aspect of your project. Look back at your first section and elaborate on the points you made in it. You must be as precise and clear as possible. Otherwise, your developer won’t have a concrete picture of what you want and need.
If you don’t want to write your brief yourself, you can hire a professional from an online writing service such as Studicus to do this for you. Alternatively, you can ask only for this biggest part to be written for you and work on everything else yourself. If you decide to write your brief entirely on your own, make sure to check its grammar, spelling, and punctuation with the help of Grammarly.
5. Project Requirements
Right after the detailed project description, outline the project requirements. These include both functional and secondary requirements. Any tools, as well as resources, can also be added here in case you require those. Functional requirements are the ones that the project absolutely needs in order to be what you want it to be.
These include different features you want to be added and such. Secondary requirements are the ones that are not necessary right away and can be considered if there is enough time or resources for them. They serve as an additional advantage that your project may have in the future.
6. Timeline & Deadlines

This section must include a timeline with all of the deadlines for your project. Even though you included a start and end date in the very first section of your brief, you must elaborate on it here and outline other dates. Make sure that you write about deadlines and timeframes for each stage of development. This will guarantee that the progress is steady and you can check back on how your developer is doing every once in a while.
Alternatively, you may want to ask your developer to report back on certain dates. You can also outline another timeline that can be used in case the first one fails due to an unexpected turn of events. This will work as a kind of a Plan B, so you don’t necessarily have to include it into the brief and can simply keep it for yourself.
7. Budget & Expenses

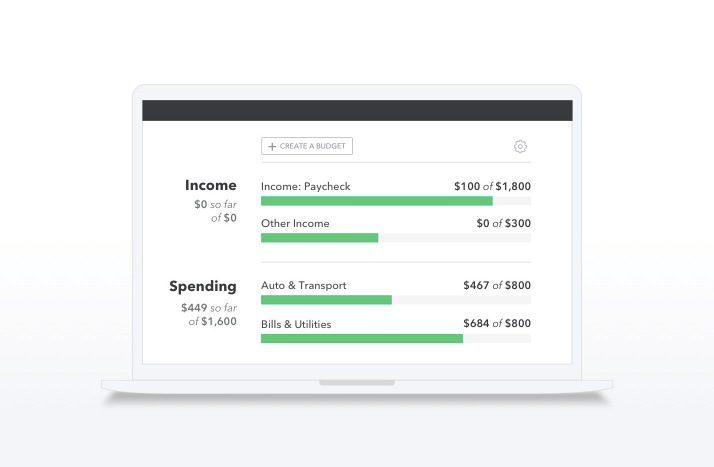
The budget and expenses are always a sensitive topic for both sides. This is why you must treat this section with caution and make sure that all of the data you include here is as accurate as possible. Think of all the expenses you will have. If there are any additional ones that can happen out of the blue, describe them too as you wouldn’t want any surprises. You can use different apps such as Mint to help you keep track of your budget and manage your bank accounts at the same time.
8. Measures of Success

The last section should include your measures of success. To put it simply, these are the standards that you will be comparing the result in order to check the project’s success. You must make them as realistic as possible, but not too high or too low at the same time.
You could say that these are similar to the second section of your brief where you mentioned your estimates. But unlike that section, this one should have more exact and concrete standards that you will stick to more seriously.
Final Thoughts on Creating a Brief for your WordPress Developer
In conclusion, writing a brief for your WordPress developer is definitely not as difficult once you know what it must include. Proper communication with your developer will ensure that both of you are aware of each other’s thoughts and intentions, so don’t hesitate to contact them if there is something you’d like to specify.


No comment yet, add your voice below!