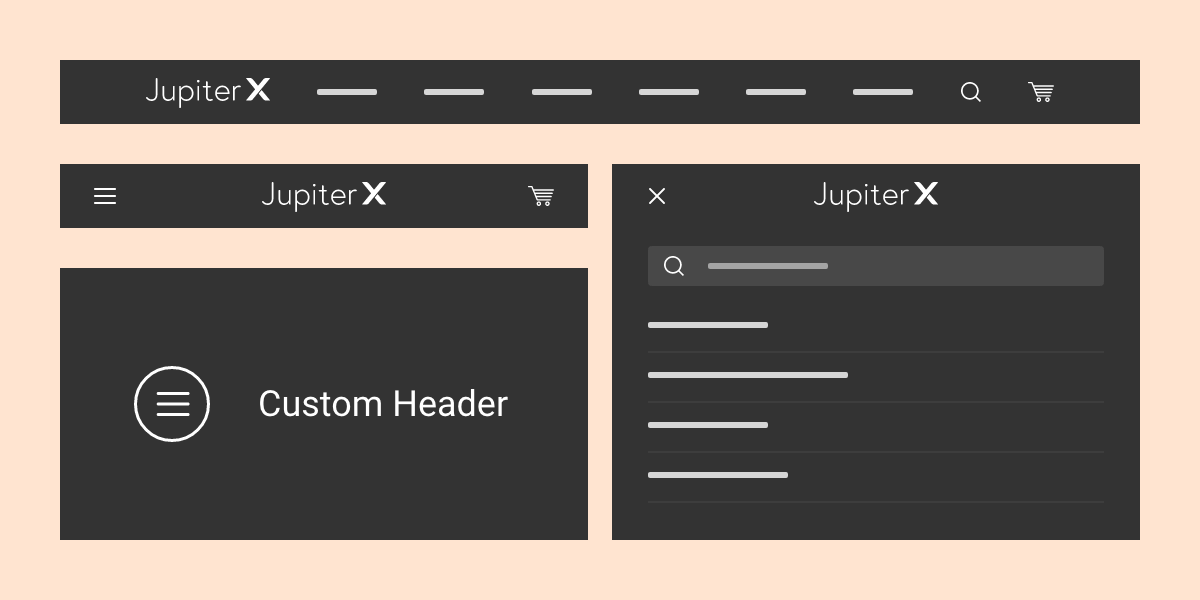
With the Jupiter X theme, you can create a new custom header from scratch using Elementor. It allows you to use all of the Elementor elements to build a highly customized header, which is the first thing visitors will see when they enter your site.
Please note that the Raven plugin must be installed and activated among the bundled plugins before being able to use the Custom Header feature with the free edition of Elementor.
The difference between the old Header Builder in Jupiter 6 and the Custom Elementor Header Builder in Jupiter X
Simply put, the old header builder has limited options and styles, while the custom Elementor header has virtually unlimited customization due to its widgets. This means that you will be able to add any Elementor elements to the header, including buttons, images, headings, icons and much more.
The Header Builder in Jupiter 6 doesn’t have as many elements, meaning the design is simpler:

If you’re looking for a more specific header design, Elementor will allow you to do just that:

What you can do with the Jupiter X Header Builder
With the power of the Elementor editor, you can design a custom header any way you like and be able to complete projects faster than ever before. You can also save a header template and reuse it for another project. With the Header Builder and the Raven plugin, things are going to be much simpler and faster.
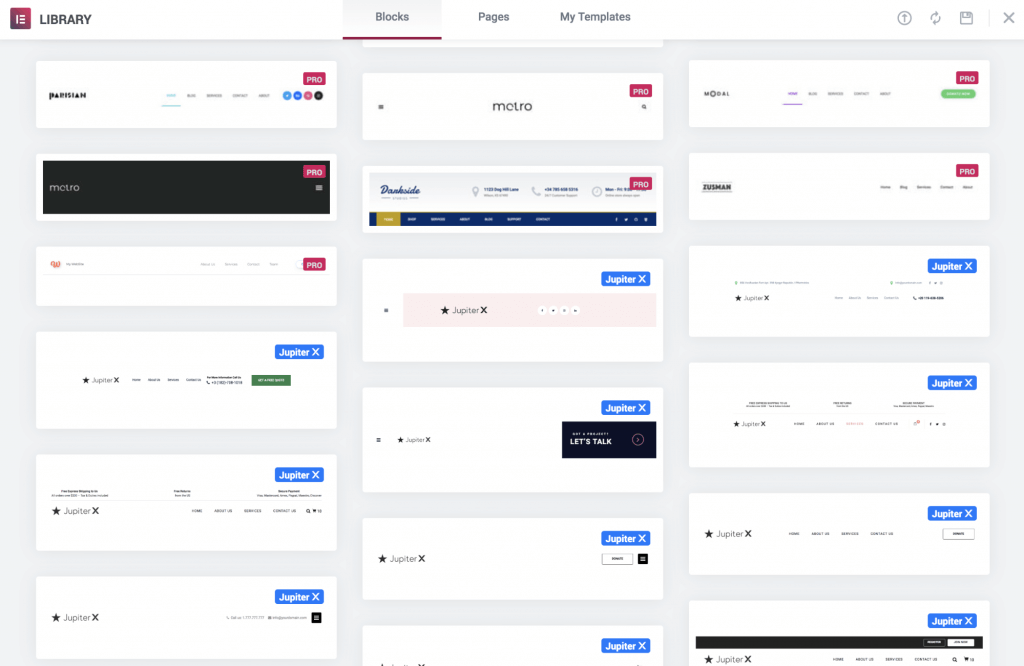
You also have the option of choosing a header from a large selection of designer-made blocks, which are readily available in the Template Library. There, you’ll be able to find templates from Jupiter X and the Elementor Pro version. Customize it any way you like, and give it your own personal touch.
Note that to use the Elementor Pro templates, you’ll have to buy the Elementor Pro version as the Jupiter X theme only provides the free version of Elementor. However, there are several Jupiter X header templates for you to choose from, and the Pro version is not required.
Creating a custom header like on the Apple website
Creating a custom header can be done with ease and in no time at all as code editing is not required.
As an example, we’ll use a header from the Apple website:

To create a similar header, make sure you have activated the Raven and Elementor plugins.
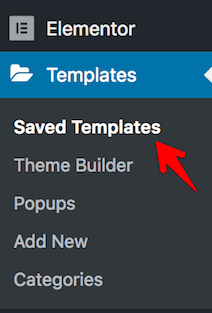
1. From the menu on the left side in WordPress, click on Templates and go to the Saved Templates menu
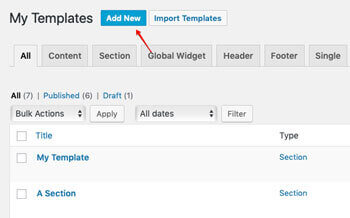
2. Click on the Add New button next to the My Templates title.
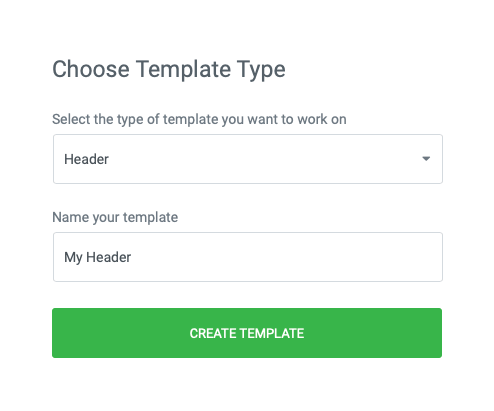
3. For the template type, select Header, give your header a name and click on the Create Template button.
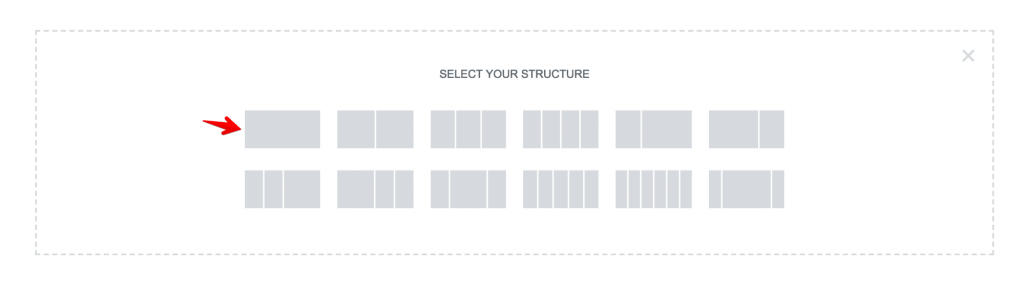
4. Click on the + icon to add a new section and select the structure as a row without columns.
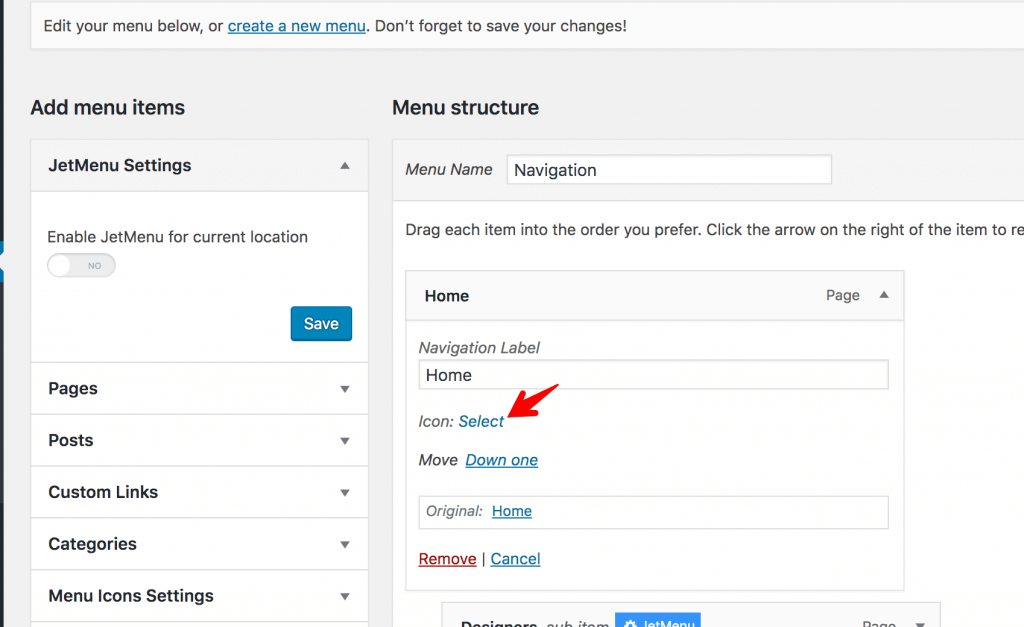
5. Before adding a menu to the section, create it in Appearance > Menus. If you want to have the icon as the homepage instead of just a text as on the Apple site, you will also need to activate the Menu Icons plugin that is bundled in the theme. Then, in Appearance > Menus, create a menu, and select an icon for your homepage item:
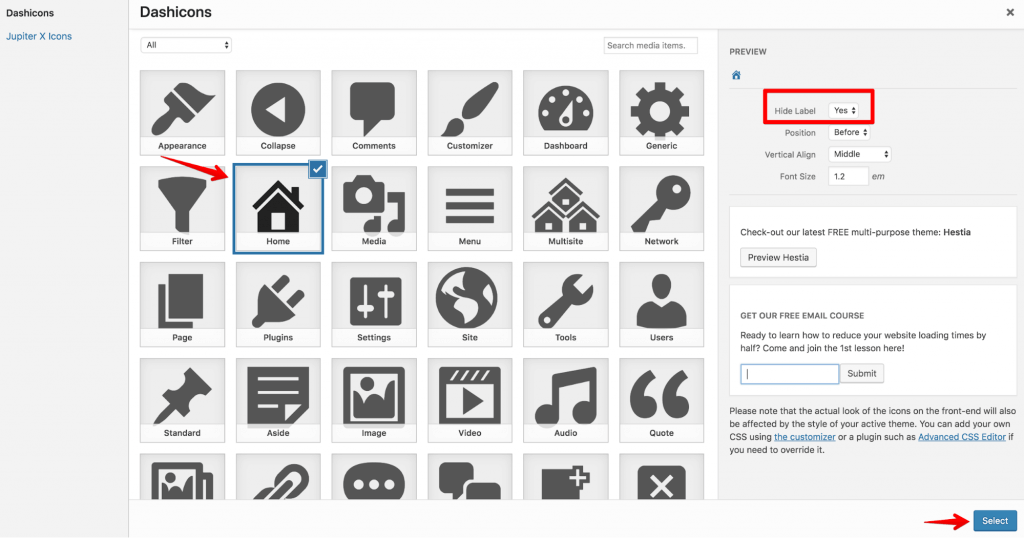
Select any icon you want. If you want to hide the Home text in the menu and only show an icon, you need to check the Hide Label option and set other settings. Then, click the Select button:
6. Add other menu items from your pages or custom links to complete the menu.
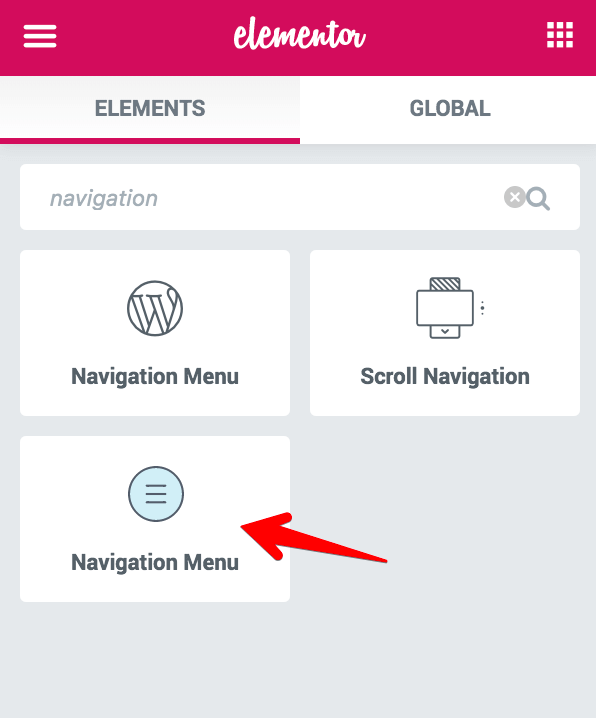
7. When it’s saved, go back to your header template in Elementor editor and look for the Navigation Menu element from Raven (the blue one).
8. Select your menu and enable the Menu Icons option in the Settings tab.
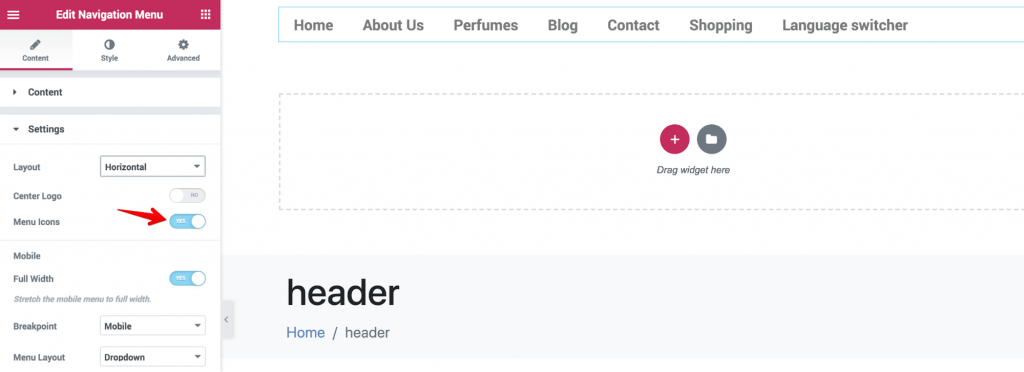
You’ll still see the Home label in the editor, but the icon will be shown on the frontend.

9. You can then add a background color for the header. You’ll need to edit the Section settings, and set the background in the Style tab:
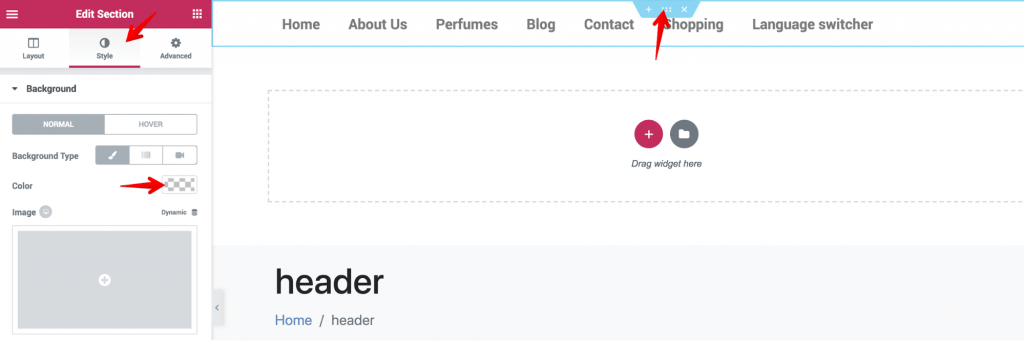
Also, style your Navigation Menu via the Style tab in the Navigation Menu settings.
Once you have made the needed changes to the header design, click Publish, and assign the custom header in Appearance > Customize > Header.

That’s it! You’ll now be able to see your handcrafted header live on your site. You can easily create as many headers as you like, and spread them across the relevant pages with a single click.
Wrap Up
From now on, you don’t need to change your header.php file or hire a developer to customize the CSS header elements of your site. Jupiter X features make designing a header quick and straightforward. With the bundled plugins like Raven, Menu Icons and the main one Elementor, you’ll be able to create any custom design for your header.

1 Comment
You can open the WordPress theme customizer (Appearance -> Customize) to customize the Jupiter X header using the default theme component customizer. The first thing you might want to do is modify the site logo. To do so, navigate to Site Identity -> Site Logo.