A portfolio is an essential section in your website for building your professional brand and getting more business to come in. A good-looking portfolio can open a lot of doors to meeting (and impressing) potential clients. Often, you can make a great first impression with your site visitors after viewing your online portfolio, so creating a powerful portfolio page can be extremely crucial to the future of your business.
A decent portfolio must cover a lot of bases. Apart from actually showcasing your work, the text alongside each piece must give the right level of context. Not only that, but it must also be designed well enough to catch people’s attention without shifting focus away from the work itself.
Making a portfolio attractive, organized, and easy to maintain can be challenging, and Jupiter X does just that. Jupiter X helps you create a unique and beautiful portfolio that looks stunning on all devices and screen sizes, in a matter of minutes.
Jupiter X uses the Raven Posts element for creating and displaying Portfolios with Elementor. The Posts element allows you to display posts from Portfolio post type. It also offers many features such as layout, filter by categories, pagination styles, and more. You can also change the featured image size, set excerpt length and change “Read More” button text and other settings.
When you create and customize your portfolio list with Jupiter X, you can:
- Show/Hide portfolio meta elements such as Featured Image, Title, Category, Excerpt, etc.
- Show/Hide Portfolios based on Portfolio Name, Category, or Tags.
- Define the number of columns and rows of portfolios in the list and the space between rows and columns.
- Enable/Disable pagination option.
- Enable/Disable portfolio Sorting.
- Show Portfolios in two layouts — Grid and Masonry.
In this article, we will guide you step by step through learning how you can customize your portfolio list with Jupiter X by a practical example. But before customizing the Portfolio List page, you must create it.
Creating a single Portfolio Post
- From your WordPress left menu, go to Portfolios and click on Add New.
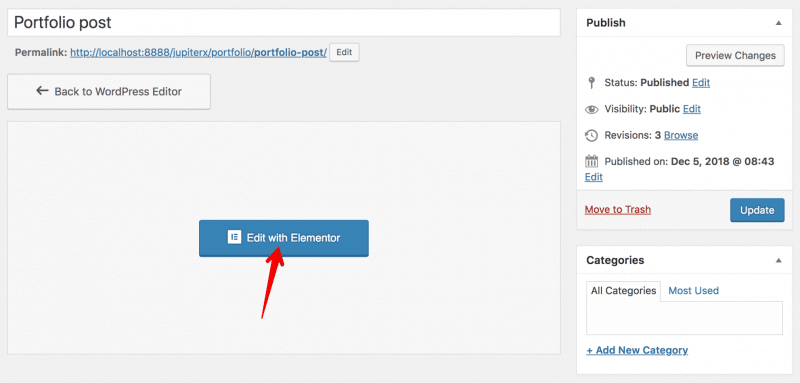
- Enter a title and click on Edit with Elementor button or use default WordPress editor to add your content to a post.
- Add the needed content to your post.
- Publish the post and check the result.
Note: If you don’t see Edit with Elementor button in the Portfolio Post editor, you need activate it in Elementor > Settings as described in this article.
After adding portfolio posts, the next step is to add a Portfolio list page by Creating a custom Portfolio page. In order to display the content of the Portfolio post type in your Elementor’s layout:
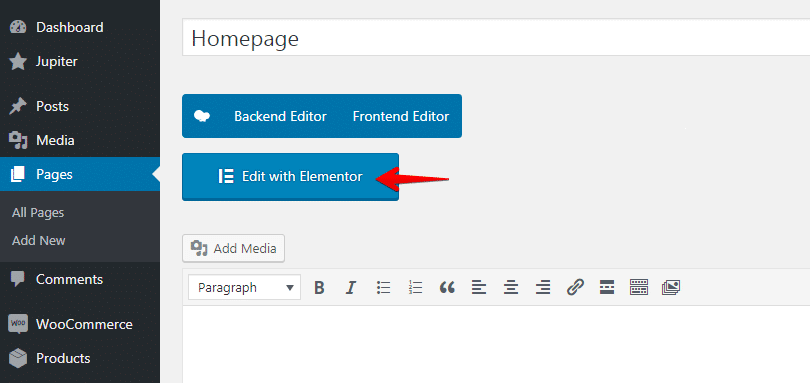
1. Add a new page or edit an existing one.
2. Click on Edit with Elementor button.
3. From Elementor’s left dashboard, drag and drop the Posts widget into your layout so that a new panel will open on the left side of Elementor with the element’s specific settings.
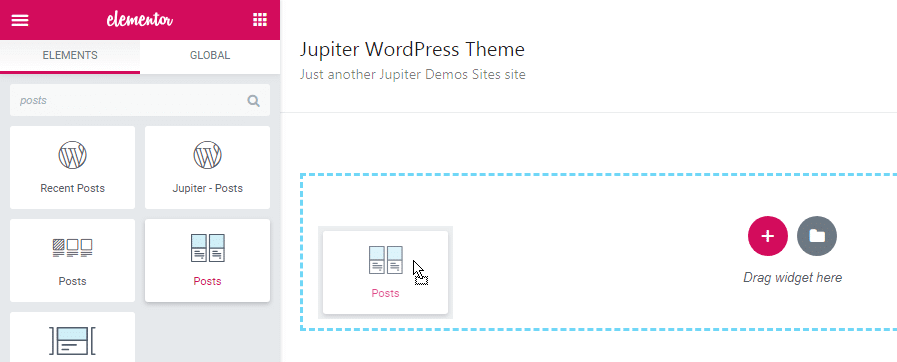
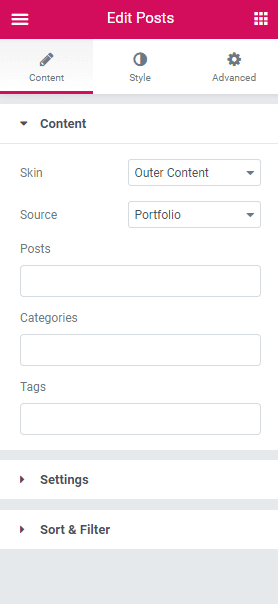
4. From the Content tab and within the Content section, set the Source of the posts to Portfolio
5. Update the page.
Customizing Portfolio List with Posts widget
After creating Portfolio Page, you will be able to customize your portfolio list with Jupiter X Raven Posts widget. To modify the portfolio list you’ve created:
1. From the WordPress left dashboard, go to Pages > Portfolio Page > Edit with Elementor. A new dashboard on the left will open with the element’s settings.
Settings
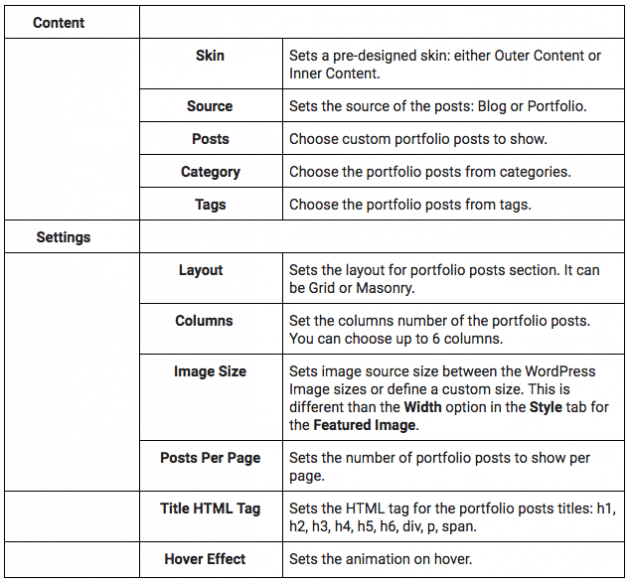
Here are the all available options in Raven Posts Widget Content tab:
You can show/hide the element parts in the settings. Here is the list of things you can show or hide on the Posts element:
- Feature Image
- Post Title
- Categories
- Author
- Date
- Comments
- Excerpt
- CTA Button
- Pagination
- Sortable
When you show/hide these options in settings, they will automatically show/hide in the Style tab.
Styles
Here is the description of all available options for styling elements which can be found in the Styles tab by clicking on Customize for a specific element.
There are also general settings for the options that you enabled in the “Content” tab in the Settings section:
- Feature Image
- Post Title
- Meta
- Excerpt
- CTA Button
- Pagination
- Sortable
Case Study
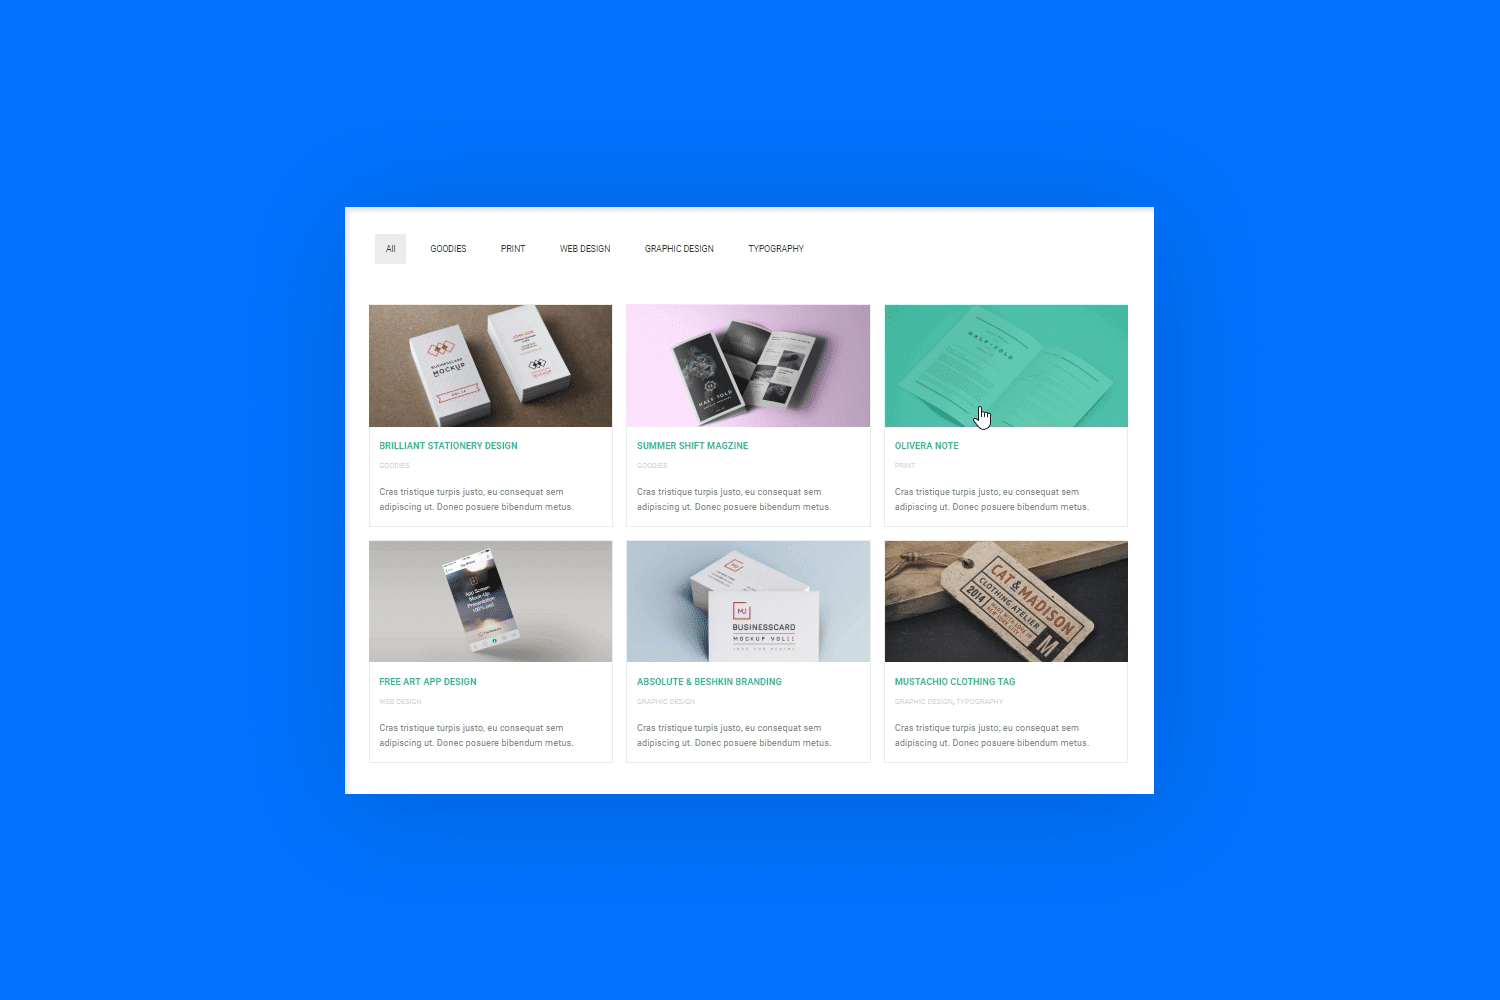
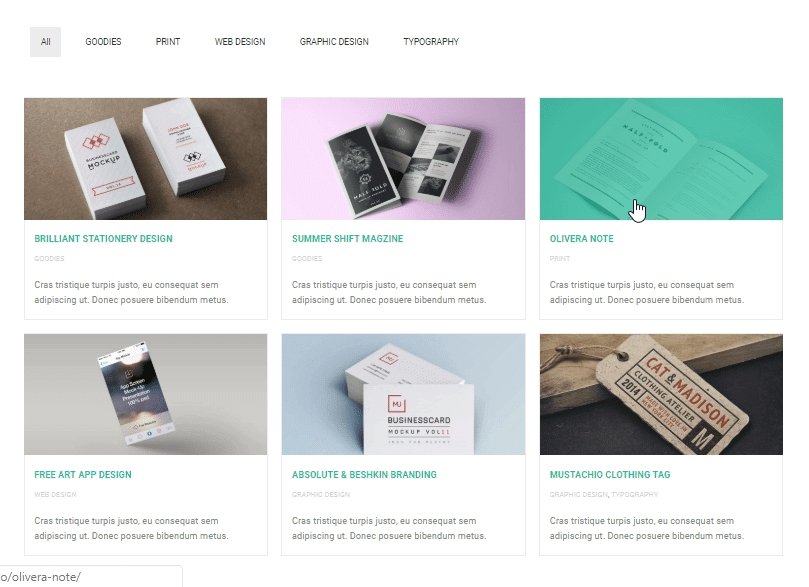
Let’s pretend that we want to create a Portfolio List page with 2 columns and 6 posts per page (demo is shown below). Your Sortable option should be enabled as well to sort the portfolios based on Portfolio Categories.
Here’s what you can do:
1. Create a Portfolio List page as described before.
2. Go to WordPress left Menu > Pages > Portfolio Page > Edit with Elementor.
It would look like this:

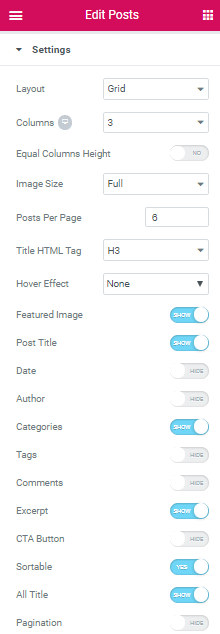
3. Edit the Raven Posts Element, and in the Content tab set the Skin to Outer Content, while in the Settings Tab, let’s customize the following Settings:
- Layout: Grid
- Image Size: Full
- Title HTML Tag: H3
- Hover Effect: None
We also enable the Featured Image, Post Title, Category, Excerpt, Category, and All Title Options.
4. It’s time to style the elements you’ve enabled for portfolio posts. So, navigate to the Styles tab. You can see all the available items you can customize there.
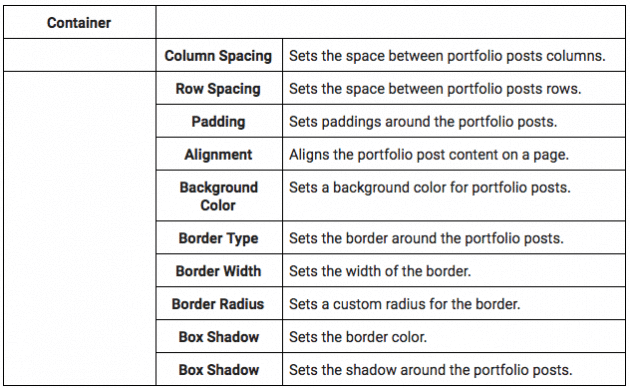
Let’s start with customizing the Container:
- Column Spacing: 20px
- Row Spacing: 20px
- Font Weight: 700
- Border: Solid
- Border Width: 1px
- Color: #eaeaea
Leave the Padding, Alignment and Background color, Border Radius and Box Shadow as they are.

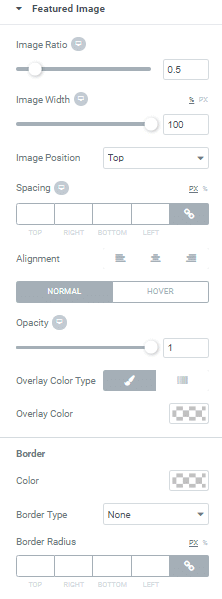
Featured Image
- Image Ratio: 0.63
- Image Width: 100%
- Image Position: top
- Opacity: 1
- Hover:
- Overlay Color: rgba(27,188,155,0.63)
Leave other Featured Image Style options as it is.
Post Title
- Typography:
- Font Family: Roboto; Size: 14px; Weight: 700;
- Spacing: 0 0 0 15px
- Color: #00bc9600bc96
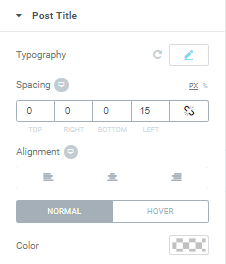
Leave other Post Title Style options as it is.
Meta
- Typography:
- Font Family: Roboto; Size: 14px; Weight: 700;
- Spacing: 15px 0 0 0
- Links Color: #d6d6d6
Leave other Meta Style options as it is.

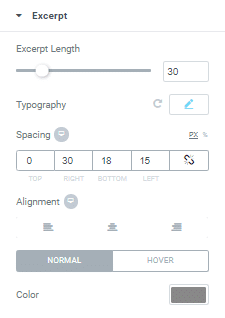
Excerpt
- Excerpt Length: 30
- Typography:
- Font Family: Roboto; Size: 14px;
- Spacing: 0 30px 18px 15px
- Color: #888888
Leave other Excerpt Style options as it is.
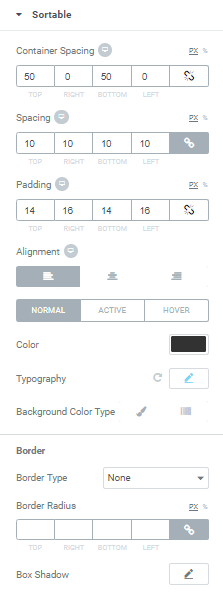
Sortable
- Container Spacing: 50px 0px 50px 0px
- Spacing: 10px
- Padding: 14px 16px 14px 16px
- Alignment: Left
- Color:
- Normal: #323232, Active: #323232, Hover: #1bbc9b
- Background Color:
- Normal:None, Active: rgba(0,0,0,0.08), Hover: None
- Typography:
- Font Family: Roboto; Size: 14px; Weight: 700;
Leave other Sortable Style options as it is.
5. After you’re done with all the customizations, simply publish or update the page. The page should now look like this:
Summary
In this article, we’ve explained how you can create and customize your Portfolio List with Jupiter X. Are you ready to wow your site visitors with your own portfolio page?

No comment yet, add your voice below!