Saving money is essential in today’s world. There are several cost-cutting measures out there like replacing normal light bulbs with LEDs, installing a programmable thermostat, getting rid of unused memberships, and so forth. But that only helps save a couple of bucks here and there. One of the best money savers you can offer customers is a deal or discount. This article explores how you can easily build a deals website with Jupiter X.
What is a deals website?
As the name suggests, a deal or discount website is a place where visitors can purchase some products or services for a discount or a much cheaper price. Also, a deals website can provide their visitors with coupons so they can use to buy products or services cheaper from an online store like Amazon and eBay. There are several deals websites on the internet such as Dealnews, Woot, Offers and more.
WordPress has several plugins in WordPress to conveniently build deals websites such as:
- WP Coupons and Deals
- WordPress Coupon Widget
- Coupon Creator
- Affiliate WP
- JC Coupon
- Affiliate Coupons
In this article, we cover the Affiliate Coupons plugin to create a simple deals website with Jupiter X.
Affiliate Coupons

Description
Affiliate Coupons is a coupon plugin that allows us to add coupons and deals to our post and page with simple shortcodes. Also, we can show coupons in the sidebar or widget area with a widget.
The coupon shortcode comes with the click to copy the coupon functionality, which means that the coupon code is copied to the clipboard when the user clicks on the coupon.
With the Affiliate Coupons plugin, we can further define categories, types, and vendors and then assign our coupon to them.
Features
- Create vendors and predefine affiliate links.
- Create coupons and link them to vendors.
- Display coupons via a shortcode on the frontend.
- Multiple options in order to filter/sort your coupon presentations.
- The configuration page for more options and customizations.
- Prepared templates: Standard, Grid & List.
- Widgets for displaying coupons in your sidebar
Useful shortcodes
- Single Coupon Shortcode – Can be used to show any single coupon.
- Example: [affcoups id=”123″]
- Multiple Coupon Shortcode – Can be used to show multiple coupons at once.
- Example: [affcoups id=”123,456,789″]
- All Coupons Shortcode – Can be used to show all coupons.
- Example: [affcoups] or [affcoups max=”10″]
- Coupon Category Shortcode – Can be used to show coupons from a specific category.
- Example: [affcoups category=”123″] or [affcoups category=”group-xyz”]
- Coupon Vendor Shortcode – Can be used to show coupons from a specific vendor.
- Example: [affcoups vendor=”123″]
- Coupon Types Shortcode – Can be used to show all coupons from a specific type.
- Example: [affcoups type=”123″] or [affcoups type=”type-xyz”]
- Show/Hide Expired Coupons – Can be used to show/hide expired coupons.
- Example: [affcoups hideesc_html_expired=”true”] vs [affcoups hide_expired=”false”]
- Sorting Coupon – Can be used to sort coupons (acs/desc) or order by (name, date, random, title, description, discount, valid_from, valid_to).
- Example: [affcoups order=”asc”] or [affcoups orderby=”title”]
- Coupon Template Shortcode – Can be used to show coupons in standard, grid, list, and widget.
- Example: [affcoups template=”standard”] or [affcoups grid=”3″]
Creating a deals website with Jupiter X using the Affiliate Coupons plugin
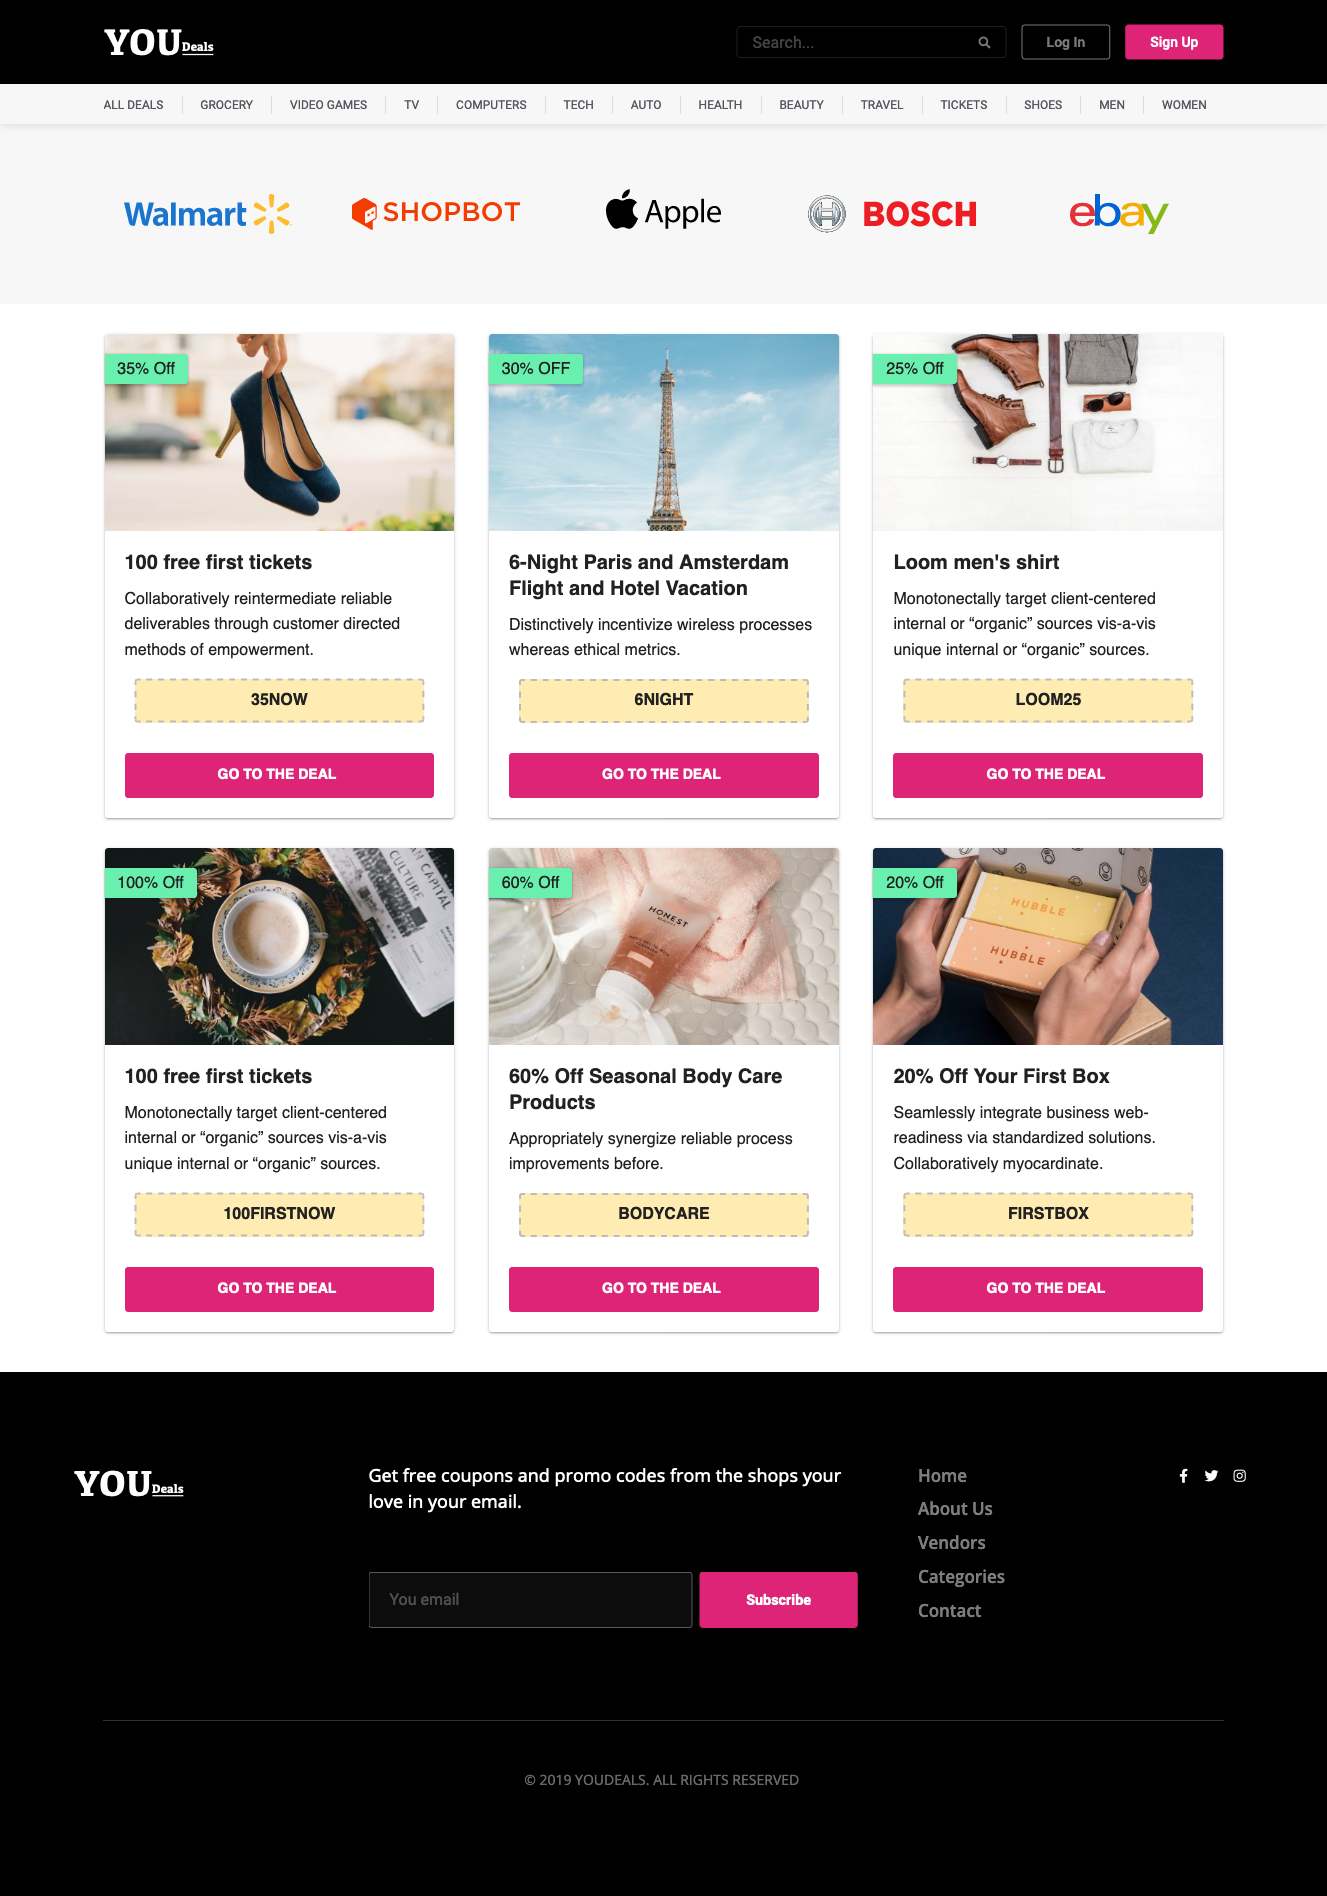
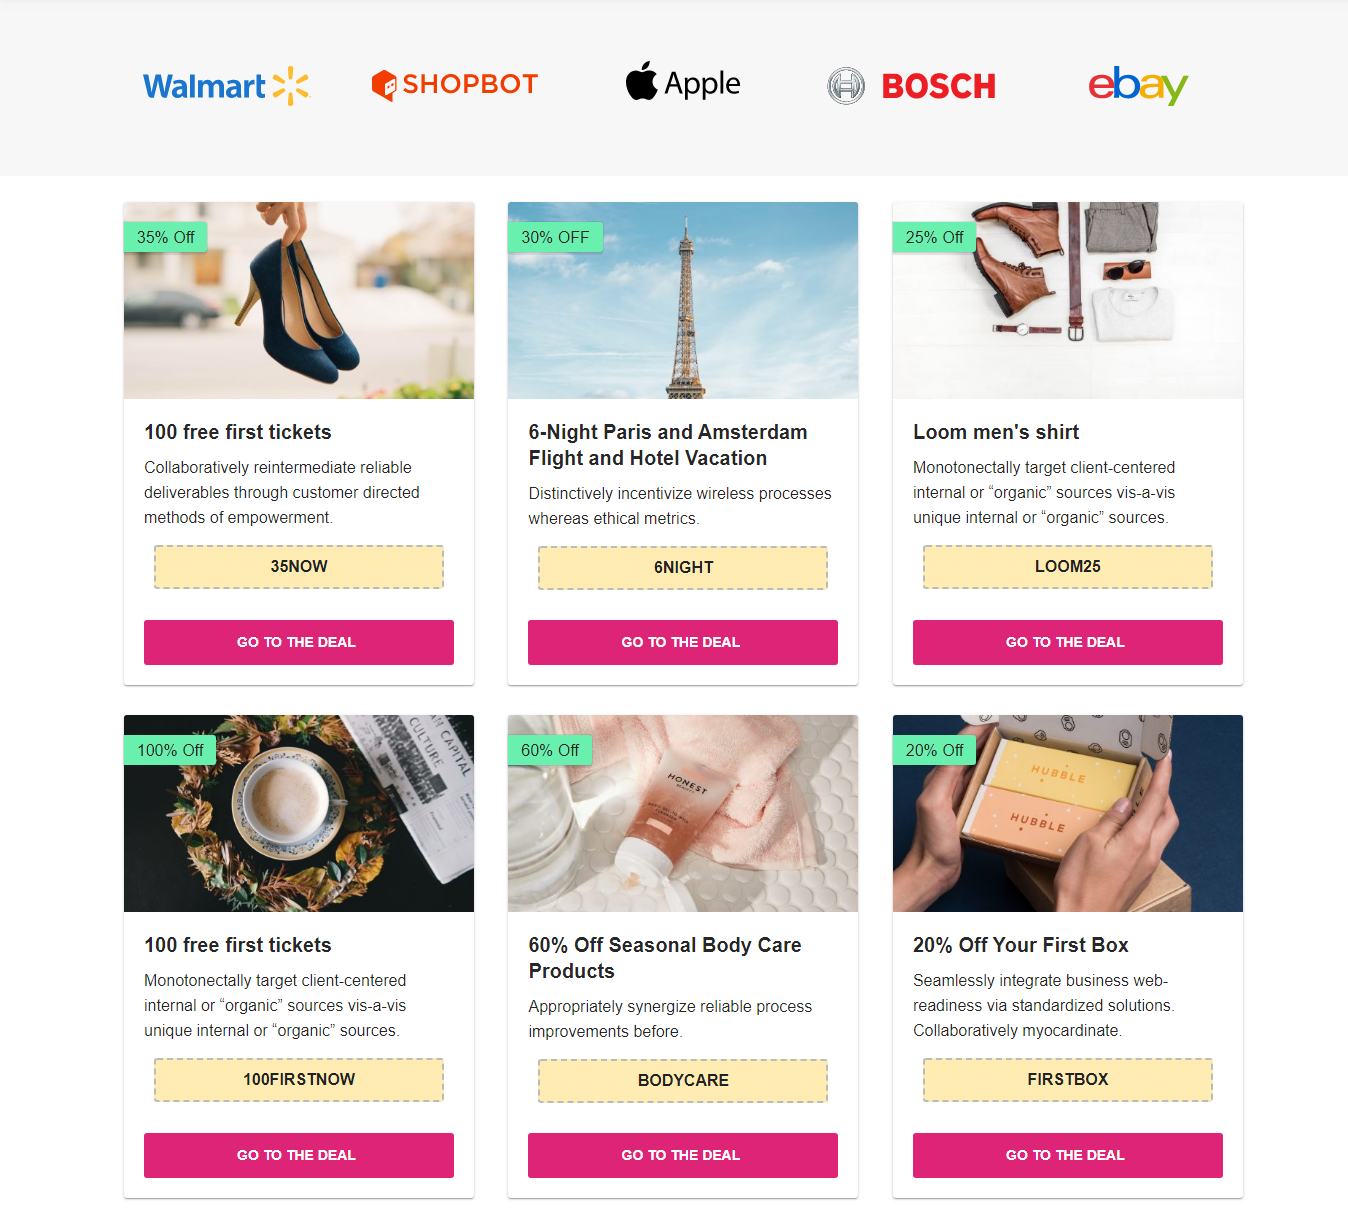
At the end of this article, we’ll create a simple website like below.
Note: The scope of this article is about creating a simple Deals website with Jupiter X, Elementor and the Affiliate Coupons plugin so we won’t be able to explain every single detail in depth. If you need more in-depth resources about Jupiter X, you should read the following articles containing its explanatory video.
- How to Build a Modern Agency Landing Page with Jupiter X
- How to Build a Restaurant Landing Page with Jupiter X
Our site consists of the header, content, and footer as the main parts. Let’s start by creating the content.
Creating the Content
For creating the content part of the site, we should first install and activate the Affiliate Coupons plugin. We will be able to create the required pages, coupons, vendors and categories with this plugin.
Creating the vendors
Vendors are the shops, websites, and providers that we will provide coupons for on the site. Following the steps below to create vendors.
1. Go to Affiliate Coupons > Vendors.
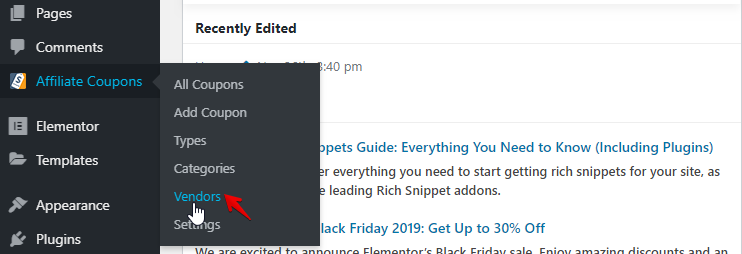
2. Click on the Add Vendor button.

3. On the new screen, set the Title and Url, then click on the Publish button.
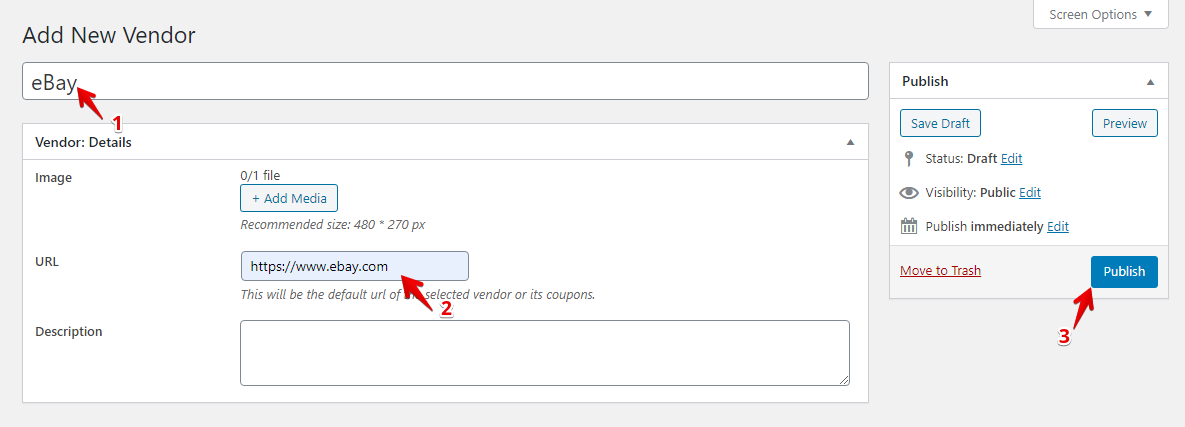
After clicking on the Publish button, the plugin generates a shortcode for us, which we can use in a related page later on.

Repeat the aforementioned steps to create as many as vendors you need.
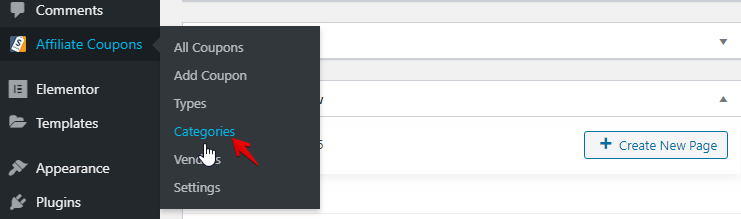
Create Categories
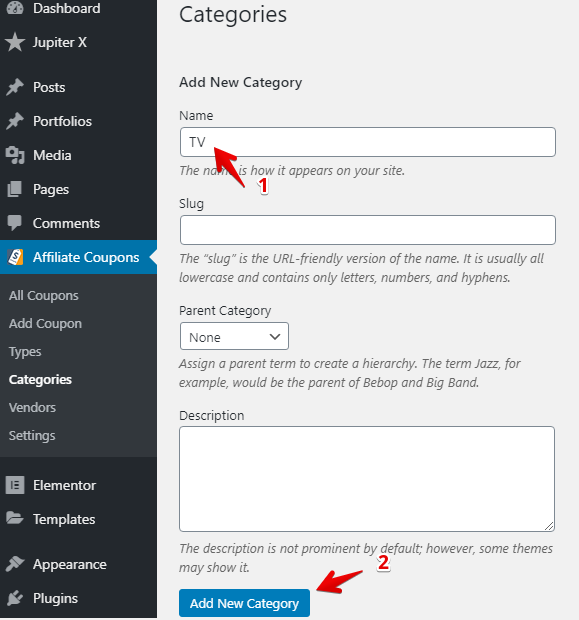
1. Go to Affiliate Coupons > Categories.
2. In the new screen, set the Name or other optional settings, and then click on the Add New Category button.
After adding the category, a shortcode will be generated for this category.

Repeat the previous steps to create as many as vendors you need.
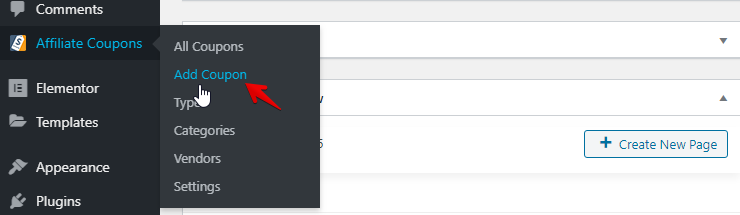
Creating the Coupons
A coupon is a ticket or document can be used to get a discount when purchasing a product. Let’s add some coupons for your users by following the steps below.
1. Go to Affiliate Coupons > Add Coupon.
2. In the new screen, set the essential settings like below.
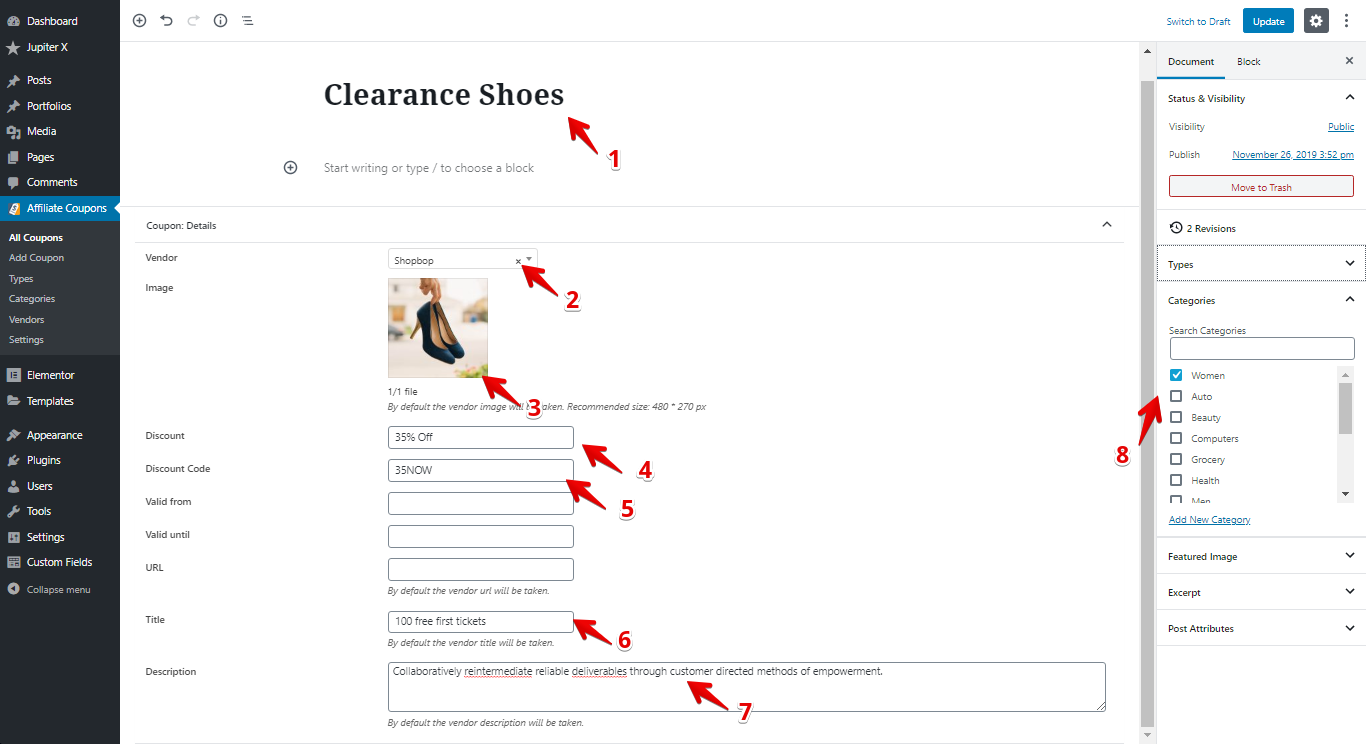
Now, you’ll be able to see a coupon like below.
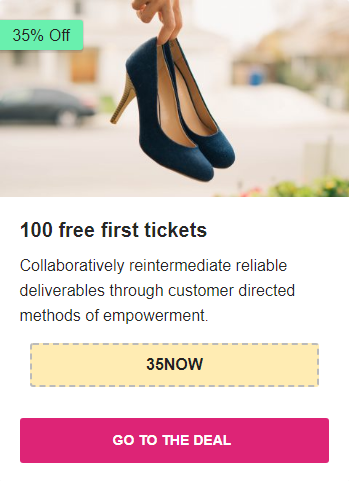
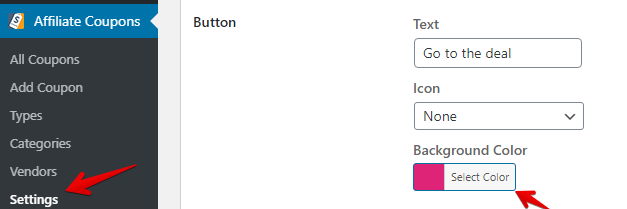
Note: Go to Affiliate Coupons > Settings > General Tab, and set the Button Background Color to #dd2476.
Create the Pages
We at least need the following pages to run a proper site.
- Home page: The frontend page.
- All deals page: Shows all coupons from all categories and vendors.
- Categories pages: Unique page for each category.
- Vendors pages: Unique page for each vendor.
Create Category Pages
Create a new page, set a title and add a Shortcode widget to the page. Add a category shortcode like [affcoups category=”15″] to it.
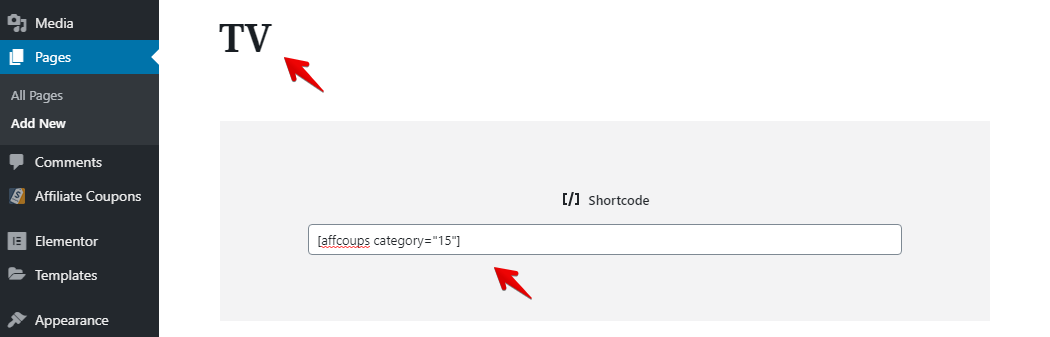
Repeat the previous step to create as many as category pages as you need.
Create Vendor Pages
Create a new page, set a title and add a Shortcode widget to the page. Add a vendor shortcode like [affcoups vendor=”74″] in it.
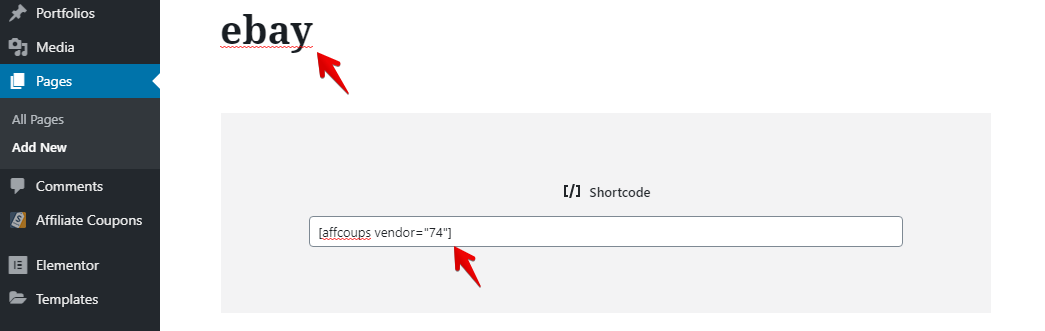
Repeat the aforementioned step to create as many vendor pages as you need.
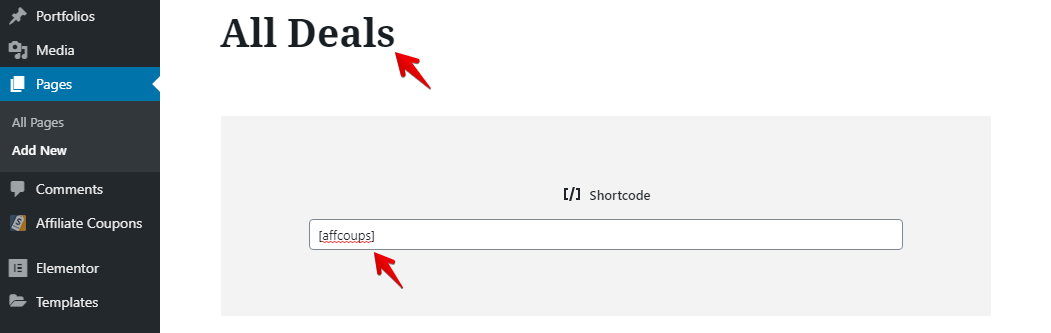
Create an All Deals Page
Create a new page and add [affcoups] shortcode in it.
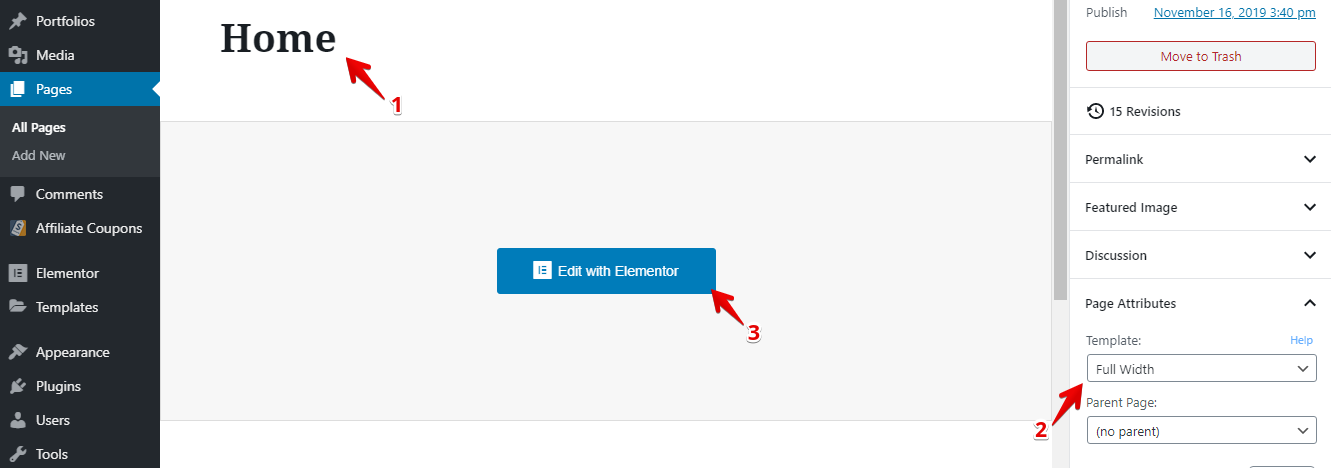
Create a Home Page
Create a new page with the Full-Width template then edit it with Elementor.
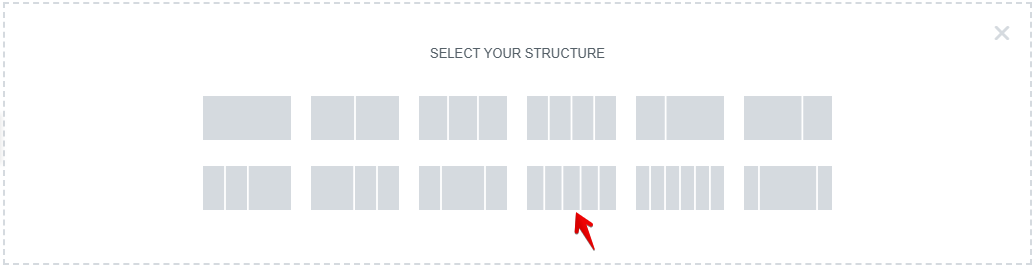
1. Add a section with five columns as shown below.
2. Set the background color of the section to #f7f7f7.
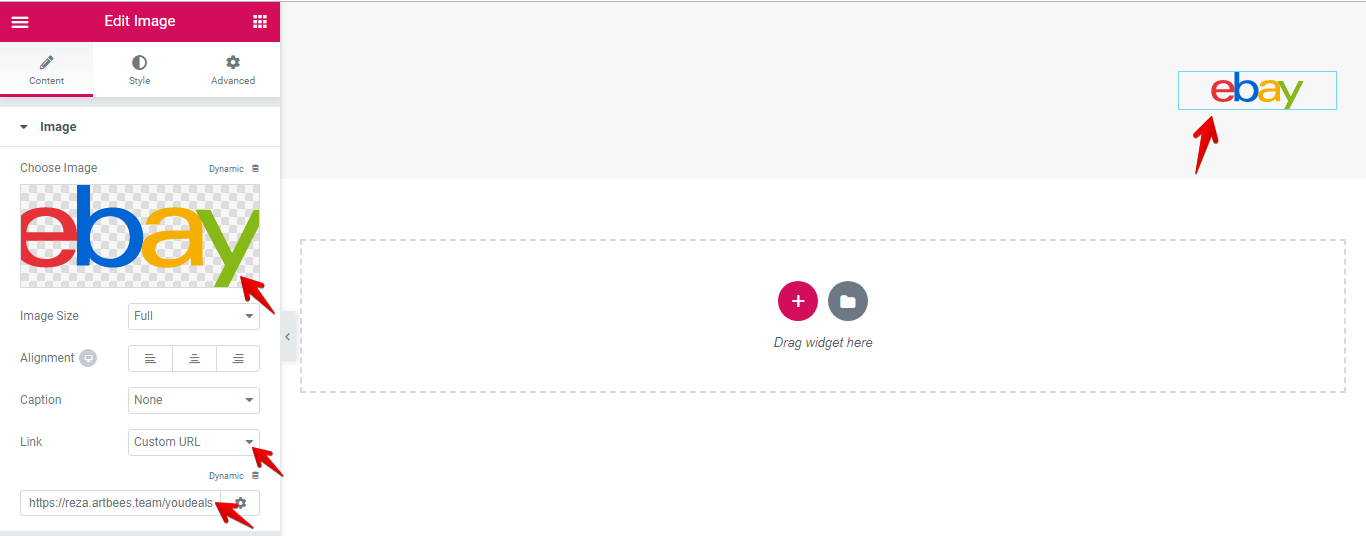
3. Add an image widget to each column, then set proper images and set a proper link for each image.
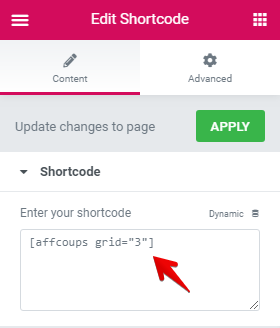
4. Add a new section with one column to page then add the Shortcode widget with [affcoups grid=”3″] value to it.
In the end, we should have a page as shown below.
Creating the Header Part
In order to build the header, we can use Jupiter X’s awesome custom header feature in Customizer.
Note: Before creating the header, we need to set our site’s logo from Customizer > Site Identity > Logo.
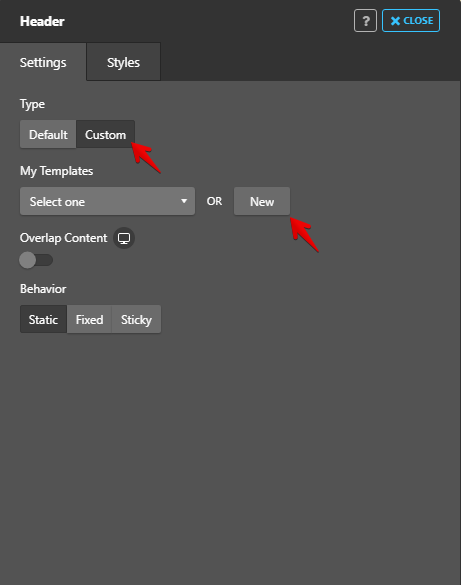
1. Go to Customizer > Header, select Custom type then click on the New button.
2. Add a section to the page, then add Logo, Flex Spacer, Search Form and two Buttons widgets one by one to the section. Modify the settings to get the look that you want. Consider that all the widgets (except Flex Spacer) have an Inline position that you can set in Advanced > Custom Positioning for each widget.

3. Add another section to the page and set the background color (#f7f7f7). This section displays categories.
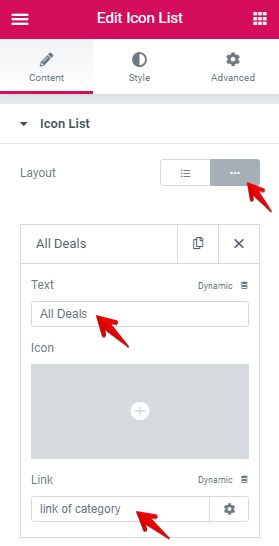
4. Add the Icon List widget to the section. Add the necessary items, and set the Text and Link of related pages.
In the end, we’ll have a header as shown below.

Creating the Footer Part
Similar to the Header, we use the Custom Footer feature of Jupiter X.
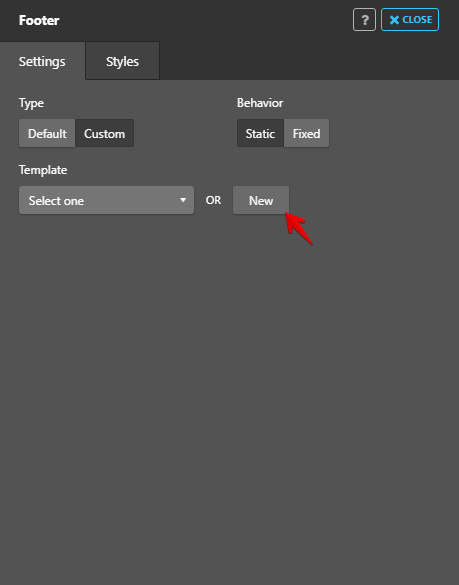
1. Go to Customizer > Footer, select Custom type then click on the New button.
2. In the Elementor editor, click on the Add Template button.

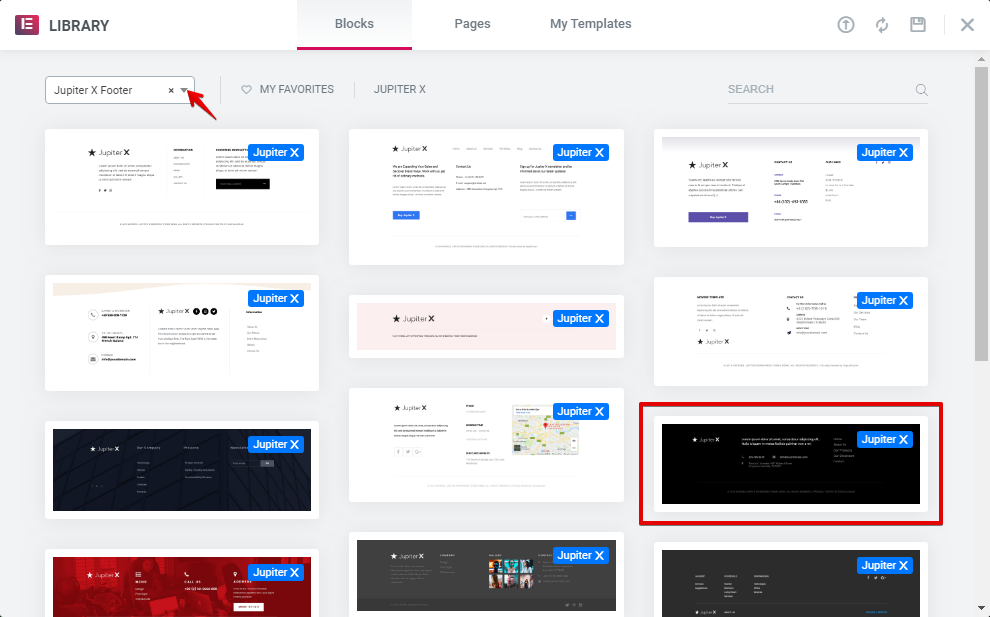
3. From Block > Jupiter X Footer Category, insert the following footer.
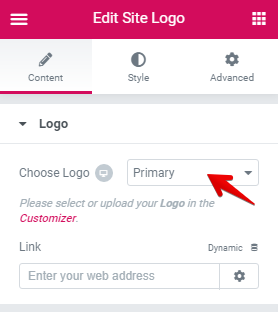
4. Edit the Logo widget and set it to Primary.
5. Replace the top text with “Get free coupons and promo codes from the shops your love in your email“.
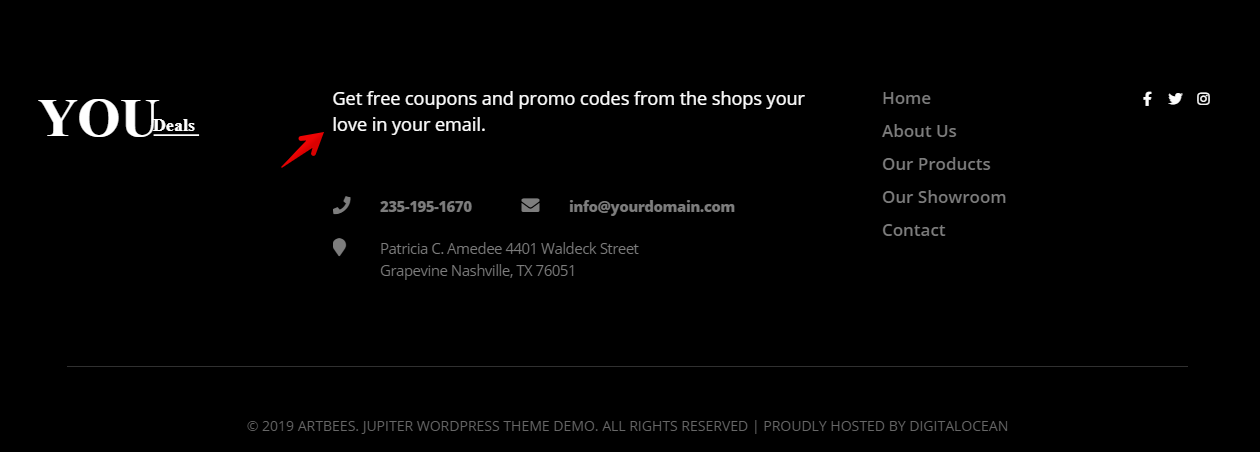
6. Replace Phone, Email and Location widgets by a Form widget with only an email field. Set the button color to #dd2476 and some other styling.
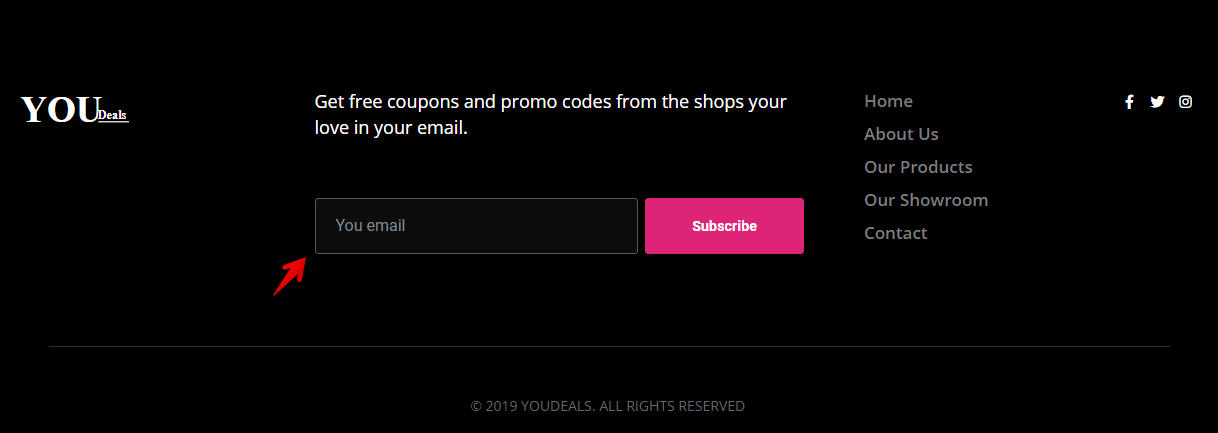
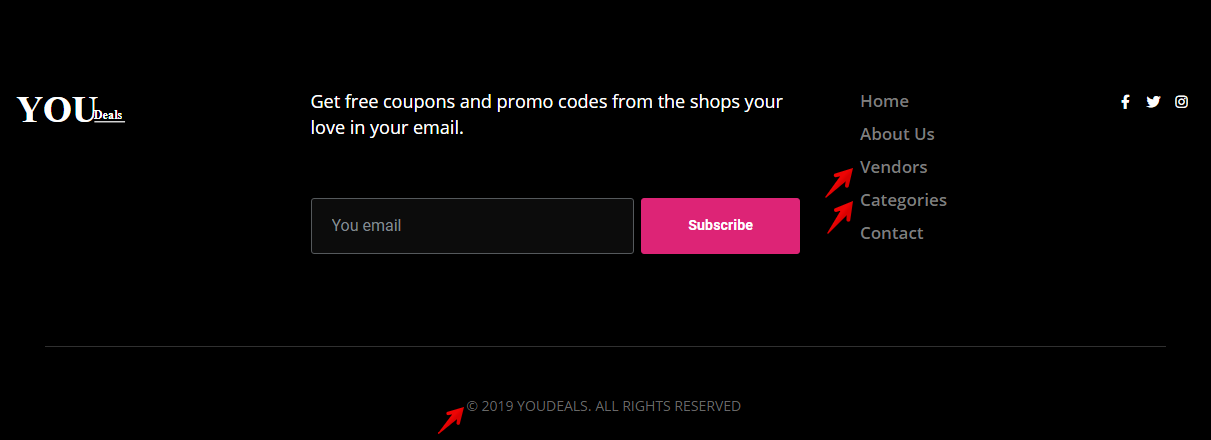
7. Change Our Products to Vendors and Our Showroom to Categories. Also, change the sub-footer text to “© 2019 YOUDEALS. ALL RIGHTS RESERVED“.
That’s a Wrap!
In this article, we defined what a deal site is and then introduced you to some useful plugins that help in creating a simple deal site. More specifically, we used the Affiliate Coupons plugin and its shortcodes to build the site.
Finally, we showed you how to easily create a simple deals website with Jupiter X. Feel free to share your thoughts and experiences in the comment section below!

No comment yet, add your voice below!