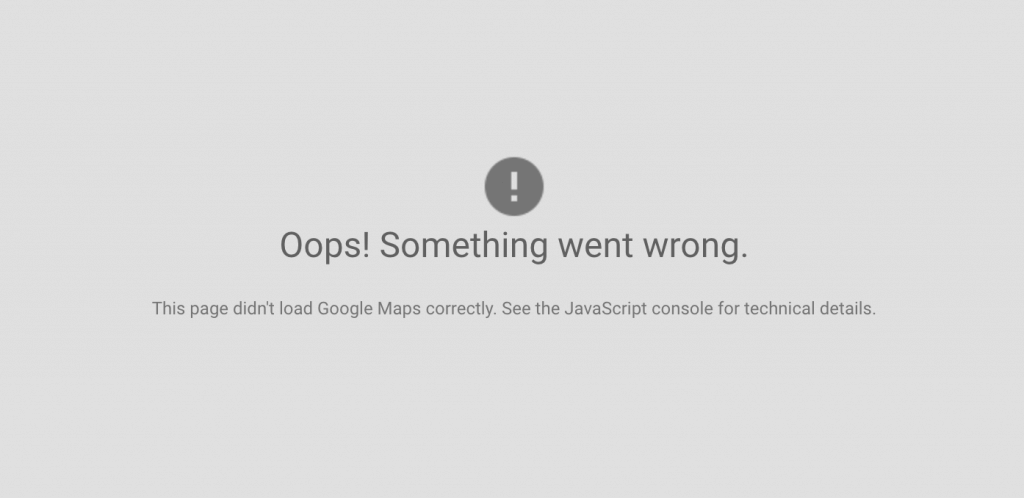
Many websites created by Jupiter users include a Google Map element. They’re particularly helpful for businesses who have a set location that they would like their visitors to know about and visit. But in using Google Maps, you might run into difficulties such as error messages as seen in the image below. In the next paragraph, we’ll explain in detail why you’ve received this message and how you can begin using alternatives to Google Maps!
The launch of Google Maps Platform
As of 11 June 2018, Google Maps changed its name to Google Maps Platform. With this change, any site that uses Google Maps is required to have a valid API key and a Google Cloud Platform billing account. Featuring Google Maps on your website is still possible, but you’ll have to make some modifications to how it is set up, including giving Google your credit card.
- For more information on the new changes, check out the API-specific Billing Changes and the guide to understanding billing.
- You can also estimate your monthly bill under the new pricing model with the pricing calculator.
You can read more about the restructuring of Google Maps here.
Without an API key, sites with Google Maps will no longer be supported, and any Maps requests will now show only low-resolution maps watermarked with “for development purposes only” unless a credit card is associated with it.
If you are unwilling to create a billing account with Google, you can still find some Google Maps alternatives. We’ll list some of them.
Open Street Maps as a Google Maps Alternative
Tons of sites all around the world are working on OSM. The WP OSM Plugin is an open-source plugin with a free license and without any pro version or a business plan.
Features of the WP OSM Plugin include:
- Add geolocation to a post or a page
- Add GPX and KML files or just a single marker to a map
- Add maps as shortcode or widget to a post/page
- Fullscreen map, maps with markers linked to post/page with geolocation
- OpenStreetMap, OpenSeaMap, Stamen maps, basemap, etc.
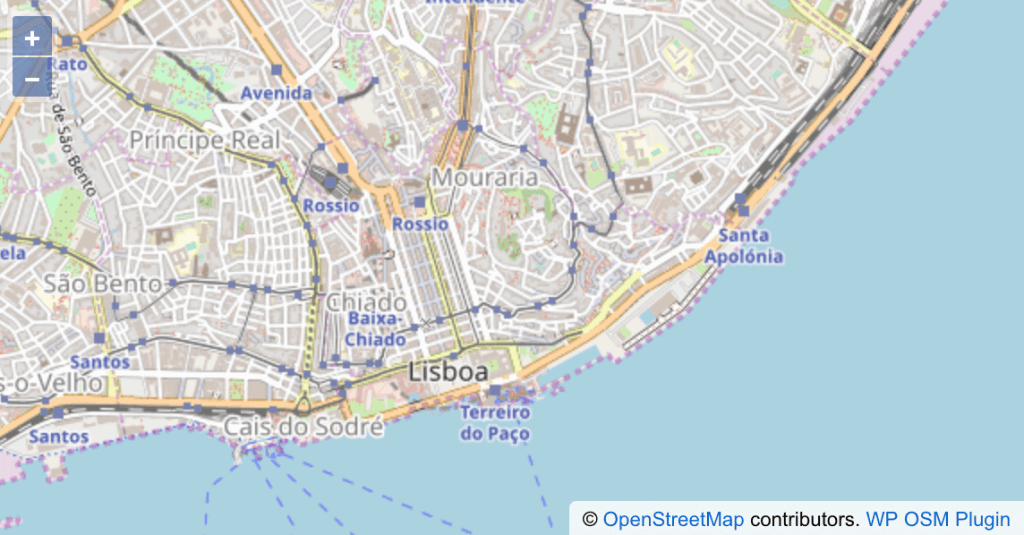
You can read their FAQ and documentation on their official site.
Read the “Display a simple map” article to find out how to add a map to your WordPress site.
MapBox
Another alternative to Google Maps is MapBox. Mapbox is an online mapping service that allows users to customize maps – much more than Google Maps ever did. You can change backgrounds, road colors, and a lot more directly with a simple interface.
WP Mapbox GL JS Maps is the only plugin that enables you to make highly customized maps with 3D features, custom icons, zooming, custom filters, among many more options. It has a free and an inexpensive premium version, which adds custom markers, better control over directions, and more advanced control over marker and popup behavior.
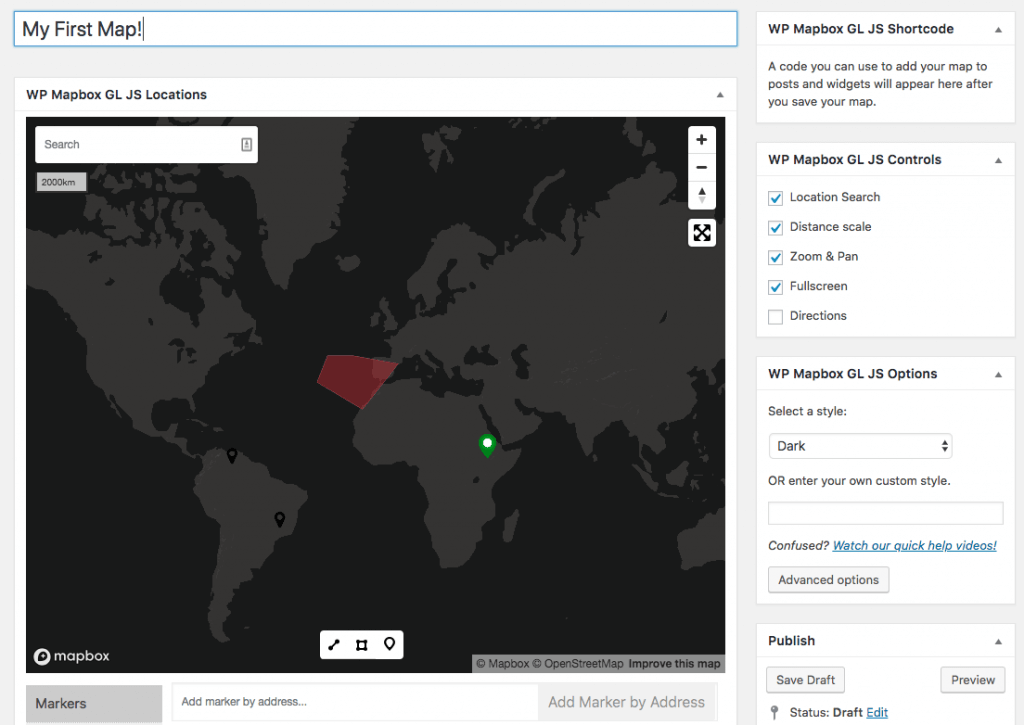
To get started with MapBox, visit http://mapbox.com/ and click “Sign Up.” There are different pricing options you can select when signing up for MapBox. For now, go ahead and sign up for a free account, which comes with more than enough to get started. Read more here on how to use it.
The plugin provides you with a live preview while building the map, so you’ll always be able to see what the map will be before it’s published onto the main site. You can embed your map with a shortcode or publish it directly!
We’ll now show you how to use these alternatives to Google Maps on the Jupiter X site and describe the Open Street Map.
How to use Open Street Maps on Jupiter X
You’ll first need to install the OSM plugin in your WordPress dashboard via Plugins > Add New as described in this Jupiter X article.
Then follow the instructions from the OSM article:
1. Create a page or a post where you want to show a map and open it to edit.
2. Find the “WP OSM Plugin shortcode generator” section in the page editor and customize the map to your liking.
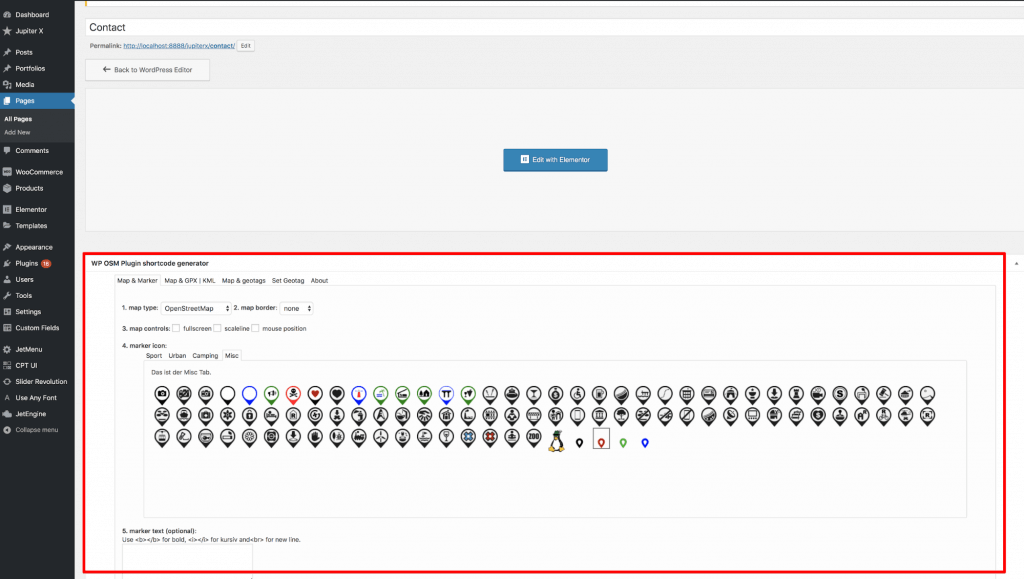
3. Below, you’ll see a map that you’ll need to adjust. Click on the place where you want to show a marker on the map. It will generate the map latitude and longitude based on where you placed the marker.
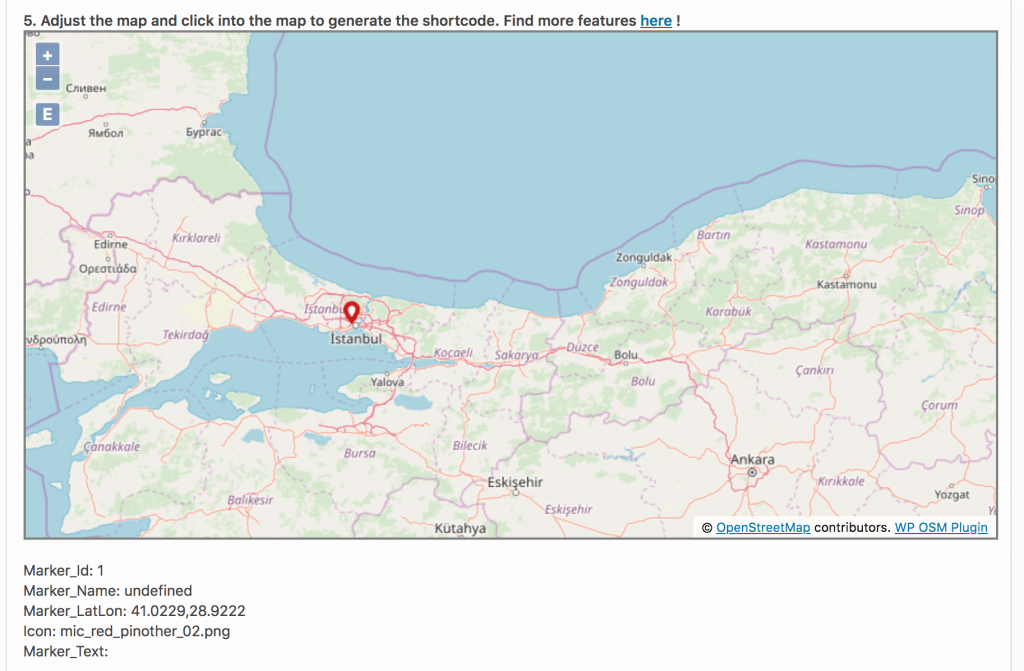
4. The last step is saving your marker and generating the shortcode.

5. You’ll see a shortcode above the button.
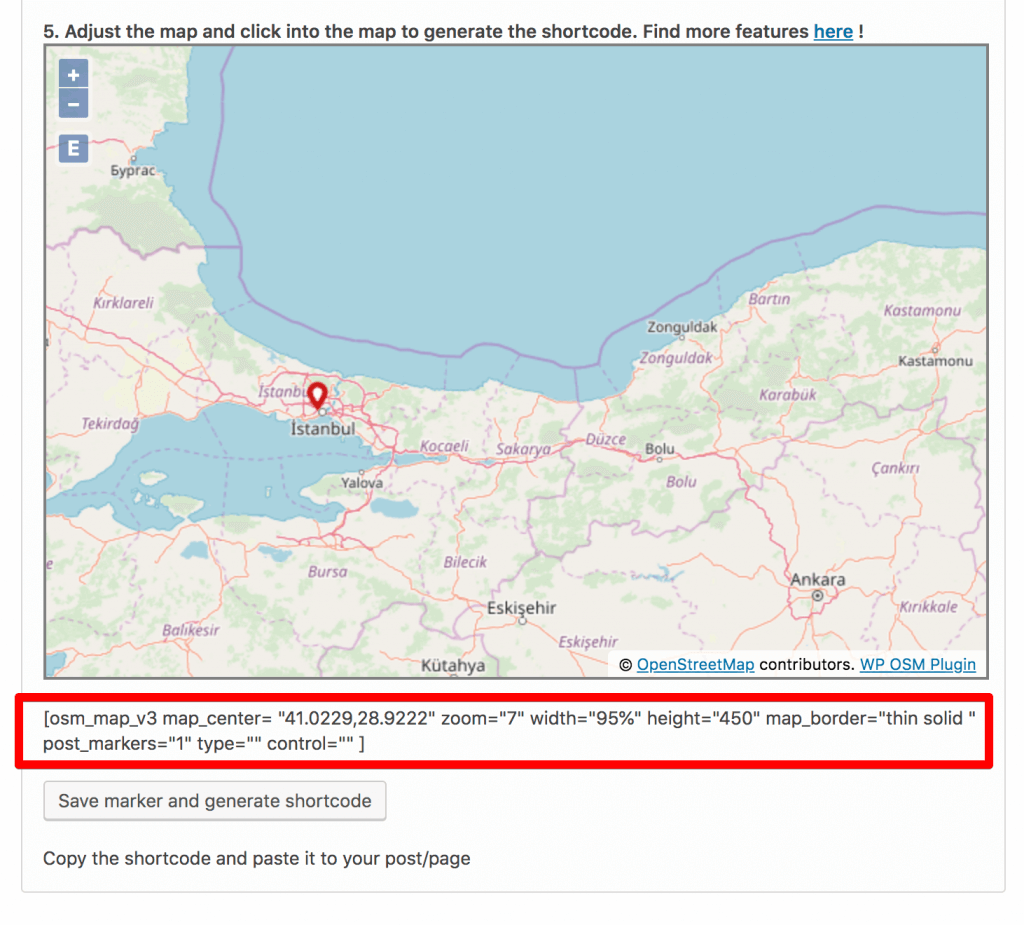
6. Copy it to be able to add it to the page in the Elementor editor.
7. Once you’ve copied the shortcode, you can go and edit the page with Elementor.
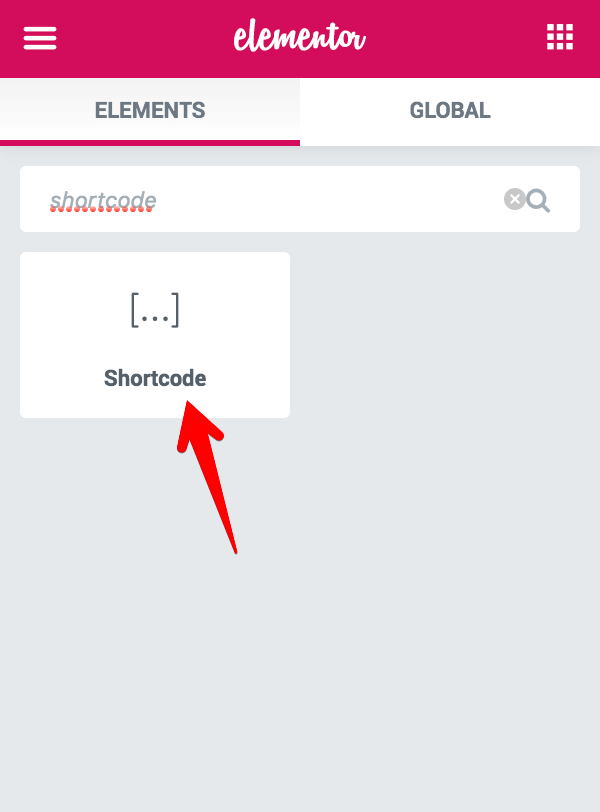
8. Look for the “Shortcode” widget in the Elementor editor.
9. Drag it to the page and paste the OSM shortcode you copied in the previous step.
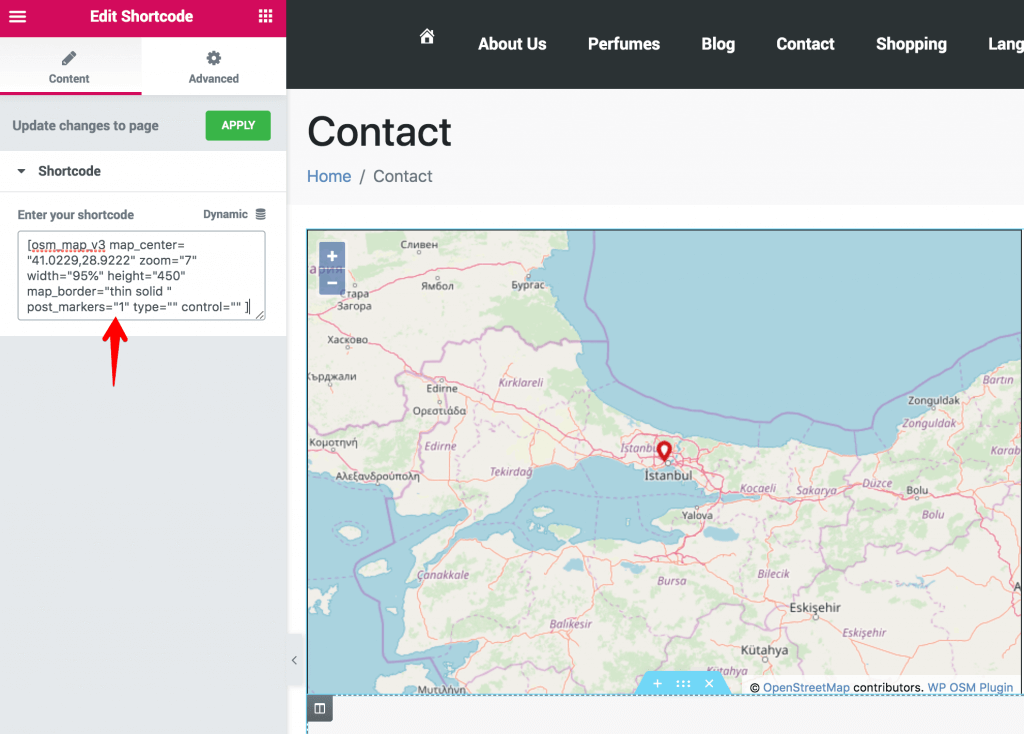
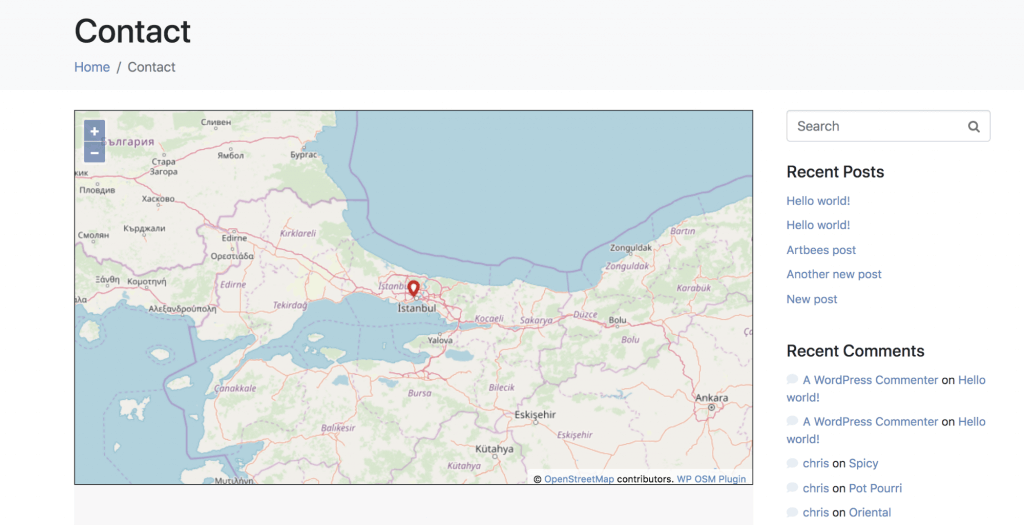
10. You’ll see the map as you styled it. Here is the result you’ll see on the frontend:
Wrapping Up
Open Street Maps and MapBox are fantastic free plugins for placing detailed, interactive maps on your website. If you take the time to read the instructions for the plugins, you’ll find that they are a useful way of enhancing any post or page.


No comment yet, add your voice below!