Today we will be talking about Klarna, a Swedish fintech company that provides online financial services, such as payment methods for online shops. Klarna provides a wallet app that allows you to shop now and pay later, with the payment split into four installments. In this article, we are going to see how we can integrate Klarna with WooCommerce and add an express pay button to your checkout page that enables one-click checkouts.
I assume that you already have a WooCommerce website and own a SellKit license (free for all Jupiter X WP users) and now you want to add the Klarna Express Pay button to your shop checkout. SellKit is a booster for WooCommerce stores, offering sale funnels, smart discounts, smart coupons and notices with analytics and customer segmentation. If you are new to SellKit or WooCommerce, you can get it here for free and learn how to use it here.
Install Klarna Checkout for WooCommerce
You can download Klarna Checkout for WooCommerce from the WordPress plugin page.
After downloading and activating the plugin, navigate to WooCommerce > Settings > Payments and then press the Manage button to access the plugin settings page.

Configuring Klarna Checkout
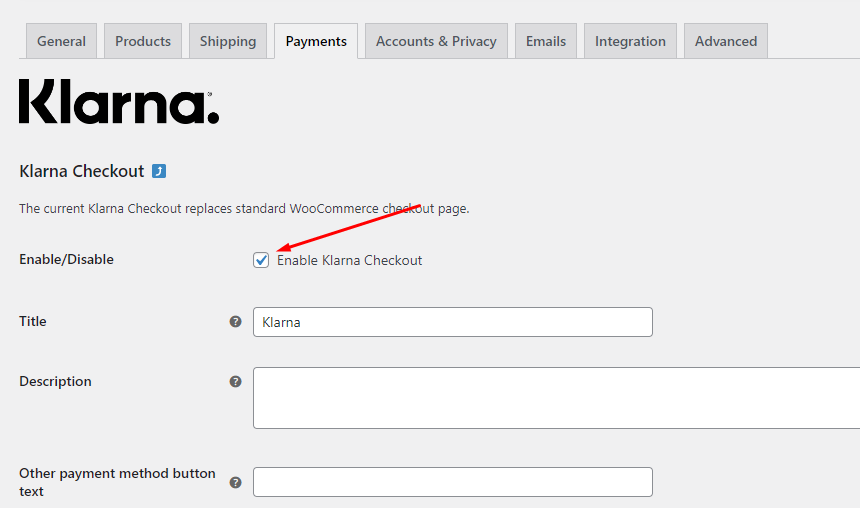
From the Payments tab of the Klarna Checkout settings page, make sure to enable it for your store.
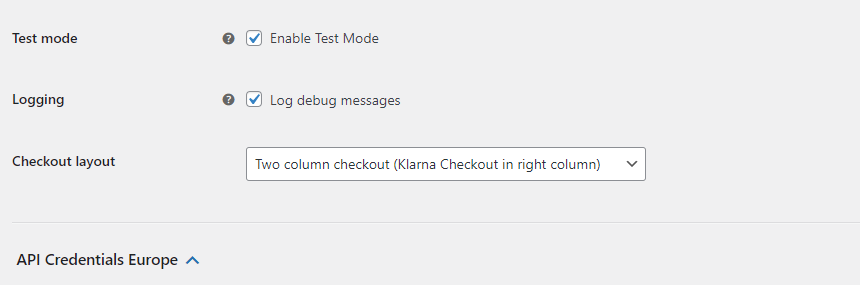
Then head to the test environment, where you can check the test mode feature.
Now let’s get the required API keys from the official website.
First, go to Klarna Docs at docs.klarna.com and click on the merchant portal at the top right corner.

Choose the region based on your store’s location.
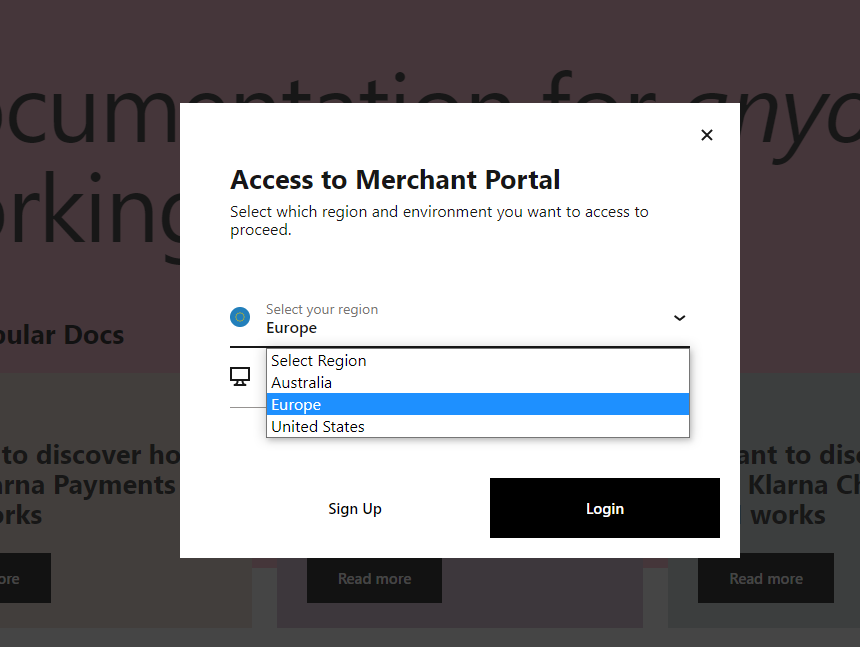
For test purposes, choose the Playground option from the environment dropdown field. For the live website, choose the Production option.

Then, press Login if you already have an account or Sign Up to create a new account.
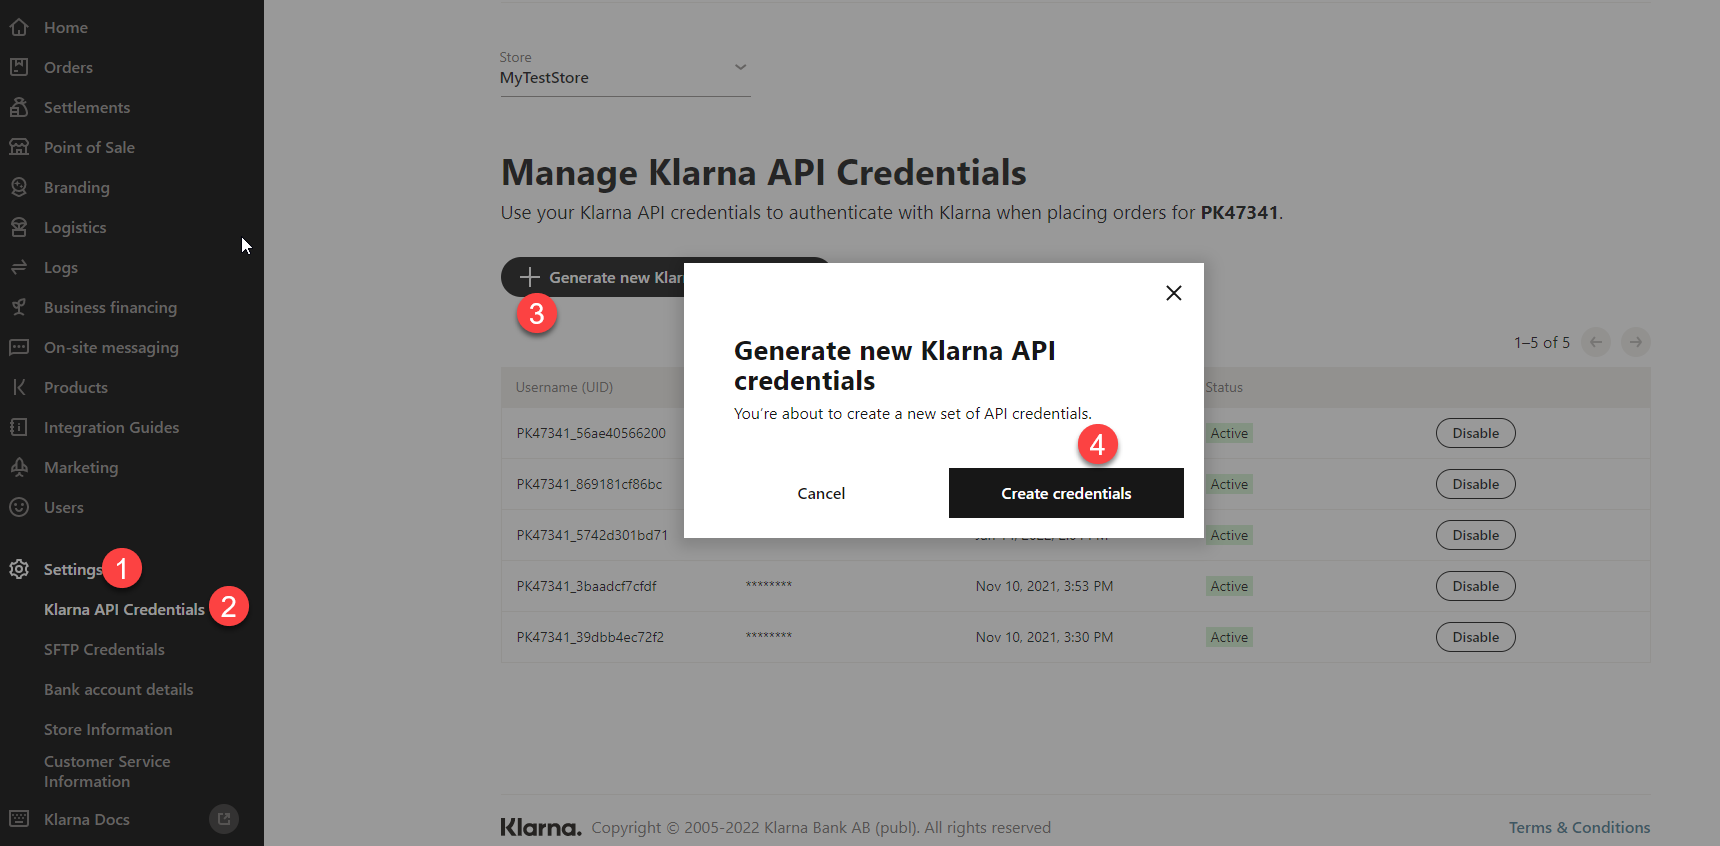
After logging in to your account, go to the Settings page.
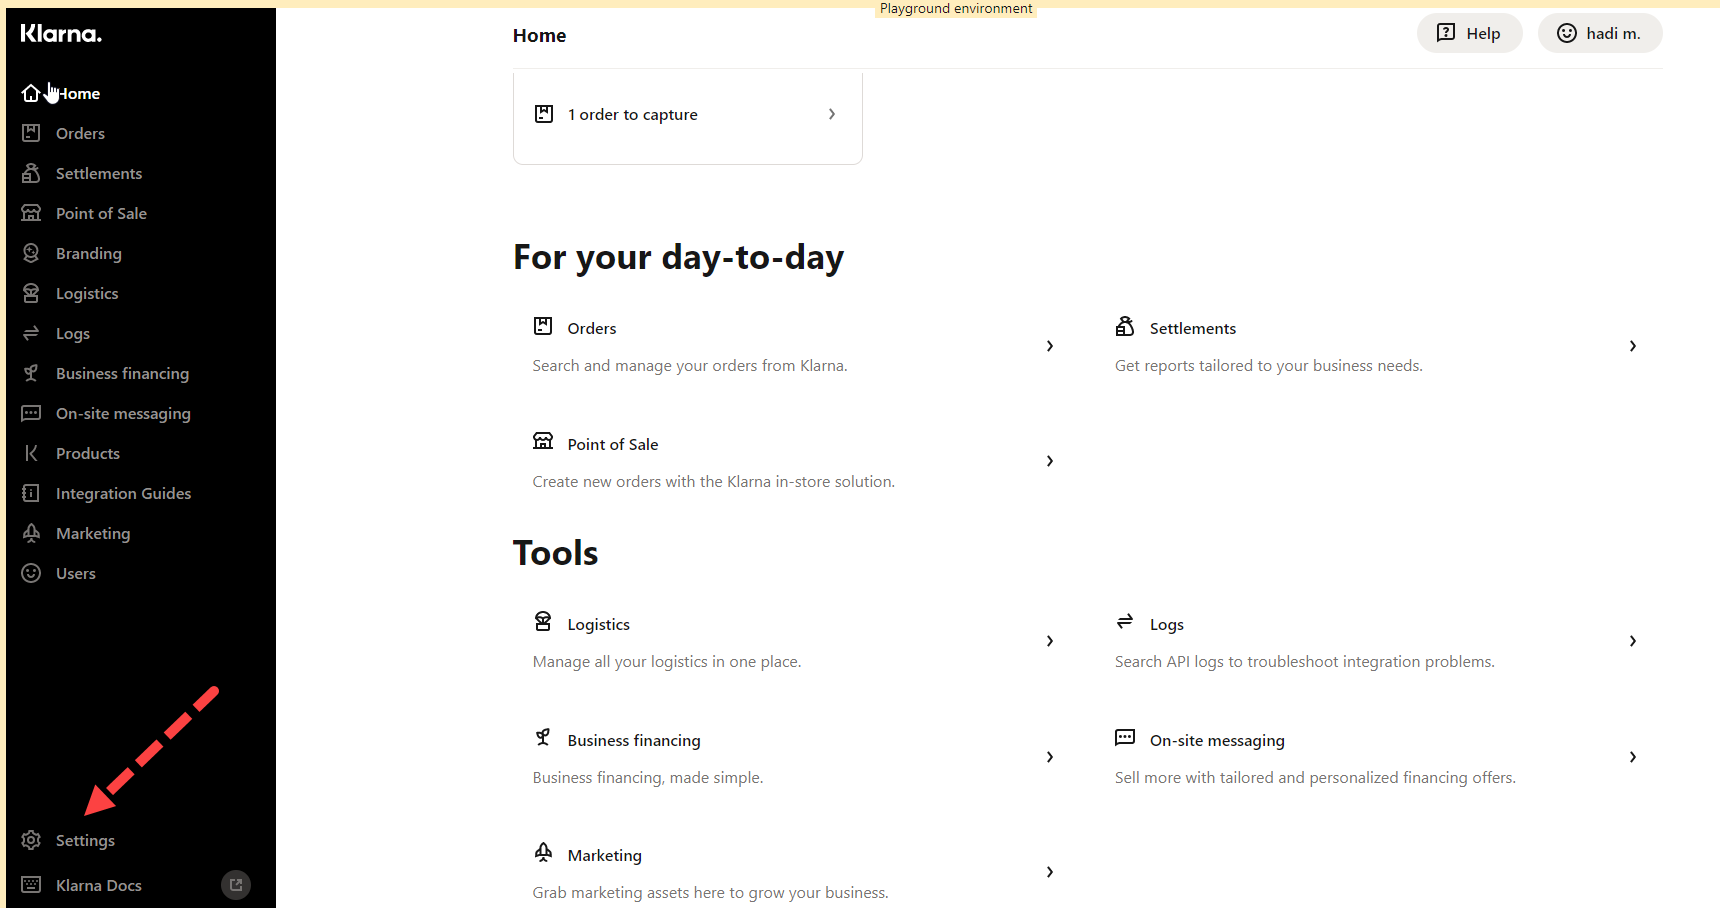
Follow the steps in this screenshot to generate new API keys.
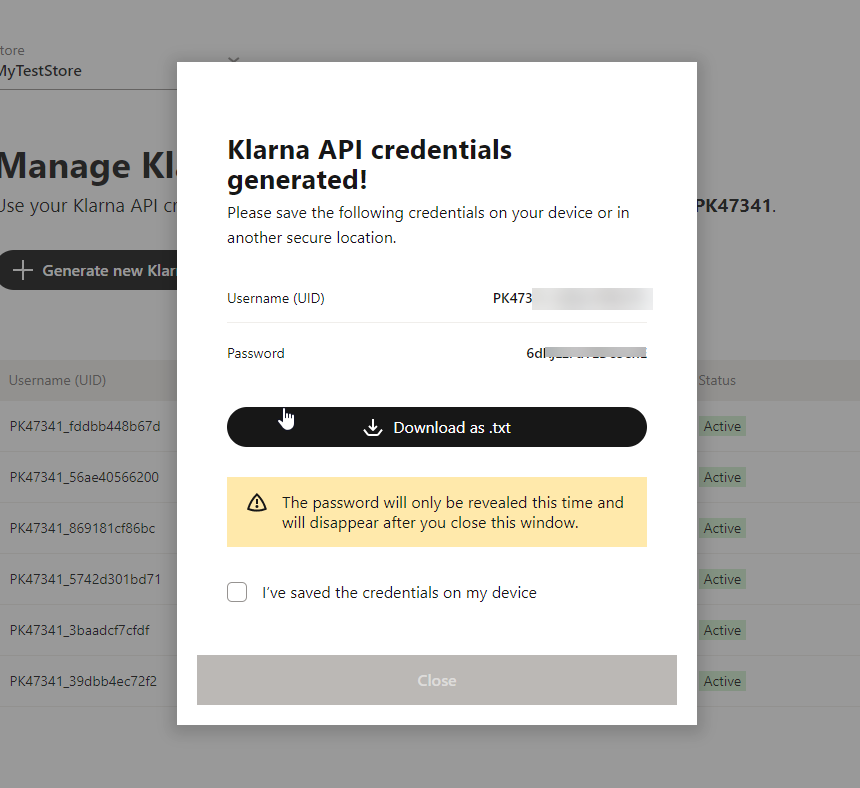
In the next step, Klarna will generate a username and a password. Save the password because you can’t retrieve it later and will have to create a new one.
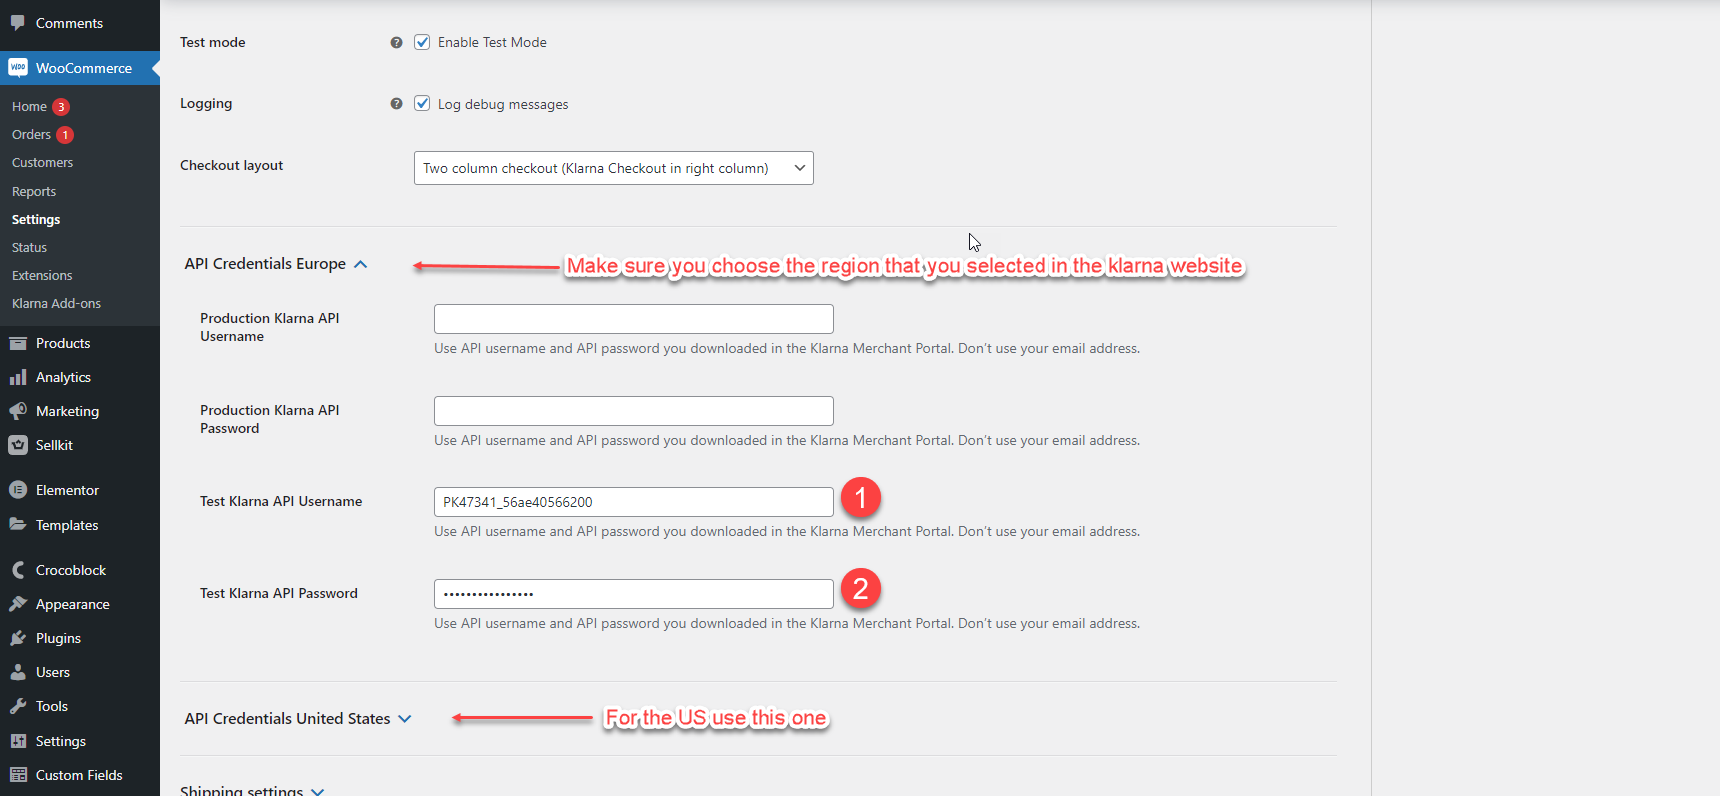
Now go to your WordPress admin dashboard and add the username and password to the following Klarna settings to activate the gateway.
Save and navigate to the SellKit Funnel -> Checkout Step. You should see the Klarna Express Checkout button, which should be visible in the payment list section.

The button should also be visible in the gateways list.
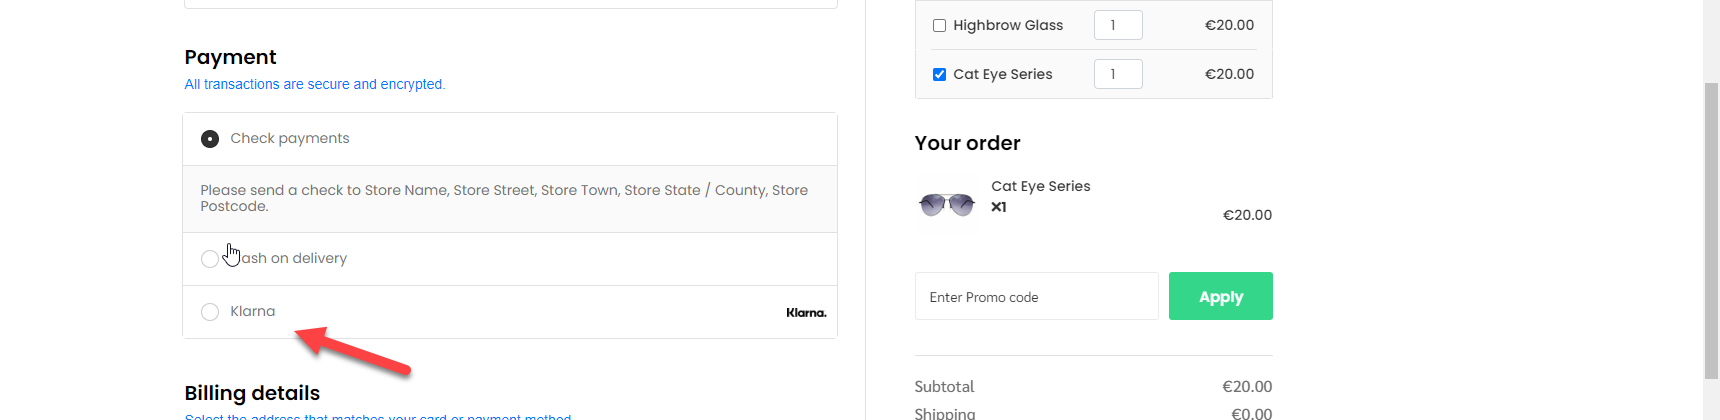
That’s it! We’ve finished configuring for Klarna Checkout.ِYou can now see the Klarna payment button in your checkout pages. Enjoy using it and make sure that your store visitors are aware that you have added Klarna as a payment option.
Conclusion
More payment options means more flexibility for customers, which leads to more sales. With Klarna, customers can pay later in four installments, while a single pay button allows customers to make a purchase in the blink of an eye. In this article, we learned how to integrate Klarna with WooCommerce while benefiting from SellKit features.
If you have any questions, please feel free to ask us in the comments.

No comment yet, add your voice below!