
Restaurants – which are nearly as old as the service industry itself – have been serving food (hopefully clean!) on-demand and at a reasonable speed (at least the good ones) for all sorts of folks for centuries. Making a website that helps a restaurant business is essential (I know, you already knew that, but bear with me). The question is: “how can you make a website that is more than a digital brochure to actually helps the restaurant?”
My name is Afshin. I’ve been a Jupiter user for 5 years and used this theme to create many WordPress websites for my clients. My real expertise is branding, so I don’t know how to code aside from some handy custom CSS tricks I learned here and there. In this blog post, I’m going to cover the 4 important things that make a restaurant landing page with Jupiter X stand out of the crowd. I’ll then walk you through the steps of how to build it using Jupiter X – it goes without saying that not a single line of code will be written today!
4 Important Things that Make a Restaurant Website Stand Out (With Jupiter X, Obviously!)
1- Look and Feel (Because Instagram!)
The restaurant website should look the part of the cool, hip place it’s representing online. It’s “game on” the second a visitor enters a restaurant’s webpage as they will almost instantaneously make up their mind about that business. Things like using professional, tempting photos of the food and eye-catching pictures of the ambiance go a long way in communicating the quality of the services along with the restaurant’s look and feel.
2- Being Informative (But not Boring)
Having a well-thought-out, honest and clear message that tells visitors why a restaurant is different and more importantly, the type of cuisine served can leave a lasting impression. To make the webpage actually useful for visitors, information regarding working hours and the restaurant’s location should be easily accessible (But careful! This info shouldn’t be in their faces the whole time!). These details are the most looked at on any restaurant’s website. Let’s not forget people usually just Google the name of the place and working hours, which means that we need SEO to work right there and then. It would be a definite plus if visitors could also make reservations directly from the website.
3- Mobile First (For Real)
Have you seen those people who have their smartphones with them day and night? Yeah, they’re probably going to visit your website on those very same phones (After all, who checks a restaurant webpage on a desktop computer sitting in an upright position?!). So the website should be mobile-friendly or – as web designers like to put it – “responsive,” so people can find what they need on their tiny screens before moving onto the competition.
4- It Should Be Fast (Or Don’t Bother!)
Last but not least, your restaurant website needs to be snappy. I mean, you probably won’t get a second chance to be snappy (remember those people with smartphones? They’re not really known for their patience), so choose your hosting service, CMS, themes and plugins wisely because that website is going to fill your spot online. It better be worth it and fast.
Making a Restaurant Landing Page with Jupiter X
In this part of the blog post, I’ll explain the steps required to recreate the Jupiter X Pro Template Restaurant landing page with Jupiter X, Raven elements and Elementor. If you need more details about any of the steps, you can watch the video to see the entire process. I’m going to assume you have a fresh installation of WordPress, a registered Jupiter X WordPress Theme, installed necessary plugins and activated them.
Setting up the essentials
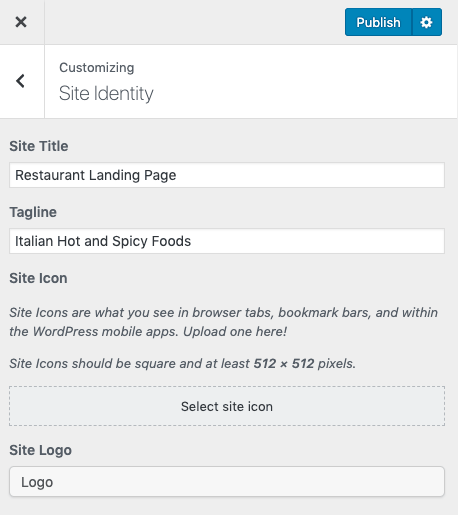
Making a website starts with the essentials like the website’s title and subtitle, its colors, typography settings and a few other global customizations. You can adjust these settings via Customizer. If you are unsure where to start, you can take this file and simply import it in your own Jupiter X installation (I won’t tell anyone, wink!). After importing the settings into Customizer, it would be a good idea for you to explore Customizer and get an understanding of what can be changed/adjusted and where, so you can make these settings in future projects using Jupiter X. I would recommend checking the site identity, typography, header, footer, and menu.
Creating the Navigation Menu
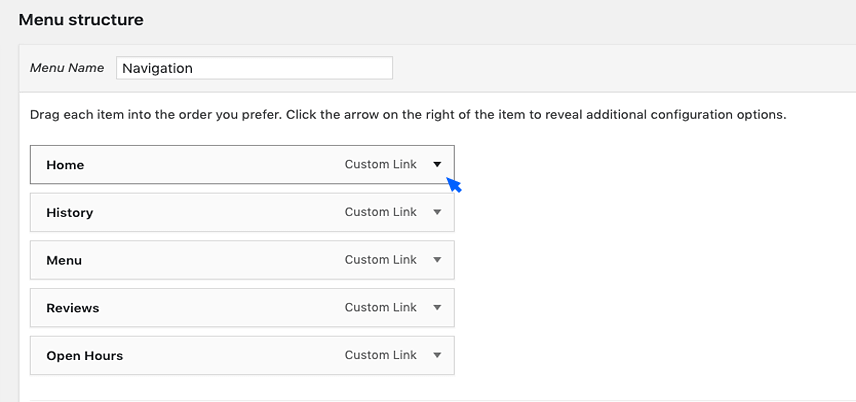
When you’re setting up the menu, it’s imperative that you consider which pages matter more and how most people would go about finding the relevant information they are after. To create your menu:
- Go to Appearance > Menus, and create a menu.
- Since this is a one-pager, you’ll need to add menu items as Custom Link.
- Use titles such as #about (also known as anchors – more on this below) and save.
Making a Header and Footer for your Restaurant Website
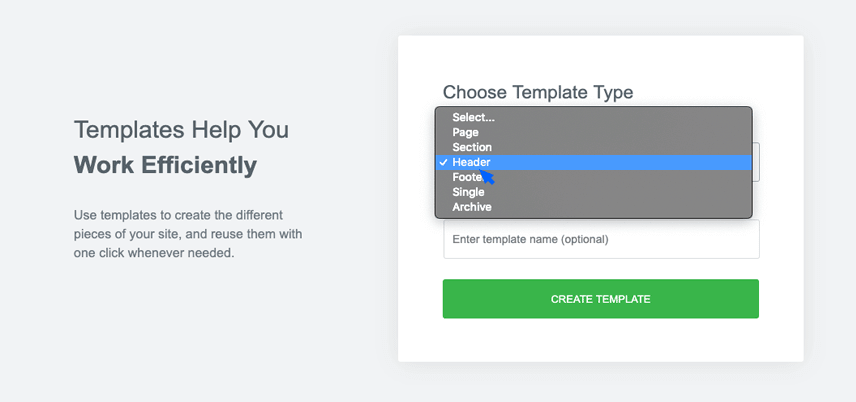
Now that we took care of what is under the hood, it’s time to create the header. Headers matter as they are usually the second thing that catches visitors’ attention. Creating headers with Jupiter X is really straightforward.
In the Dashboard > Templates > Header tab, you can (create and) add a header. In the next screen, you can simply import one out of many header templates. Choose the one with the Jupiter X tag that looks like the one in the template. You can edit the template in Elementor to give it the look you need. The process for the footer is exactly the same.
Hero (Go big or go home!)
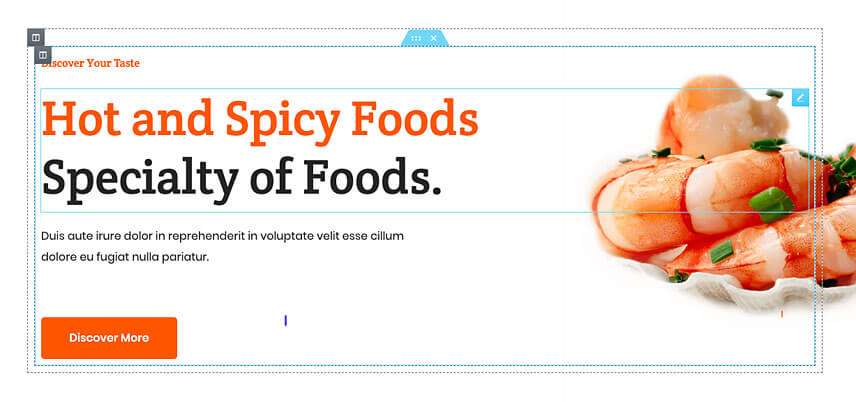
This is the first thing visitors to your website will see. Done correctly, it’ll save the day, hence the name hero. The hero section of a website usually has a hero image, an eye-catching graphic element, two to three pieces of typography and a call-to-action button (Duh!). To create the hero section:
- Add a section from the left sidebar then add a heading, headline and text paragraph.
- Edit the content in each of the sections you added. The great thing about the Jupiter X headline element is that it allows you to edit the text in two separate boxes and automagically applies two sets of typography and color adjustment to them.
- Don’t forget to set the headline to H1 and the heading to H3 so they will get their size color and font from the customizer settings that you imported before.
Now add the button and change the text and color (the accent color hex code is #ff5600).
Intro (The specifics…)
If the user scrolls past your hero without bouncing (closing the browser tab), you are either lucky or have done a good job with the hero section (or the visitor just has nothing better to do!). Either way, you must now offer more details about your services to your online walk-in, so you need details on what you serve and why your place is different. But the trick is that you can’t just pile it on. It’s better to share this info in a structured way. Using icons really helps.
To create this part:
- Add a section, then a headline, and set it to H2. Edit the two sections according to the template.
- Add a sub-section and then click on the top-right corner on either of the columns to add one more column.
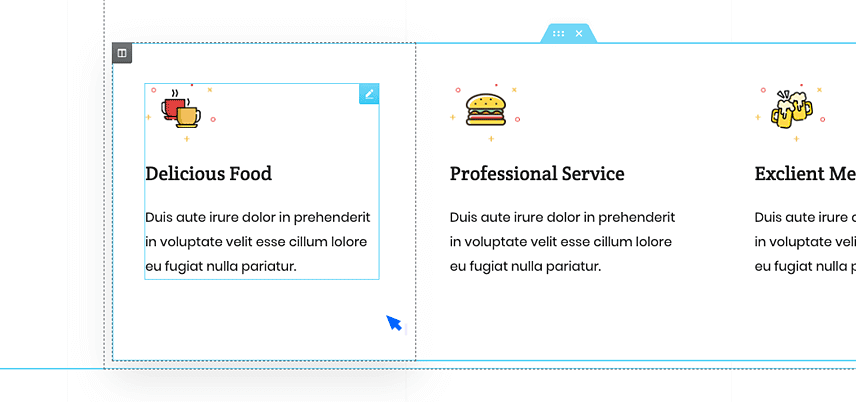
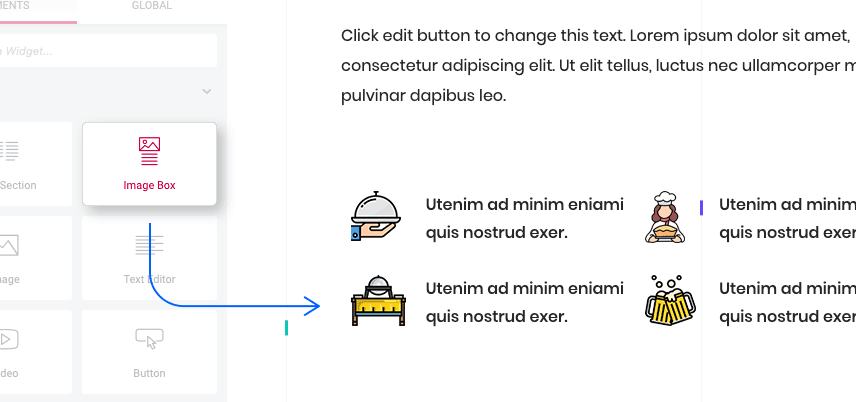
- Drag and drop an image box element in on the columns, add the image from the settings and edit the styling from the middle tab for both the image and the content (watch the video for the full setting description.)
- Right-click and click “duplicate it twice,” then drag and drop each of them in empty columns and edit the content.
History (Why should I trust you?)
You can claim you are the best, hippest, most awesome place in the city that serves Italian cuisine. But I would most probably not take your word for it. In this way, you should “show your work” and to build trust, a business (especially restaurants) should share their credentials such as the head chef, awards and the number of years in operation.
To make this part:
- Add a section and a subsection.
- Edit the column to use 65% of the total length, add an image to the right column and choose an image for it.
On the left column:
- Add a heading (H3), a Jupiter X headline (H2) and edit the content accordingly.
- Add a subsection then drag and drop image boxes into one of the columns. Edit the image and content, set up the style and make the title H3.
- Now duplicate the image box three times and carry two to the right column in the under-section.
The Menu (The Juice)
Whatever you do, please don’t stick a picture of your restaurant’s menu on the first page – or any other page for that matter. The easy explanation is that Google doesn’t like it, and neither do your visitors. Offering text in the form of an image makes your website look unprofessional and difficult to operate and we don’t want that. Offer your menu with mouthwatering photos of the meal. Jupiter X has a set of comprehensive style options and a visually-appealing gallery element that can come in handy when we want to make any product/project showcase (namely a restaurant menu).
To make this part:
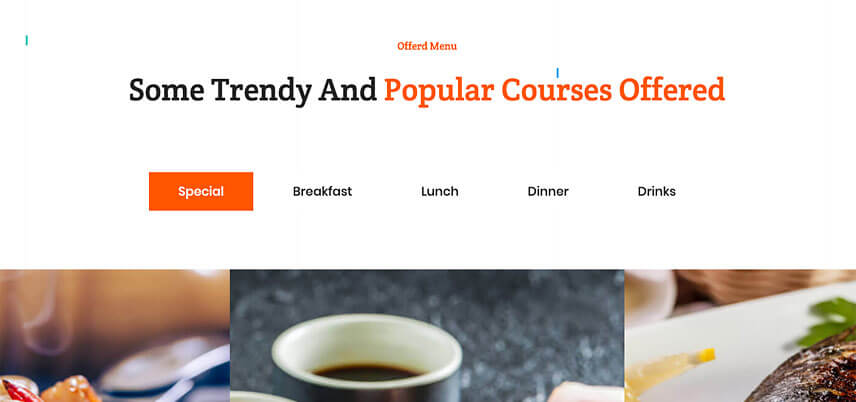
- Add a section. Then you’ll need a heading (H3) and a headline (H2). Edit the content exactly like the similar ones above.
- On the sidebar, search “tabs” and add the one you see in the picture below. Note that like the header, this element needs the content to be made beforehand so it can actually work.
Leave the tabs (save your work first!), go to Dashboard > Templates > Saved Templates and click Add New. (Since this is a mock website, we made only one template. But if you really want to make your tabs work like tabs, you should make five templates – one for each tab).
In the window that opens:
- Choose the Section and give it a name such as “Offered Menu.”
- Click “Create Template.” Add a subsection and duplicate one of the columns to get three columns. Also, make sure that you set the inner section to Full Length from the Layout.
- Search for the Animated Box and then drag and drop it in one of the columns. Edit the content as seen in the picture below:
- In Style > General, apply the below settings.
- Duplicate this element four times. Put one in the middle column and two in the outer ones.
- From Style > General, change the middle animated box.
Now you can click publish, and… Congrats, you’ve created your first custom template!
Testimonials and Partner Brands (Do not fake it until you really make it!)
Typically, people like to read about a new place before trying it. For that reason, having your own set of short review excerpts – especially if they are from Yelpers who have a high readership on the website – can really close the deal for you. To do this, you can invite a bunch of reviewers to eat at your restaurant to get their opinion. Also having the logos of your suppliers on your page gives a sense of trust and reliability.
To build this section:
- Add a section.
- Drag and drop testimonials, a heading (H3), a headline (H2) and finally a brands element to the section.
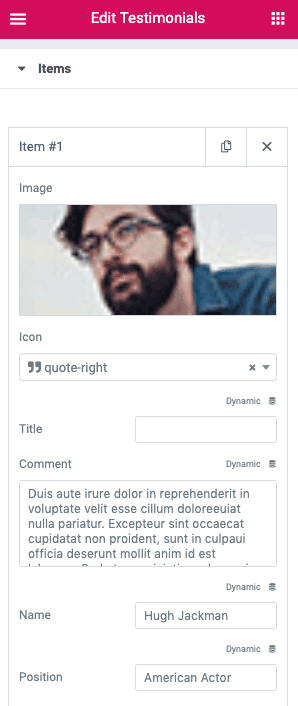
I’ve explained how to style the testimonial and brands in the video but In short, you’ll have to add testimonials one by one. We’ve included a picture, name, position and the rating in each item. In the style tab, you can change the shape of arrows, how pictures are shown and the testimonial background.
The same goes for the brands as you can adjust them, like below:
Have them make a reservation online (Don’t forget to tell your staff you have this feature on your restaurant website!)
Yes, yes, I know with a gazillion apps out there for making reservations at restaurants and bars, you’re thinking “who needs a reservation form on their own website?” Well, EVERYONE! If you don’t include a form to make a reservation, they’ll have to call your restaurant (What if your staff don’t hear the phone ring?) or use an app to make a reservation (What if they cannot find your place on their specific app?). So make everyone’s life easier and just add the form and link it to an email address you would always check. By the way, a little birdy just told me that soon taking reservations on your website in Jupiter X will be similar to taking orders on an e-commerce website, which would make the task of following up on reservations much easier and more practical.
To make the last part of your webpage’s body:
- Add a heading (H3), a headline (H2) and finally a subsection.
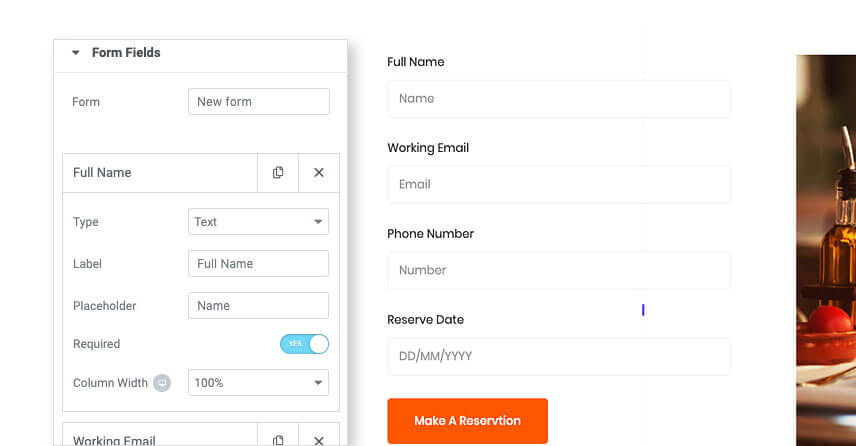
- Drop an image (and choose an image for it) into the right column and a Jupiter X form element into the left column.
- In the settings you change the type of information you get from each field also the color, font, spacing and all styling details of the form element.
Setting up all the nitty gritties
Obviously, without adjusting all your paddings, margins and other little details, you won’t have a market-ready webpage. In other words, don’t forget to retouch each section to give it that nice and sleek look. I tried to only include the gist of the tutorial in the blog post to avoid getting TLDRs in the comment section.
In the video tutorial, I’ve made the whole restaurant landing page with Jupiter X from scratch without a single line of code – and this includes all the small settings and adjustments that make it look the way it looks. Make sure to watch the tutorial!

No comment yet, add your voice below!