
One of the questions that always pops into my head when I want to make a form for a client is “Where should I store the data?” The answer to this question really depends on what the client needs. Sometimes, sending a copy of the data entry to a specific email is enough. However, there are other options that make it easier for them to access the data entries. There are plenty of form plugins available for your WordPress website, and each one has its own way to store data entries. In this article, however, I’m going to discuss 5 places you can use to store Jupiter X form submissions.
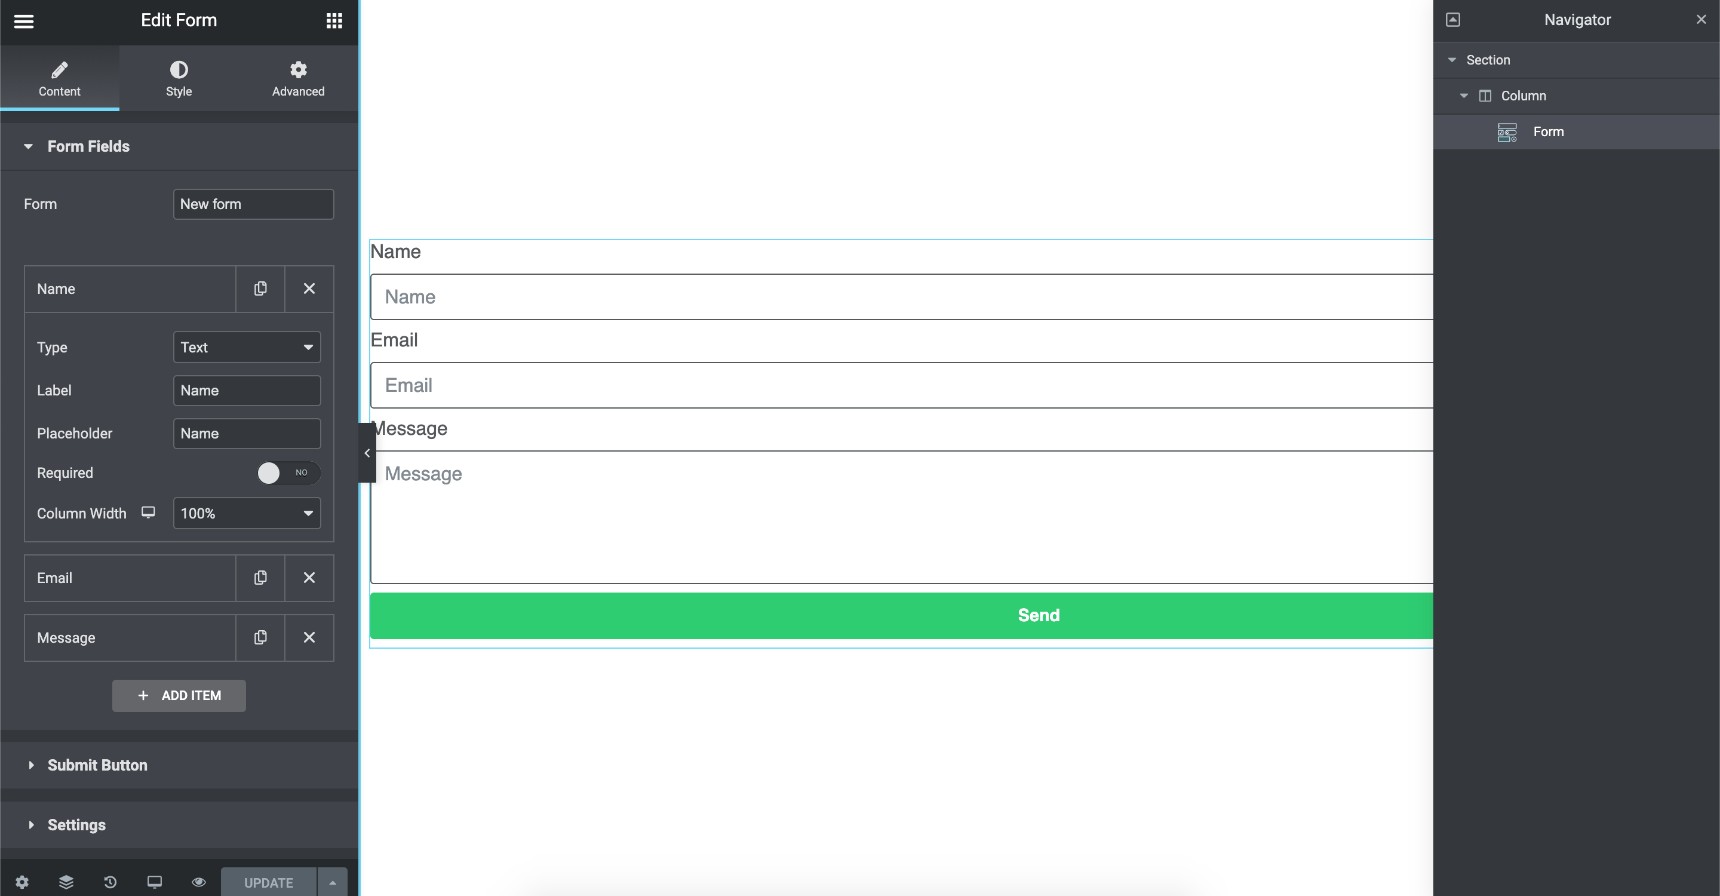
For more information about Jupiter X Forms, please follow this link. For the purposes of this post, I assume that you already have a form like the one pictured below and that you have added your desired design customizations and fields.
To get started, add an action to the form and configure the action settings. The action will be triggered when the user clicks on the Submit button. Actions are beyond the scope of what I’m going to cover here, but you should be aware that knowing how to use them opens up almost unlimited possibilities. Let’s see how we can store our form entries based on the available actions.
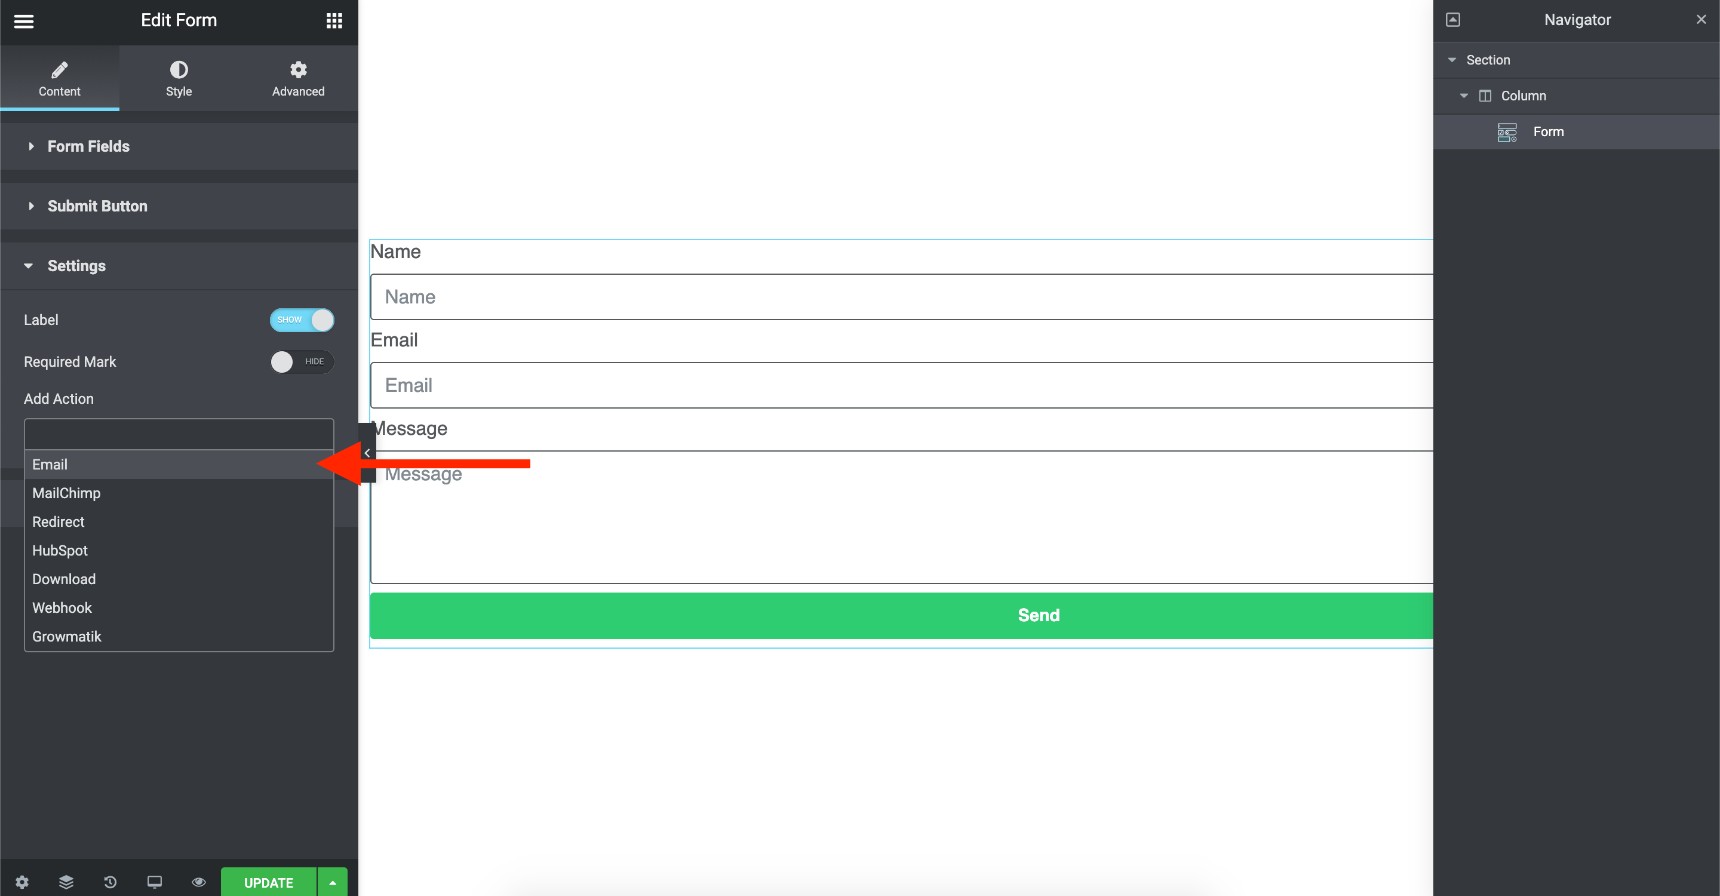
The simplest way to store form submissions is via email. Just add an Email action to Form Settings -> Add Action and configure your email settings.
Once you add the Email action, the email settings section will appear below the settings section. Configure it and save the form. You can also set it to send a copy of the form to the person who submitted it by enabling the “Confirmation” option.

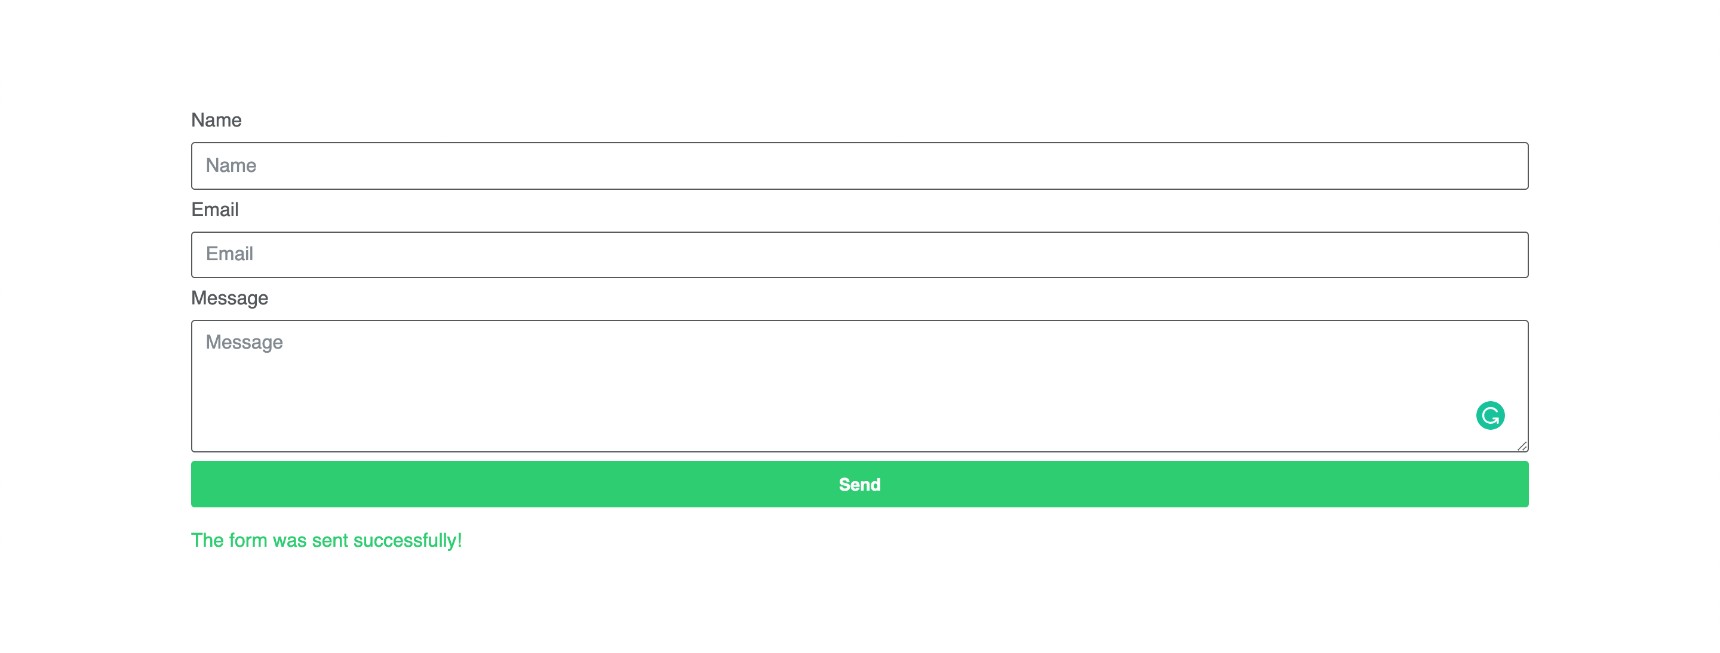
Now you will be able to use your form and submit entries. If you click on the Send button, you should see a green message confirming that the form was sent successfully .
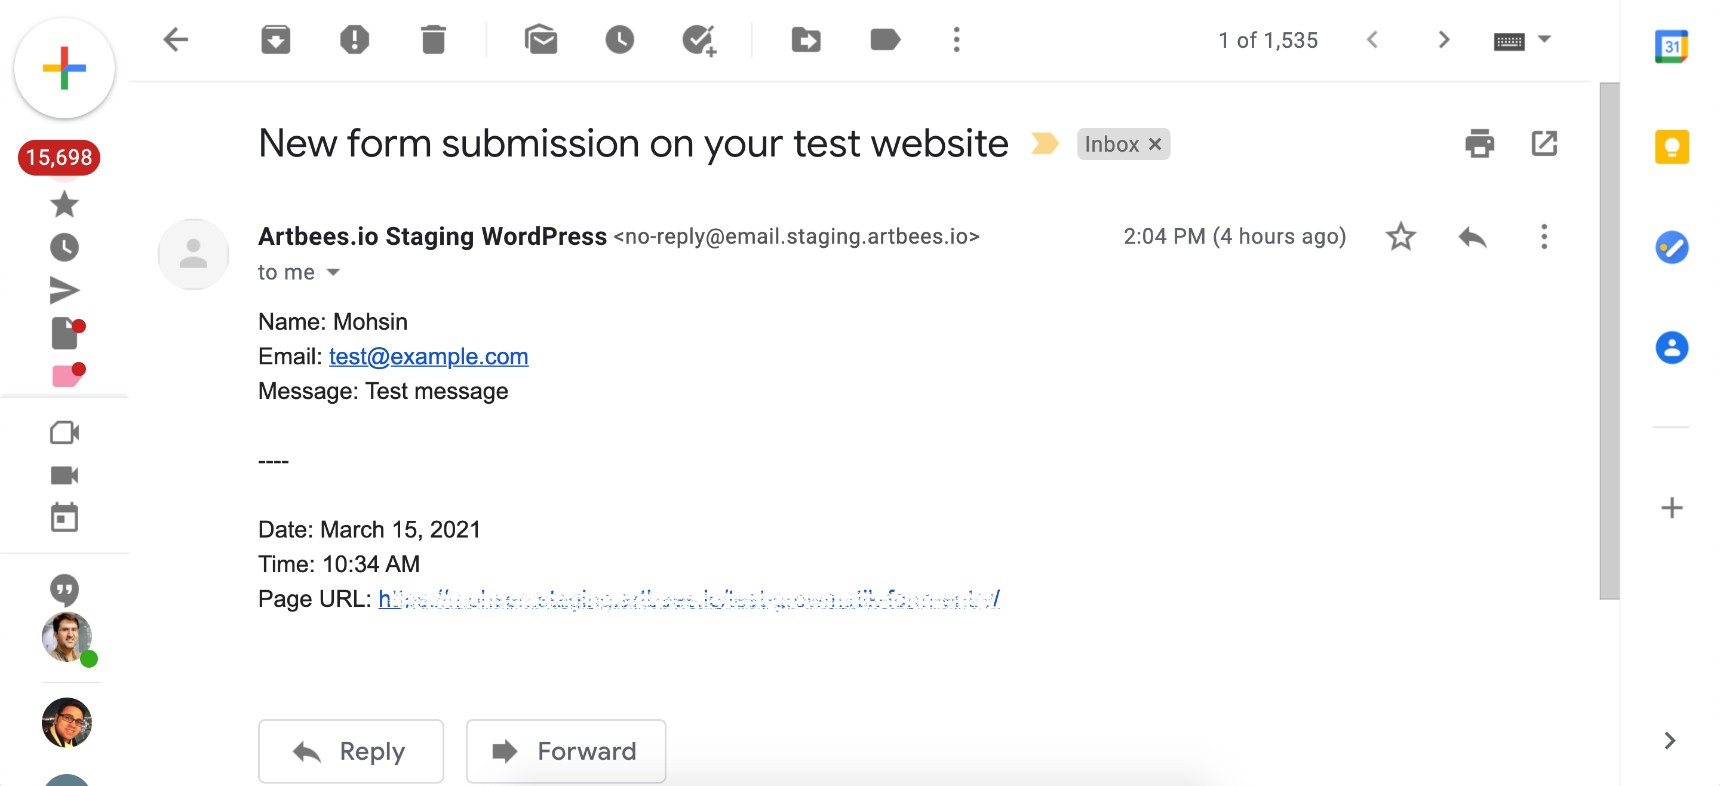
You should then be able to see an email in your inbox that has all the form fields listed, plus some additional information such as date, time and page url.
Email is a good place to store form entries. It is secure, has search and archive capabilities, can filter out the incoming messages, and includes lots of features that can help you organize your form entries. These advantages make email the number 1 option for storing any form entry.
Slack
Slack is one of the most popular team communication platforms out there. It comes with the ability to create a channel and store data on it.
In order to add Slack integration to your form for data storage, simply add the Slack action to it.

Right after adding the Slack option, you will see Slack settings appear below it. Open the link in the help tip to add the Slack integration app to your Slack account.
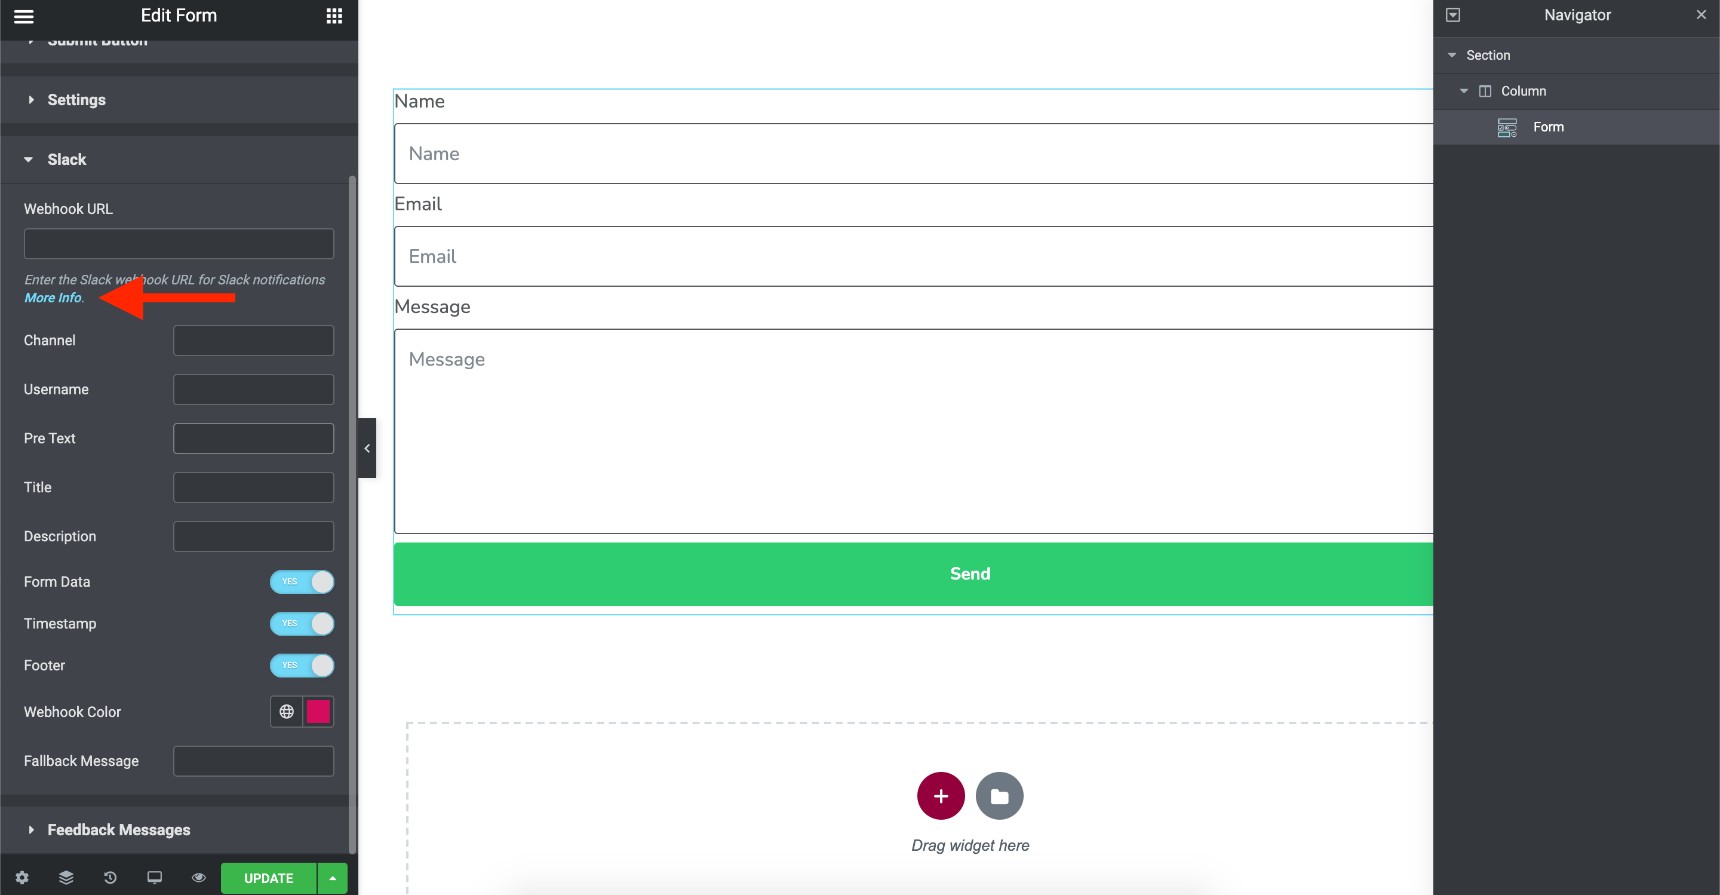
Add a username to your Slack integration on the resulting page and set the channel or person you want to send the form entry to.

Then, save the settings, copy the Webhook URL and paste it to your form’s Slack integration field.
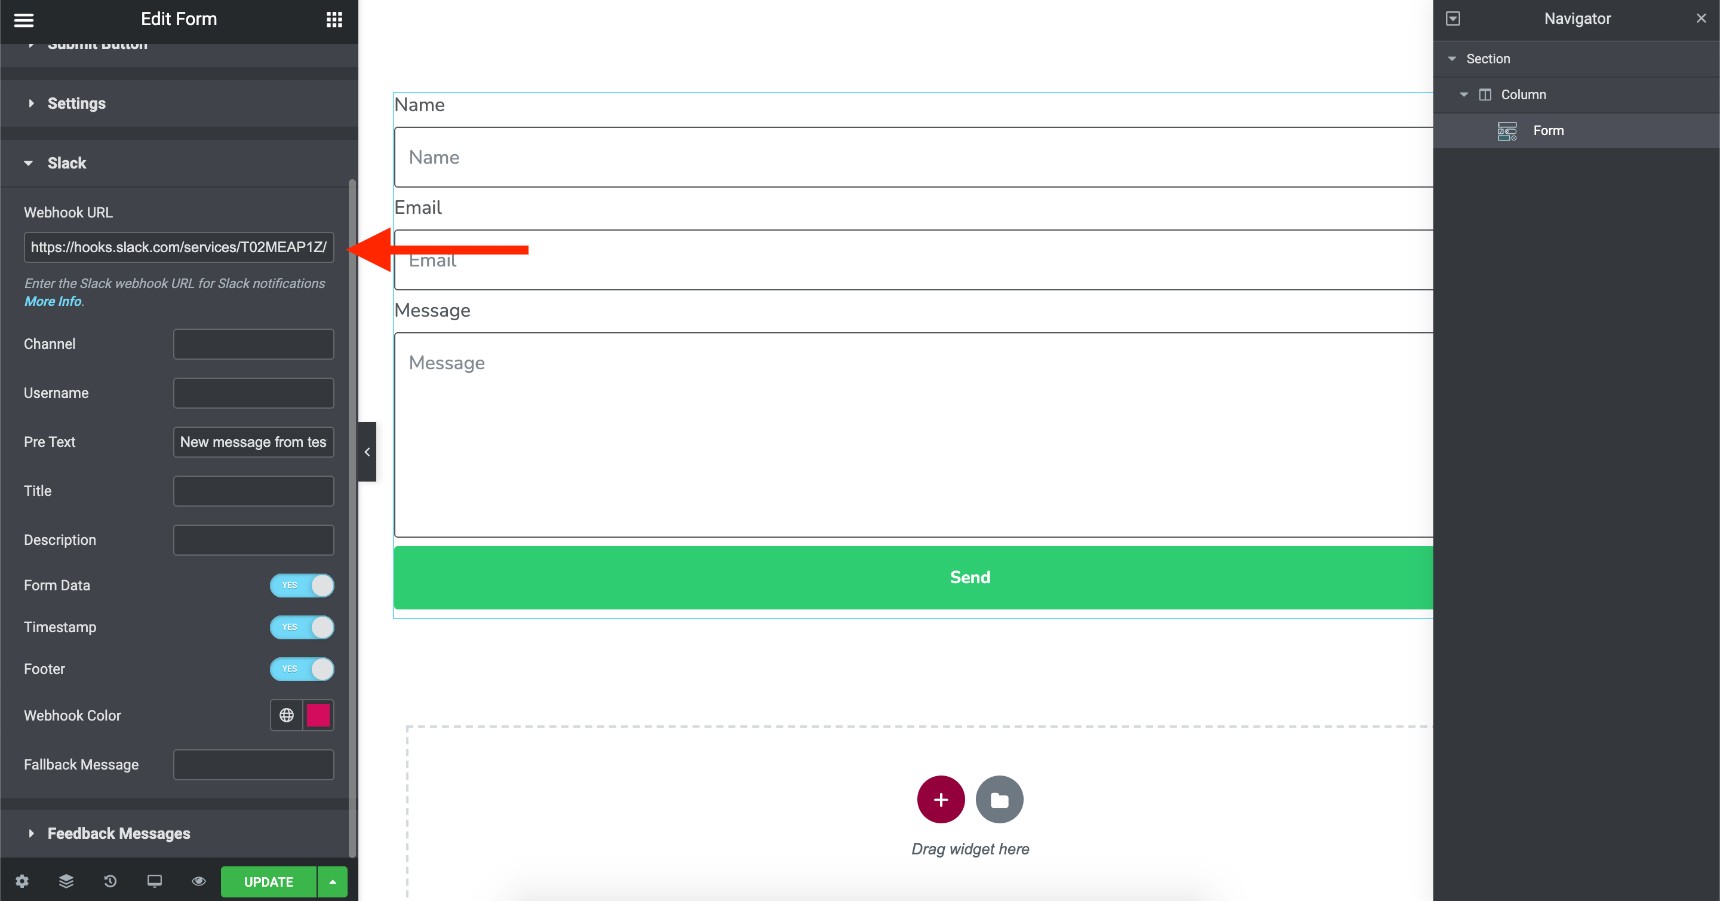
Enabling the Form Data option allows you to attach form fields to the message. Remember that, in order to organize multiple form entries in Slack, you can add a Pretext field to each of them and then use a hashtag or text to distinguish each form. You will receive a message like this on the channel you assigned the integration to:
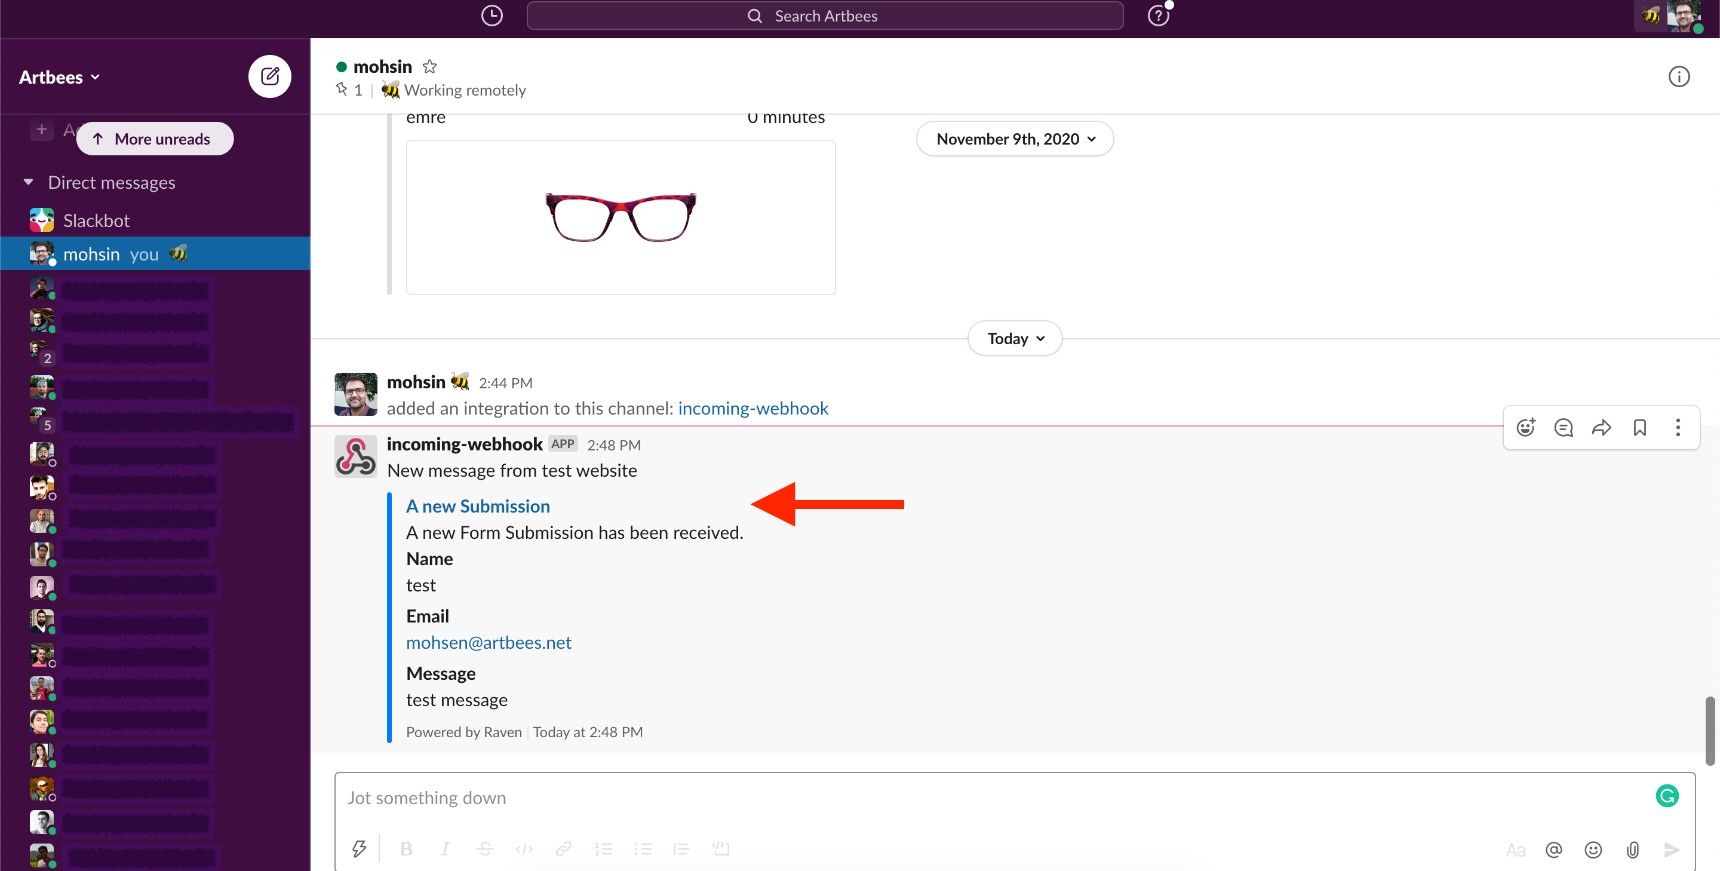
This is also a good way to get notifications when you need to act immediately after a form has been submitted. Please note that you can use multiple actions on your form. This means that you can combine Email and Slack integration with all other actions simultaneously.
MailChimp
You may know of MailChimp as an emailing platform. While it’s primarily a mail and newsletter platform, it also has some key marketing features that will make your life easier when you want to collect information on a project or marketing campaign. Typically, you can create a campaign, add a couple of forms and place them on your website pages using the form-embed code. However, you are limited to the MailChimp form design. What if you want to do more than this? MailChimp offers its own API that allows you to integrate with different forms. We are lucky to already have MailChimp integration as part of Jupiter X Forms, so, with just a few clicks you can store your form entries in MailChimp as well.
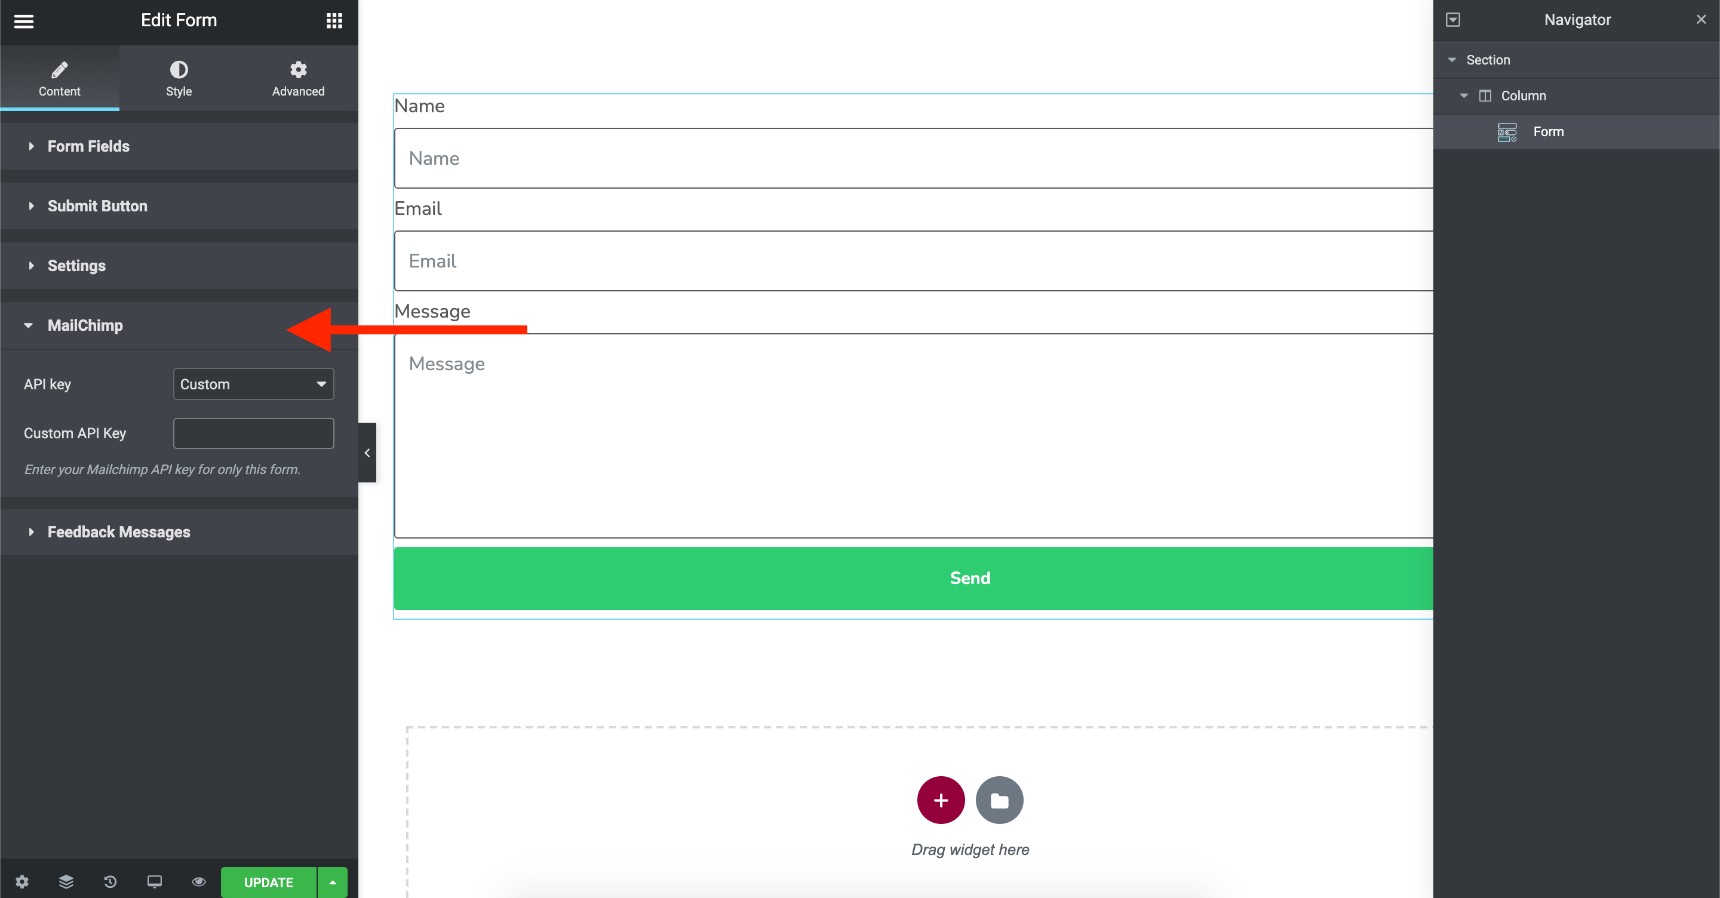
In order to add integration to your MailChimp account and store your form submissions, simply add the MailChimp action to your form.
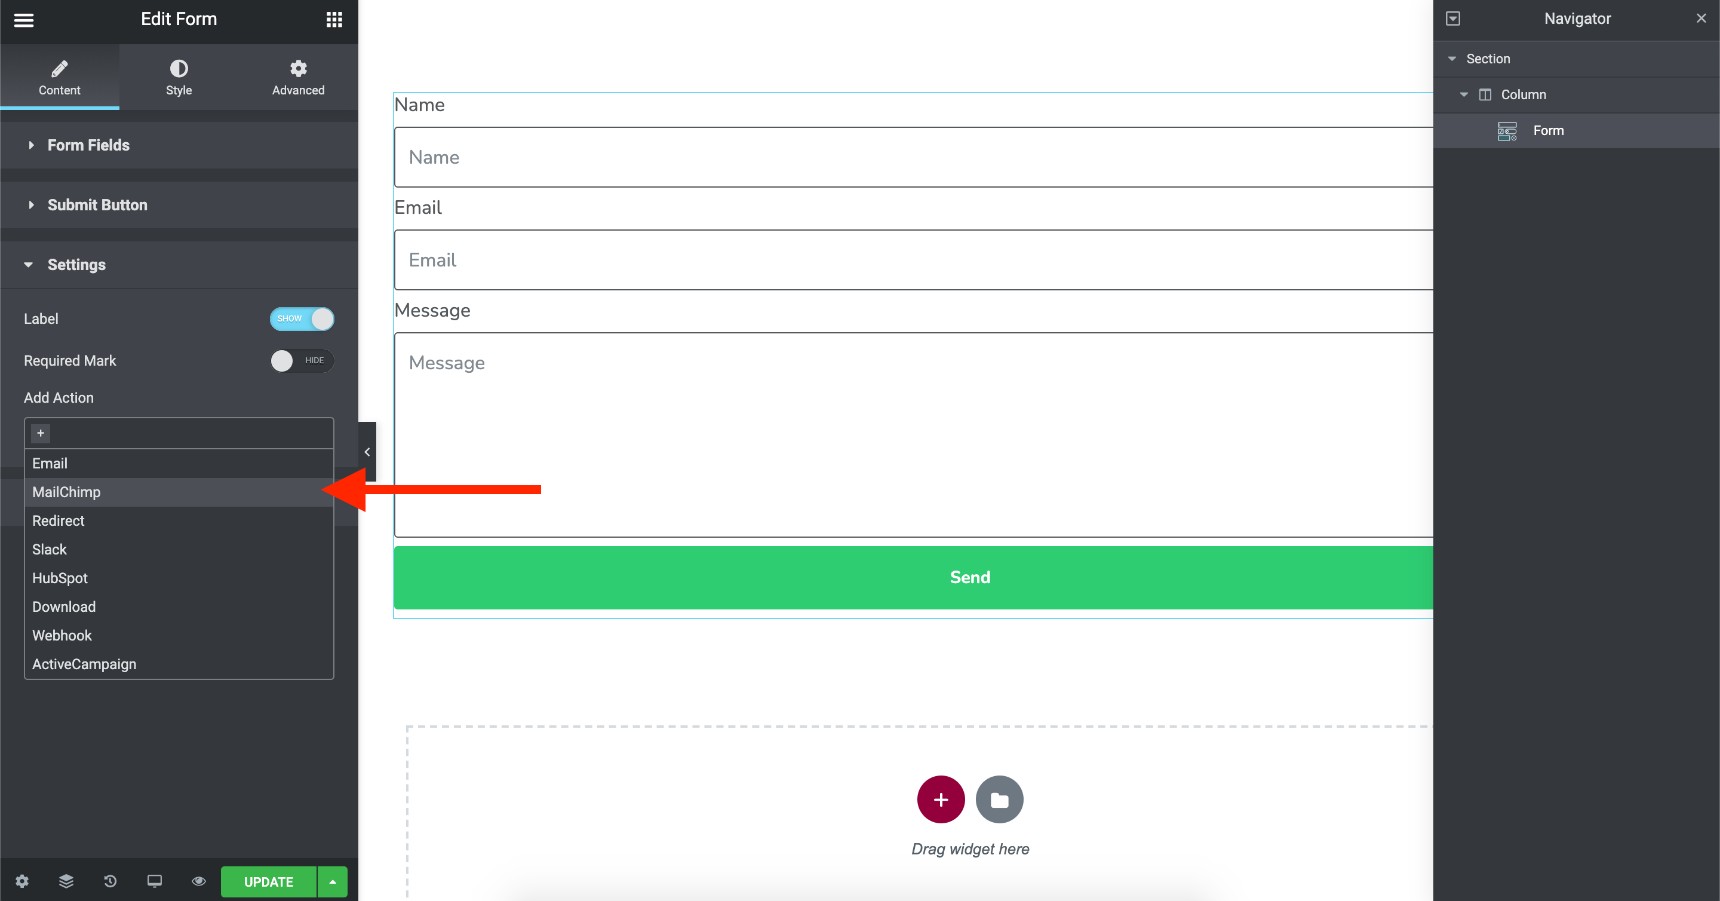
Once you’ve added the MailChimp action, MailChimp settings will appear below it.
You will need an API key to integrate the form with your MailChimp. In order to get the API key, login to your Mailchimp account and navigate to Account -> Extras -> API Keys. Then, either create a new API key or use one of your old API keys if you already have some.
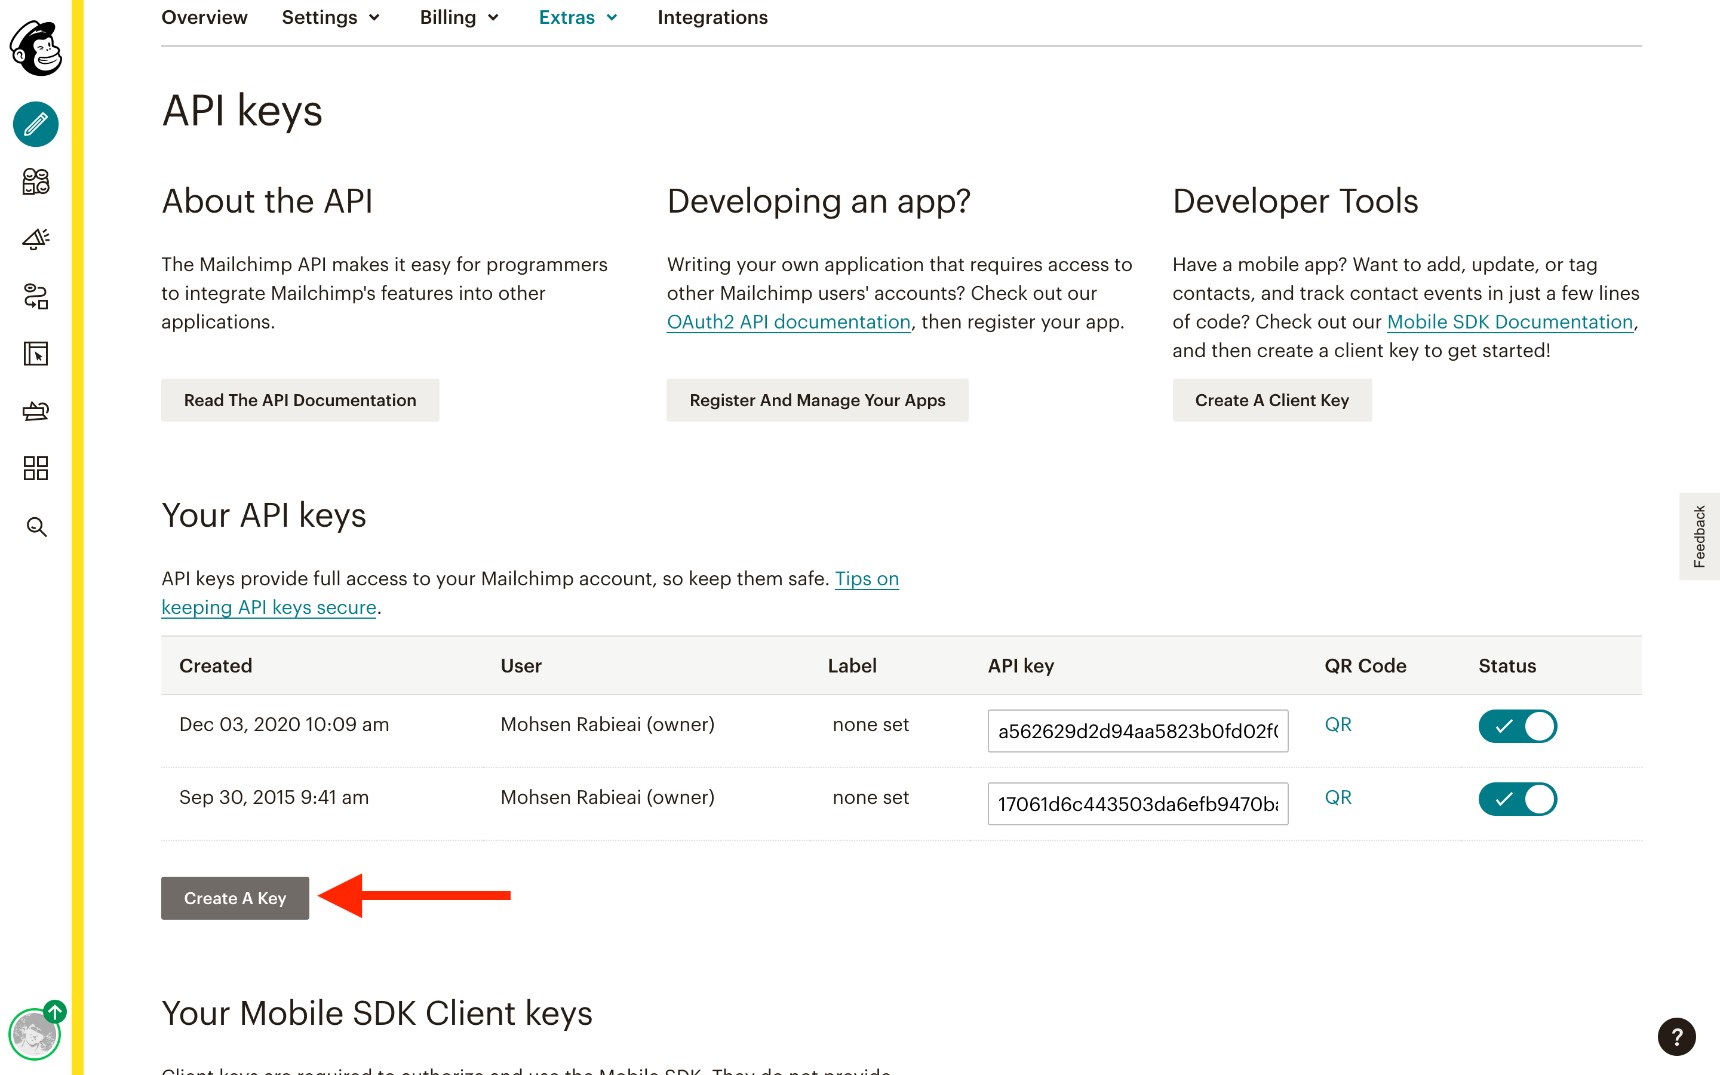
Copy the API key and paste it into the MailChimp API key field in your Jupiter X Form. It should then show the audiences and forms that you already have in your MailChimp account.
Configure it to make sure the form submissions will be sent and store them within this list.
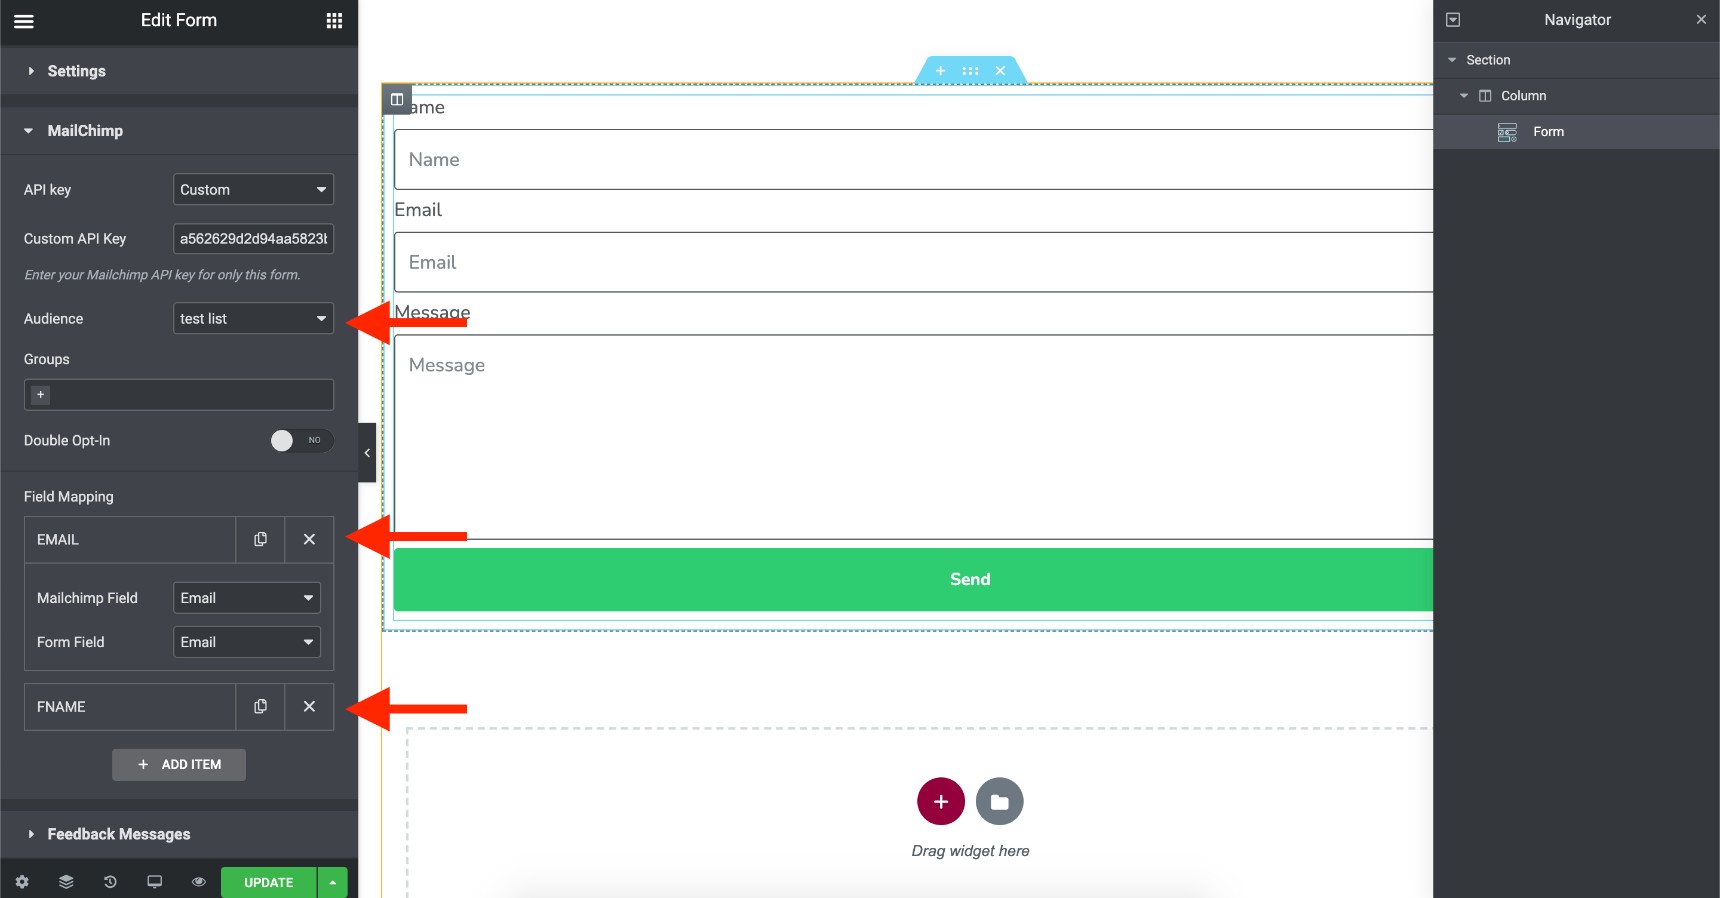
Add your field mappings and update the page. Now, when you submit an entry, it will be stored in your MailChimp as a new audience.
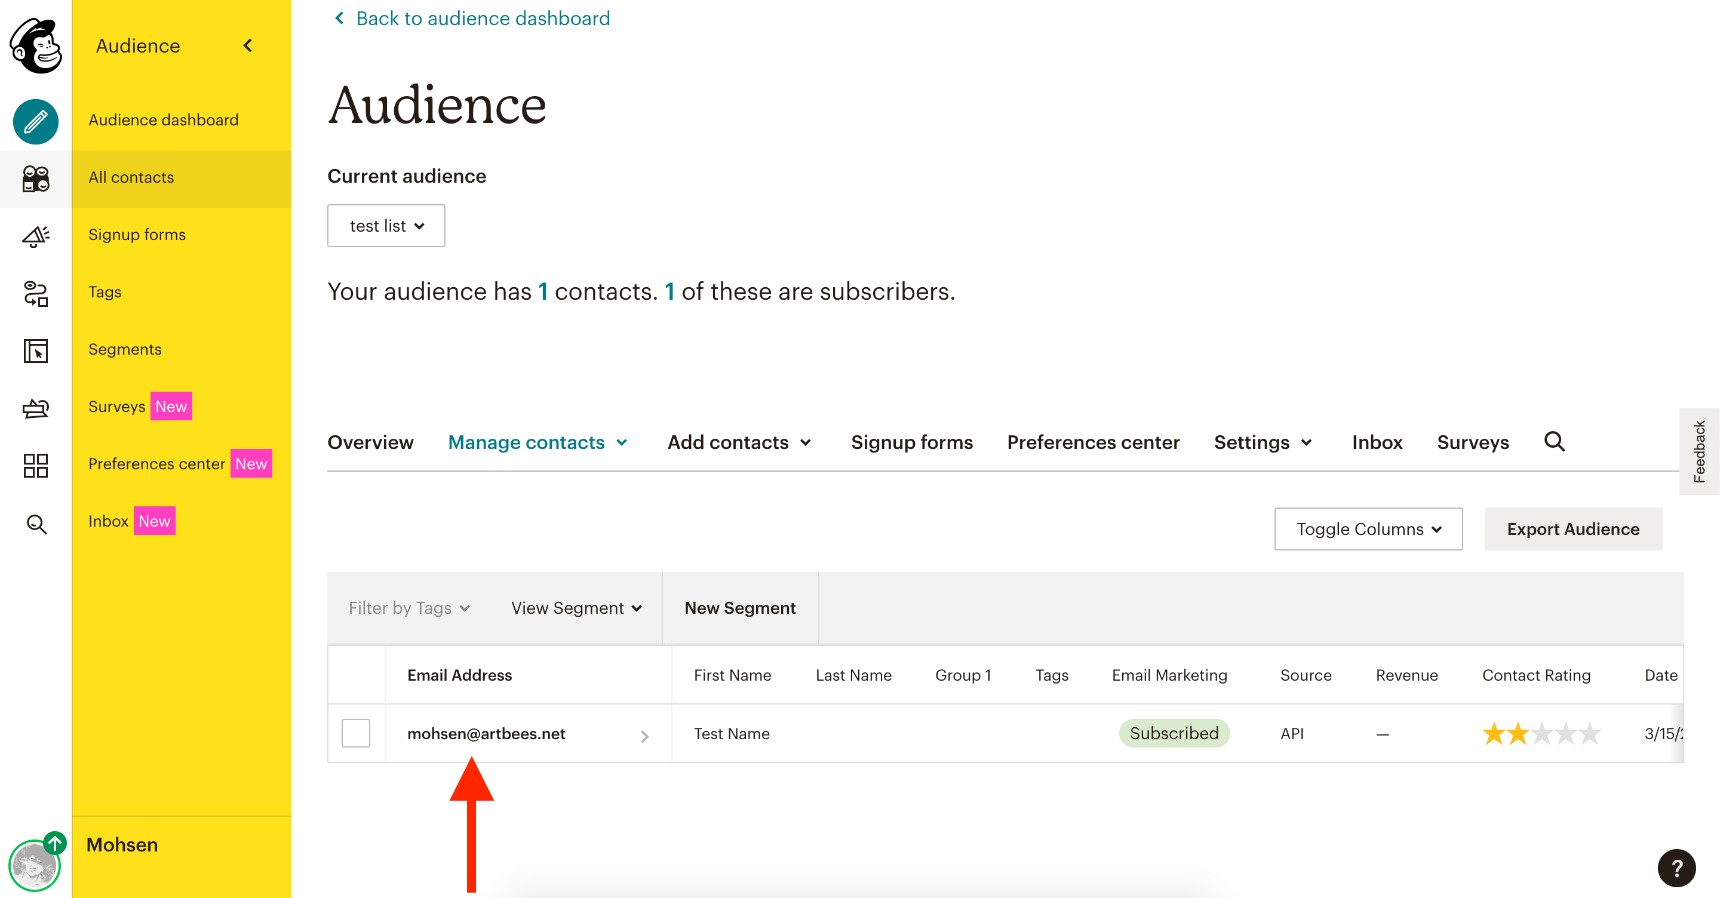
The good thing about storing data in MailChimp is that you can simply hand it to your marketing team and let them convert form submitters into real customers with the tools available for email marketing.
Growmatik
Growmatik is a new marketing platform that combines all other marketing tools and services into one integrated solution. It allows you to segment your audiences, show popups, send customized emails and personalize websites for different users. Plus, it boasts many other useful features to measure the growth of your website, generate leads and convert them into paying customers.

The great thing about Growmatik is that, since it combines a variety of useful marketing features in one place, it will give you a better chance to convert the leads coming through your website into paying customers.
We are lucky to have Growmatik integrated with Jupiter X Forms already, saving you the hassle of integrating it using its own API.
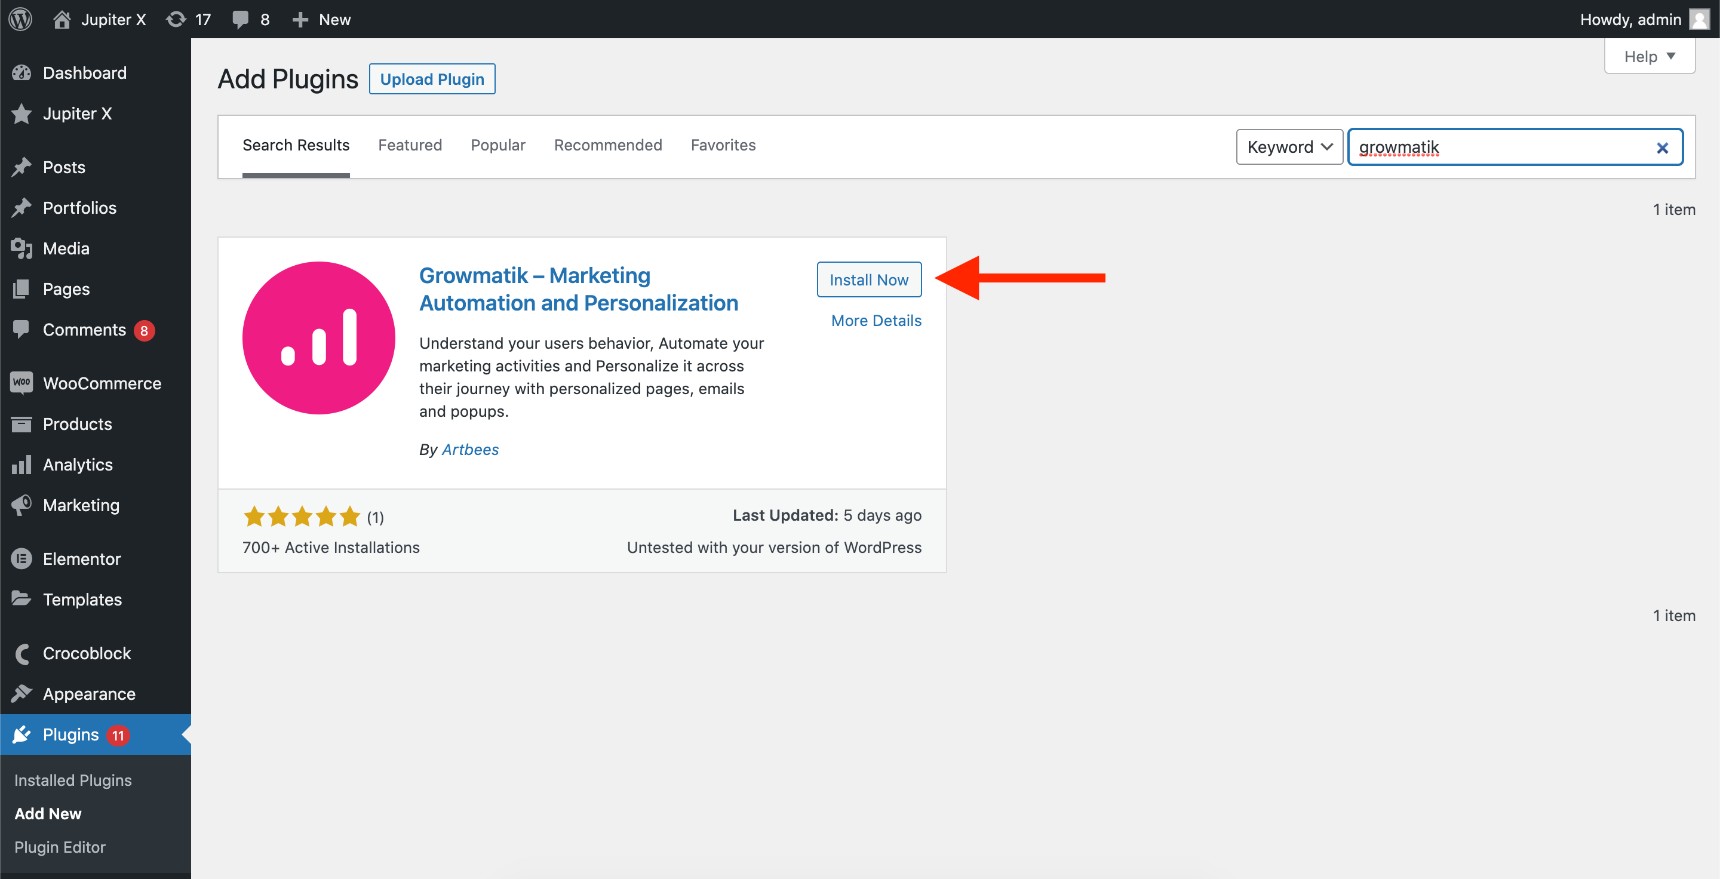
In order to integrate your form with Growmatik, you’ll need to install and activate the Growmatik plugin first. Simply go to WordPress -> Plugins and add the Growmatik plugin via the WordPress plugin repository.
After installing and activating the plugin, you’ll need to connect your website to the Growmatik platform.
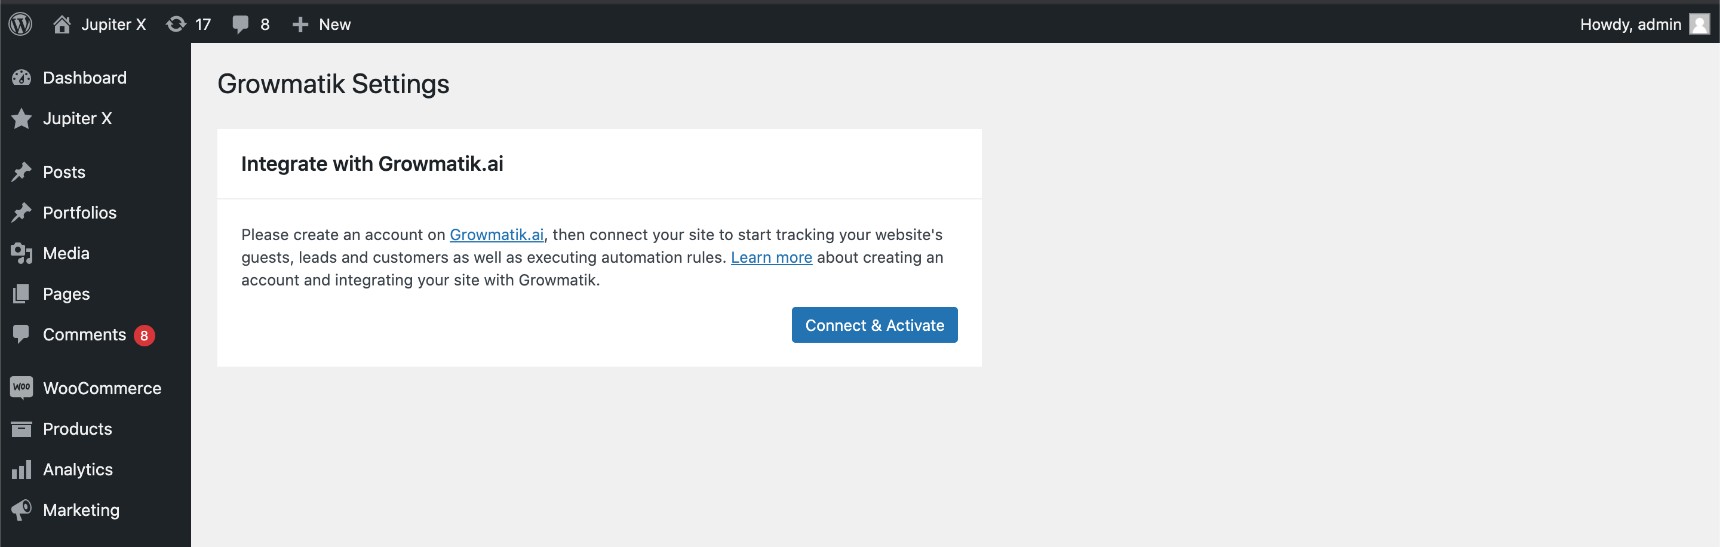
If it’s the first time you’re integrating your website with Growmatik, you’ll need to add site descriptions to the page. Fill in the forms and click the Next button.

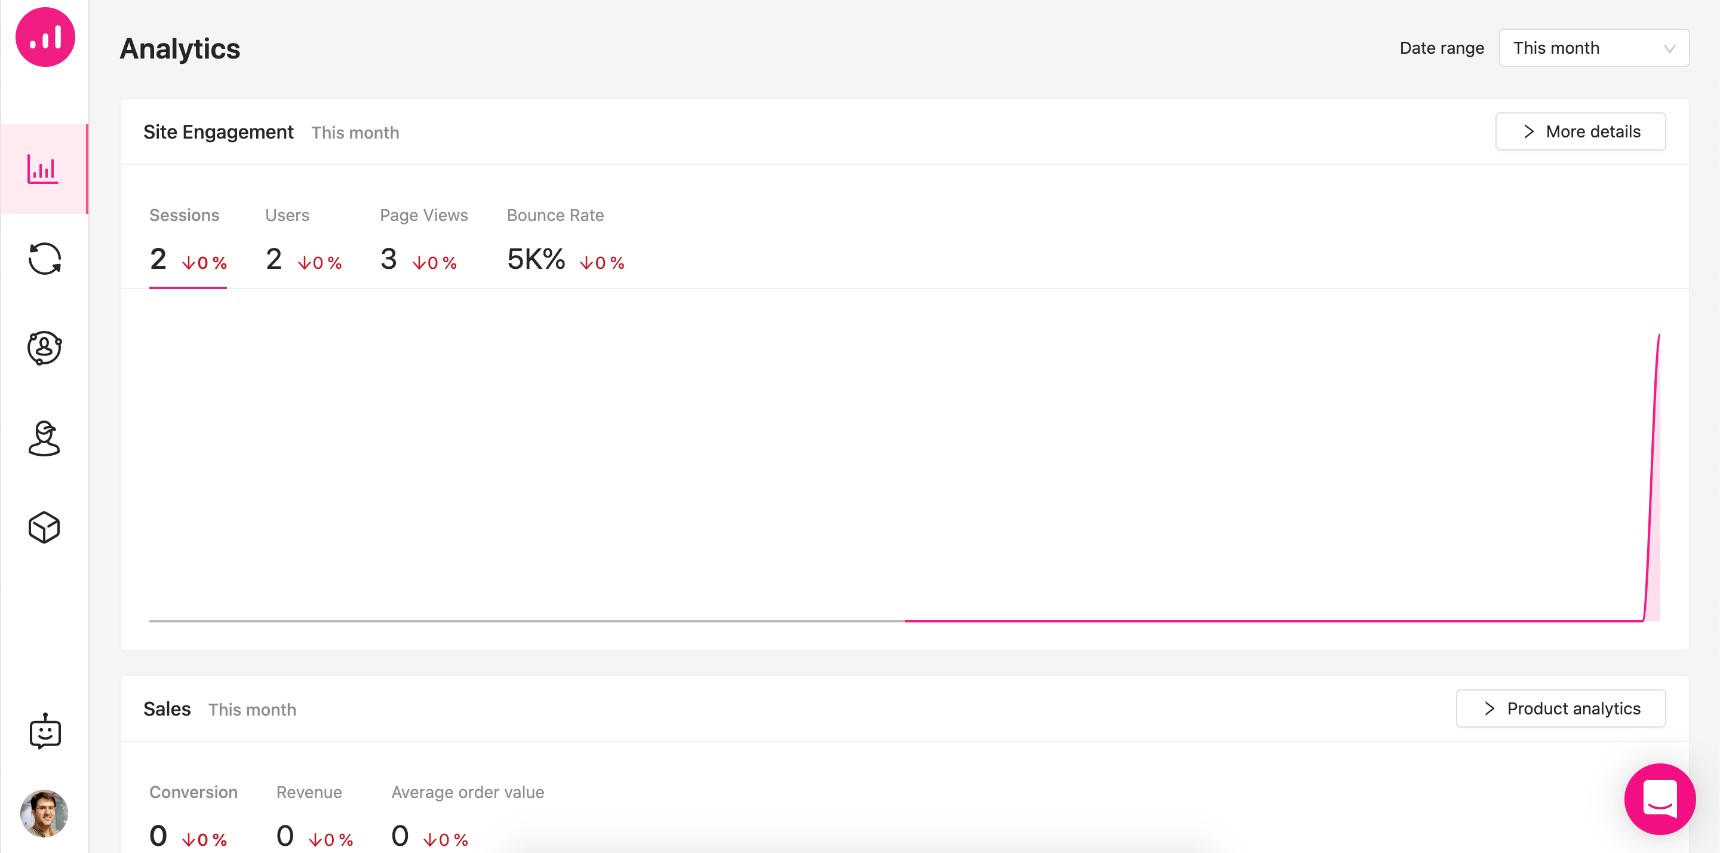
Once the site is integrated, you’ll have access to its dashboard via the Growmatik website:
You will also notice that the Growmatik plugin status has changed to “Connected”. For more information on how to integrate your website with Growmatik, please read this article.
Once you’ve integrated your website with Growmatik, you will see the Growmatik action among your Jupiter X Form actions.
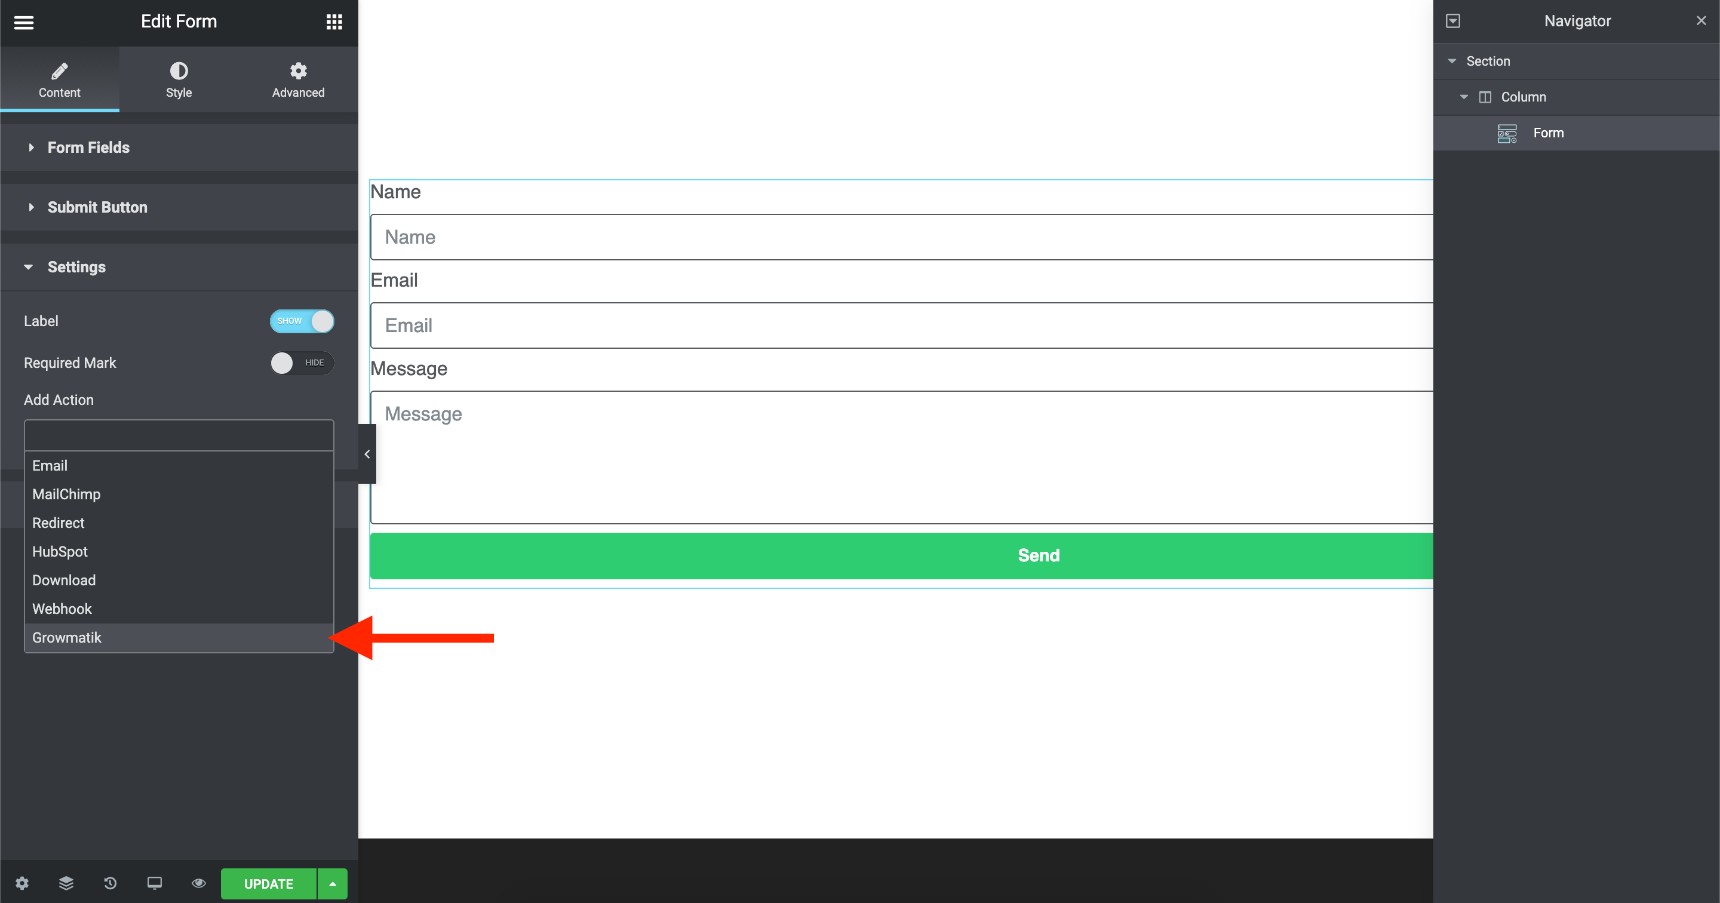
Add the Growmatik action and you’ll see the Growmatik settings below it right away. Name your form and add field mappings.
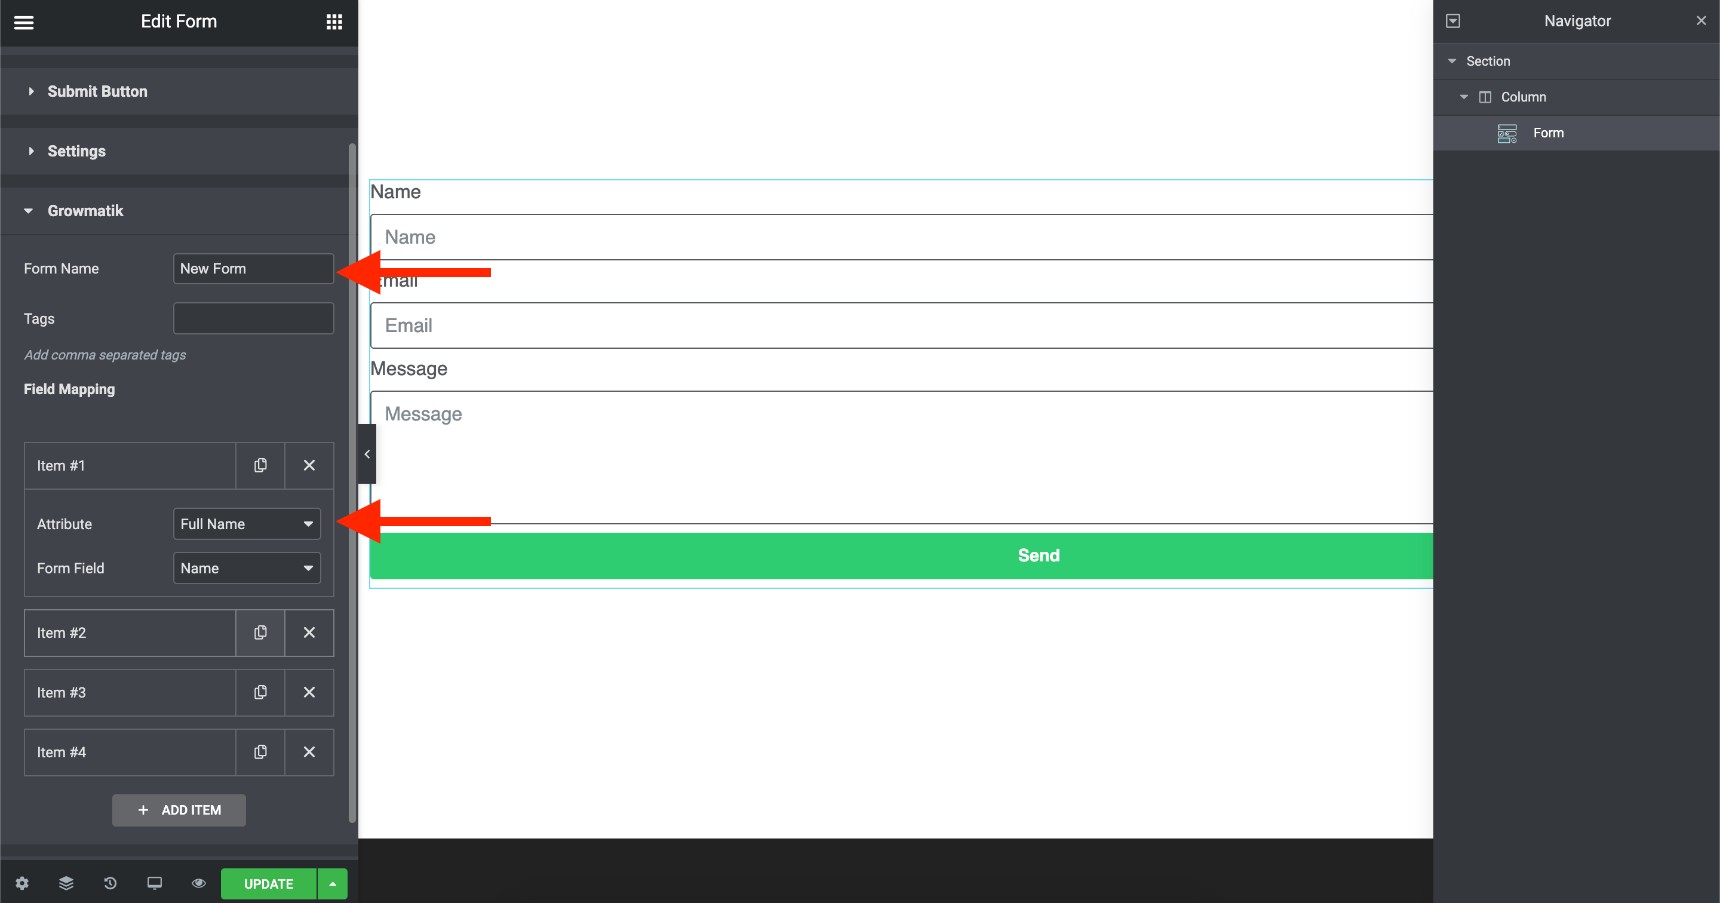
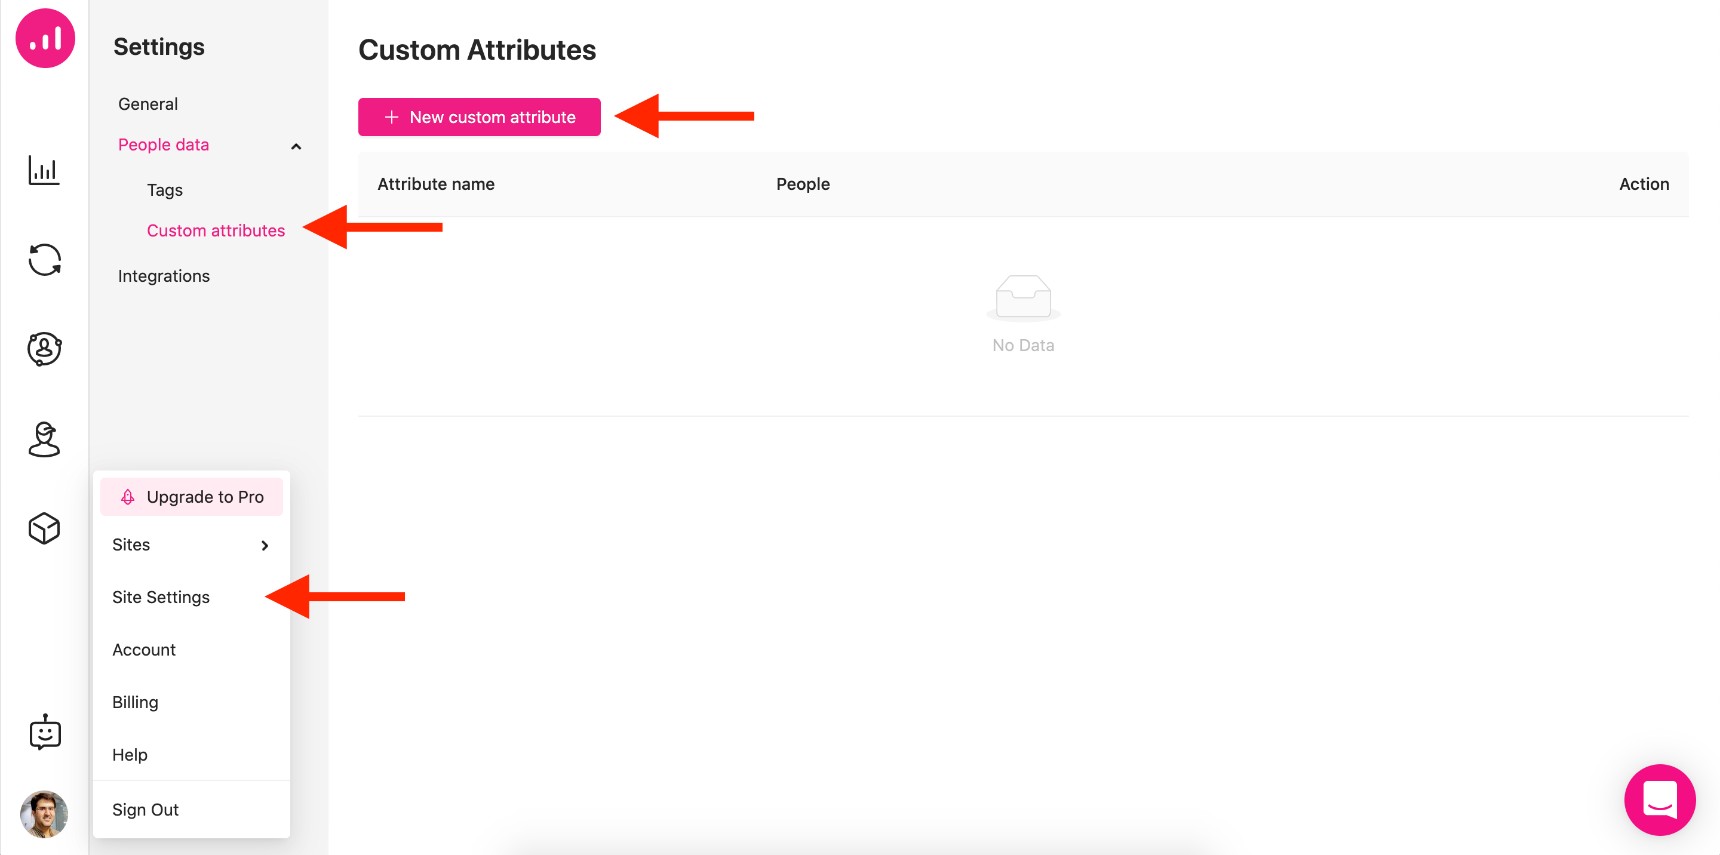
If you have any custom attribute that you want to show up here, you’ll first need to add a Custom Attribute to your Growmatik dashboard.
All done! Save your page and submit a form entry to see the result. All form entries in Growmatik will be considered new “contacts” that you can turn into paying customers. In order to see the form entry, navigate to the “People” section.
To filter through the results, click on the “Add Filter” button and choose Subscriptions -> Form. Choose the form you named in Jupiter X Forms to see the filtered results.
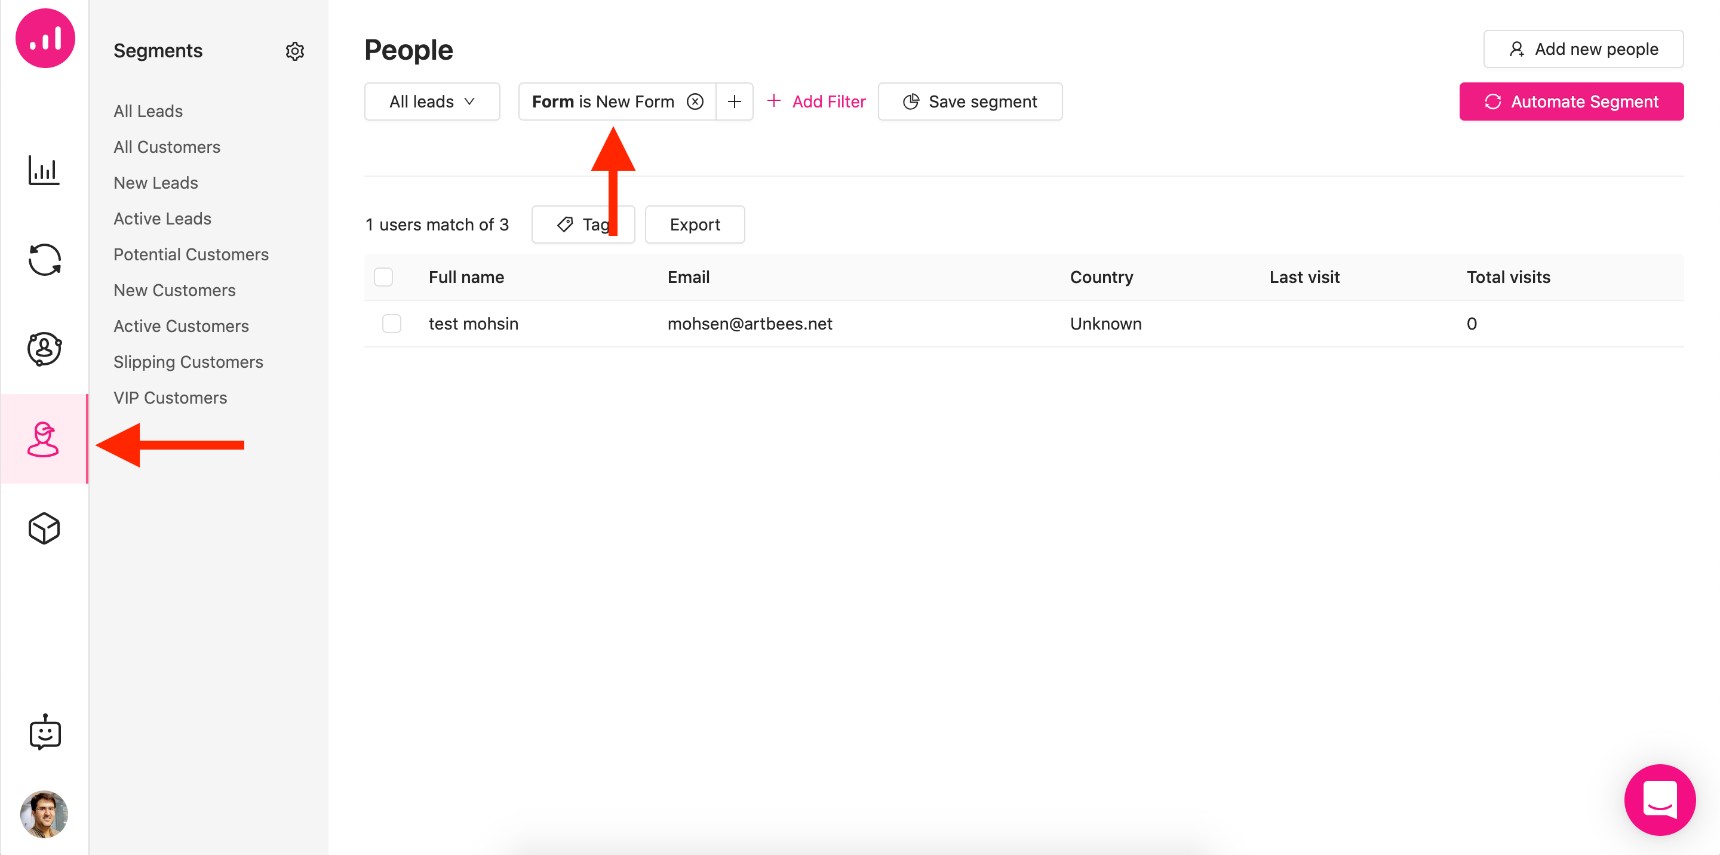
You can see the results here. Now, save your segment, go to the automation section and convert these users into paying customers by sending marketing emails and showing them personalized content and products.
Google Sheets
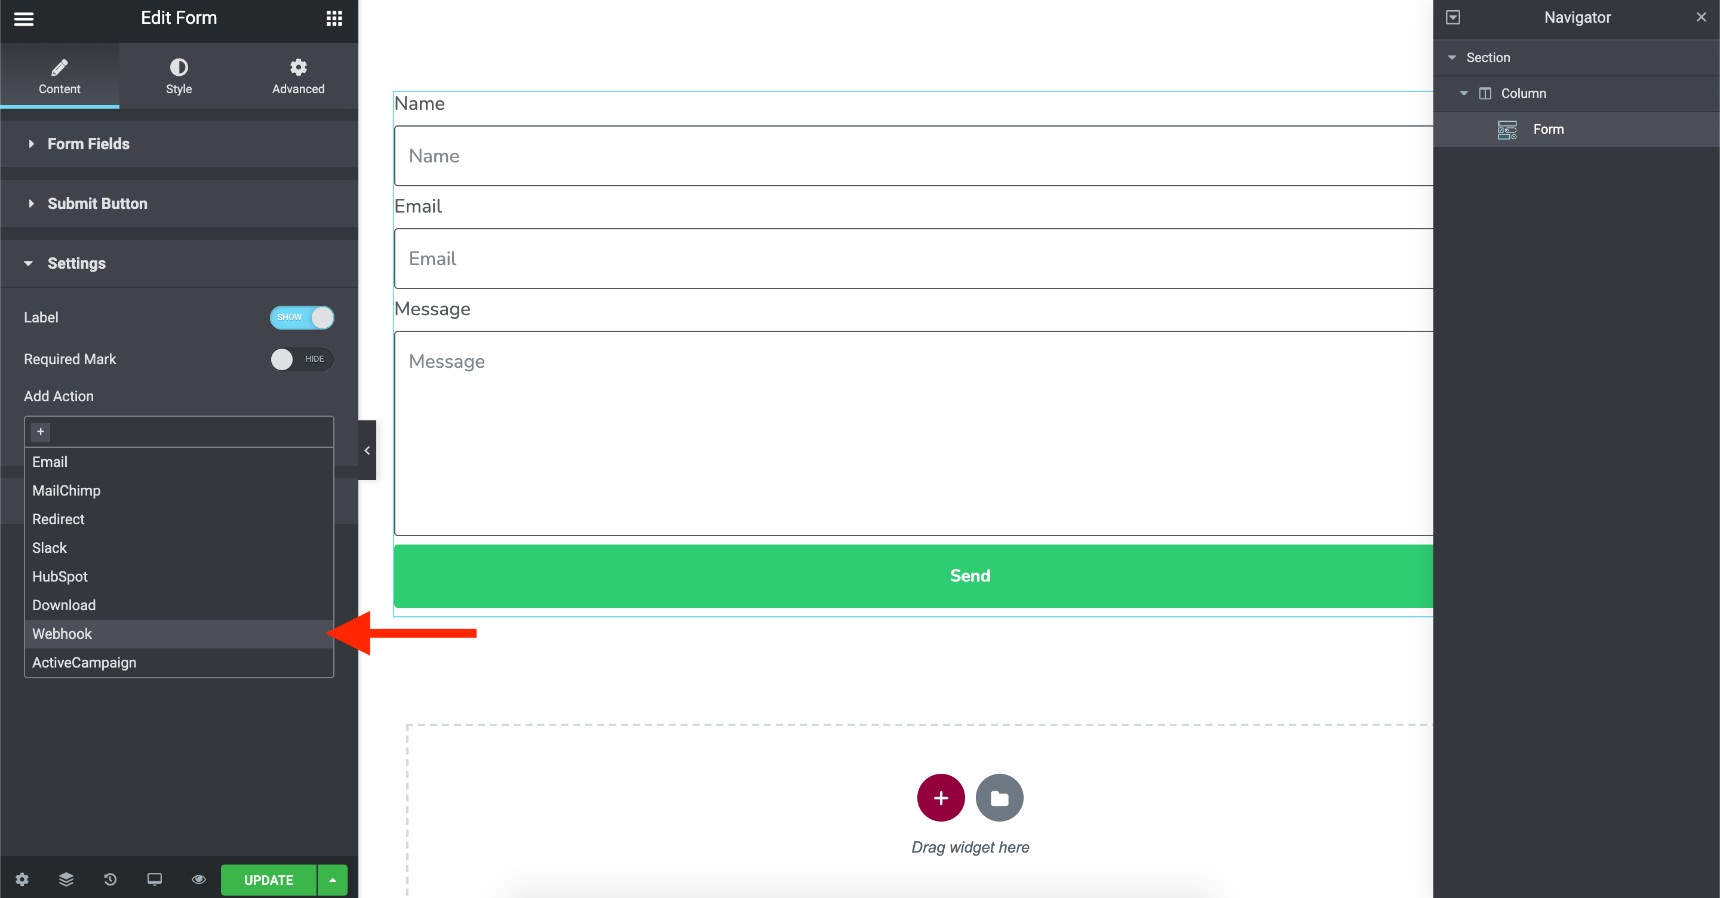
There is a way to integrate your forms with Google Sheets and store the data on it without writing a single line of code. Jupiter X Forms is capable of triggering a web hook and sending the data entries to that hook using the POST method. This gives you a great chance to integrate it with any other web service out there.
Zapier is a service that acts as a hub for other services. It works like this: you first add a web hook from Zapier to the Webhook section of your form. Ten, as soon as someone submits the form, it will trigger Zapier. Whatever integration you made with Zapier will then operate. One of the possible integrations is Google Sheets, meaning that you can store your data on Google Sheets as well.
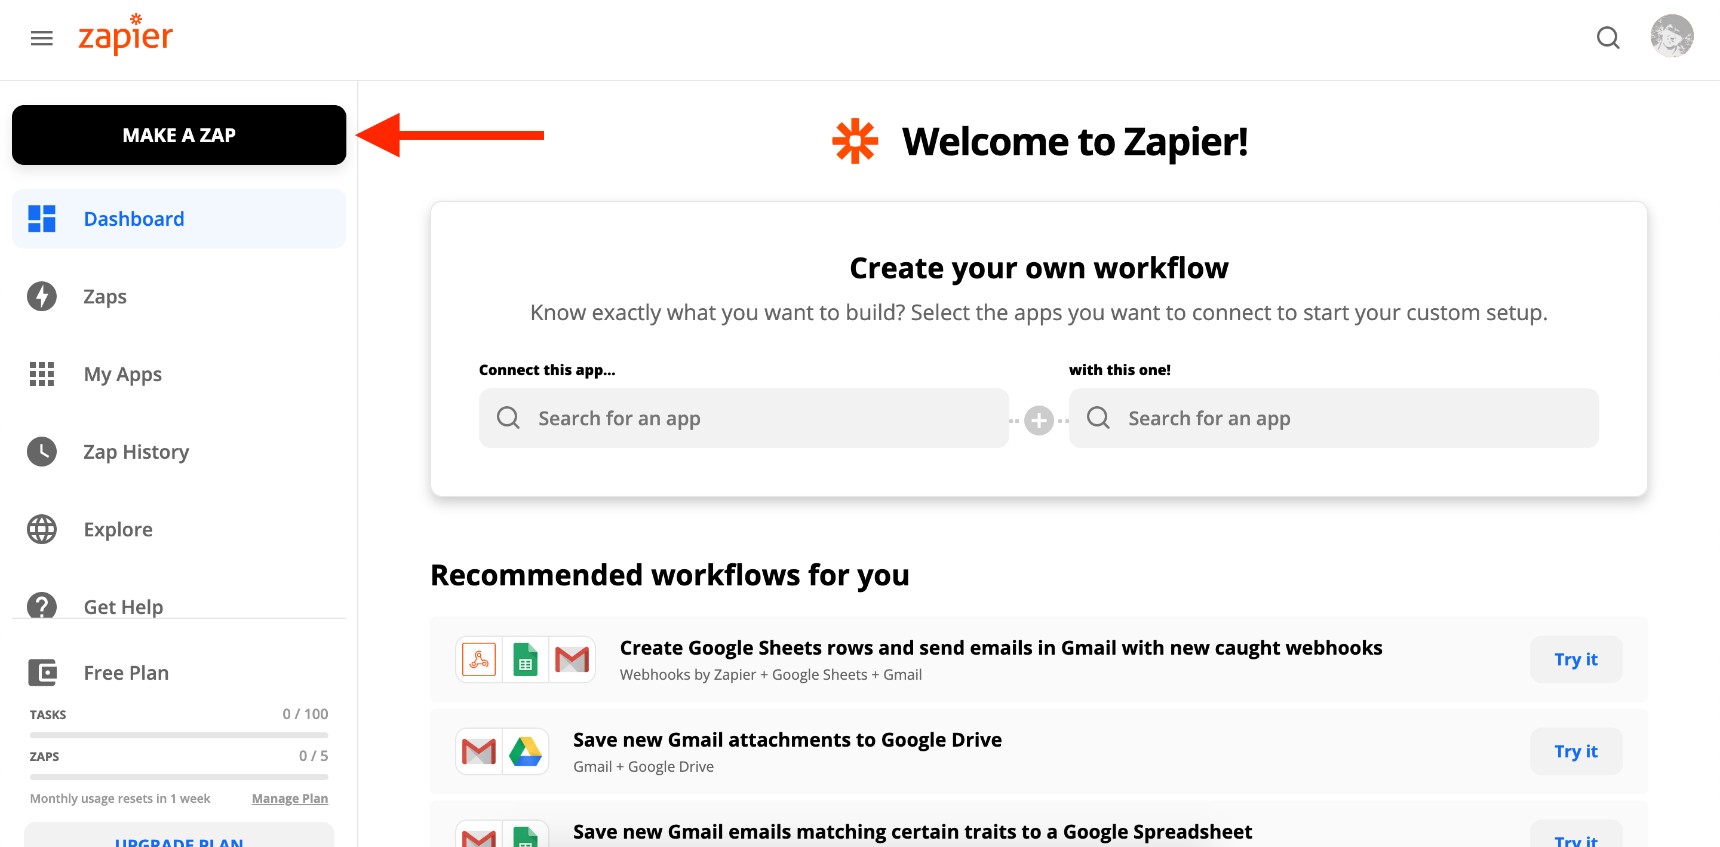
Log in to your Zapier account and make a new ZAP.
After that, search for Webhooks by Zapier. Add the ZAP and trigger the event with “Catch Hook”.
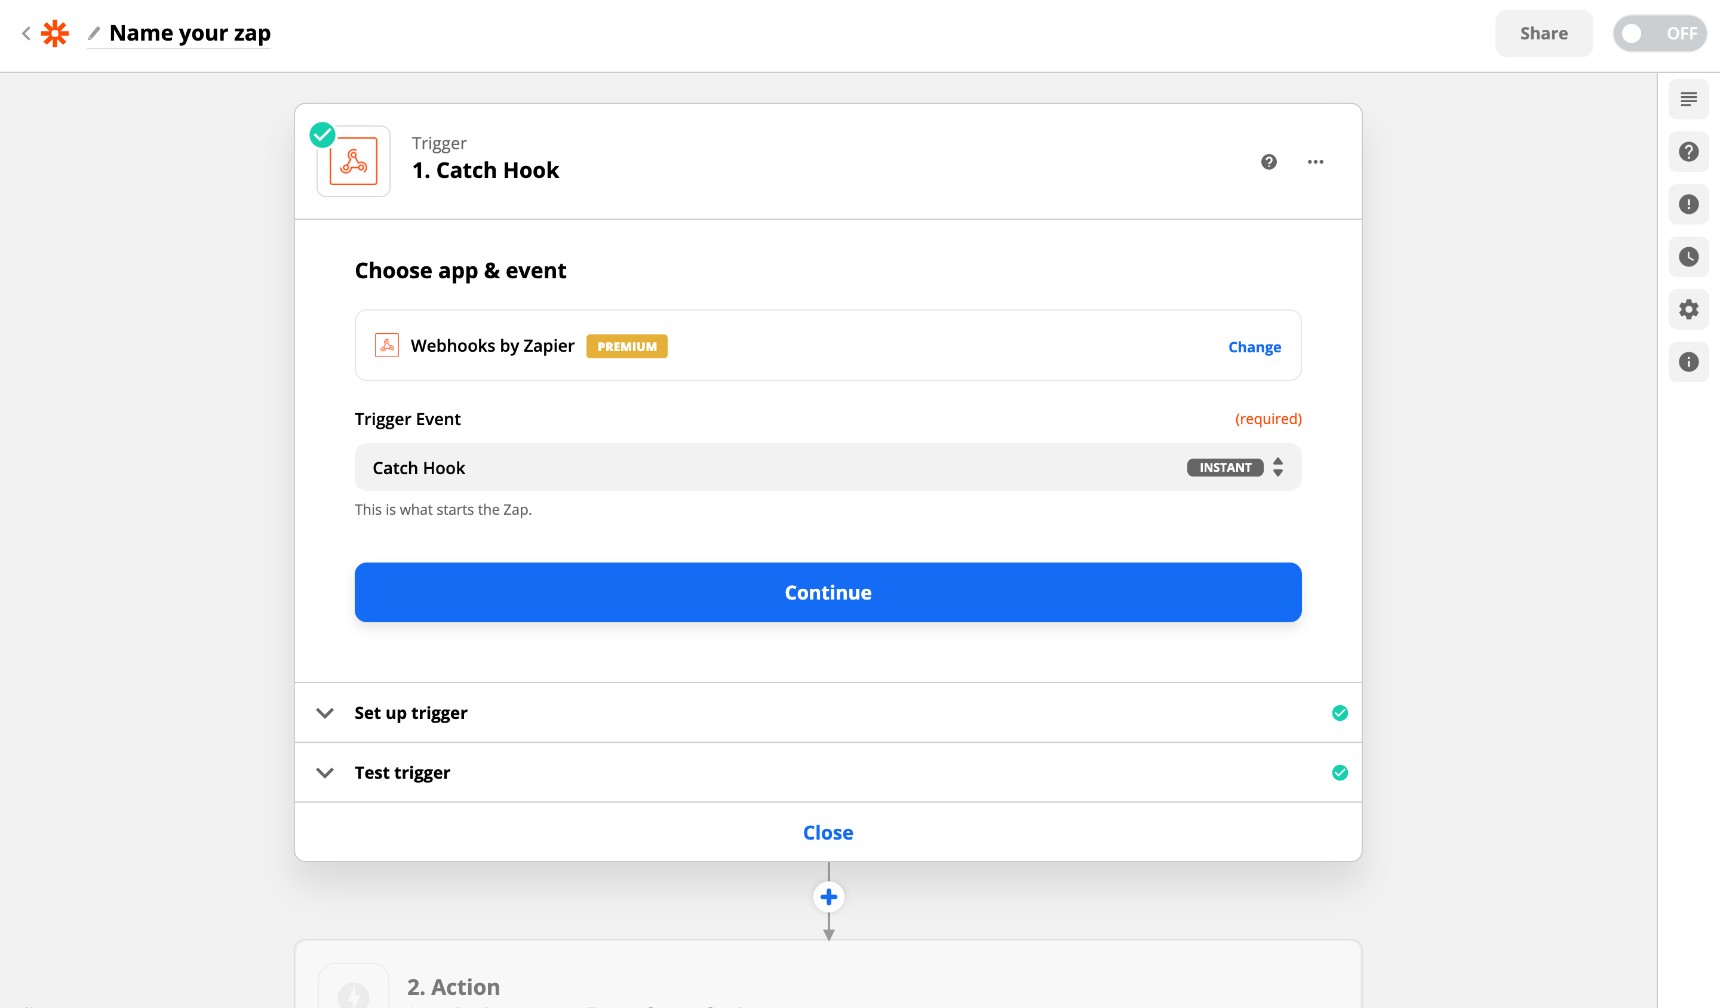
Continue to set up the trigger.

Copy the Custom Hook URL and paste it into the WebHook field of your Jupiter X form.

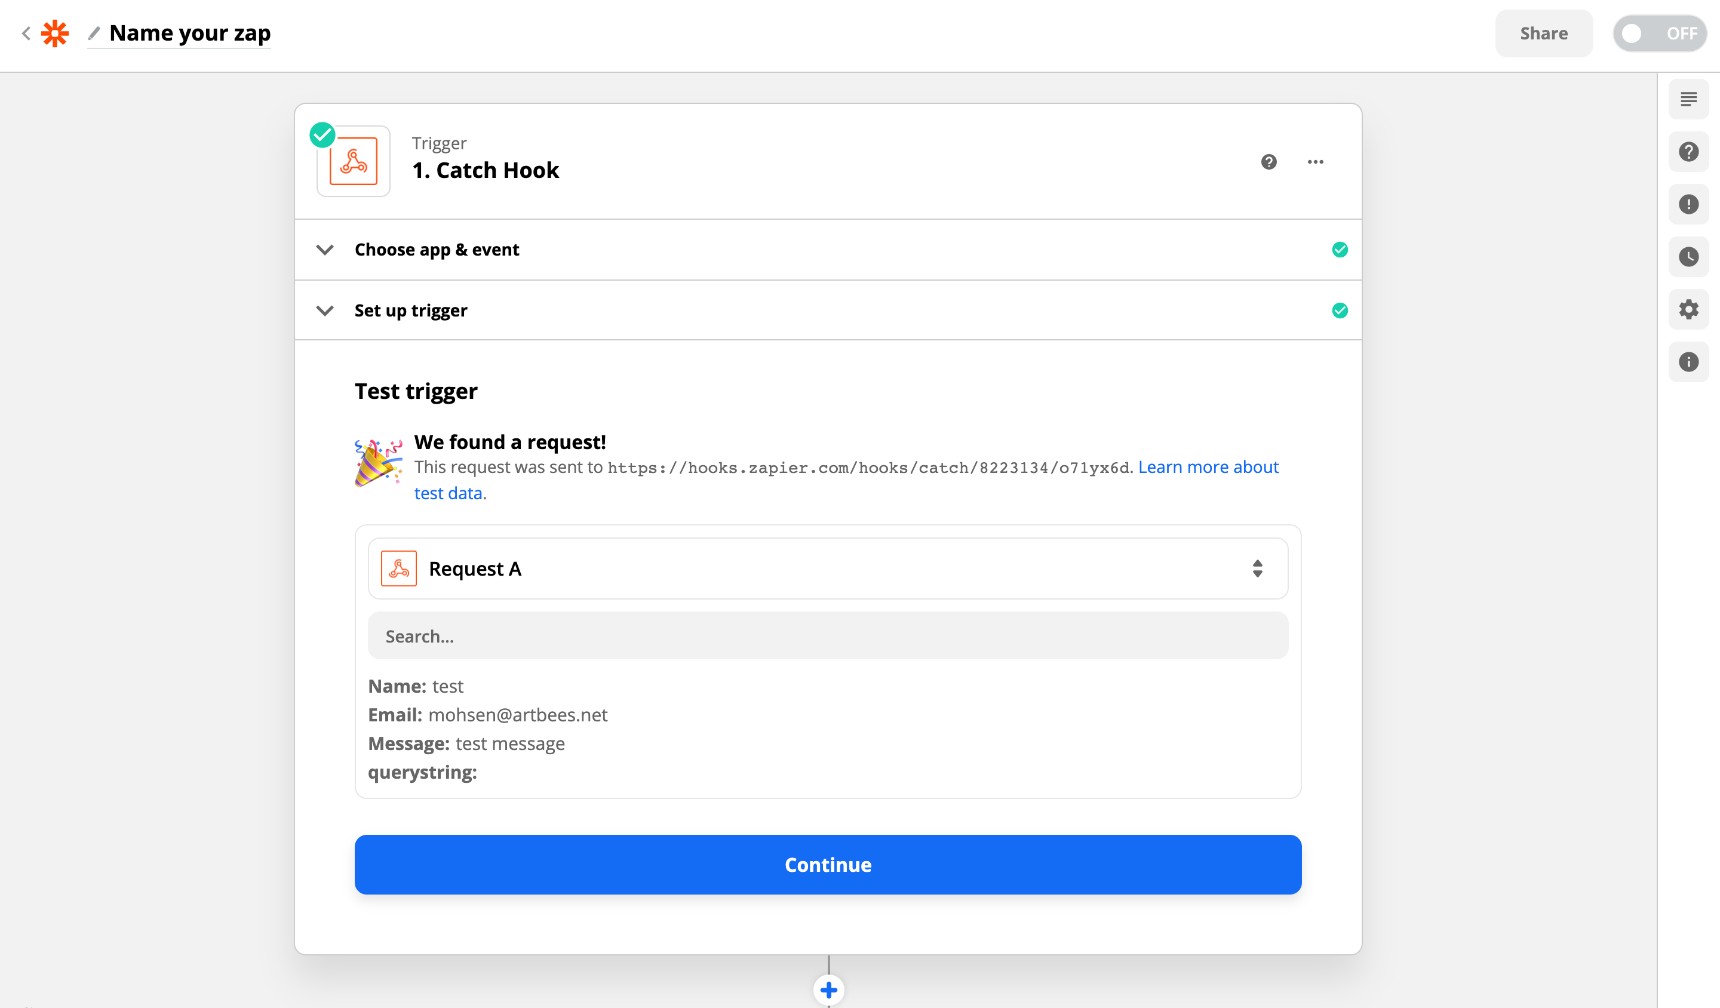
Update the page and return to the Zapier tab. Now you should test the web hook. Click on Test Trigger, submit a post entry on your website and click on Test the Trigger to ensure you receive the data.
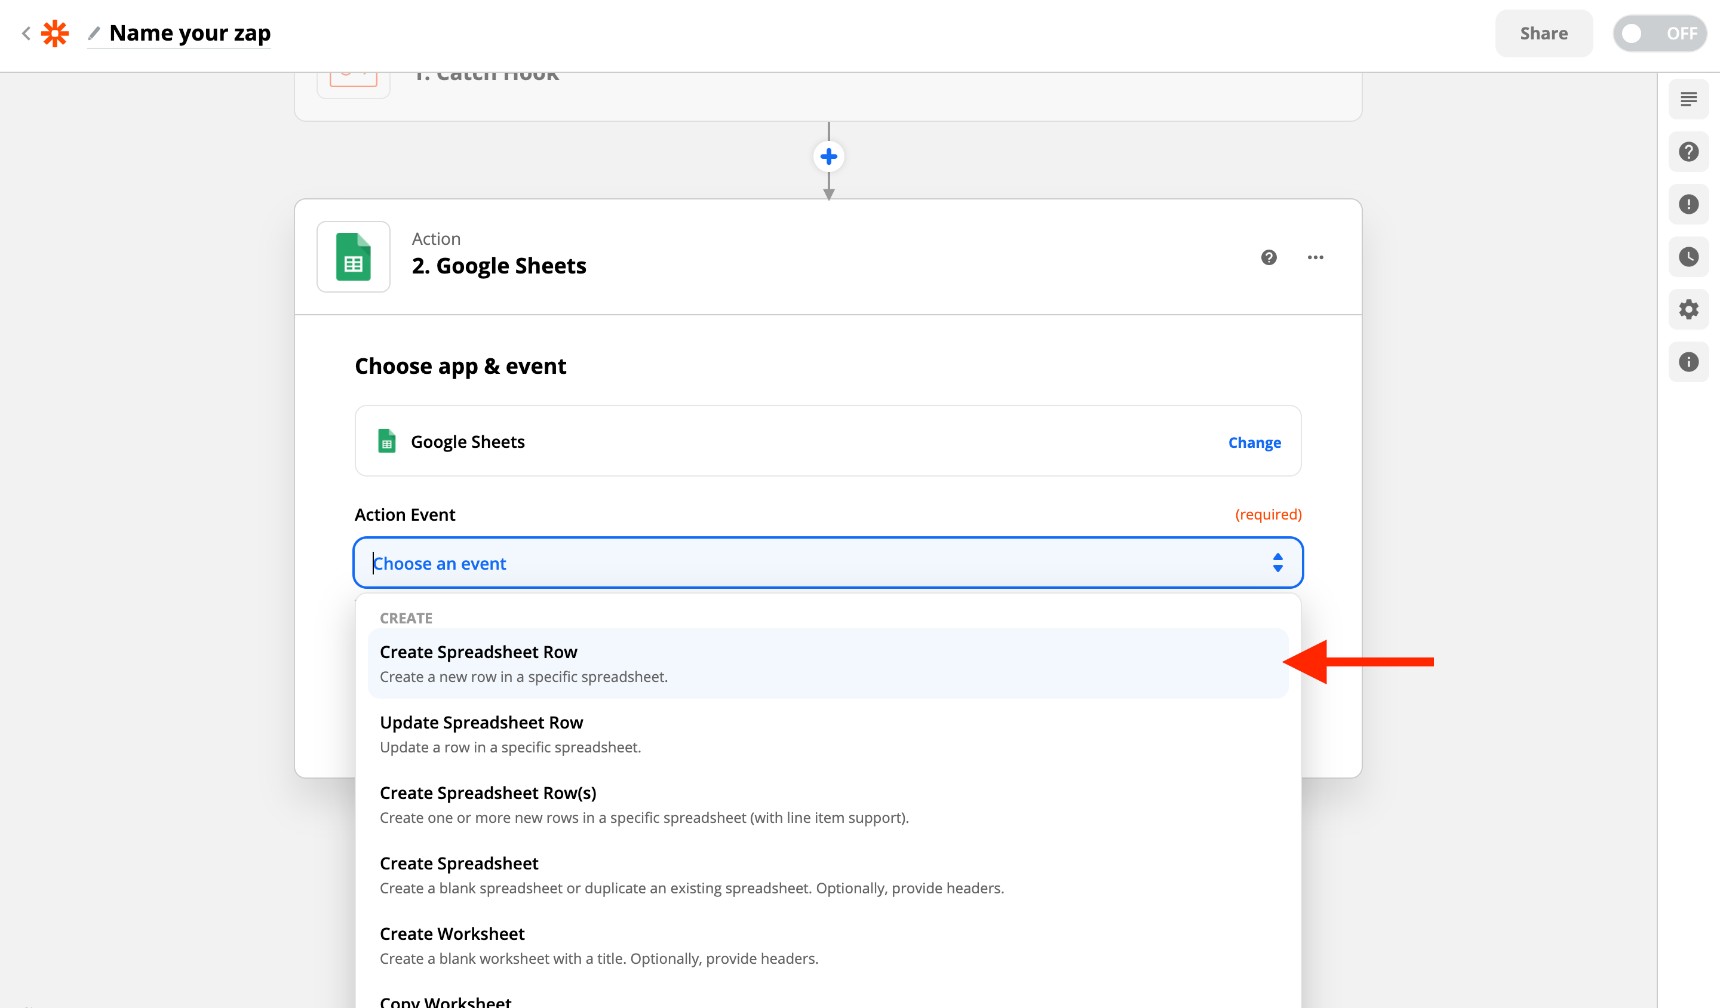
Then, add an action to your web hook. Find the Google Sheets option and click on it.
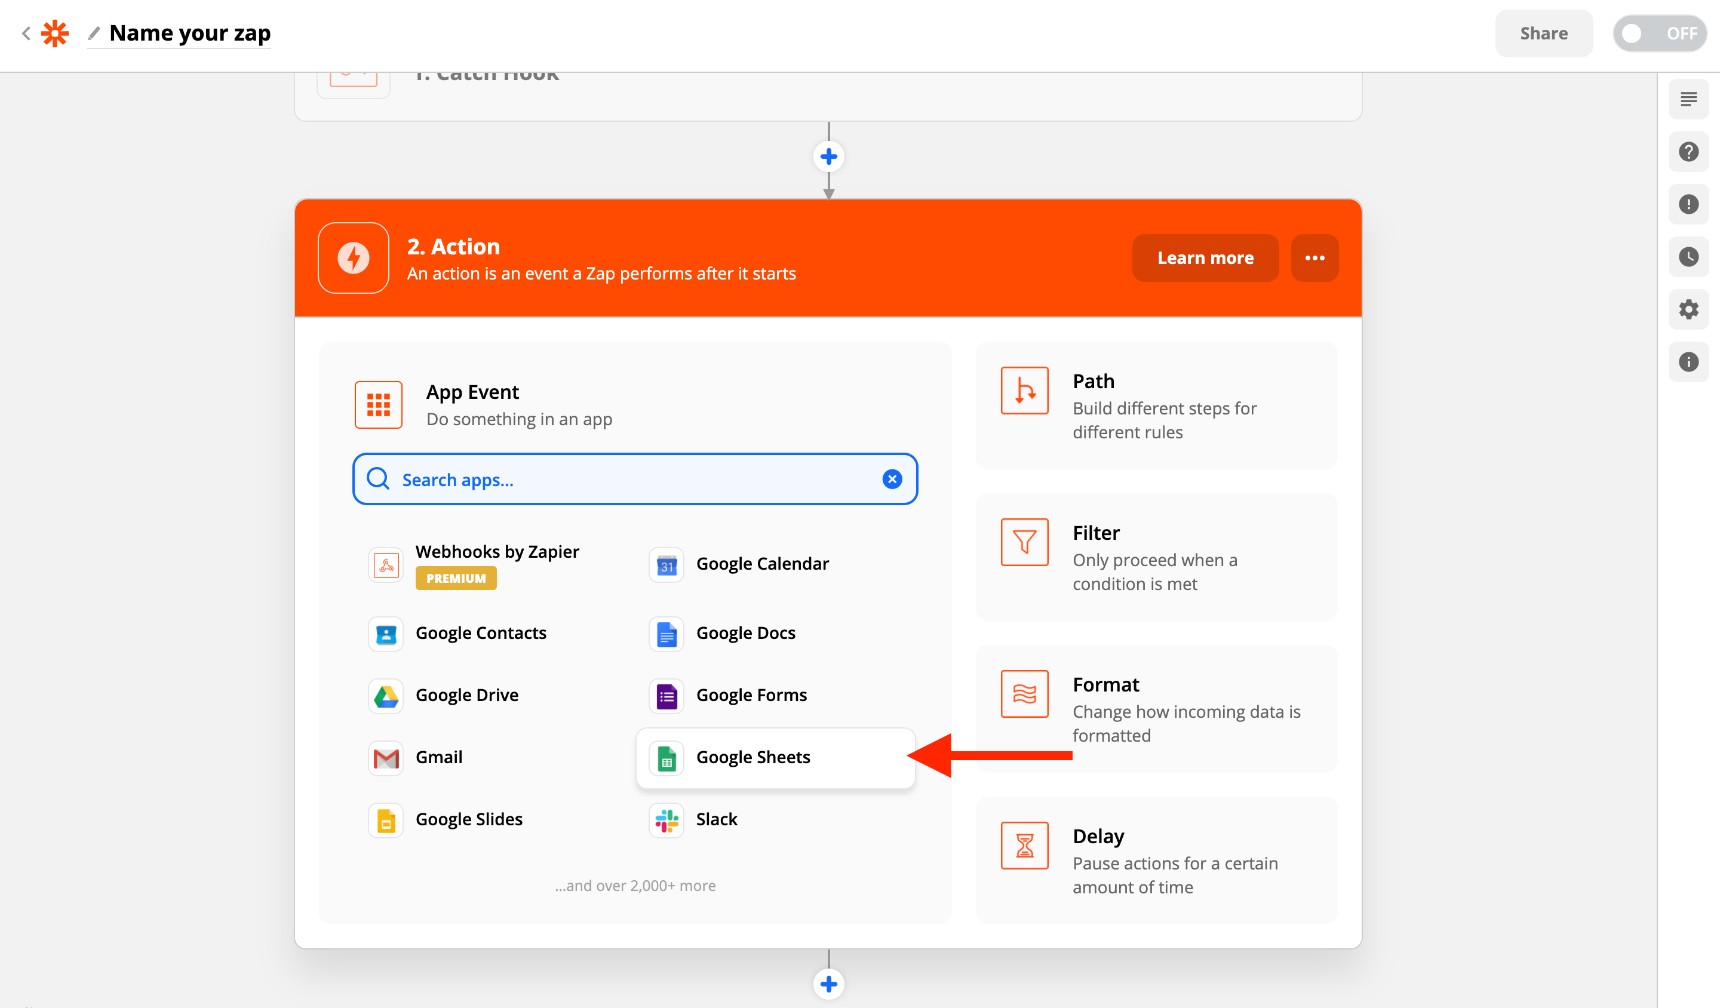
Since we want to add a new row to the sheet with each form submission, click on “Create Spreadsheet Row” in the action event field.
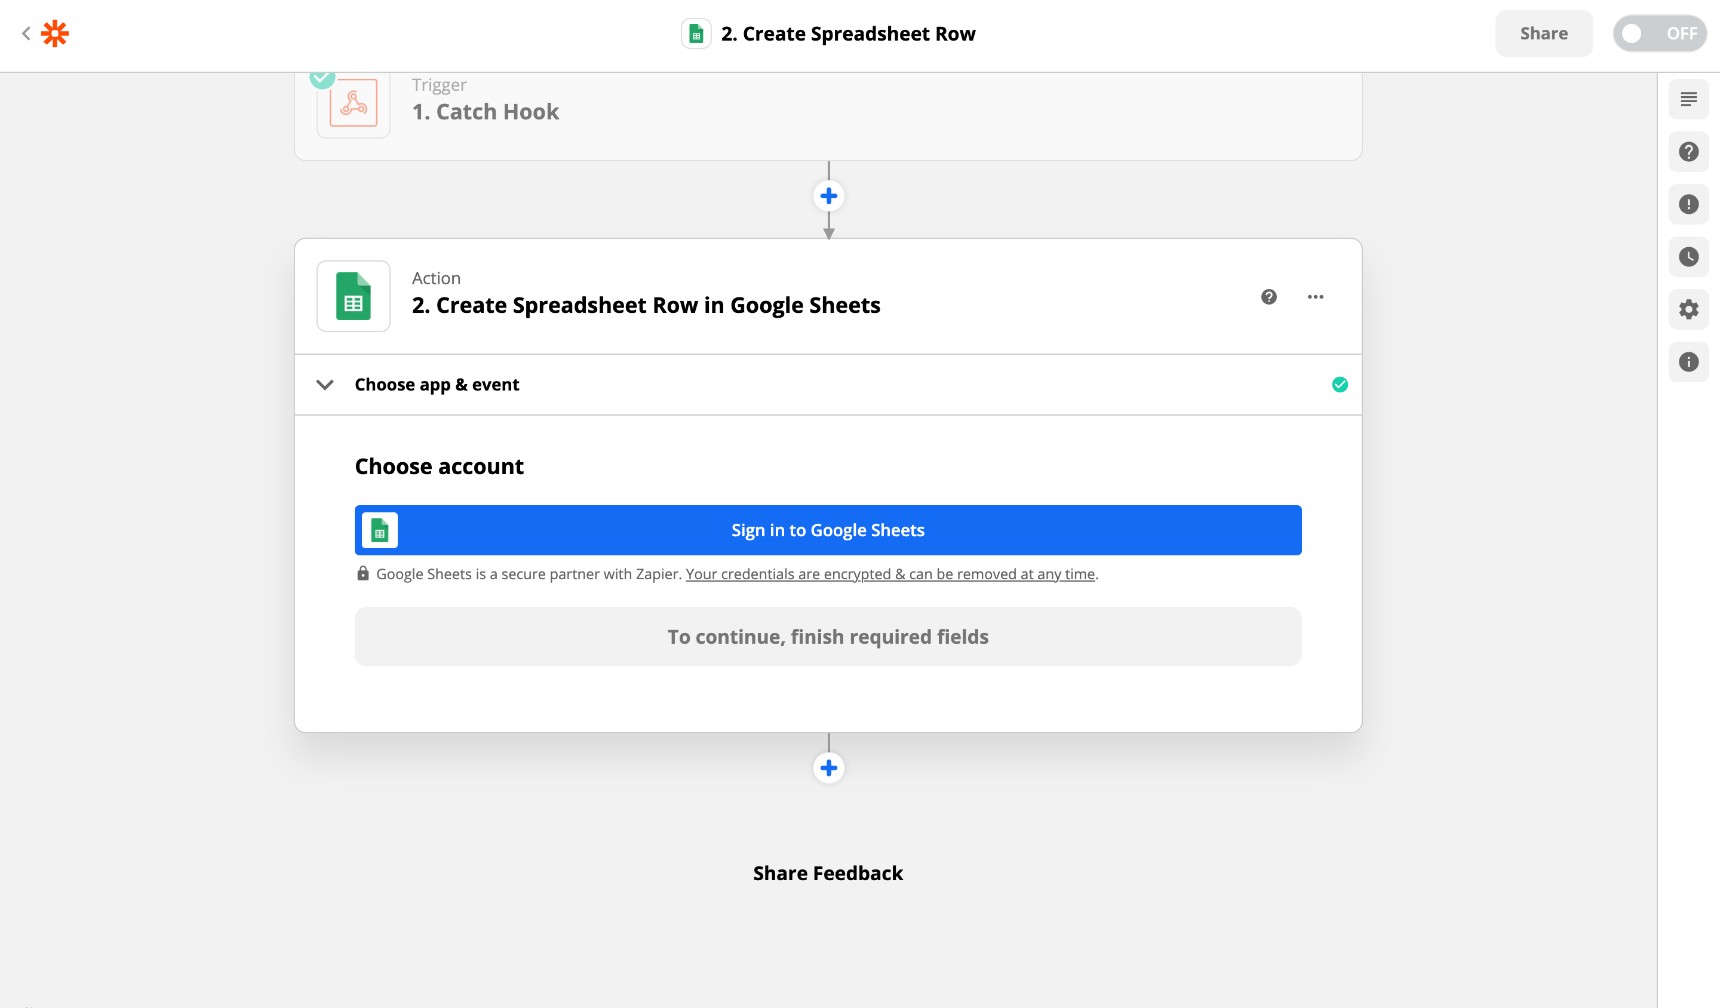
Now you’ll need to sign into the Google account you’ll use to select your sheet. Grant access to Zapier to read and write data on your Google Drive.
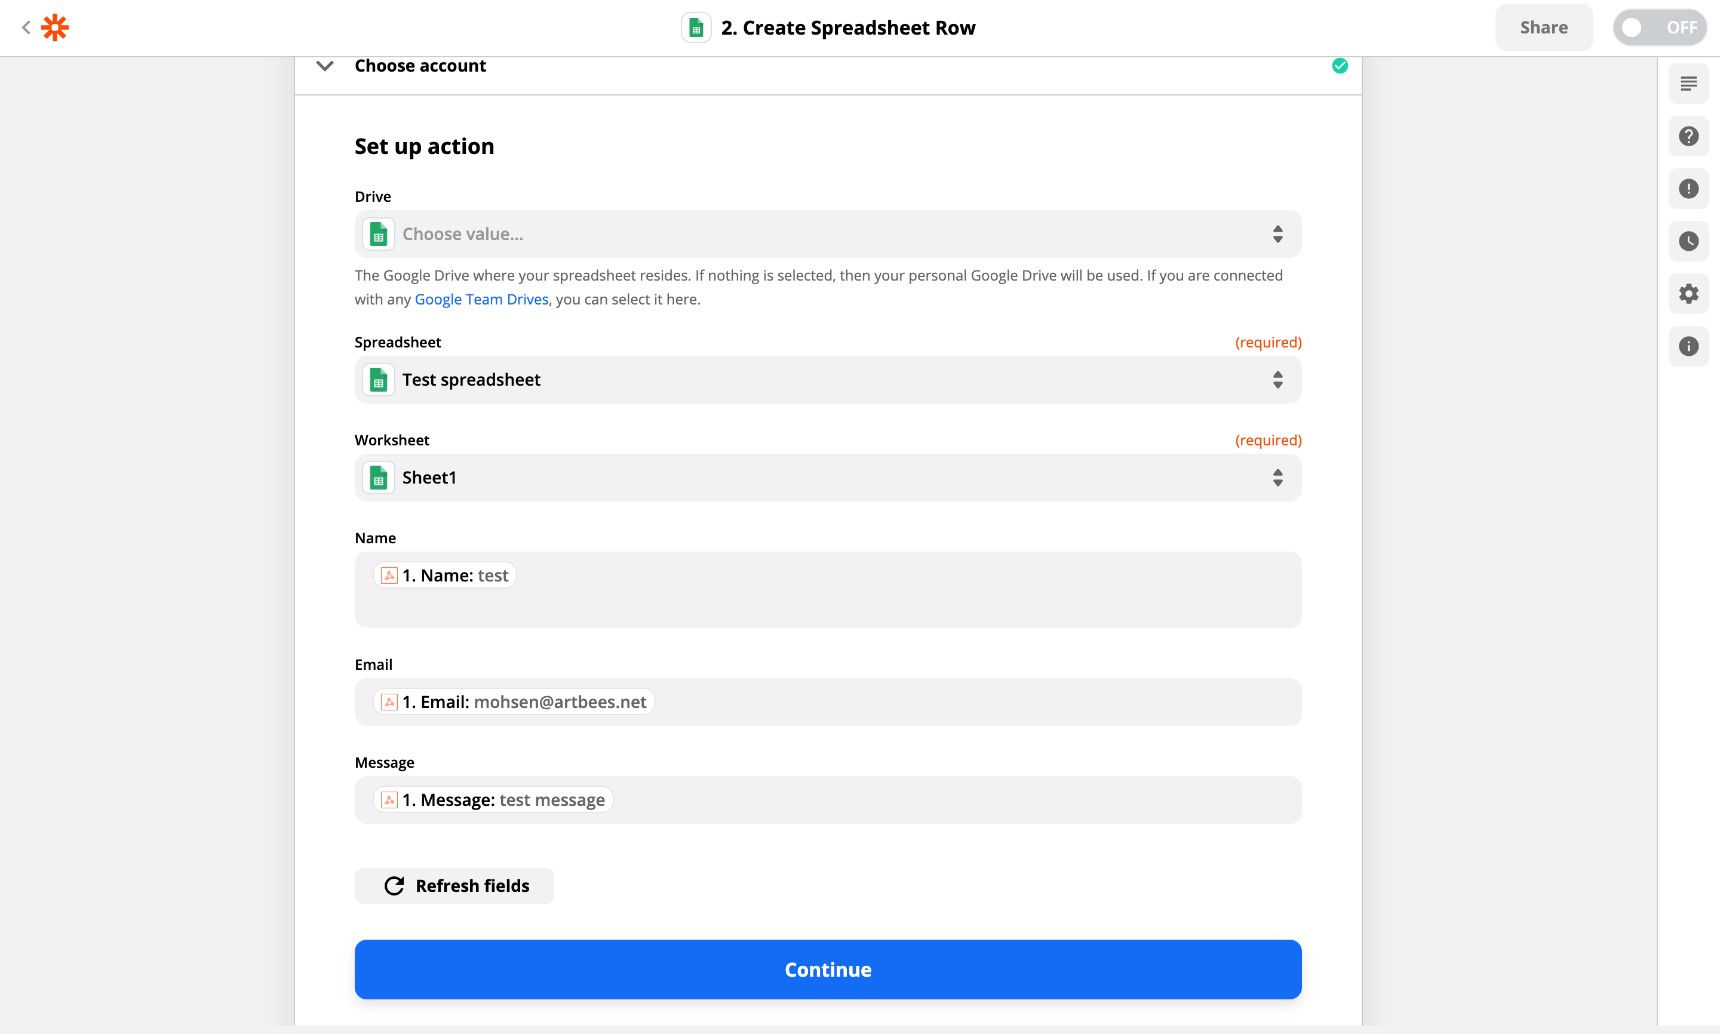
Next, you’ll need to map the fields of your sheet with data entry fields. Then, click Continue.
Now test your action and turn on your ZAP.
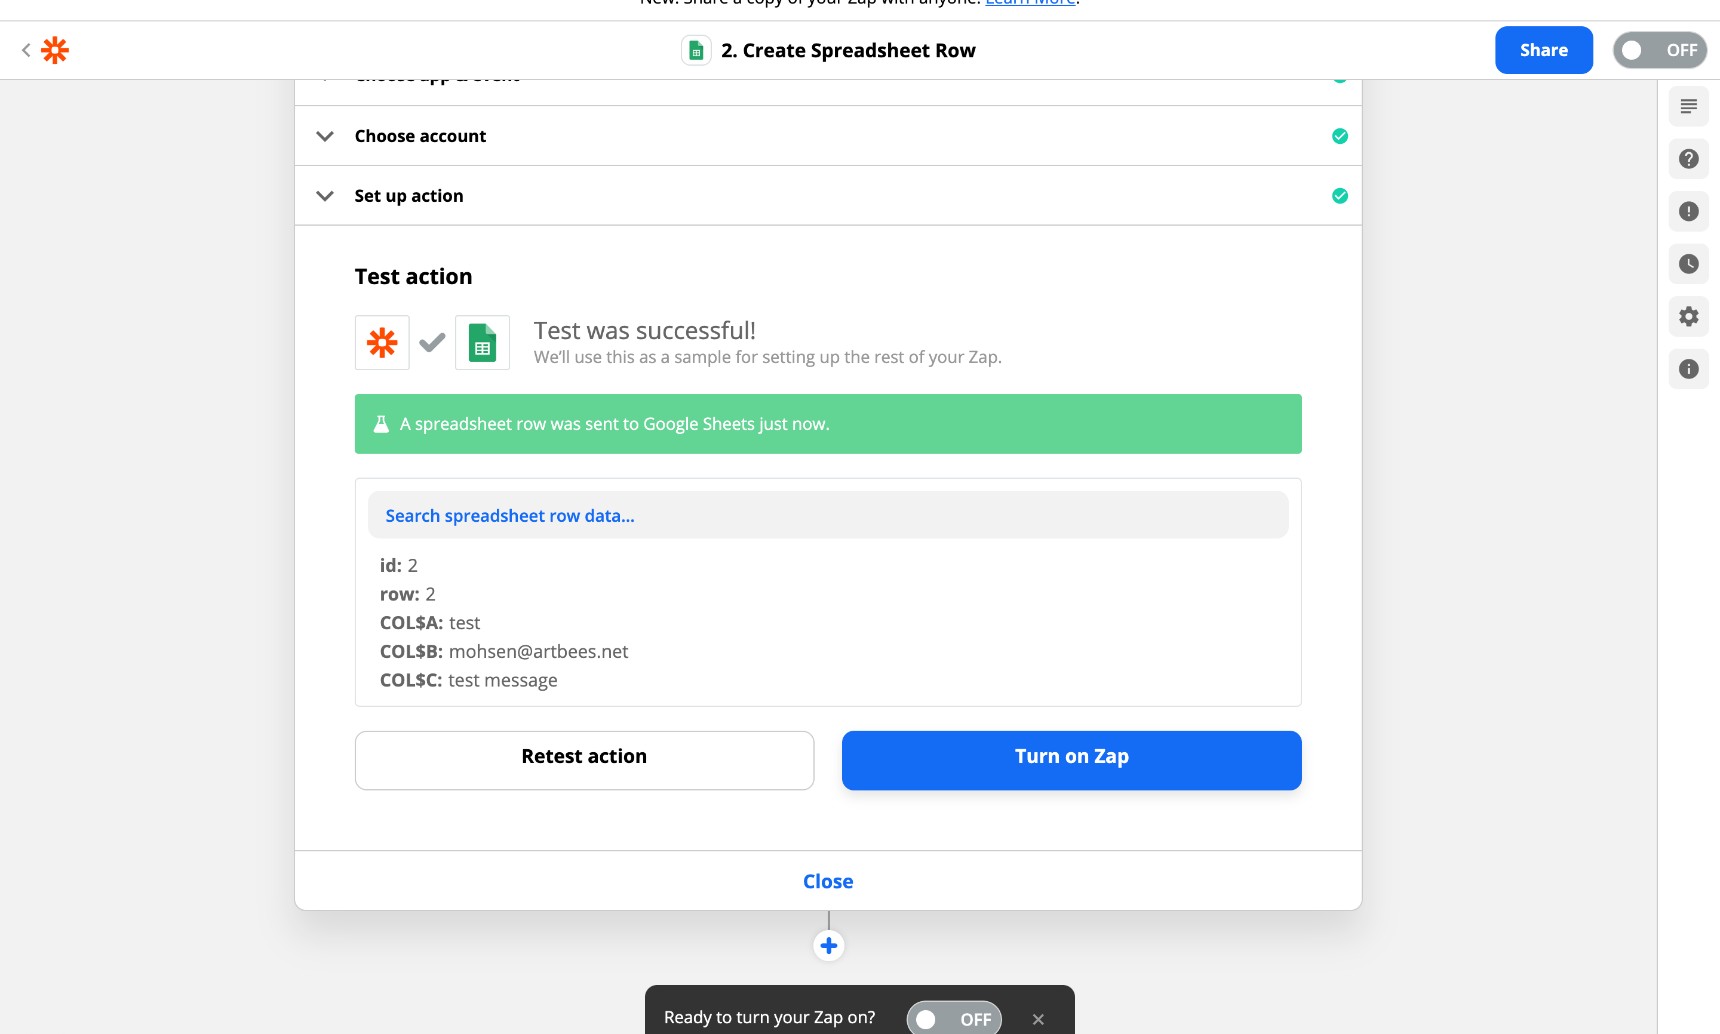
All set! You should have the form entry in your Google Sheet, as shown in the image below:

Wrapping up
In this article, we reviewed 5 ways to store Jupiter X form submissions data. The best options are those that make it easy to access stored data and provide you with multiple ways to use that data. These 5 places are not the only options for storing data — you can also use other services such as ActiveCampaign while building a form in Jupiter X. Jupiter X also allows you to combine all of these methods if desired. Feel free to ask questions or make suggestions below in the comments section and make sure to subscribe to our newsletter for upcoming blog posts.

1 Comment
So there is not way to save the form submissions on the website database, user can see the submissions from dashboard, without using any 3rd party plugin?