The goal should be to have every aspect of your website looking like it belongs – that it has its place. This of course should include your Google Maps. But how do you make it match the rest of your design? In this article we’ll cover how to customize the Google Maps in Jupiter WordPress based on your brand preferences.
Incorporating a Google Map on your WordPress website is handy for a variety of reasons. The first is that it makes your site more personable. By disclosing your exact location, and making it visible to your website visitors on a map, you reveal yourself as a credible source. The second perk of adding Google Maps is that it’s proven to boost SEO performance.
Generally, adding interactive features like Youtube videos, Google Maps and live chats will increase your rankings on internet browsers, as long as they don’t slow down your site’s loading time.
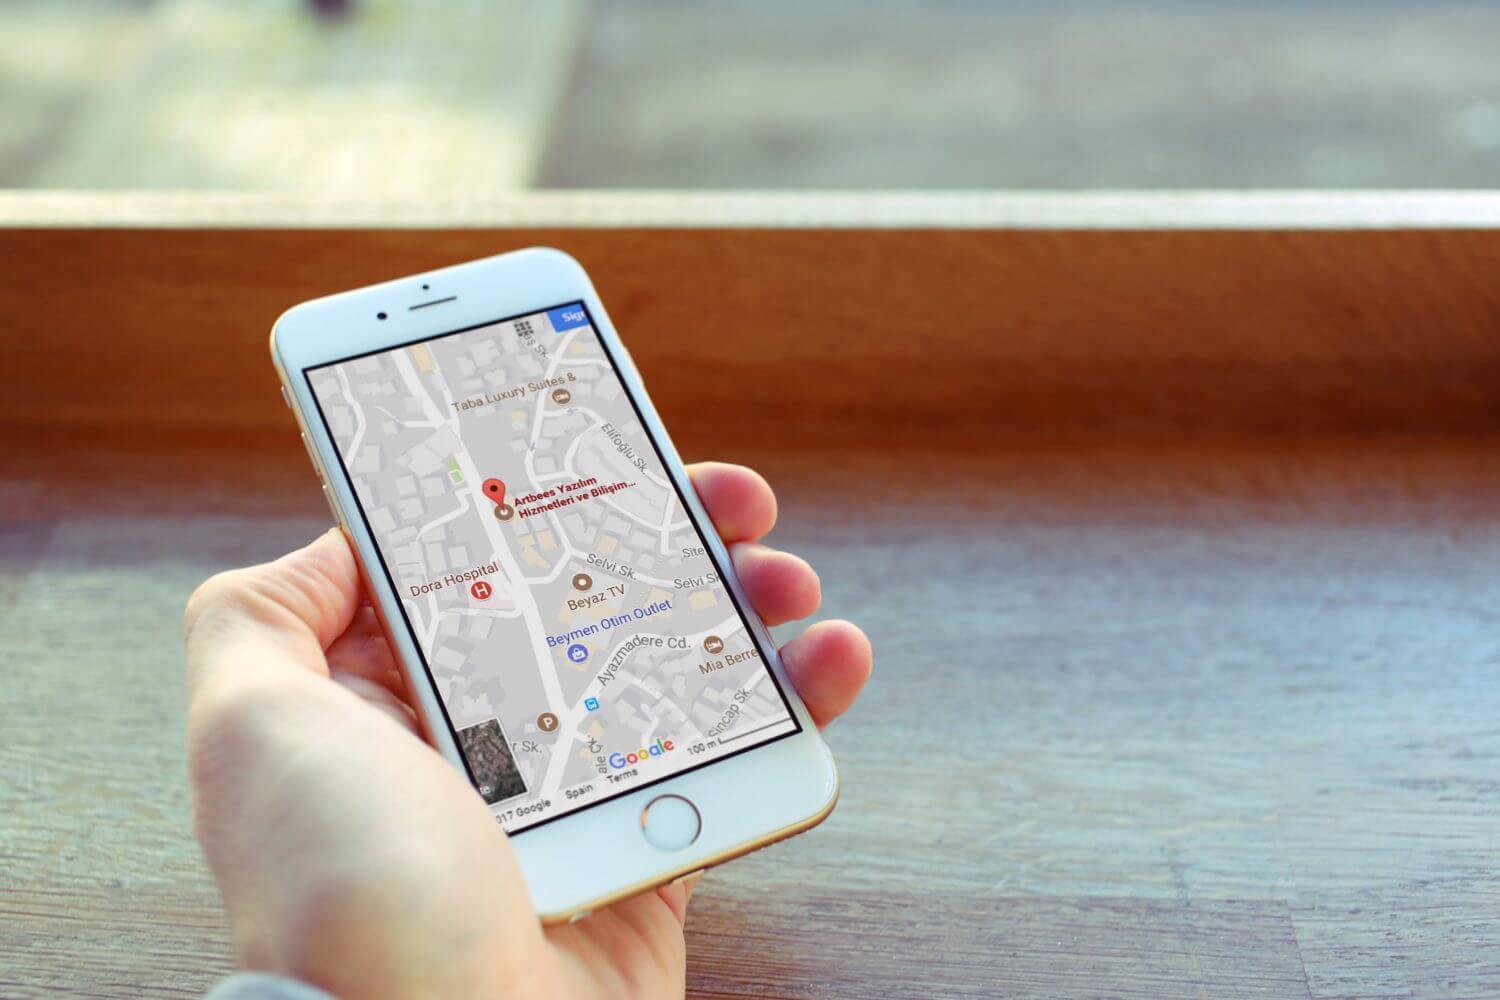
The third reason we suggest adding Google Maps is that it increases the likelihood of customers actually visiting your store/restaurant/studio/office. You save potential customers from the hassle of copying and pasting your address into a different tab and searching for directions. The less steps involved for them, the better. Based on my company’s Google Analytics, the page where I include Google Maps is the page where I get the most weekly views.
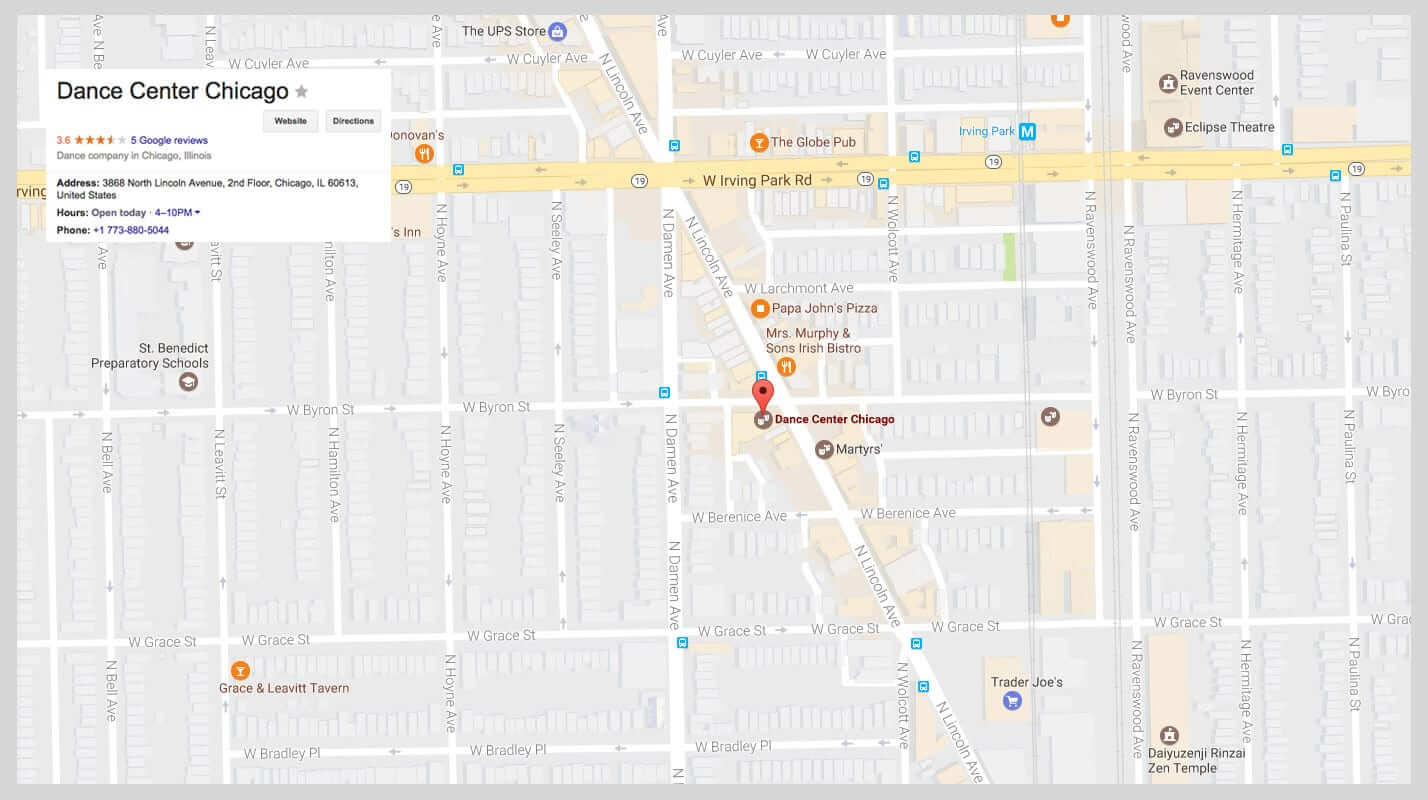
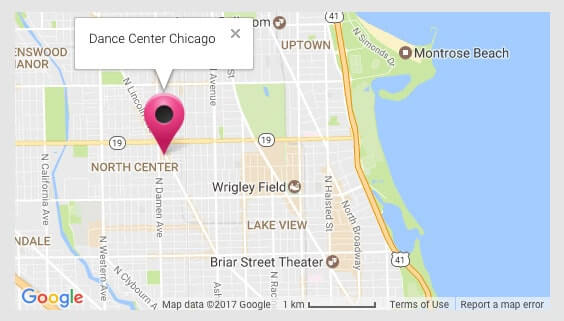
It’s the page where visitors can book and pay for group dance classes. The feedback I’ve gotten so far is that the Google Map included on my site is incredibly useful to gauge what neighborhood the classes are offered, and whether the commute is reasonable for them. Though if you take a look below, my map is pretty generic and I would love to make it more personalized using the Advanced Google Map feature. If you use Jupiter, a basic Google Map shortcode will provide you with something like this:
But to spice up your map a bit, Jupiter gives you the free option to tune up your Google Maps using the Advanced Google Map feature. The very first thing you need to do is to set up the Google Map API in your Jupiter Theme Options page. Under Global Settings you’ll find how to obtain a Google Maps API Key.
[call_to_action title=”Discover 26,000+ code scripts & plugins from our partner CodeCanyon starting from $2″ target=”_blank” url=”https://codecanyon.net/?irgwc=1&clickid=Q3XVRp27-Vd-W5SUr%3AxaIR5HUkjQ1q2JFRdWRY0&iradid=275988&irpid=1239055&iradtype=ONLINE_TRACKING_LINK&irmptype=mediapartner&mp_value1=&utm_campaign=af_impact_radius_1239055&utm_medium=affiliate&utm_source=impact_radius” type=”link”]
Once you’ve done that, you can start editing a page with Visual Composer, and click the + (plus) icon in the section where you’d like to include your Advanced Google Map. You can either scroll down or search “Advanced Google Maps” in the search bar on the top right. After the shortcode is added, a page will pop up that will allow you to change the settings to fine tune your Advanced Google Maps.
Steps To Spruce Up Your Google Maps in Jupiter WordPress
1. First Fill In All Your Basic Information
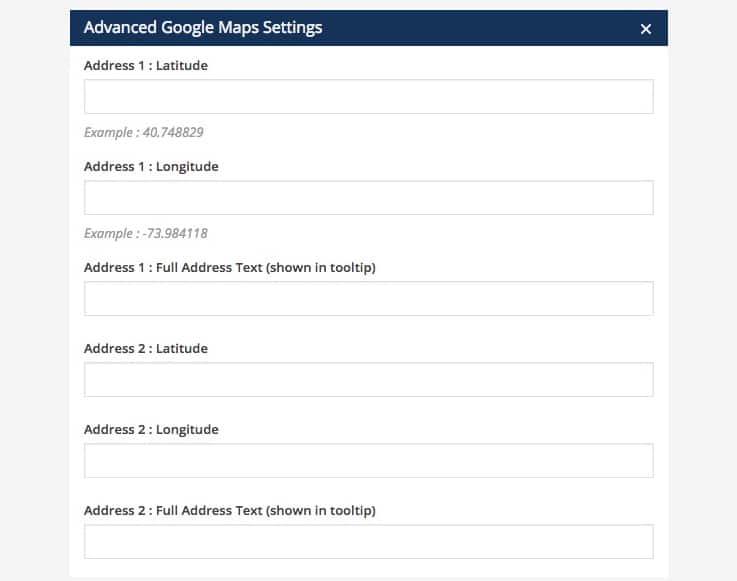
First things first, you need to manually add the information of the location you’ll be pinning. To be 100% accurate, this will require you to find the Latitude and Longitude of your store/restaurant/studio/office. I did this quickly with LatLong.net. After that you’ll want to manually add the full address. I suggest you also add the name of the location if you’d like it to show up in the ToolTip Box. (Shown In Tooltip?)
2. Add Multiple Locations and Markers For Each
You can repeat step #1 as many times as you’d like to have multiple locations pinned on your map. This is incredibly useful if you have multiple store locations or want to highlight different attractions in the area. This option really depends on what your business offers, but in any case – be creative and consider what could entice viewers to check out your place!
The Advanced Google Maps tool allows you to upload your own markers – either a default marker for all of the pins or a different marker for each individual pin. Note: you should upload the marker in the size that you’d like for it to appear on your map – otherwise you’re going to have a marker that covers your entire map!
3. Decide On The Design You’d Like
This is where the real fun begins! Personalizing the design of your map to make it visually appealing and tailored to your business preferences. There are four different map types available:
Roadmap is the default, 2D map which is most widely used.
Satellite is a photographic global-base map with high resolution imagery.
Hybrid mixes elements from Roadmap (roads and city names) and Satellite (photographic scenes).
Terrain is a road map that includes mountains, rivers and other various landscapes
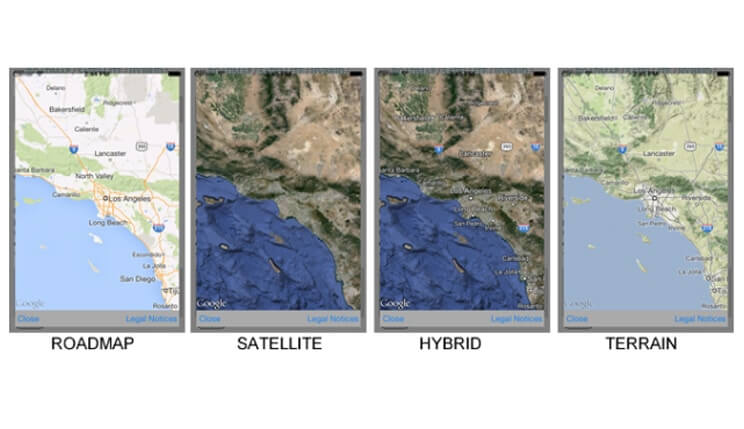
For local businesses, Roadmap will probably be the most practical. For a travel blog or international company, however, Hybrid or Terrain might be more appealing. After you’ve chosen the map type, Advanced Google Maps also enables you to alter the hue, saturation and lightness of the map itself. You can play around with the settings, but make sure you preview the changes often so that you can see if it fits with the rest of your design.
One feature I found particularly useful was editing the Content Box font and background color. I personally like using the same shade as my website’s theme color. That way it will be clear that the map is made specifically for my website. Feel free to do the same!
4. Discover Control Options For You and Your Website Viewers
There are many features of Advanced Google Maps that you might not know about which can make your map more appealing to you, the website owner, and to your website visitors. For example, you can set the default zoom to show more or less of the surrounding area around your pins. Likewise, you can alter the height of the map to suit the amount of space you want it to take up on your website.
You can also enable or disable the ability of viewers to drag the map to see other sections. My suggestion is to allow dragging, since viewers prefer to have a sense of control. By disabling the drag option you risk people feeling stuck with a stagnant map. Make your map as interactive as possible! The outcome you’ll see when you update your Google Maps with the advanced features will be a more cohesive design, giving your website a more polished and professional look.
Anyone can copy and paste a map with generic pins and labels but you want to show your clients that you pay particular attention to detail, have a relevant and reliable website, and have a style that stands out from competitors. With that kind of message coming from a stylish map, you’ll have customers knocking down your door in no time.
A Quick Overview of How To Rev Up Your Google Maps in Jupiter WordPress!
Once you’ve obtained your Google Maps API Key, you’ll be ready to start fine-tuning your map to make it look exactly how you’d like it. Here are our four recommended steps to spruce up your Google Maps. With the Advance Google Map feature on Jupiter:
- Fill in basic information such as the address, longitude and latitude for each location.
- Add multiple locations with customized markers for each.
- Choose from four different map types and then alter the design to fit your preferences.
- Give your customers control with zoom and drag options.

No comment yet, add your voice below!