This is a guest post contributed to Artbees Themes blog by Thuy Nguyen from Ninja Team.
Why to organize WordPress media library?
WordPress media library is where you can find all of your documents and media uploads. It comes with a sort feature by file type and a month and year-based filter function. This is quite sufficient for personal bloggers.
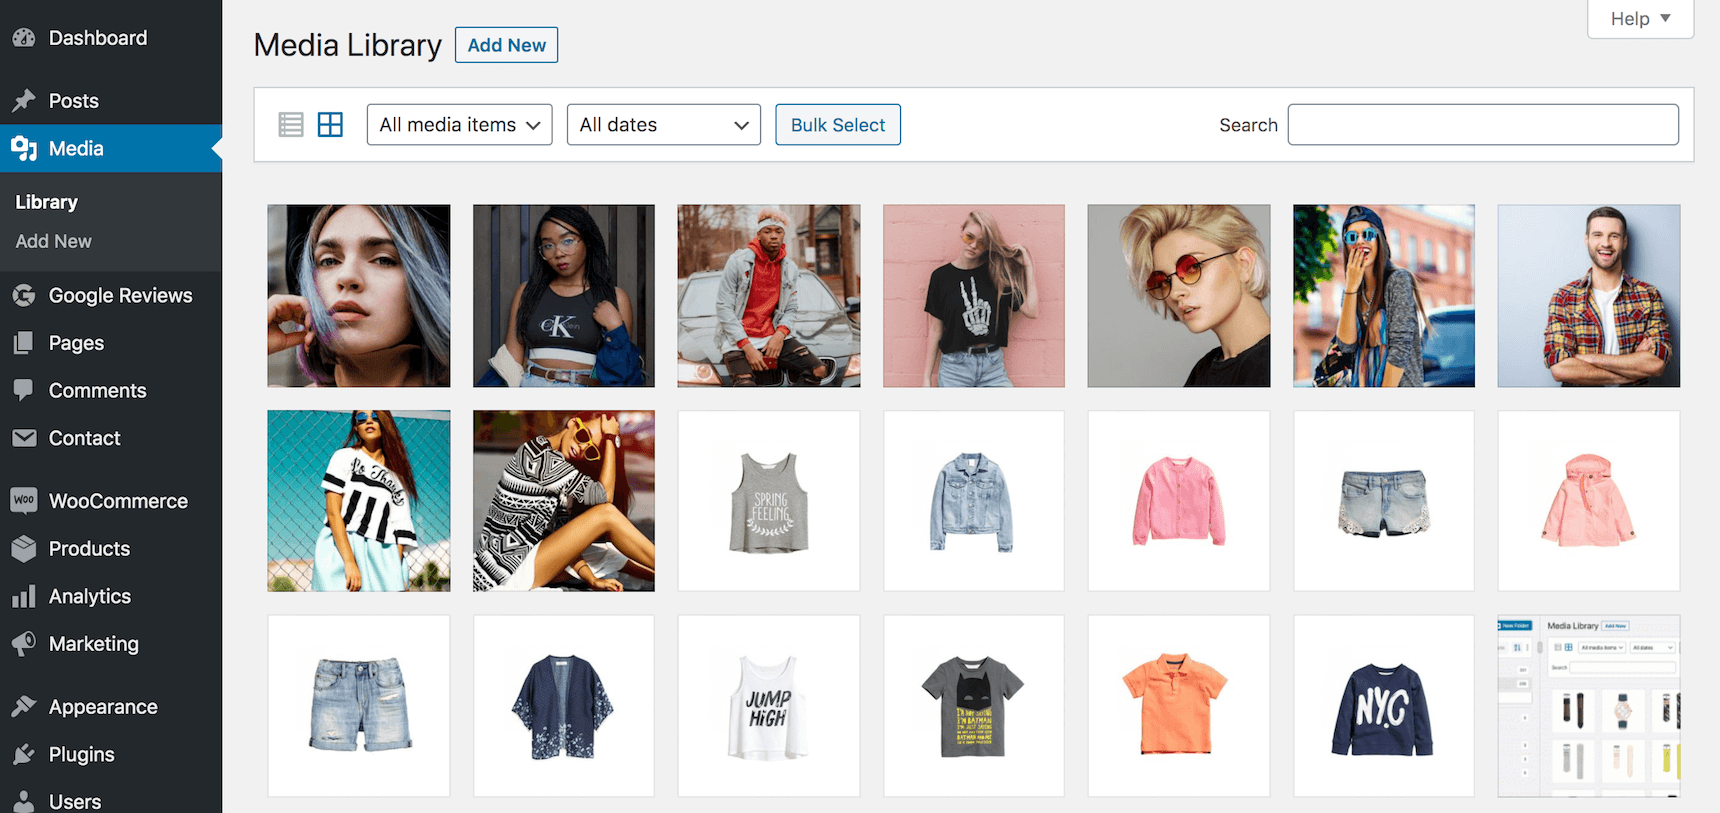
However, if your blog is media heavy and it has to hold thousands of media files, it will take some time to find the files you are looking for. Or when you want to do a post revamp and delete the old files, the decluttering process is hard with this categorization way by default.
Therefore, organizing WordPress media library requires a category management of files. That is where FileBird comes in to help.
What is FileBird – WordPress Media Library Folders?
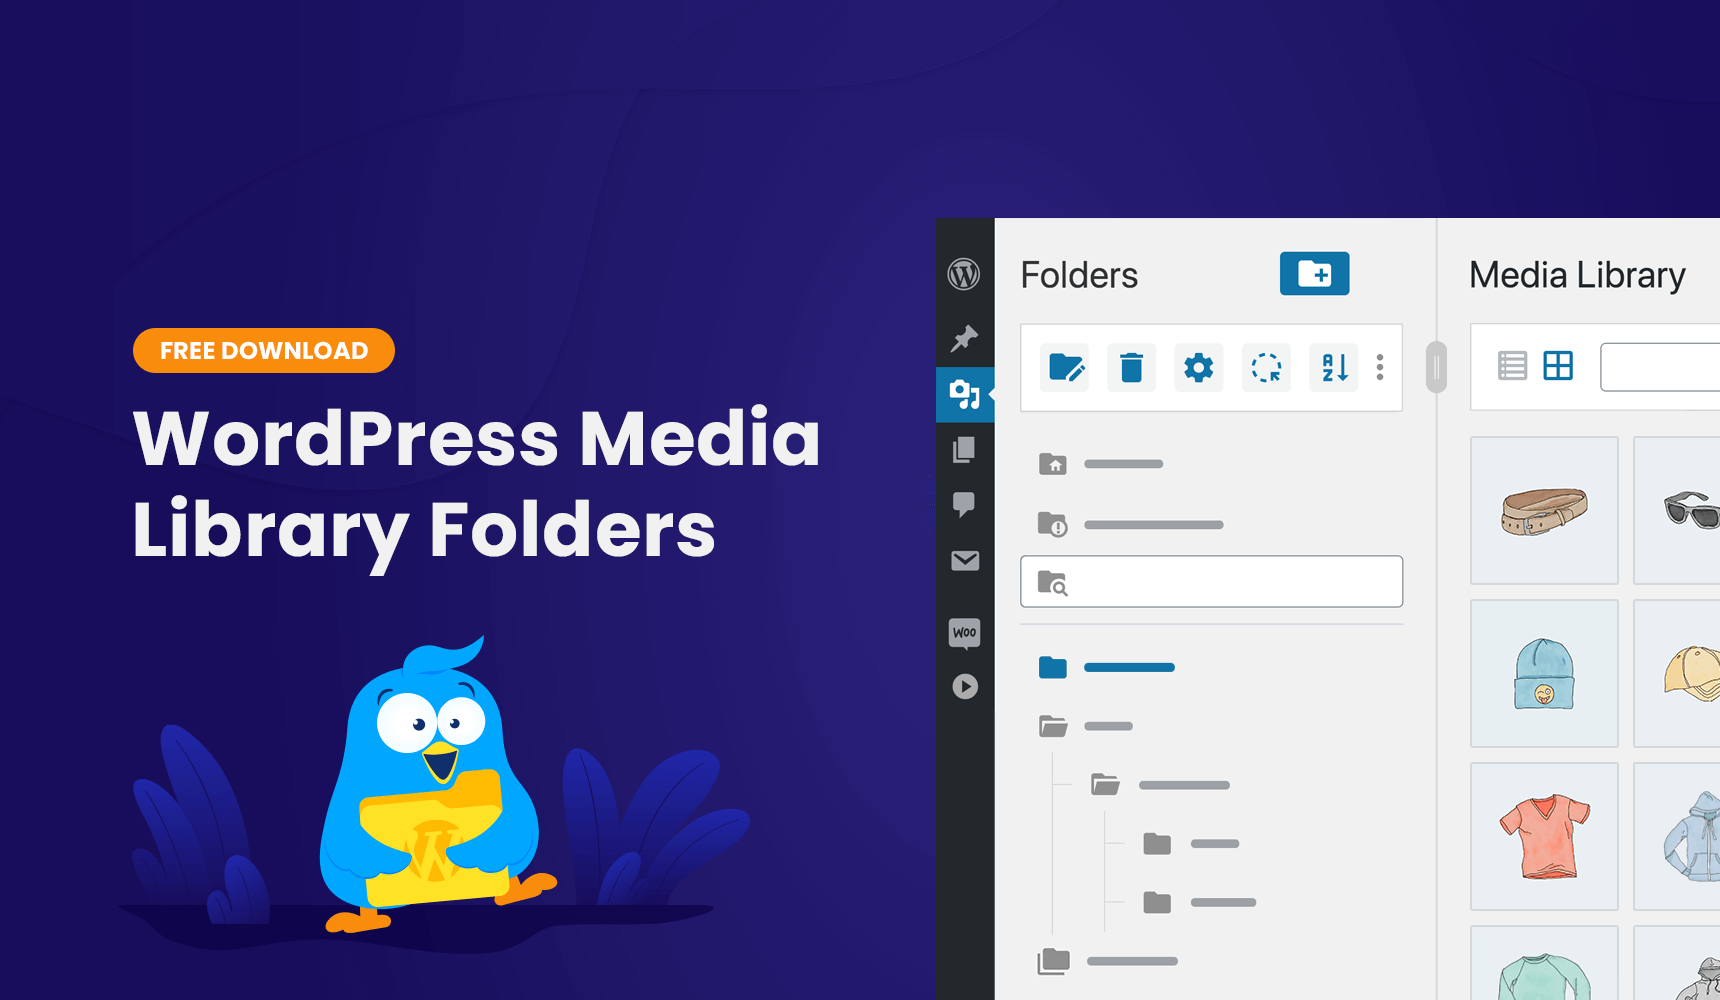
FileBird is a file manager plugin dedicated to WordPress media library. It adds an integrated folder tree on the left sidebar to help you drag and drop files into the folders easily.
This WP media folder plugin is loved by many photographers, fashion designers, and food bloggers, who are extensively using media content in their WordPress pages and posts. It works magic on WooCommerce, Elementor and all popular themes including Jupiter X.
In this article, I am going to show you how to organize WordPress media library with FileBird, keeping track of all those media uploads and displaying them in an impressive fashion blog in the shortest amount of time.
Create folders in WordPress media library
FileBird is a plug and play plugin, meaning it’s ready to use right after activating. Take a look at the FileBird folder tree and you will see everything is intuitive and easy to navigate, just like what you do on your computer.
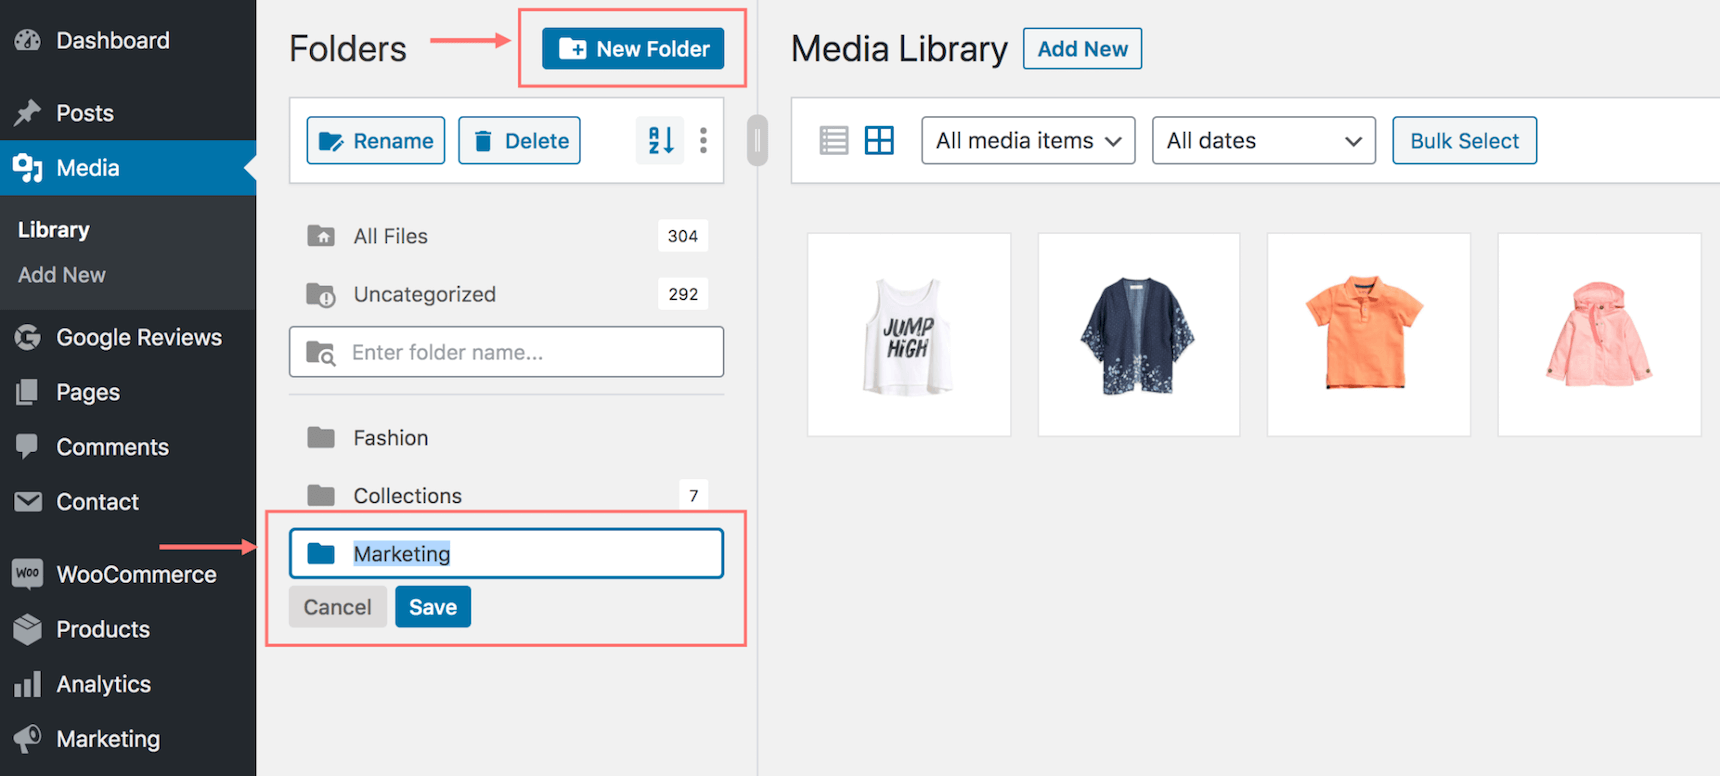
It offers one-click to create a folder. So go ahead and click that button to create several main categories/parent folders such as Fashion, Collections, and Marketing.
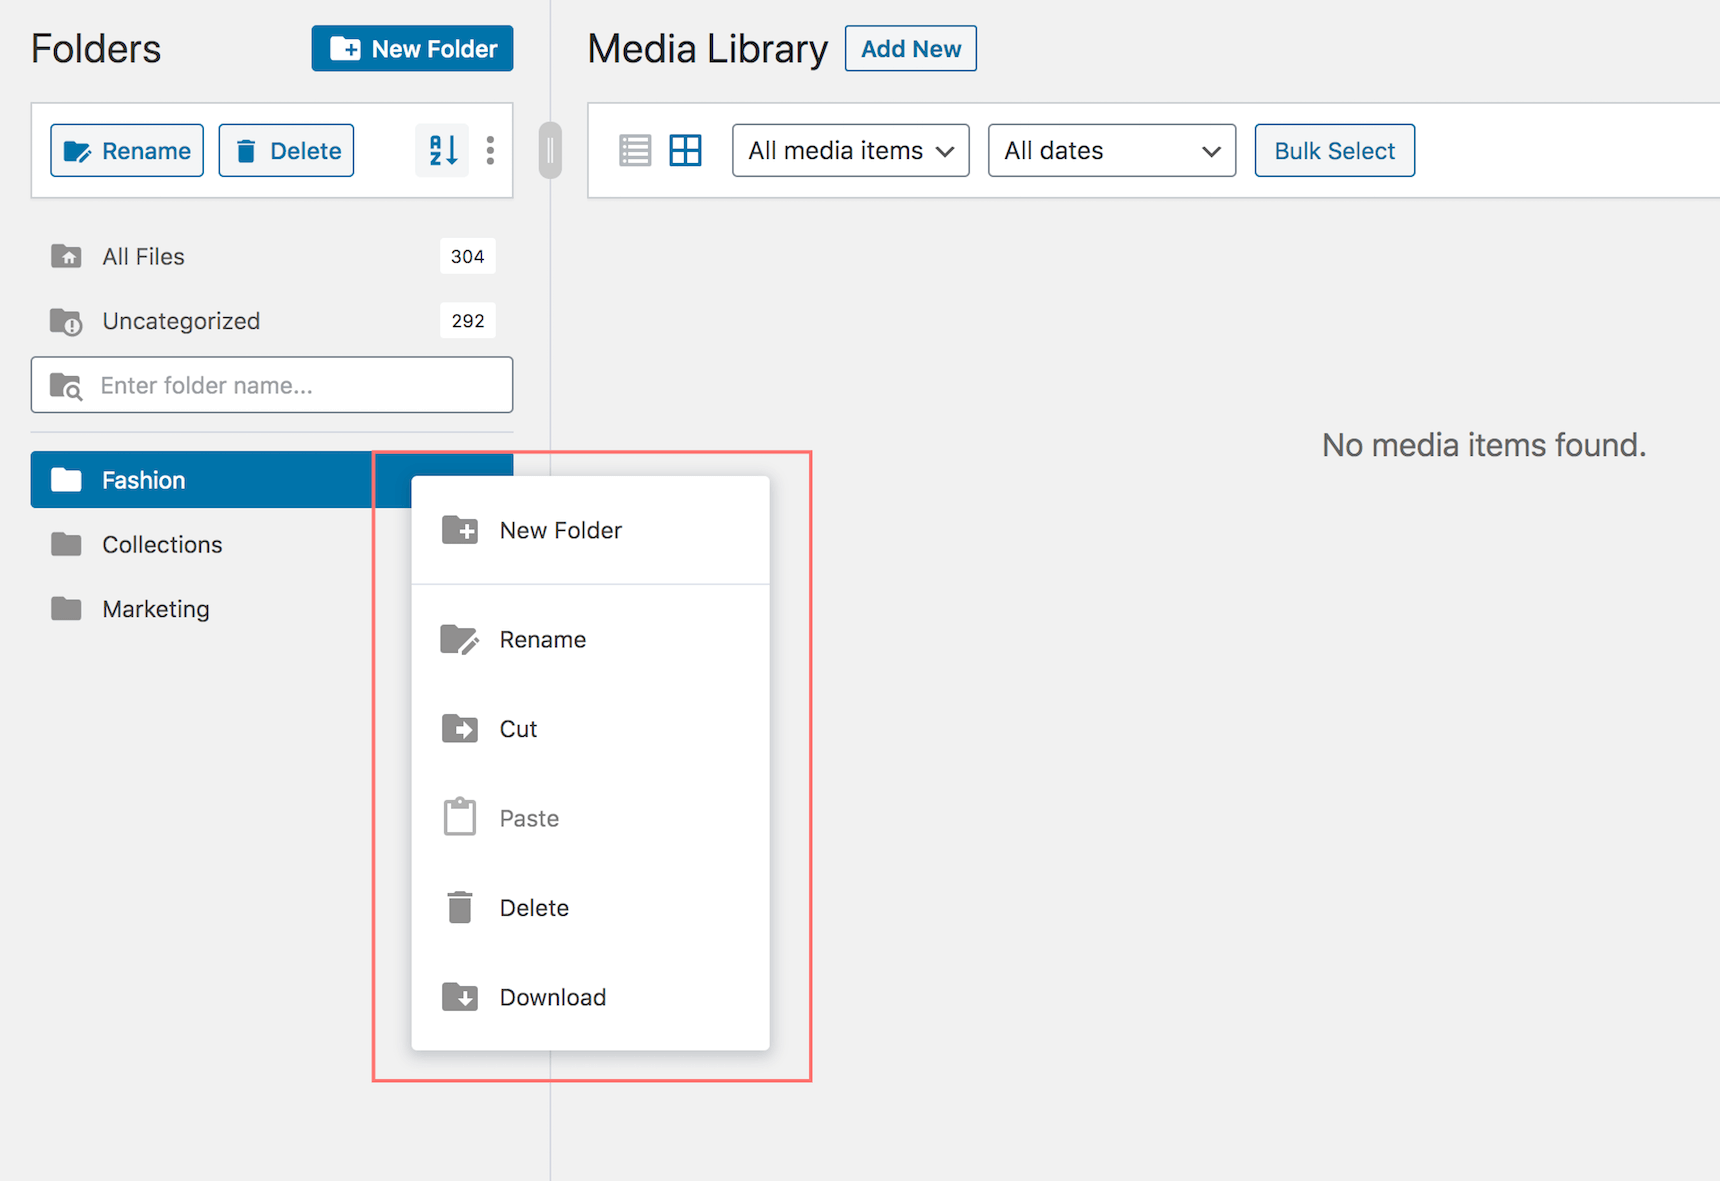
This media folder area comes with a smart context menu, meaning you can right-click to interact with the folders. For instance, if you right-click on the folder Fashion, you have various options including:
- New folder: to create a nested folder inside Fashion
- Rename: to change the folder name
- Cut and paste: to easily arrange folders
- Delete: to delete a folder while keeping all those files in the All Files location
- Download: to download a full folder with its files and folder structure in a ZIP file
Please note that the Download full folder feature is currently available only in FileBird premium version. It helps you download the original versions of media files, not bunky with different auto-generated image dimensions when you download them via FTP or Filester file manager plugin.
You can quickly try all of these options risk-free because it causes no loss at all. Even when you move files to a wrong folder, you can easily fix it by dragging and dropping it again to the destination folder.
On top of that, FileBird does not change the permalinks to your media files so they won’t break or get damaged when you move the files around.
Upload files and folders to your media library
When editing pages or posts, you can also choose the specific folder to upload multiple files. This folder list drop-down in Add media makes it quick when you want to upload and categorize those files at the same time and with only one action.
Small as it may seem, it is a big time saver when you have to manage multiple websites and publish a bunch of posts on a daily basis.

As for uploading folders, FileBird also keeps it down to the minimum effort. When you need to upload multiple folders with their contained files, you can bulk select those folders then drag and drop them into WordPress media library in a single blade. This action also keeps the same folder order and structure respectively, meaning you literally transfer the categorization system from your hard disk to WordPress.
If you have come this far, you might be already familiar with how FileBird drag and drop works. Depending on the requirements of your website, you may need to create 20+ folders for your media library. Keep in mind that the FileBird free version allows up to 10 folders. If you need more folders/categories, upgrading to the paid version is recommended.
Add image gallery and document gallery in Gutenberg
In this step, I will be showing you how to create an eye-catching gallery using Gutenberg block.
Create a smart image gallery
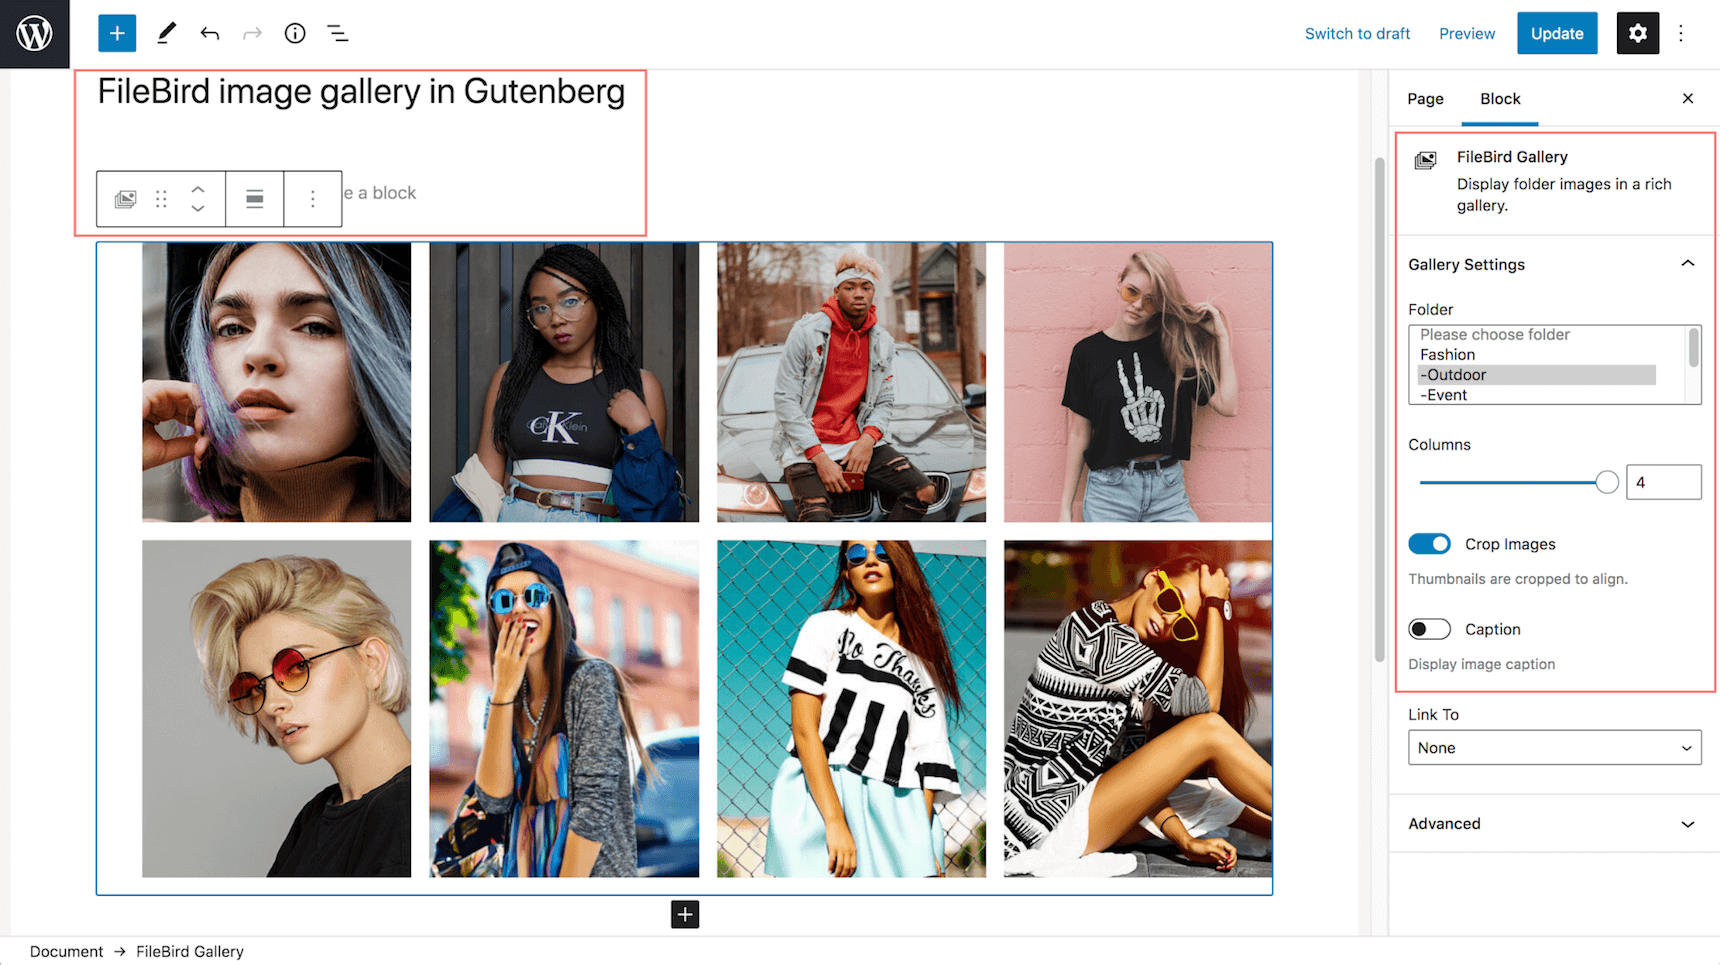
In order to showcase a collection of your fashion blog, you can easily find FileBird Gallery block > Select the collection folder from the folder list.
After choosing the desired folder, you can go ahead and tweak your gallery appearance with these options:
- Column number: choose to show your gallery in 1-4 columns
- Crop images: enable it to get your gallery well-aligned
- Caption: display caption below each image
- Delete: dismiss specific images that you don’t want to show in this gallery
Create a document gallery
Sometimes you may want to share advanced files other than basic image formats. If so, you have reached the right place.
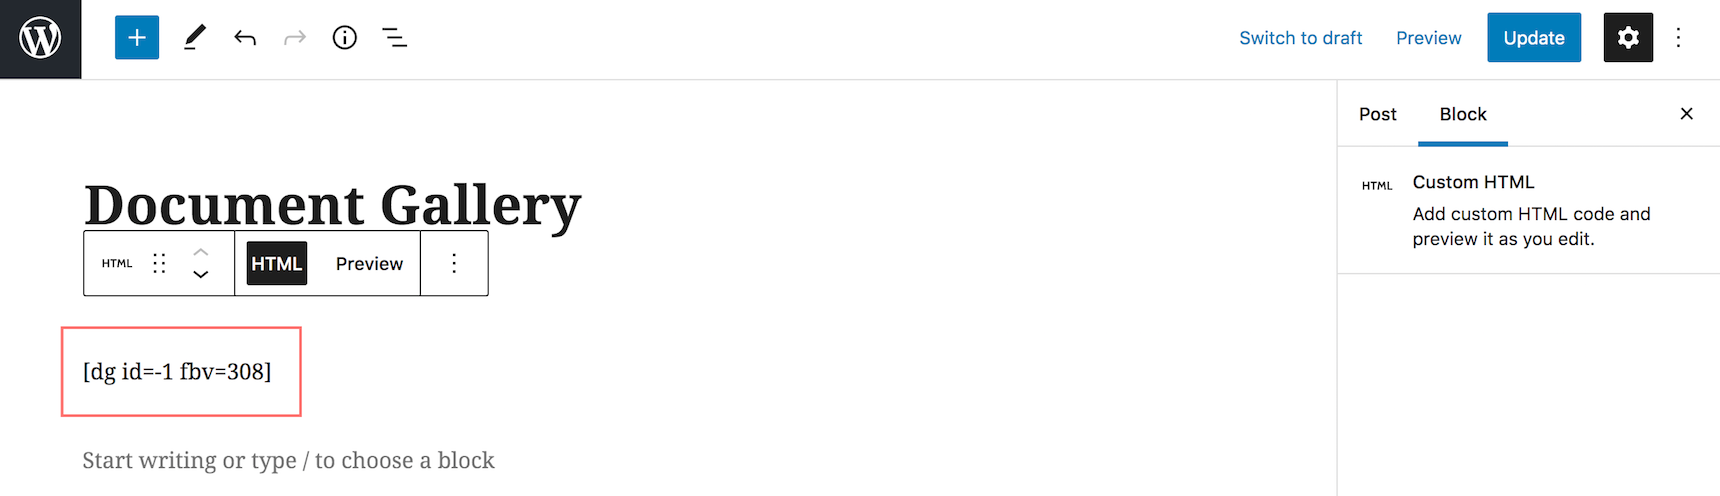
With the help of FileBird and a document gallery plugin, you can showcase your SVG, ZIP or other document files with good-looking auto-generated thumbnails.
FileBird supports Document gallery plugin’s shortcode to help you display a list of document files. You only need to fill the folder ID in the shortcode and embed it in any page or post.
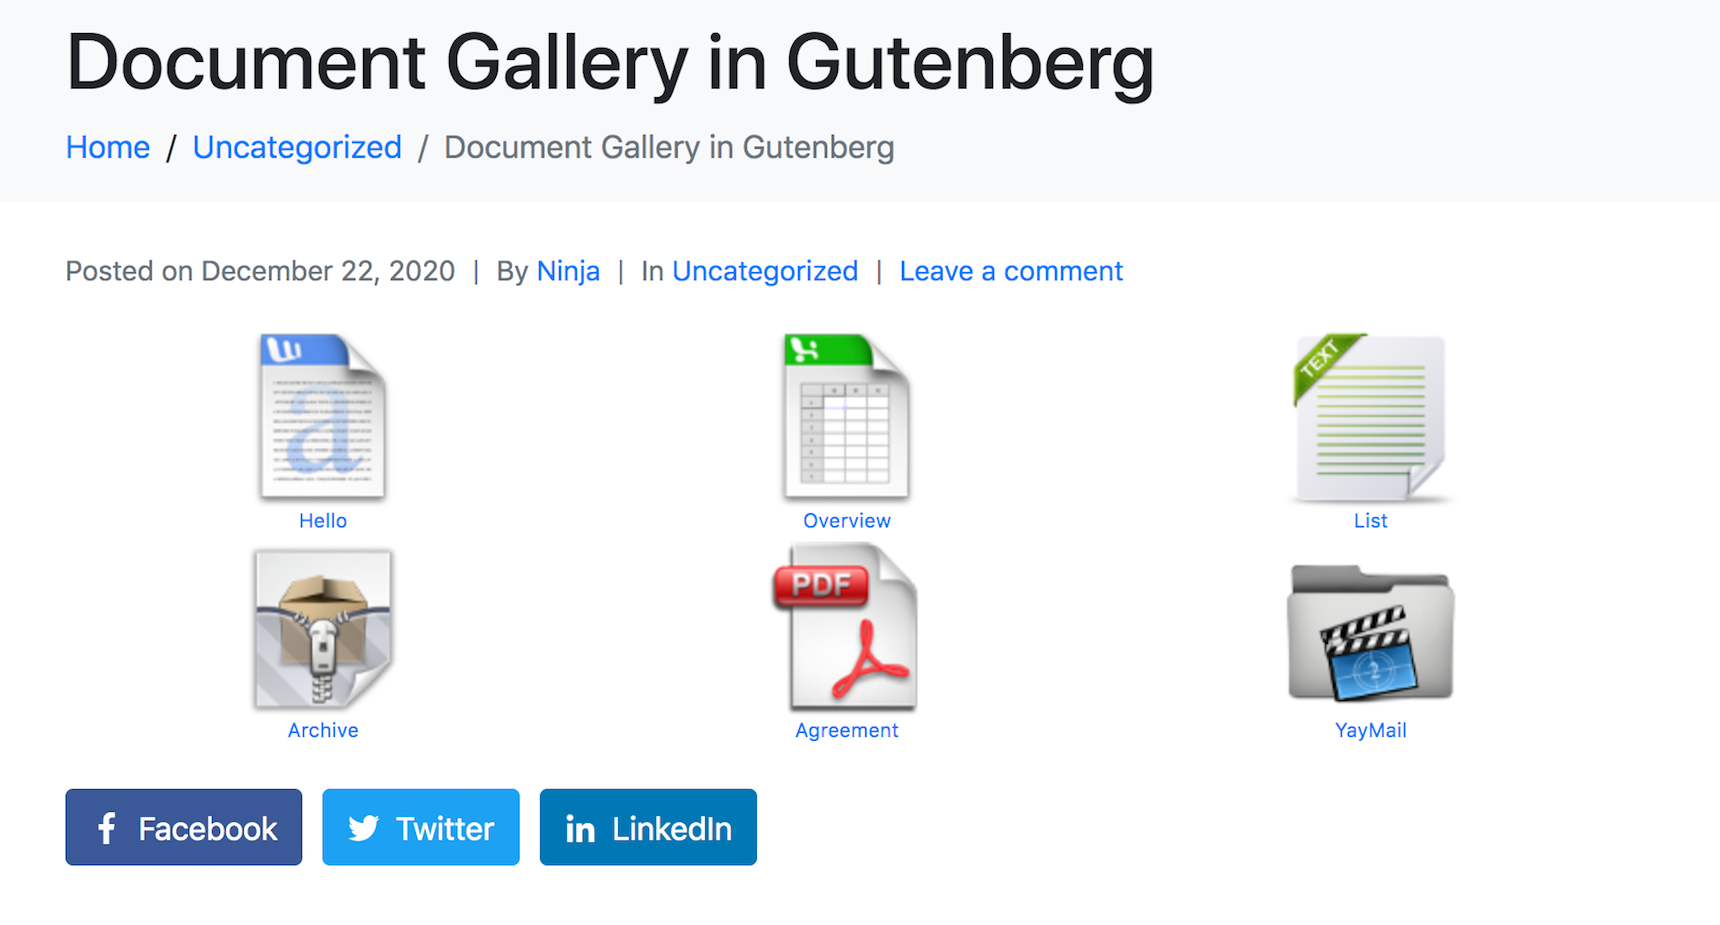
With user-friendly file thumbnails, your gallery will be much more appealing to your visitors. On the front-end, your new document icons look like this. Here’s the outcome of my blog post on JupiterX theme.
Best practices when using FileBird media manager
There are some hidden features of FileBird that you will find useful:
- Collapse the folder tree sidebar to easily hide it
- Resize the folder tree sidebar to get an overview of all folders with their full names
- Press ESC to exit the bulk select mode (applicable to both files and folders)
- Use advanced sort features to clean up the outdated files
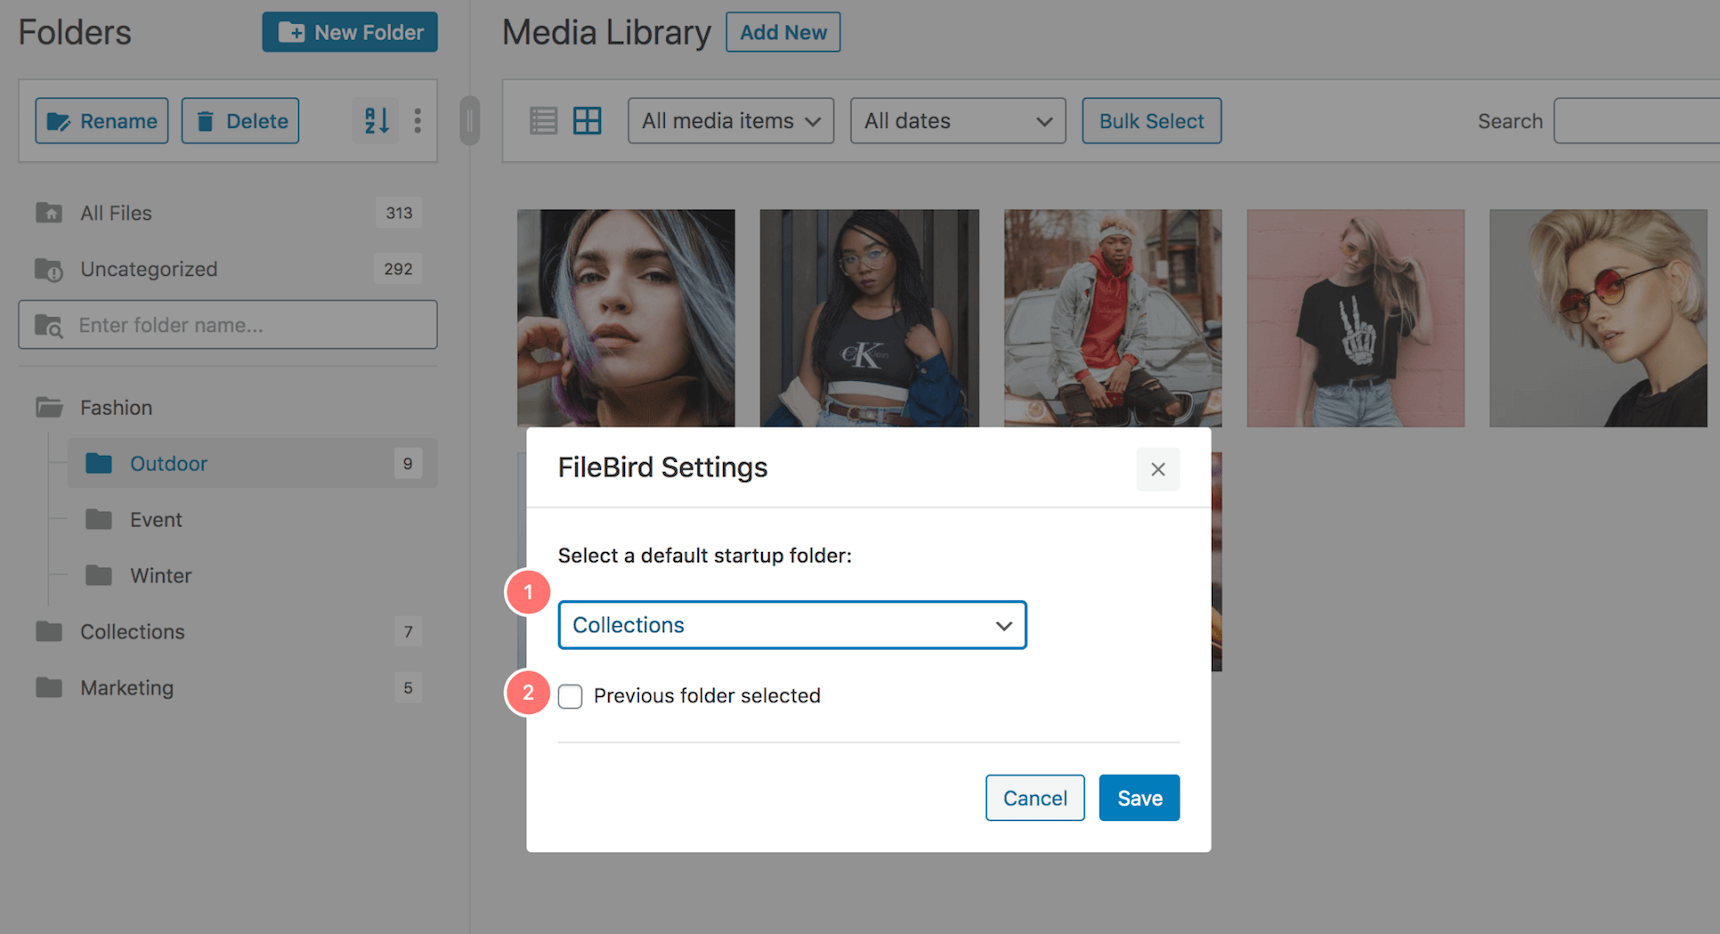
- Set startup folder
For the start-up folder, you have two options to choose from.
- Select a specific folder: this is fixed and you will reach this folder first whenever you access WordPress media library
- Select previous folder: this is dynamic and, as a result, you can come back to the most recently opened folder to quickly continue the task you have been on
FileBird is an easy-to-use plugin for all bloggers using WordPress as their favorite platform. I hope this tutorial has helped you learn how to use FileBird to organize your WordPress media library and make the most out of it.
Choosing FileBird – WordPress media library folders helps extend the functionality of your blog back-end so that it can handle thousands of media files.
How do you navigate images and media on your website? Don’t forget to share your thoughts and experience in the comment box below.

No comment yet, add your voice below!