Gutenburg, the new WordPress editor, is the future of WordPress. In no time, it’s going to bring a full-site editing experience for users. That said, learning how to create a custom block for WordPress Gutenberg is a fantastic investment. These days, more and more themes (such as the Twenty Twenty theme) are taking advantage of what Gutenberg has to offer.
This post will go over a general introduction of Gutenburg blocks and will then explain how to create a custom block for WordPress Gutenberg.
What are Gutenberg blocks?
Blocks are the core building functionality of the new editor. The idea is that you can add blocks anywhere you want. Blocks are created mostly in JavaScript (sad news for PHP lovers).
Learning a few concepts is necessary before diving into writing codes.
Block registration
First things first – we need to register a block. To register, we need to use the registerBlockType function.
// Registering my block with a unique name
registerBlockType( 'mcb/call-to-action', {} );
Edit and Save
After registering a block, the next step is to tell the editor how to show the block in the editor and how to save it in the database.
Having a proper understanding of the edit and save functions is essential to create a custom block for WordPress Gutenberg.
The edit function is responsible for making the block editable in the editor, and the save function is responsible for saving the block in the database for showing it in the frontend.
// A static div
edit: function() {
    return wp.element.createElement(
        'div',
        null,
        'My custom block.'
    );
}

save: function() {
    return wp.element.createElement(
        'div',
        null,
        'My custom block.'
    );
}
Attributes
Almost all blocks need to have attributes. Think of them as a way to talk to the block to change the color, text or spacing for instance.
{
    url: {
        type: 'string',
        source: 'attribute',
        selector: 'img',
        attribute: 'src',
    }
}
// { "url": "https://lorempixel.com/1200/800/" }
Are you a PHP lover?
If so, sorry to tell you that Gutenburg is a React.js based editor. The JavaScript frameworks have taken a leap in popularity among developers. Nowadays, JavaScript is an essential skill to have under your belt.
Take every opportunity to really beef up your JavaScript chops.
– Matt Mullenweg, Creator of WordPress
Available built-in blocks
Following are the list of built-in Gutenberg blocks in WordPress. If you need more blocks, you can read this article about free blocks.
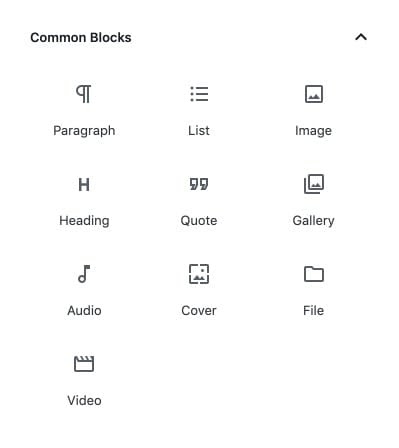
Common blocks
This includes Paragraph, Image, Heading, Gallery, List, Quote, Audio, Cover, File, Video blocks.
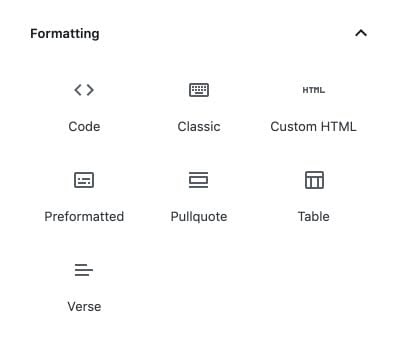
Formatting
This includes Code, Classic, Custom HTML, Preformated, Pullquote, Table, Verse blocks.
Layout elements
This includes Buttons, Columns, Group, Media & Text, More, Page Break, Separator, Spacer blocks.

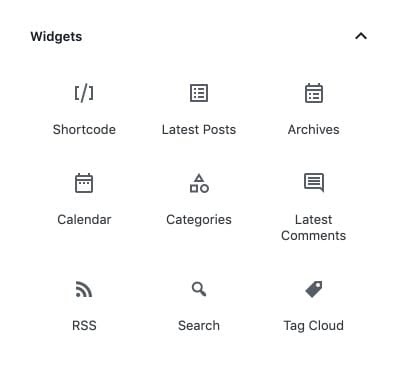
Widgets
This includes Shortcode, Archives, Calendar, Categories, Latest Comments, Latest Posts, RSS, Search, Tag Cloud blocks.
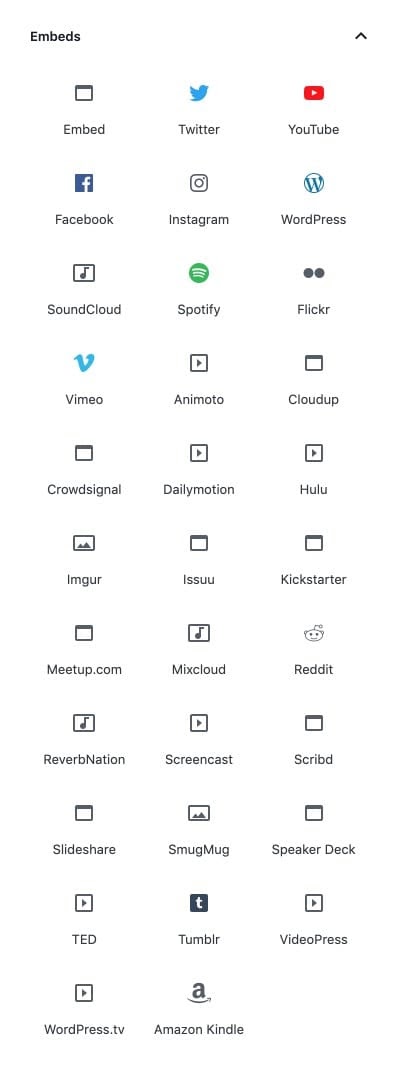
Embeds
This includes Embed, Twitter, YouTube and 29+ blocks.
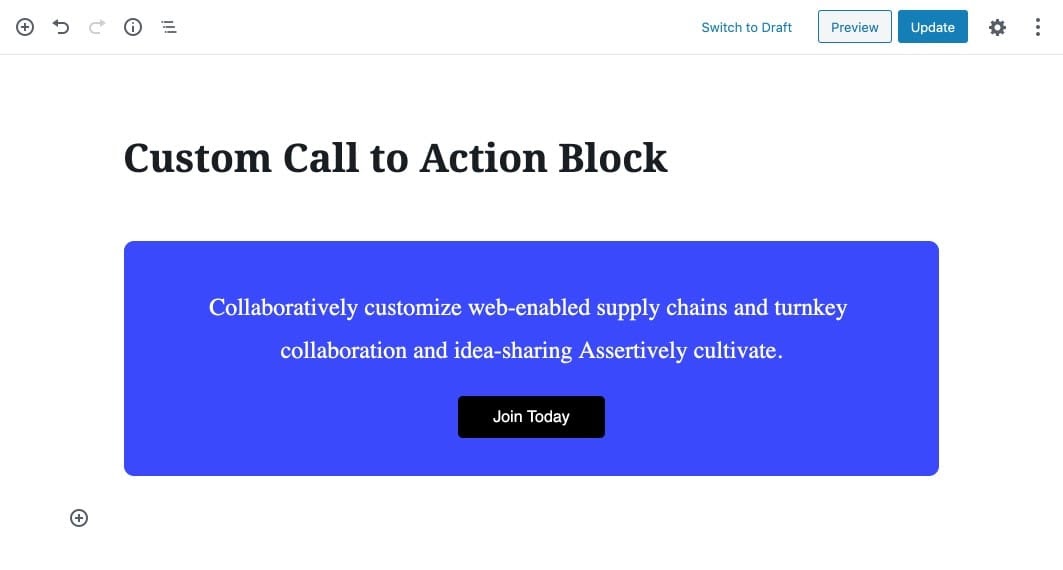
How to create a custom block for WordPress Gutenberg
Enough is enough – let’s get our hands dirty and start coding! There are different techniques for creating a custom block for WordPress Gutenberg. For the purpose of this article, let’s use one of the most straightforward techniques to build a tailored Call to Action block.
Note: It’s worth mentioning that many detailed explanations have been intentionally omitted to help you follow the flow of the article easily. The intention is to help you create your first block without being weighed down in the minutiae of block creation.
1. Prepare a base plugin
Before doing anything else, we need a plugin to place our codes. Depending on your preferences, you can use a child theme instead of a plugin.
1. Go to your plugins folder on your site, then create a my-custom-blocks folder.

2. Create a plugin.php file as shown below.
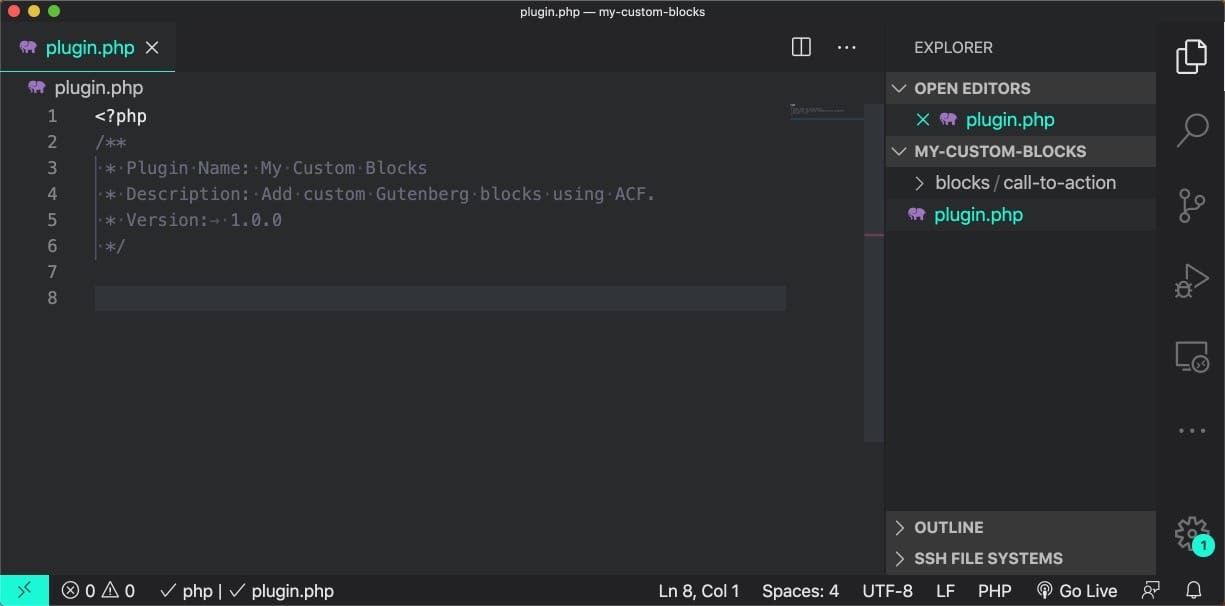
3. Activate the plugin from WordPress admin.

2. Enqueue block script and style
Using the register_block_type function, we can enqueue the block’s script and style it with the Guttenberg.
1. Add the following function in the plugin.php file to enqueue the style and script.
function mcb_register_blocks() {

	// Check if Gutenberg is active.
	if ( ! function_exists( 'register_block_type' ) ) {
		return;
	}

	// Add block script.
	wp_register_script(
		'call-to-action',
		plugins_url( 'blocks/call-to-action/call-to-action.js', __FILE__ ),
		[ 'wp-blocks', 'wp-element', 'wp-editor' ],
		filemtime( plugin_dir_path( __FILE__ ) . 'blocks/call-to-action/call-to-action.js' )
	);

	// Add block style.
	wp_register_style(
		'call-to-action',
		plugins_url( 'blocks/call-to-action/call-to-action.css', __FILE__ ),
		[],
		filemtime( plugin_dir_path( __FILE__ ) . 'blocks/call-to-action/call-to-action.css' )
	);

	// Register block script and style.
	register_block_type( 'mcb/call-to-action', [
		'style' => 'call-to-action', // Loads both on editor and frontend.
		'editor_script' => 'call-to-action', // Loads only on editor.
	] );
}

add_action( 'init', 'mcb_register_blocks' );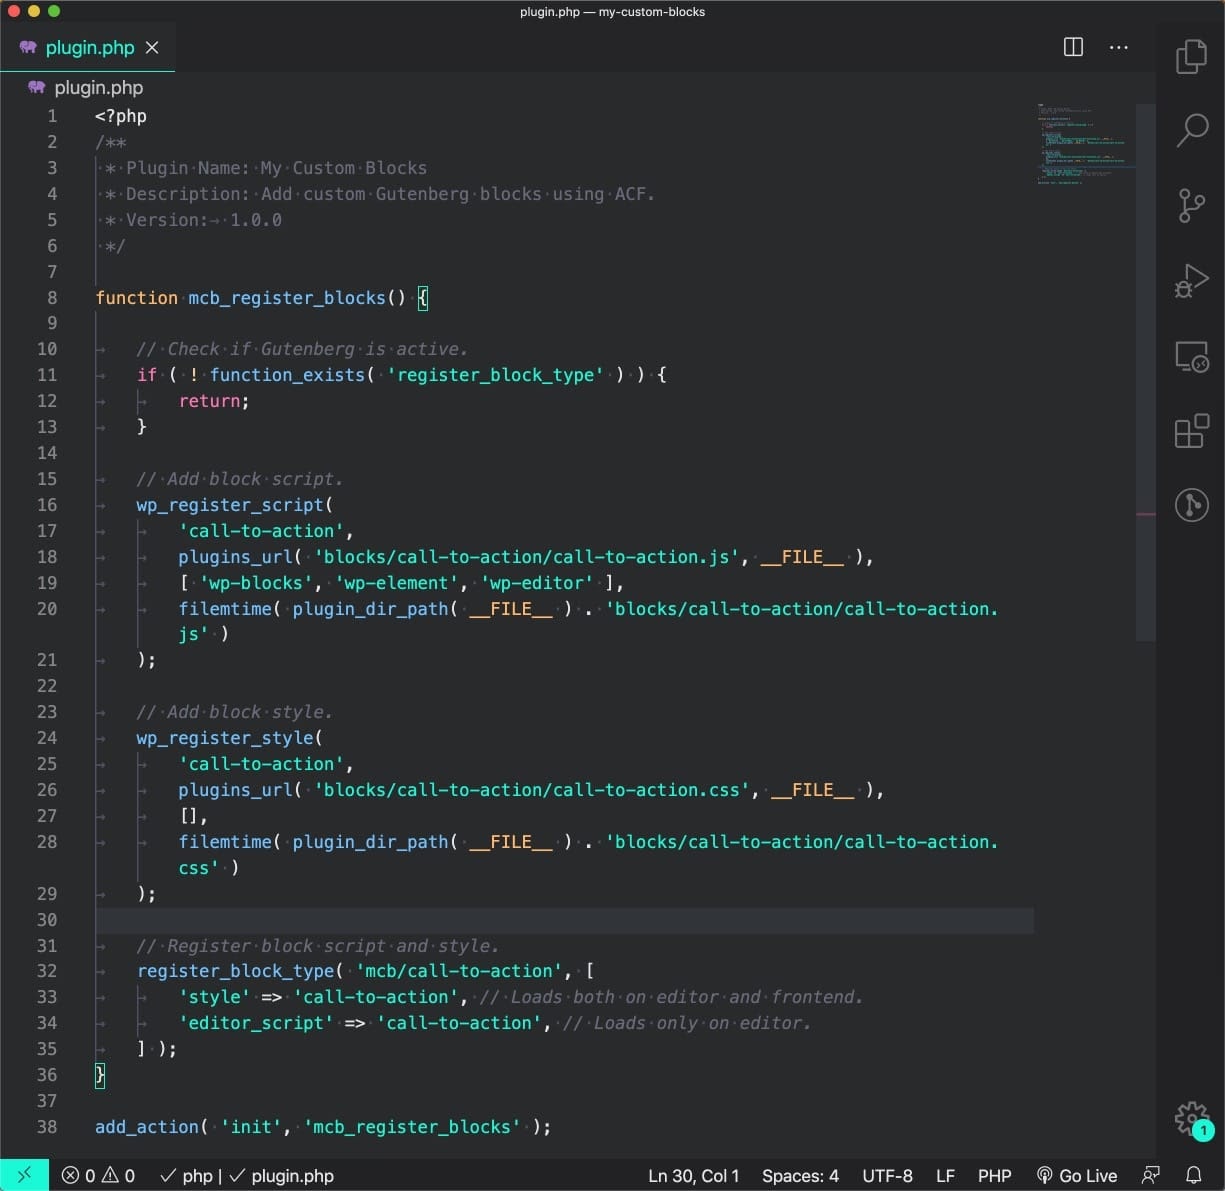
2. Create the following files in the plugin folder to hold the style and script.
blocks/call-to-action/call-to-action.css
blocks/call-to-action/call-to-action.js
3. Register the block
After preparing the base, it’s now time to create the actual block.
1. In the call-to-action.js file, add the following function to register an empty block.
( function( blocks, editor, element ) {
	var el = element.createElement;

	blocks.registerBlockType( 'mcb/call-to-action', {
		title: 'MCB: Call to Action', // The title of block in editor.
		icon: 'admin-comments', // The icon of block in editor.
		category: 'common', // The category of block in editor.
		attributes: {},
		edit: function( props ) {
			return null;
		},
		save: function( props ) {
			return null;
		},
	} );
} )( window.wp.blocks, window.wp.editor, window.wp.element );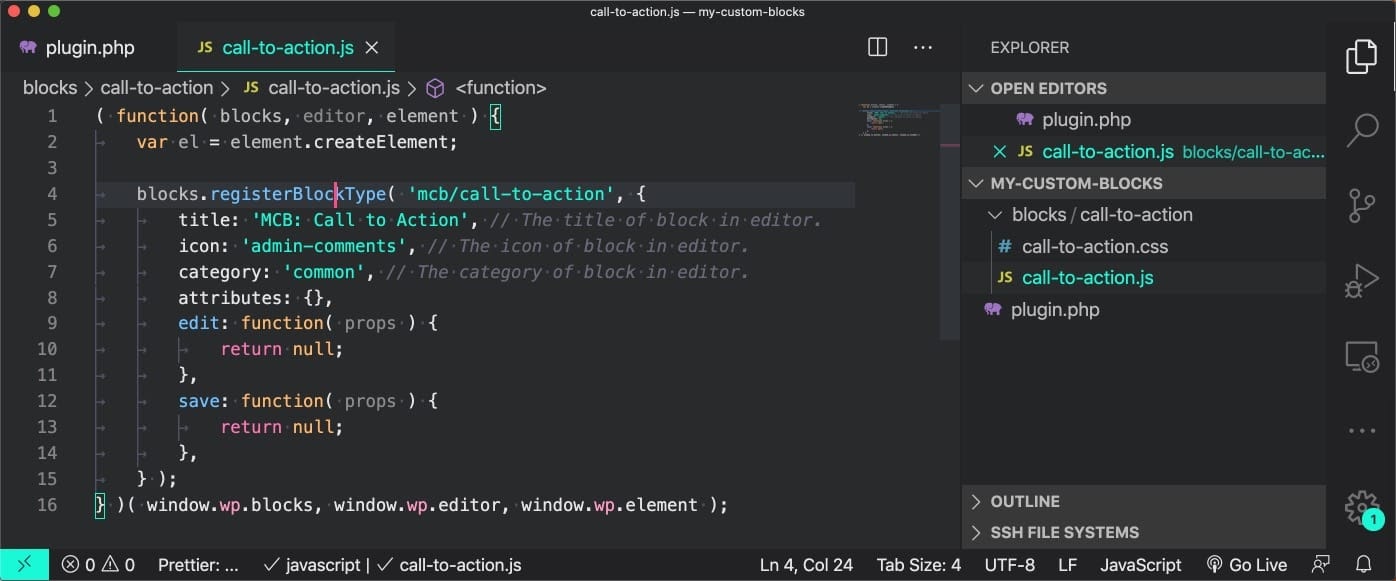
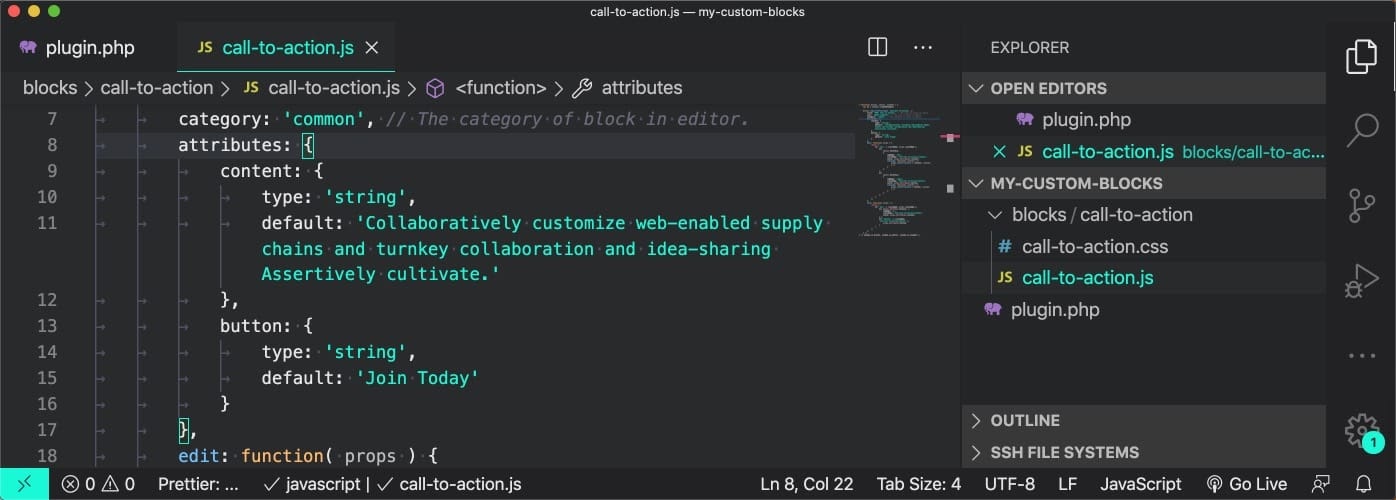
2. For this block, we need both the content and button attributes. Add them as shown below.
attributes: {
	content: {
		type: 'string',
		default: 'Collaboratively customize web-enabled supply chains and turnkey collaboration and idea-sharing Assertively cultivate.'
	},
	button: {
		type: 'string',
		default: 'Join Today'
	}
},
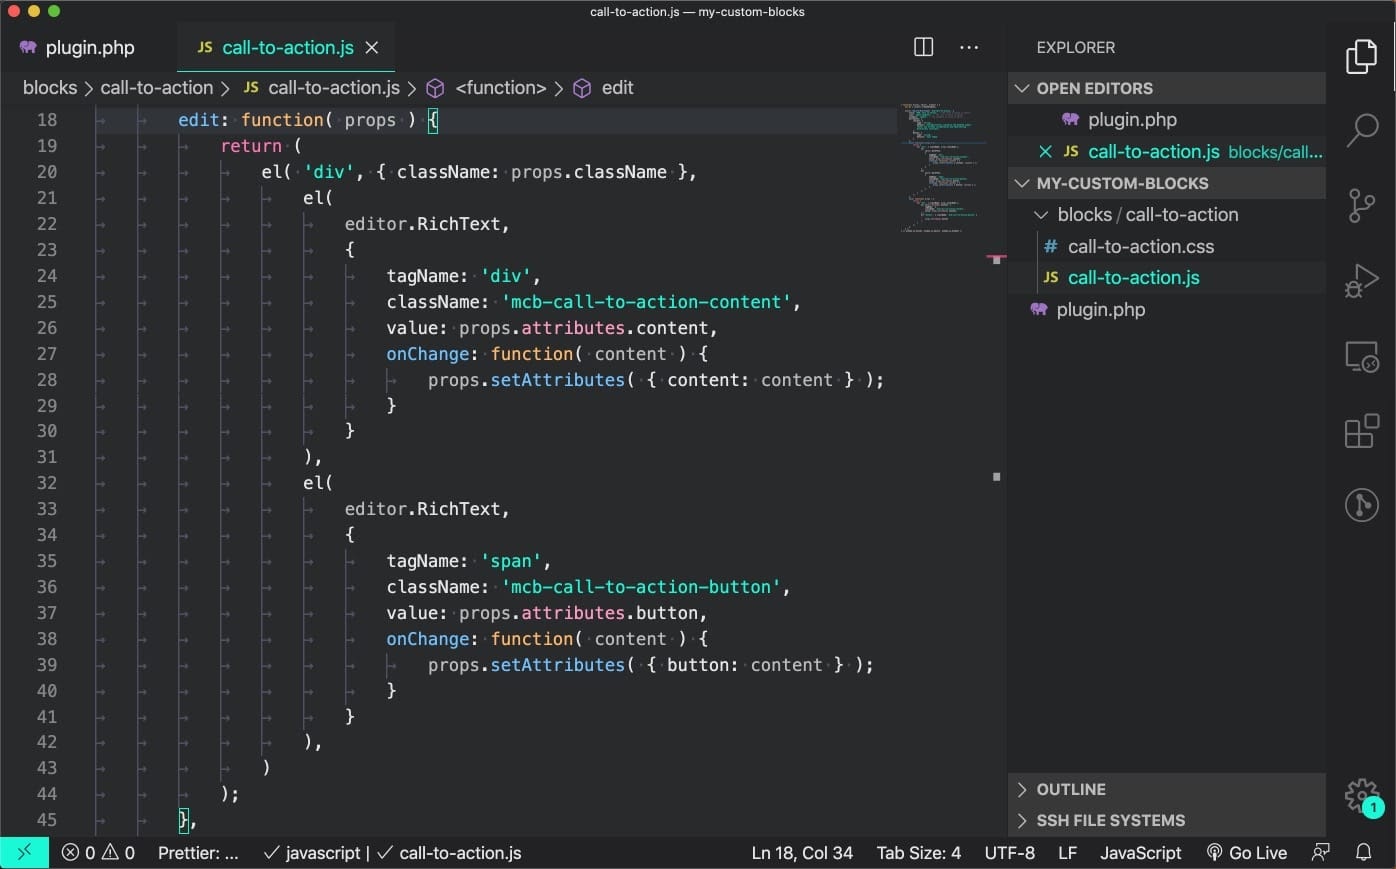
3. In the edit function, we’re going to use the RichText component to create a div to hold the content and a span to hold the button. Basically, this component allows to create an editable text area.
The onChange function is responsible for updating the attributes when you change the block content.
edit: function( props ) {
	return (
		el( 'div', { className: props.className },
			el(
				editor.RichText,
				{
					tagName: 'div',
					className: 'mcb-call-to-action-content',
					value: props.attributes.content,
					onChange: function( content ) {
						props.setAttributes( { content: content } );
					}
				}
			),
			el(
				editor.RichText,
				{
					tagName: 'span',
					className: 'mcb-call-to-action-button',
					value: props.attributes.button,
					onChange: function( content ) {
						props.setAttributes( { button: content } );
					}
				}
			),
		)
	);
},
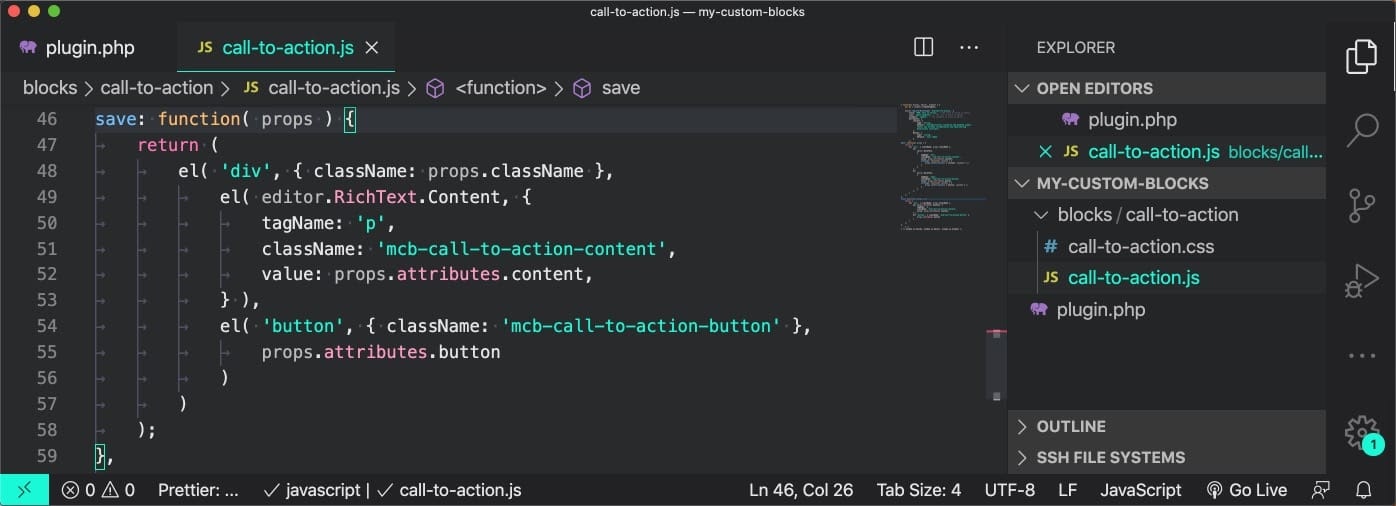
4. In the edit function, we’re going to use the RichText component to generate the content and a HTML button to generate the button.
save: function( props ) {
	return (
		el( 'div', { className: props.className },
			el( editor.RichText.Content, {
				tagName: 'p',
				className: 'mcb-call-to-action-content',
				value: props.attributes.content,
			} ),
			el( 'button', { className: 'mcb-call-to-action-button' },
				props.attributes.button
			)
		)
	);
},
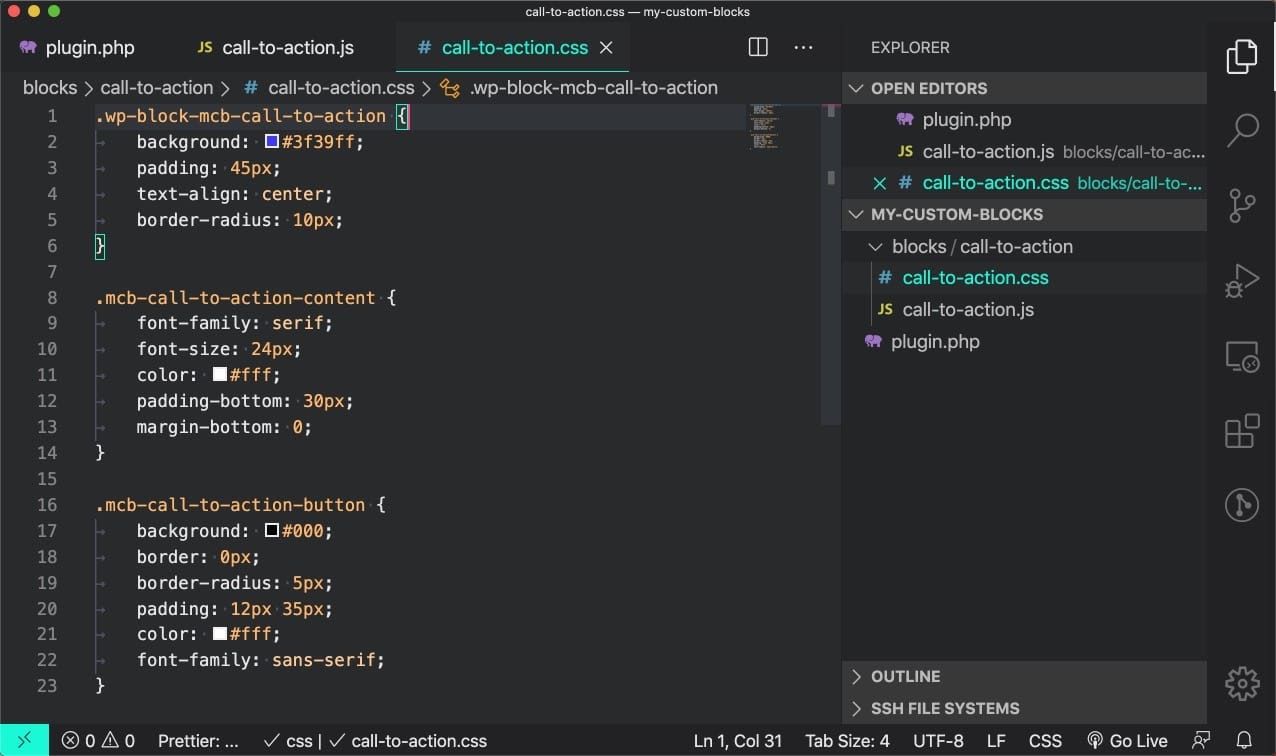
4. In the call-to-action.css, add the following codes to add some visual styling to the block.
.wp-block-mcb-call-to-action {
	background: #3f39ff;
	padding: 45px;
	text-align: center;
	border-radius: 10px;
}

.mcb-call-to-action-content {
	font-family: serif;
	font-size: 24px;
	color: #fff;
	padding-bottom: 30px;
	margin-bottom: 0;
}

.mcb-call-to-action-button {
	background: #000;
	border: 0px;
	border-radius: 5px;
	padding: 12px 35px;
	color: #fff;
	font-family: sans-serif;
}
5. Now, you should be able to play with the block in the editor.
Wrapping Up
This post provided a basic introduction of what Gutenburg is and how we can create a custom block for WordPress Gutenberg. In other words, think about this article as the very first step in entering the Gutenberg world.
We recommend that you read the WordPress official handbook in order to gain a deeper understanding of the Gutenberg editor.
We’d love it if you would share your custom block with us in the comment section below!

4 Comments
Using “editor” is obsolete. You should use “blockEditor” instead.
Thanks for the tutorial!
well, this seems difficult
This is great article for beginner. I will share for my friends.
Yes! A tutorial that doesn’t involve setting up a dev environment with Node and React!!! Thank you!
a note.. You have step 4 twice, and the first step 4 you mean “save” instead of edit. 😉