
Nowadays, any business needs a website for presenting and promoting its operation, production, expertise, and services. We live in a world where internet users have grown to more than 4 billion. That is a huge opportunity for businesses. As such, any company founder understands that a website will help them launch a digital campaign to propel their business to success. So they must quickly build a beautiful and effective website. One of the best ways to achieve is to create a landing page using readymade blocks.
A web page commonly has multiple blocks: Header, Hero, Stats, Contact us, About us, Testimonials, Footer, and more. The readymade blocks are designed separately and can stand alone from different blocks.
What are the Benefits of Readymade Blocks?
Readymade blocks are the next big thing in web design. Designers and developers can heavily benefit from them:
- Designers can create and share the blocks with others.
- Readymade blocks are cost-effective.
- They can save you a huge amount of time.
Fortunately, with Jupiter X and Elementor readymade blocks, we can create a good web page quickly and efficiently.
What is a Landing Page?
The landing page (a.k.a. static page, lander, or lead capture page) is a standalone page that shows all the necessary information of a business or entity in a single web page.
Create a Landing Page Using Readymade Blocks
Now that we learned about the landing page and readymade blocks, let’s create a landing page using readymade blocks. The landing page should look something like this:

Inserting a Readymade Block
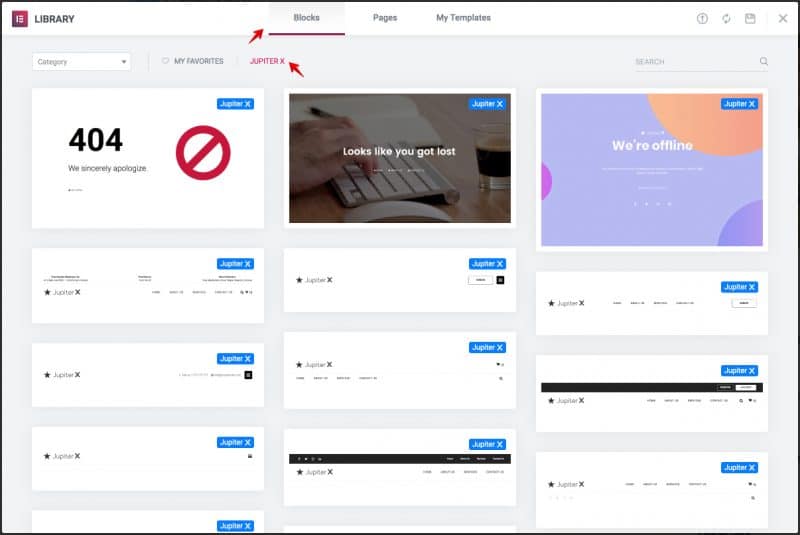
Elementor page builder provides an easy way for inserting the blocks.
1. In the Elementor editor, click on Add Template button in to open the templates popup.

2. Click on Blocks tab to view all the blocks then select the proper block to insert. To filter the blocks made by Jupiter X team, click on Jupiter X filter.
Inserting a Header Block
One of the key blocks of any website is a header. Typically, a header contains links to other important pages that visitors should see. A good header makes your website easier to navigate, establishes your brand, and provides a consistent browsing experience throughout your website.
Here’s how you can insert a readymade header block:
1. Add the following Header block from the list of templates.
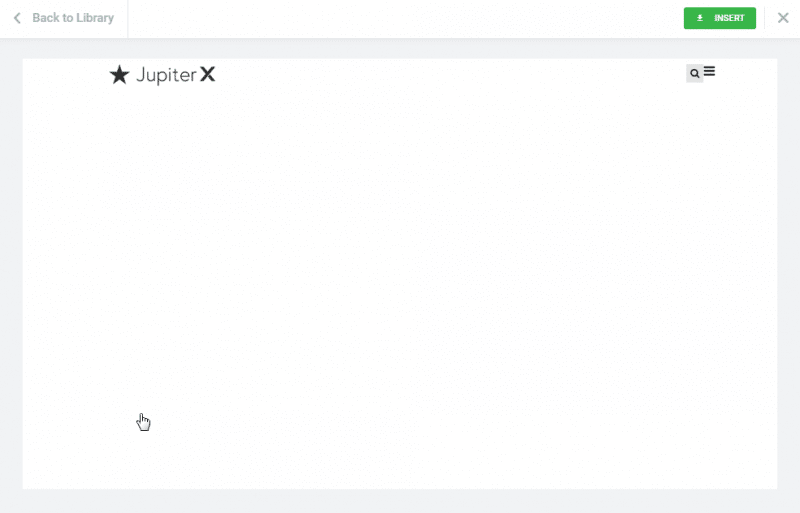
2. Replace Site logo element with a Heading element.
3. Edit Heading element and set Title to Jupiter X. It’ll look like the image below:

Inserting a Hero Block
A hero block is the first visual element that a visitor sees on your website. The purpose of the hero is to show important content on your web page.
In most cases, a hero contains an image, text, slider, or video. The important factor to consider is simplicity and effectiveness.
1. Add the following Hero block from the list of templates.
2. Edit the Text Editor element by following the steps below:

3. In the Content tab, replace the text with Dream & Create With Jupiter X.
4. In the Style tab, set the size to b in the Typography settings.

Inserting a Stats Block
Stats block is a section where you can put pertinent information and statistics of your operation, followers, subscribers, delivered project, etc. Typically, the web designer uses a counter, progress bar, or chart.
1. Add the following Stats block from the list of templates.
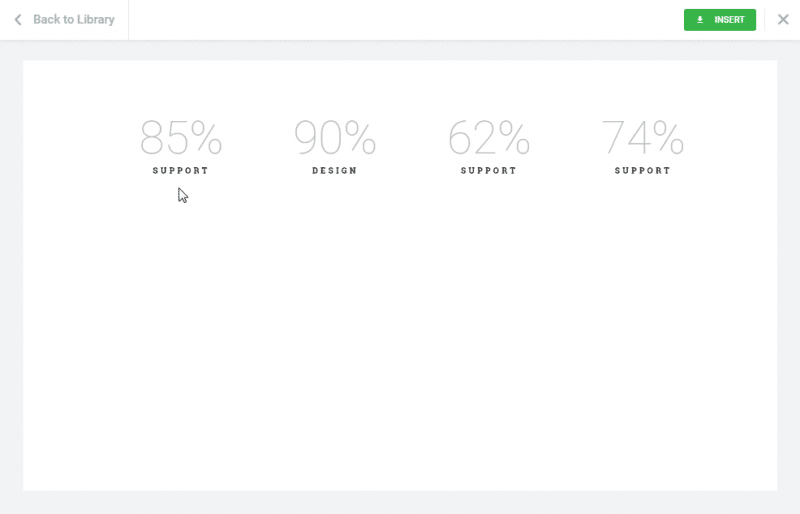
2. Edit the first Counter element then set the following settings:
- Starting Number: 1
- Ending Number: 100
- Number Suffix: K
- Title: Active Users
3. Edit the second Counter element then set the following settings:
- Starting Number: 1
- Ending Number: 200
- Title: Daily Sales
4. Edit the third Counter element then set the following settings:
- Starting Number: 1
- Ending Number: 160
- Number Suffix: +
- Title: Templates
5. Edit the forth Counter element then set the following settings:
- Starting Number: 1
- Ending Number: 24
- Number Suffix: /7
- Title: Support
6. Edit the Section. In the Style tab, set background color to #4a148c.

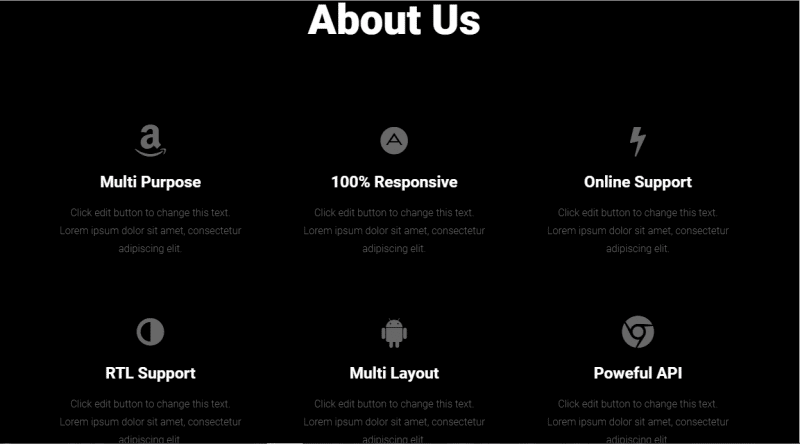
Inserting an About Us Block
The aim of your about us block or page is to present your history, ability, experience, expertise, operation, services, or products. In fact, we must answer questions like: “who we are?” and “what we do?” when creating this block.
1. Add the following Services block from the list of templates. This block can also be used for features and about us block.
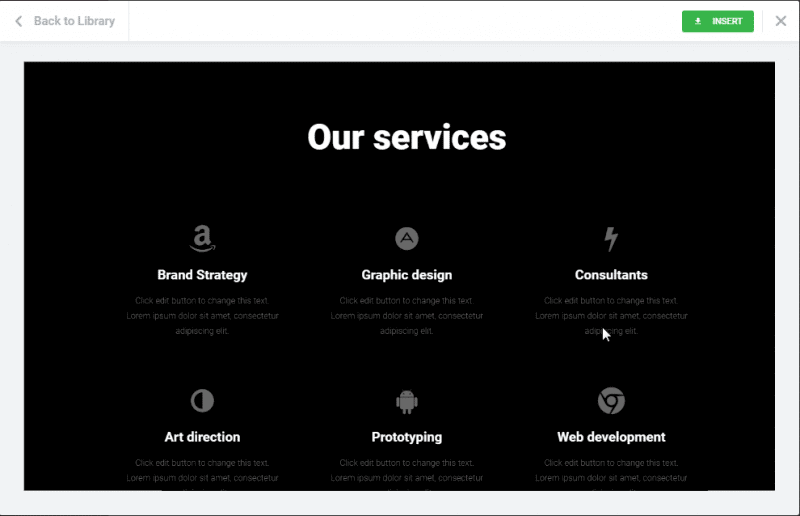
2. Edit the Heading element. In the content tab, set Title to About Us.
3. Edit the first Icon Box element. In the content tab, set Title to Multi Purpose.
4. Edit the second Icon Box element. In the content tab, set Title to 100% Responsive.
5. Edit the third Icon Box element. In the content tab, set Title to Online Support.
6. Edit the fourth Icon Box element. In the content tab, set Title to RTL Support.
7. Edit the fifth Icon Box element. In the content tab, set Title to Multi Layout.
8. Edit the sixth Icon Box element. In the content tab, set Title to Powerful API.
Inserting a Contact Us Block
Contact us block or page can be used for providing contact information and form. Your contact information typically includes a phone number, address, map, email, network social icon, etc.
Different types of forms can be used in this block to allow visitors to get in touch with the website owner.
1. Add the following Contact Us block from the list of templates.
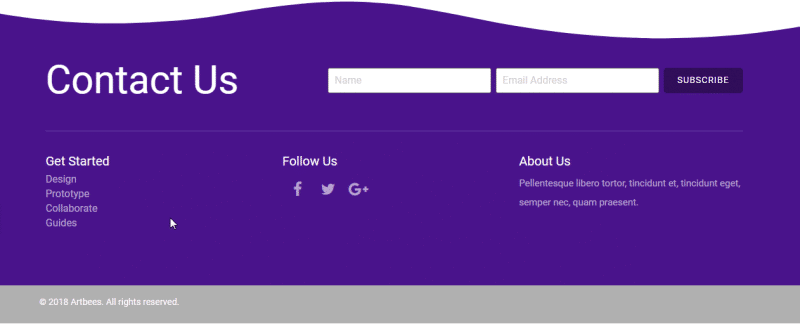
2. Edit the Section. In the Style tab, on the Shape Divider tab, set the color to #000000.
3. Remove the Column that contains Get Started.
4. Remove the Column that contains About Us.
5. Edit the Heading element that contains Follow Us. In the Style tab, set the alignment to center.
6. Edit the Social Icon element. In the Content tab, set the alignment to center.
7. Remove the Section that contains © 2018 Artbees. All rights reserved.

Inserting a Testimonials Block
The role of the testimonials block is to show the success, quality, credit, trust and customer idea behind products or services. Testimonials block has marketing value and encourages visitors to trust your products.
1. Add the following Testimonials block from the list of templates.
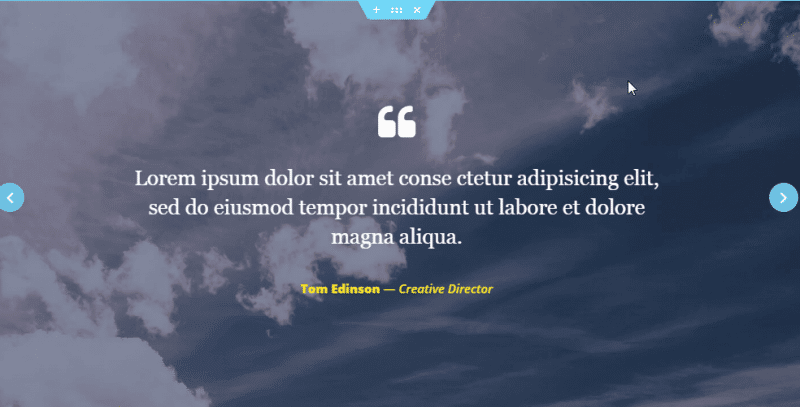
2. Edit the Section. In the Style tab, on the Background section set the size to cover.
Inserting a Footer Block
In web design, the footer is a common block of all web pages. Footer is placed at the bottom of the web page and includes sections such as navigation menu, contact information, description of the whole site, copyright and etc.
1. Add the following Footer block from the list of templates.
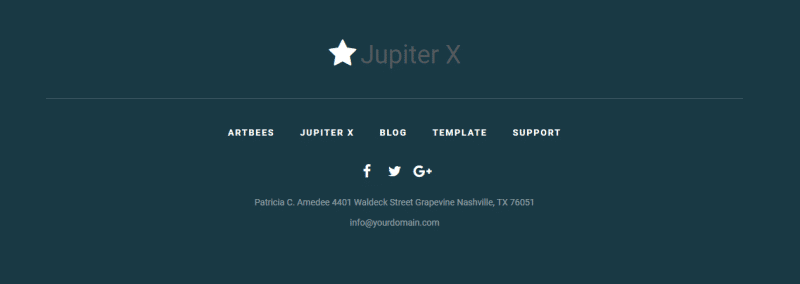
2. Edit the Section. In the Style tab, set background color to #000000.
3. Replace Site logo element with a Heading element.
4. Edit the Heading element. In the Content tab, set the Title to Jupiter X.
5. Edit the Text Editor element. In the Content tab, set the Text to © 2019 Artbees. All rights reserved.
Note: For the Navigation menu we create a menu in Appearance > Menus with following custom links.
ARTBEES: https://www.artbees.net
JUPITER X: https://www.themes.artbees.net/pages
BLOG: https://www.themes.artbees.net/blog
TEMPLATE: https://www.themes.artbees.net/template
SUPPORT: https://www.themes.artbees.net/support
Conclusion
In this article, you learned how to create a landing page using readymade blocks. Apart from landing pages, you can create any type of web page with readymade blocks. This technique saves a lot of time in creating web pages.
Feel free to share with us your experience in creating web pages with readymade blocks.

No comment yet, add your voice below!