
Once I had a customer who wanted a simple slider on his website and had no interest in using advanced slider plugins such as Revolution Slider or Master Slider. What he asked for required minimum slider functionalities and he wanted to populate the sliders time by time out of his page editor. In Jupiter v6, there was a reliable shortcode named “Edge Slider (Doc)” which was exactly doing the same thing as required here. However, I didn’t want to use the WPBakery page builder anymore, so I decided to create a slider with a trick. In this article, I’ll share my experience on how to develop a custom slider in the Jupiter X theme without even a single line of code.
What we need:
- Jupiter X theme
- Jet Engine plugin (bundled with Jupiter X for free)
After installing and activating the Jupiter X theme on your WordPress website, you need to install the Jet Engine plugin. Follow this tutorial to find out how to install it. Now, we’re ready to make our custom slider in Jupiter X.
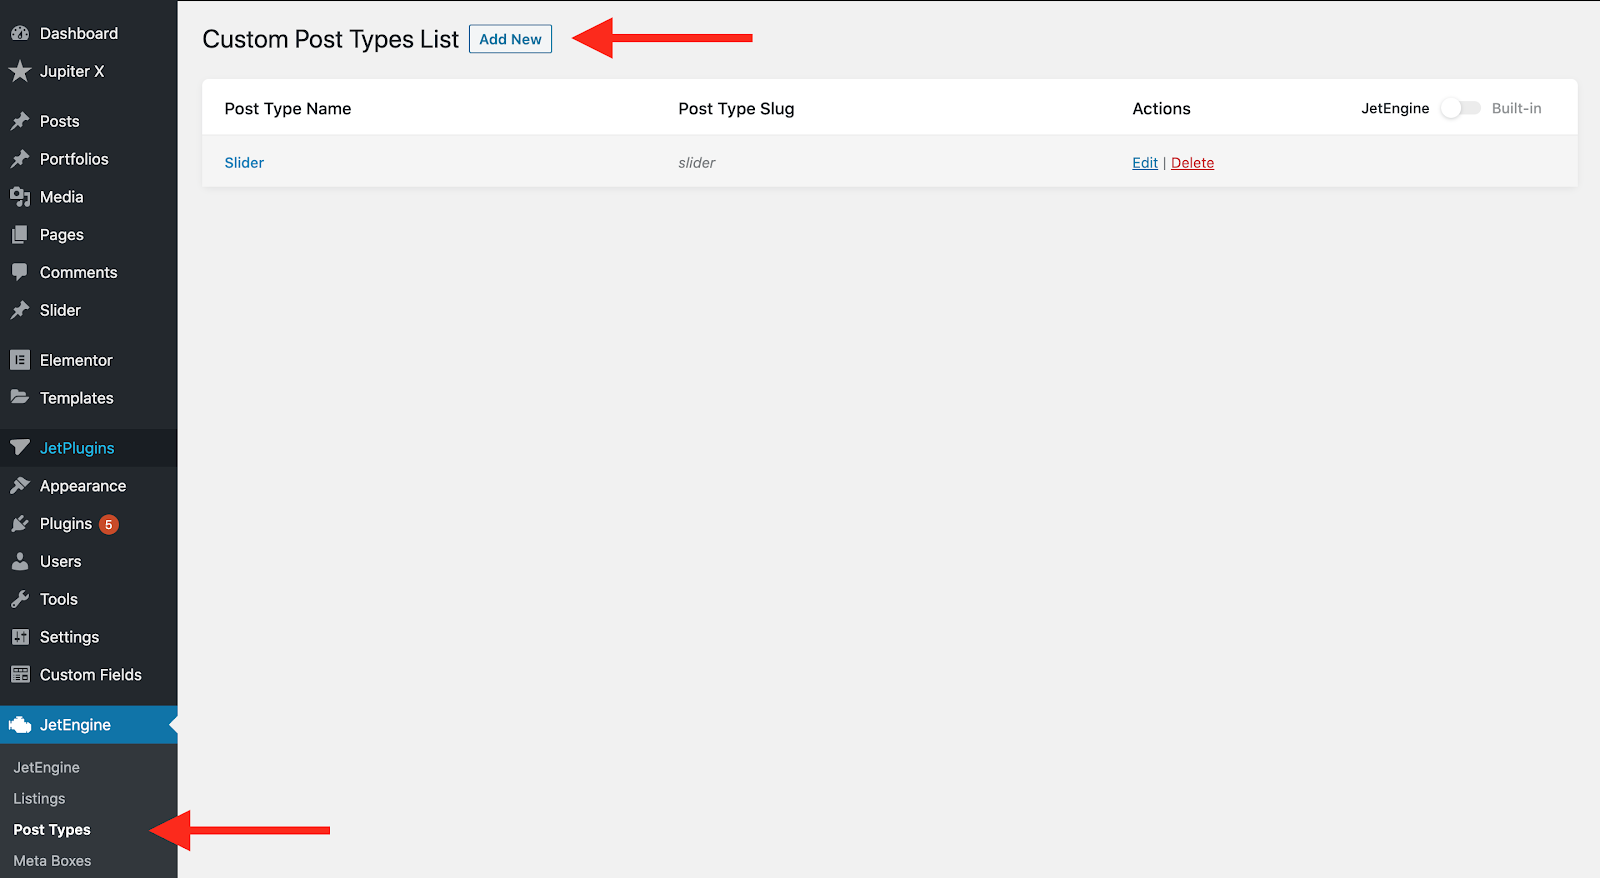
Create the Slider custom post type
Then expand the Advanced Toggle and add the Thumbnail feature to your slider post type. We’ll use this as the background image on our slides.
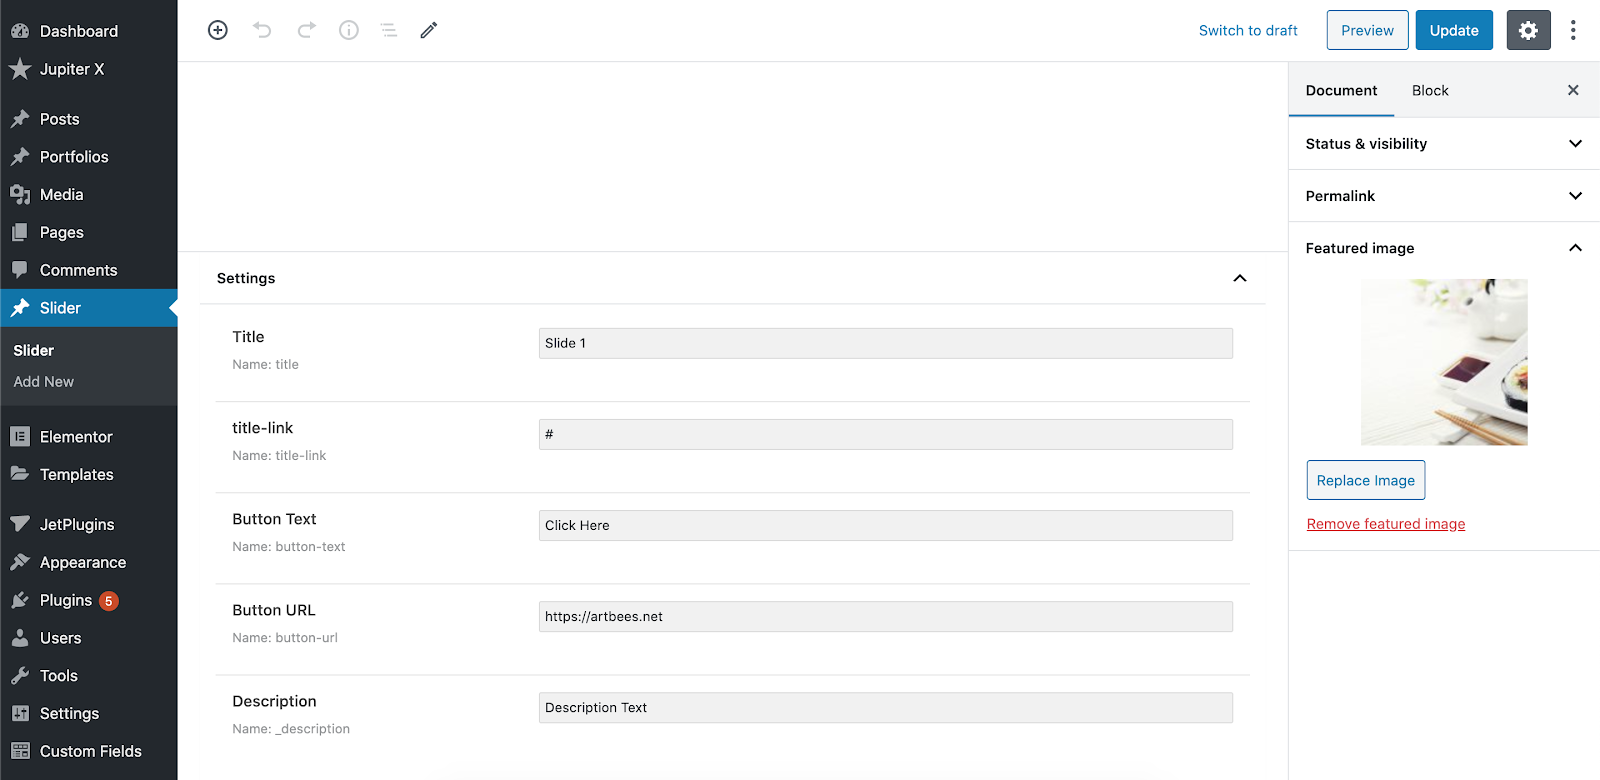
Now add the Title, Title Link, Description, Button text and Button link to the post type meta fields. You can skip the Title field and use the post title instead.

Remember that you can add as many meta fields as you want. As an example, you may need to have a secondary button for another call to action on your slider. If that’s what you need, simply add two more meta fields: Button 2 Text and Button 2 URL.
Now hit the “Update Post Type” button and navigate to WordPress admin -> Slider and add a new entry.
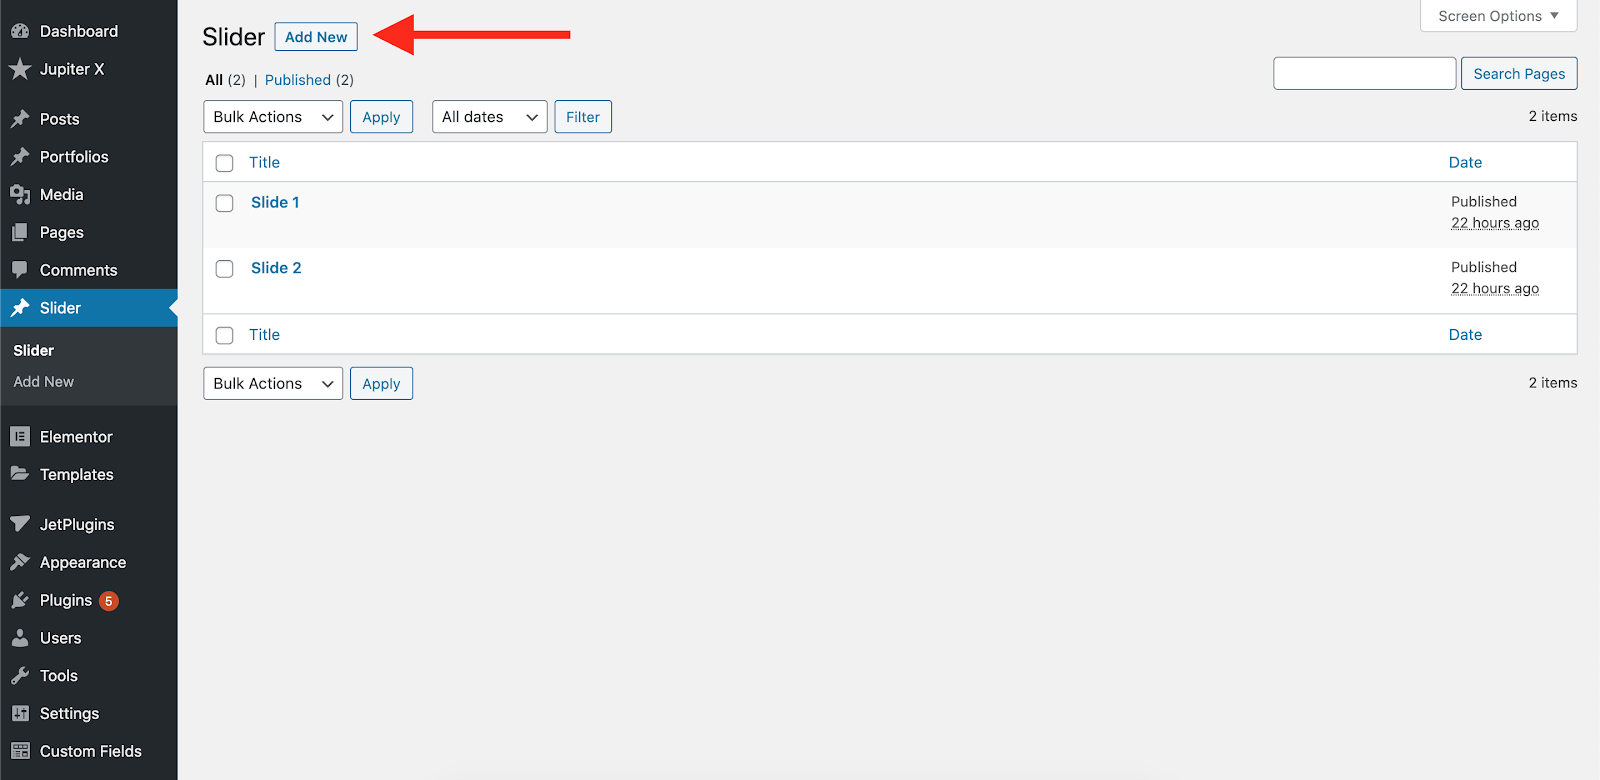
Populate the post meta fields and remember to add a featured image to it.
Add a couple of more items and then create a listing template from Jet Engine -> Listings.
Design your Slider template
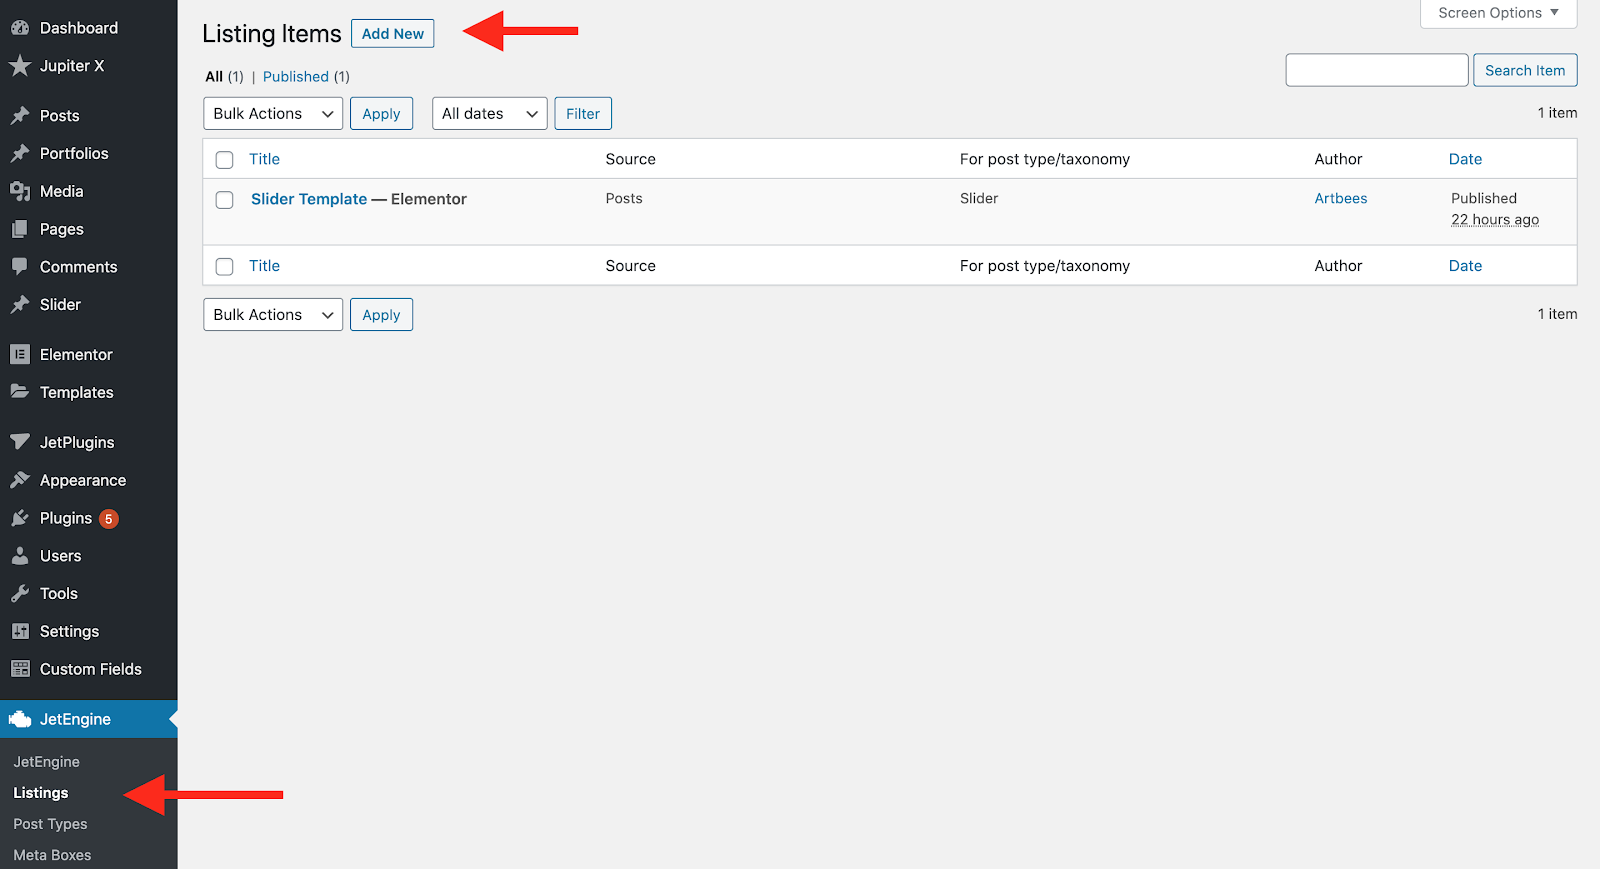
Choose to edit the listing template via Elementor and make sure you select the Slider post type when creating it.
Using the Elementor editor, add a full-width section and add a minimum height to it like below. Also, set the column position to Middle.
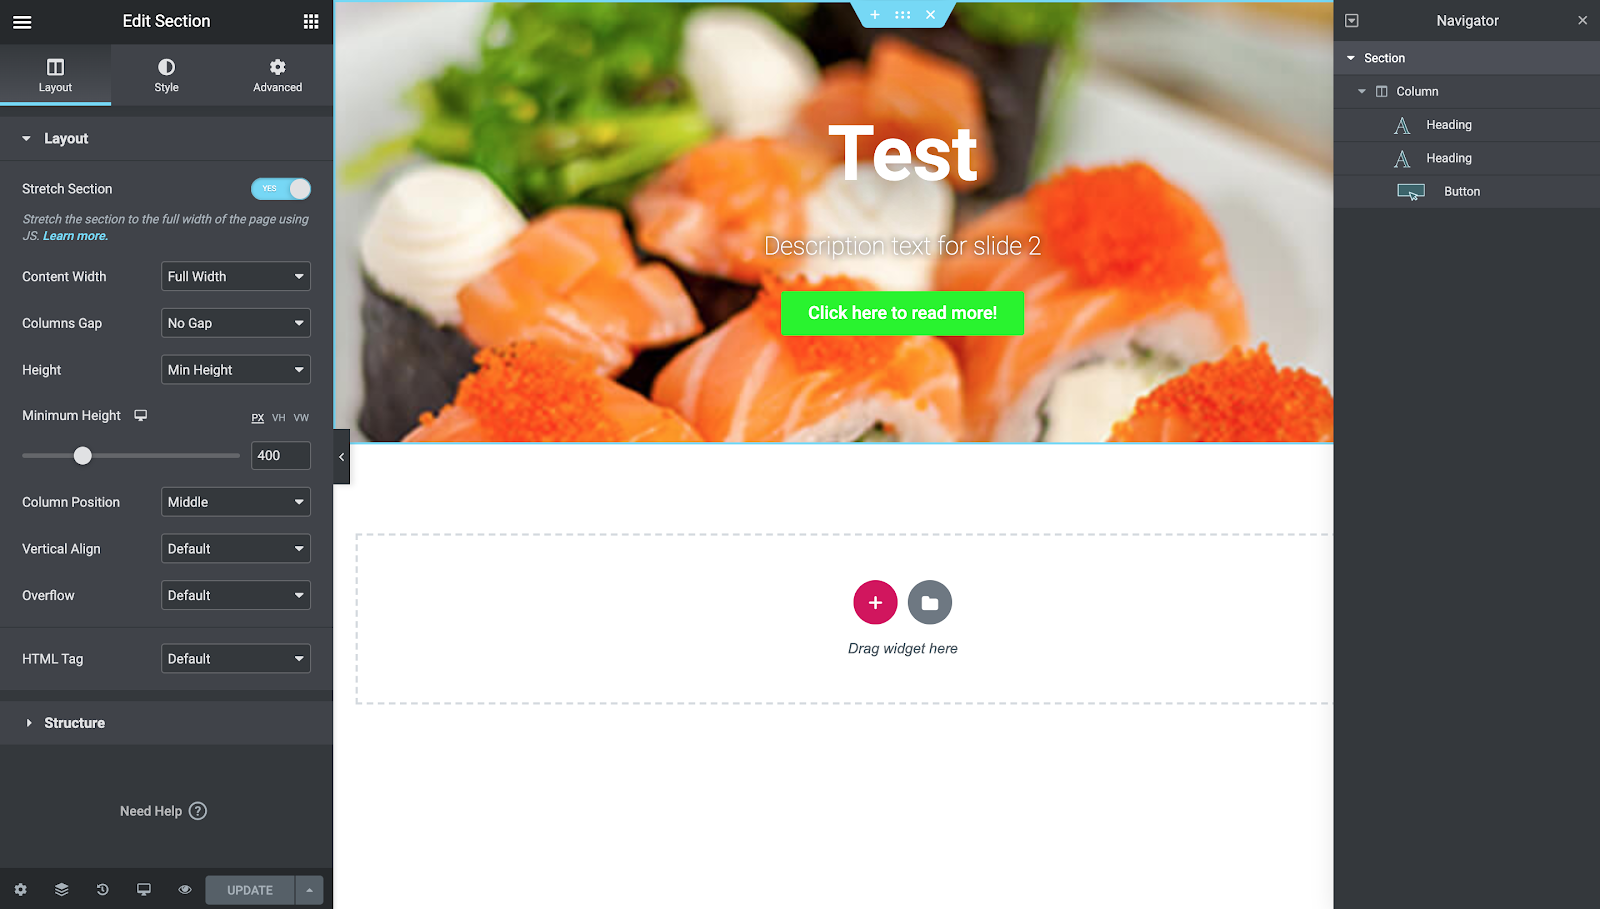
The above section will be considered as your slider template. So, it’s up to you how you’d like to set the height, color and effects it should have. Also, you are free to change the layout and design the proper slider template as you wish.
The next step in creating a custom slider in Jupiter X is to add a background image. In order to do that, navigate to the Style tab while the section container is selected. Now choose to have a background and select the dynamic background and then select the Featured Image. After that, set the background size to be “Cover”.
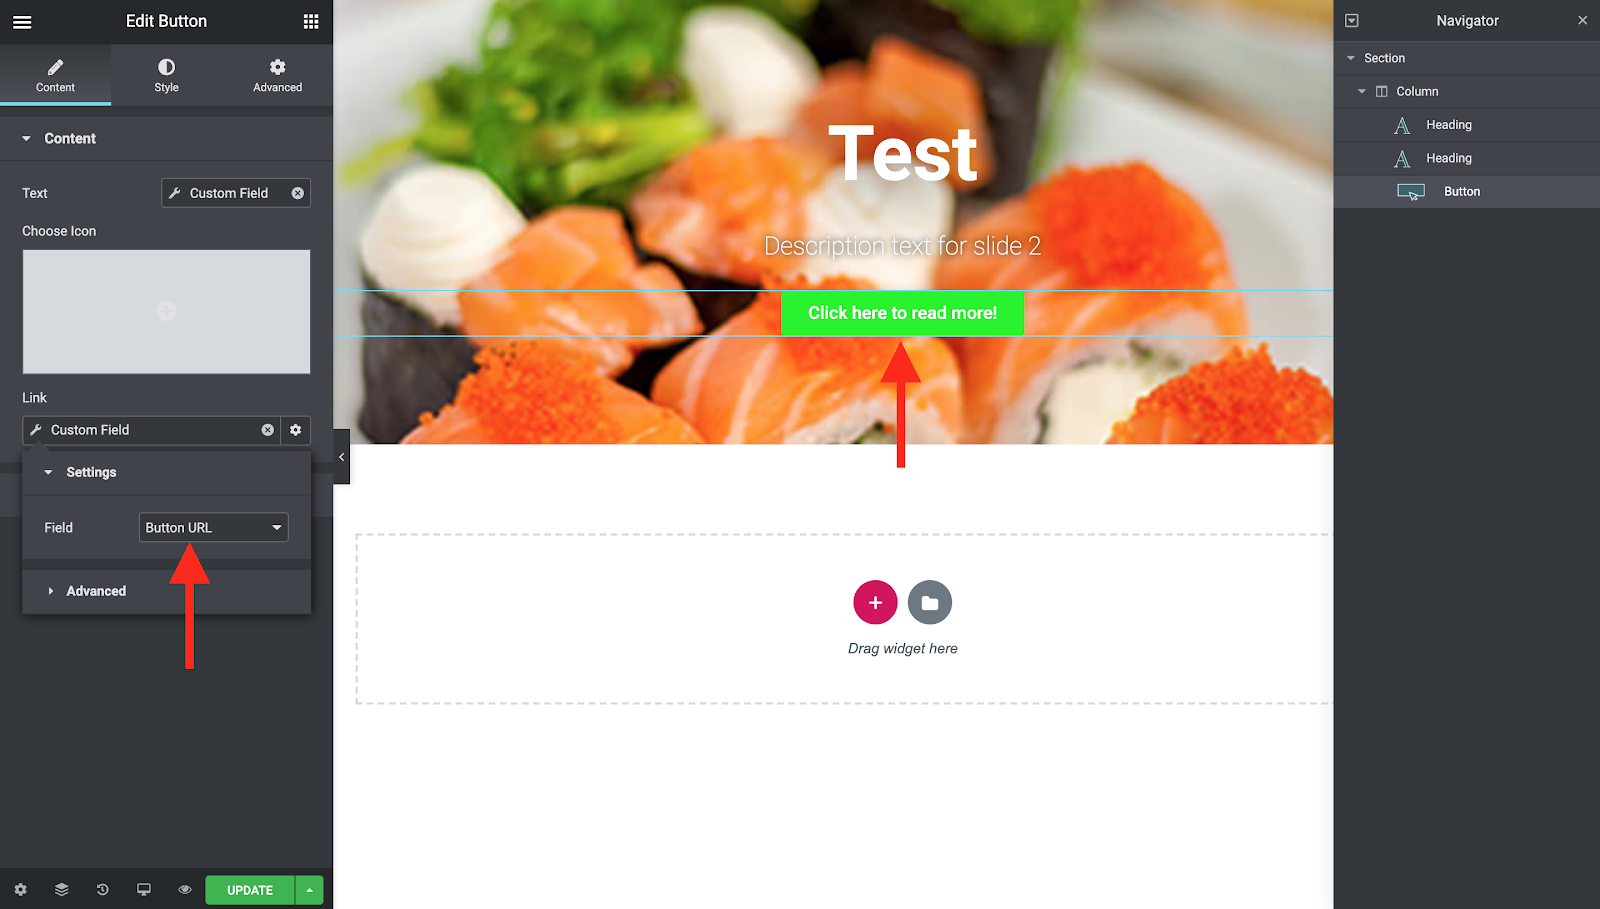
Now add two Heading and one Button to the section and associate the title and links on them with the custom meta fields you created for your post type. More information about dynamic fields can be found here.
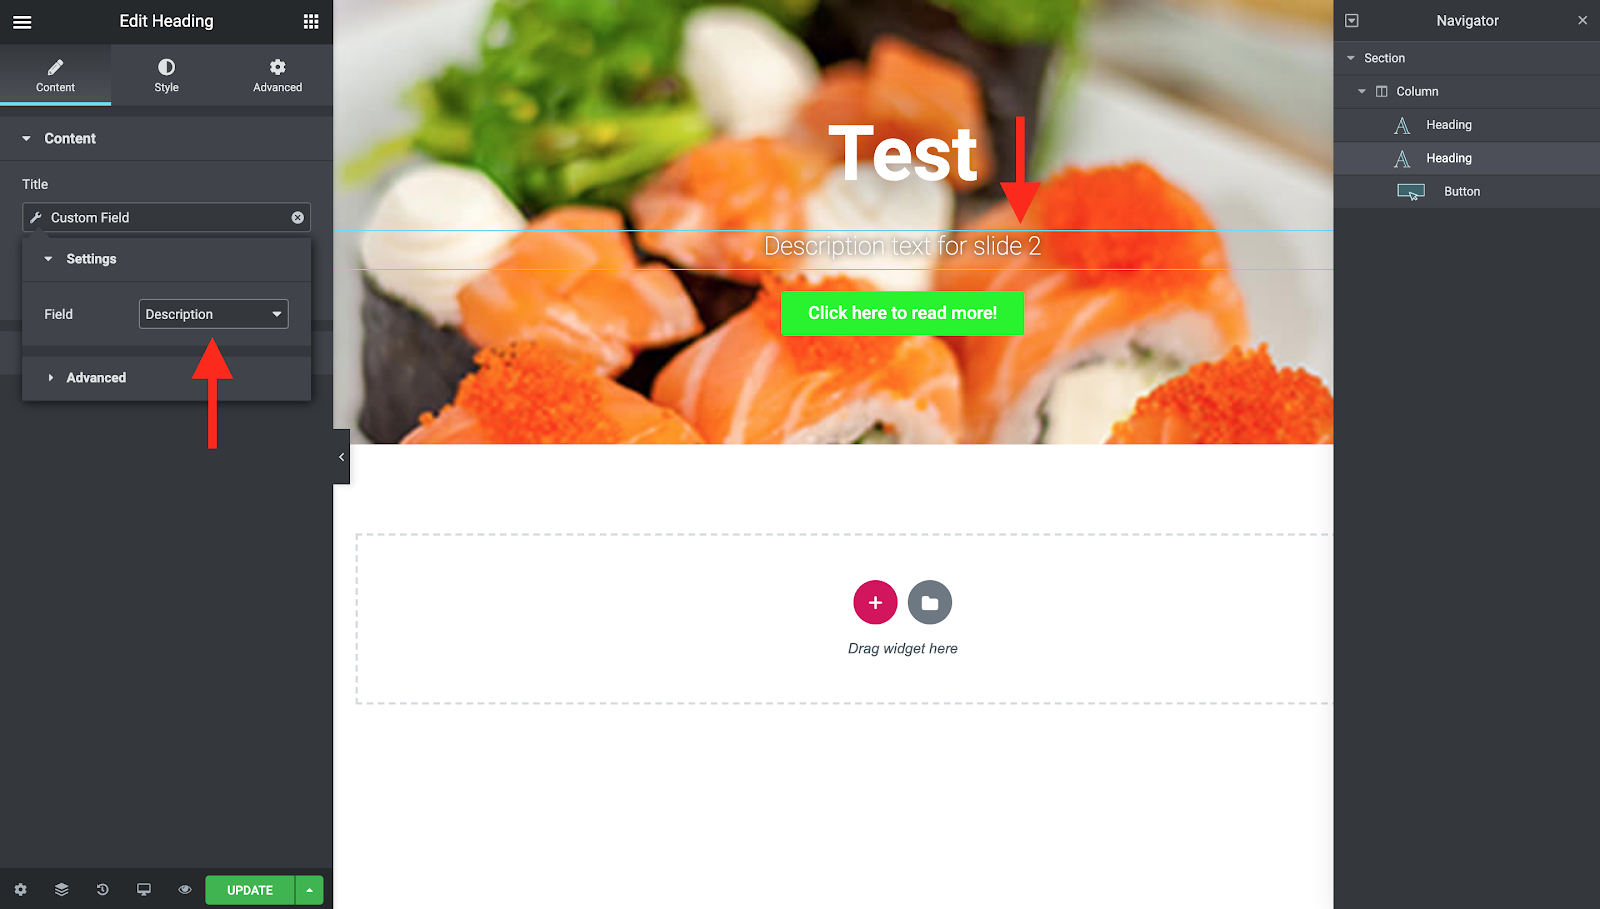
As for the button and the title, since we need them to have a link to somewhere, we need to set the link attribute dynamically with the meta field value we created on the post type.
Use the slider on your page
Now update the template and get back to the WordPress admin. Create a page and drop a “Listing Grid” element into it.
Set the number of columns to 1, and scroll down the options and enable the “Slider” and update the page. You may want to add the navigation buttons or Dot navigation and style them on the style tab.
The final results will look like this:

You can add a category to your Slider post type, select a different category on your page and a ton of other cool filtering options. As soon as you publish a slider post, it will show up on your slider.
Conclusion
In this post, we learned how to create a custom slider in Jupiter X and Jet Engine template. In general, the dynamic post types play an important role in WordPress and allow you to add unlimited functionalities to your website. By using dynamic post type features, we were able to create a simple slider like the old Edge Slider and allow the site admin to manage the slides without editing the whole page.

No comment yet, add your voice below!