
Sending out a notification on a website that users can interact with plays a significant role. When users do something on a website, a notification system can keep them motivated and encourage them to do more. And the great thing is that there are plenty of ways you can send notifications to your users: emails, SMS, direct messages, push notifications on browsers and also internal notifications on the website itself. In this post, we’ll provide an overview of how you can build a WordPress website notification system, which could then be used as a base structure for all kinds of notifications.
Scenario:
Let’s say we have a website where users can edit their own profiles and have different roles and by doing an action, the user should receive a notification. We might ask users on our website to take quizzes, and in this case, we would then need a way to notify them of whether or not they passed a quiz.
Tools we need:
- A WordPress website
- The Ultimate Member plugin (Free)
- Real-time Notifications addon from the Ultimate Member plugin (Premium)
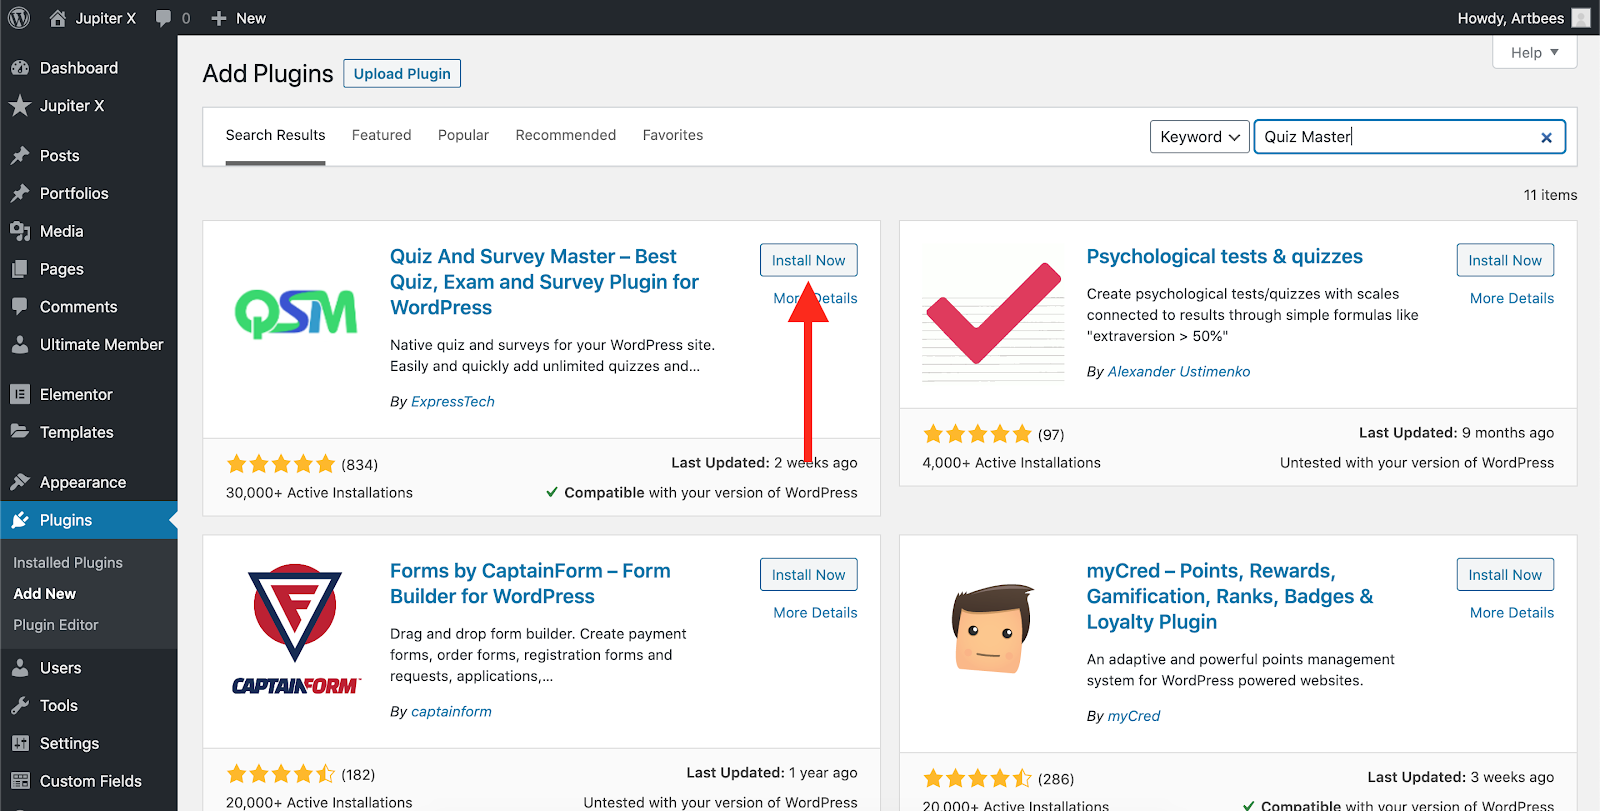
- Quiz Master plugin (Free)
Installing the Ultimate Member plugin
To begin setting up your WordPress website notification system, install WordPress and navigate to Dashboard -> Plugins -> Install Plugins.
Search for Ultimate Member and install the plugin.
After that, activate the plugin and create the default pages.
We are done here. It’s time to configure the plugin and add the notification plugin.
Configuring the Member’s directory and user profiles
The Ultimate Member plugin extends the WordPress user management system and adds a lot of capabilities to it. The good thing about the Ultimate Member plugin is that it has a vast variety of add-ons, and you can even build and shape a real social network using this plugin. Each user can have a profile and you – as the admin – can choose to have different registration fields or user profile details on the website. It’s a very good choice to run a membership directory website. Ultimate Membership will add restricting access capability to your content and menus. You can define different user roles and show different content to them. The plugin settings are located in Ultimate Member -> Settings.
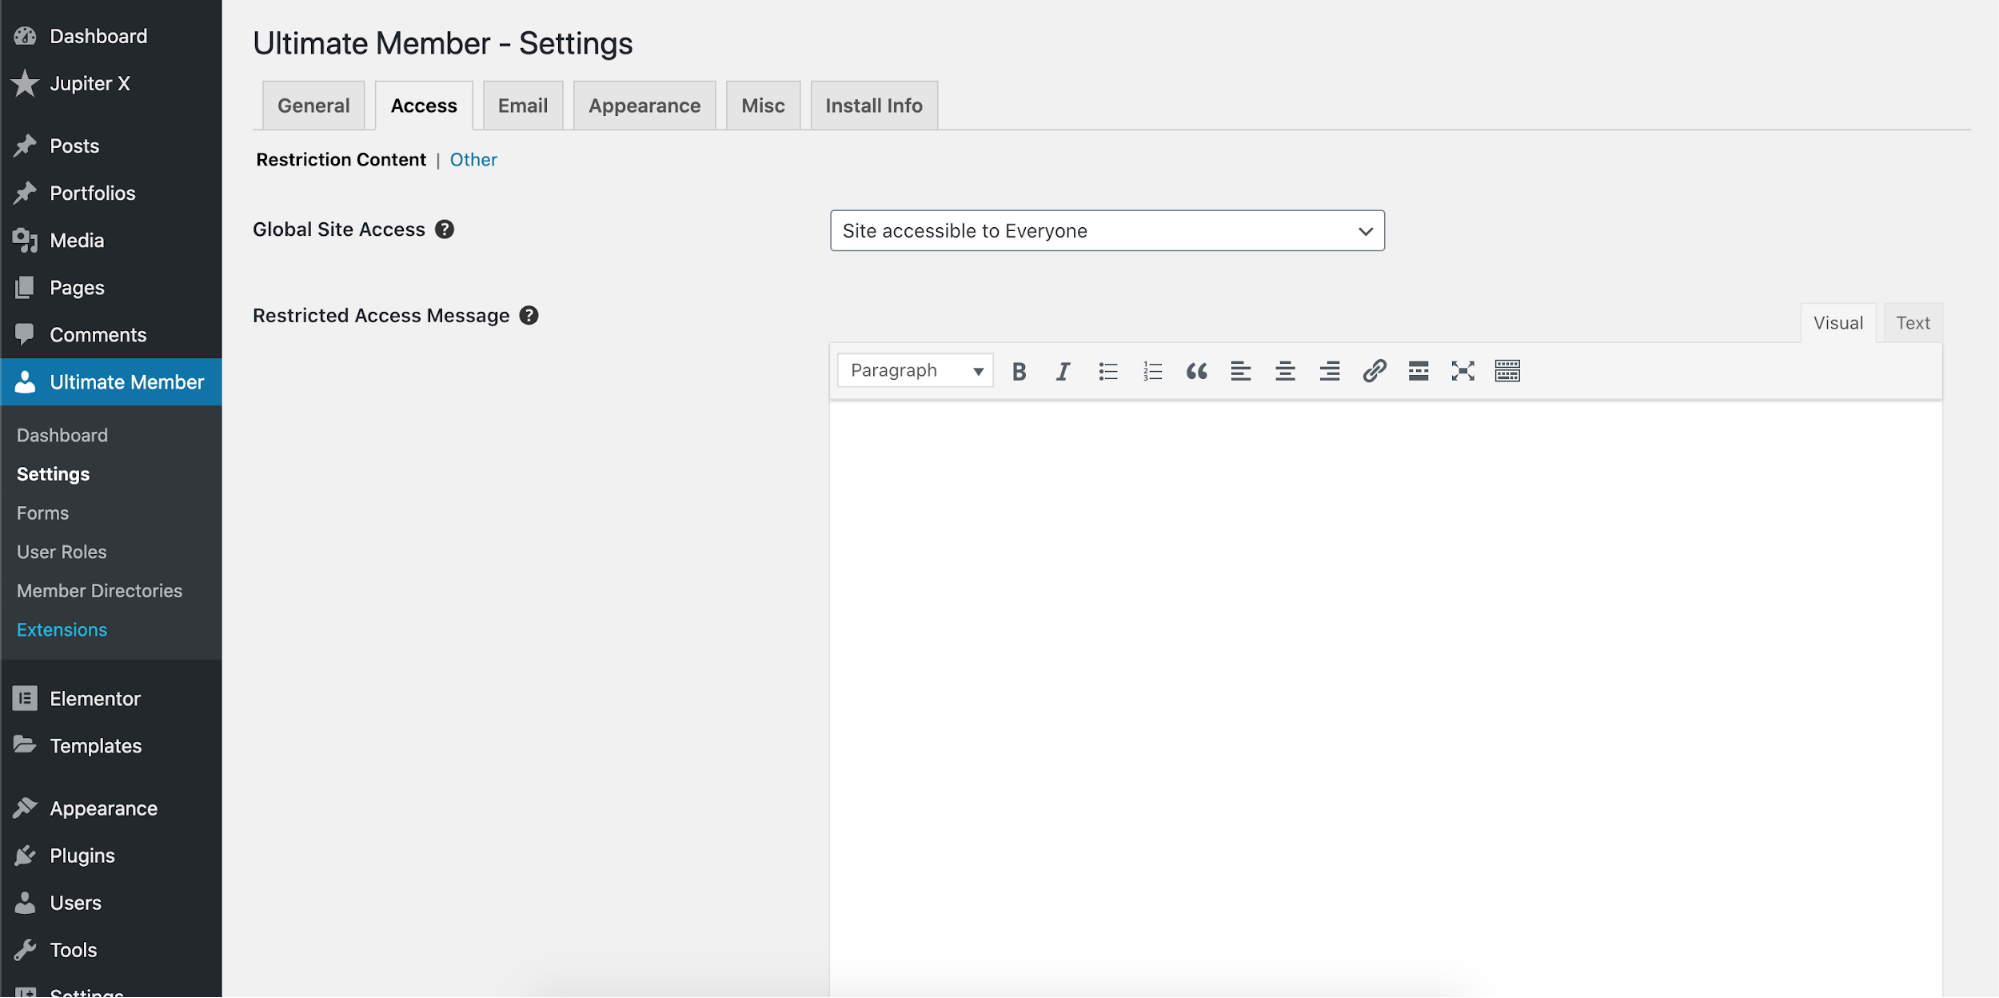
Configure the plugin with your optimal setting and also create your user roles and registration forms under Ultimate Member -> User Roles and Ultimate Member -> Forms and test the registration and check the user public profiles.
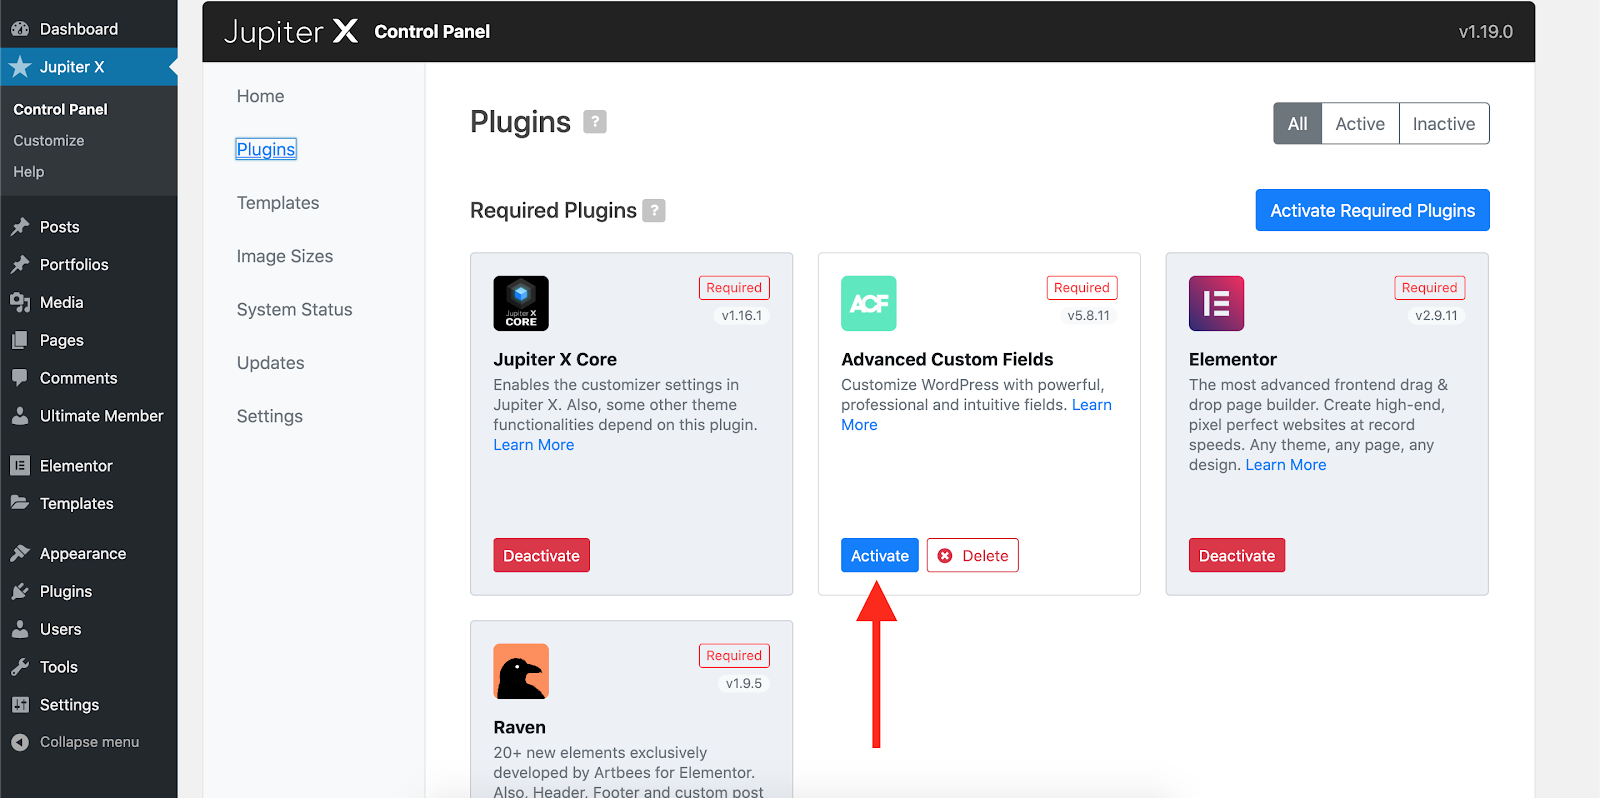
I want the sidebar to be removed on the profile pages. I also want to hide the title bar on top of the profile pages. So, I’ll install the ACF plugin from Jupiter X -> Control Panel -> Plugins and edit the profile page like this:
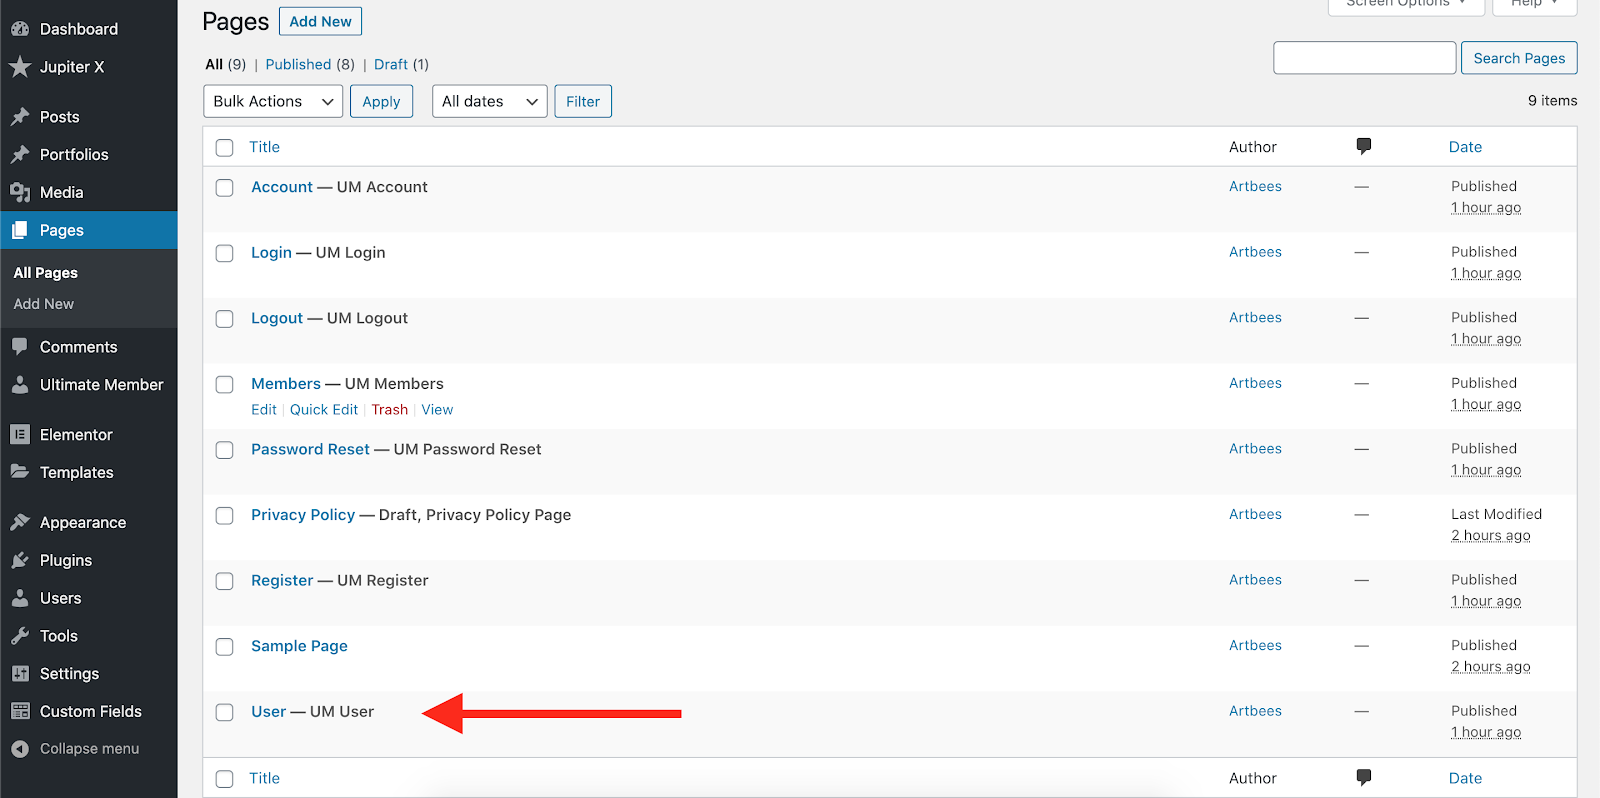
Now I’m going to find the profile page in the list of my pages. It’s named as “User.”
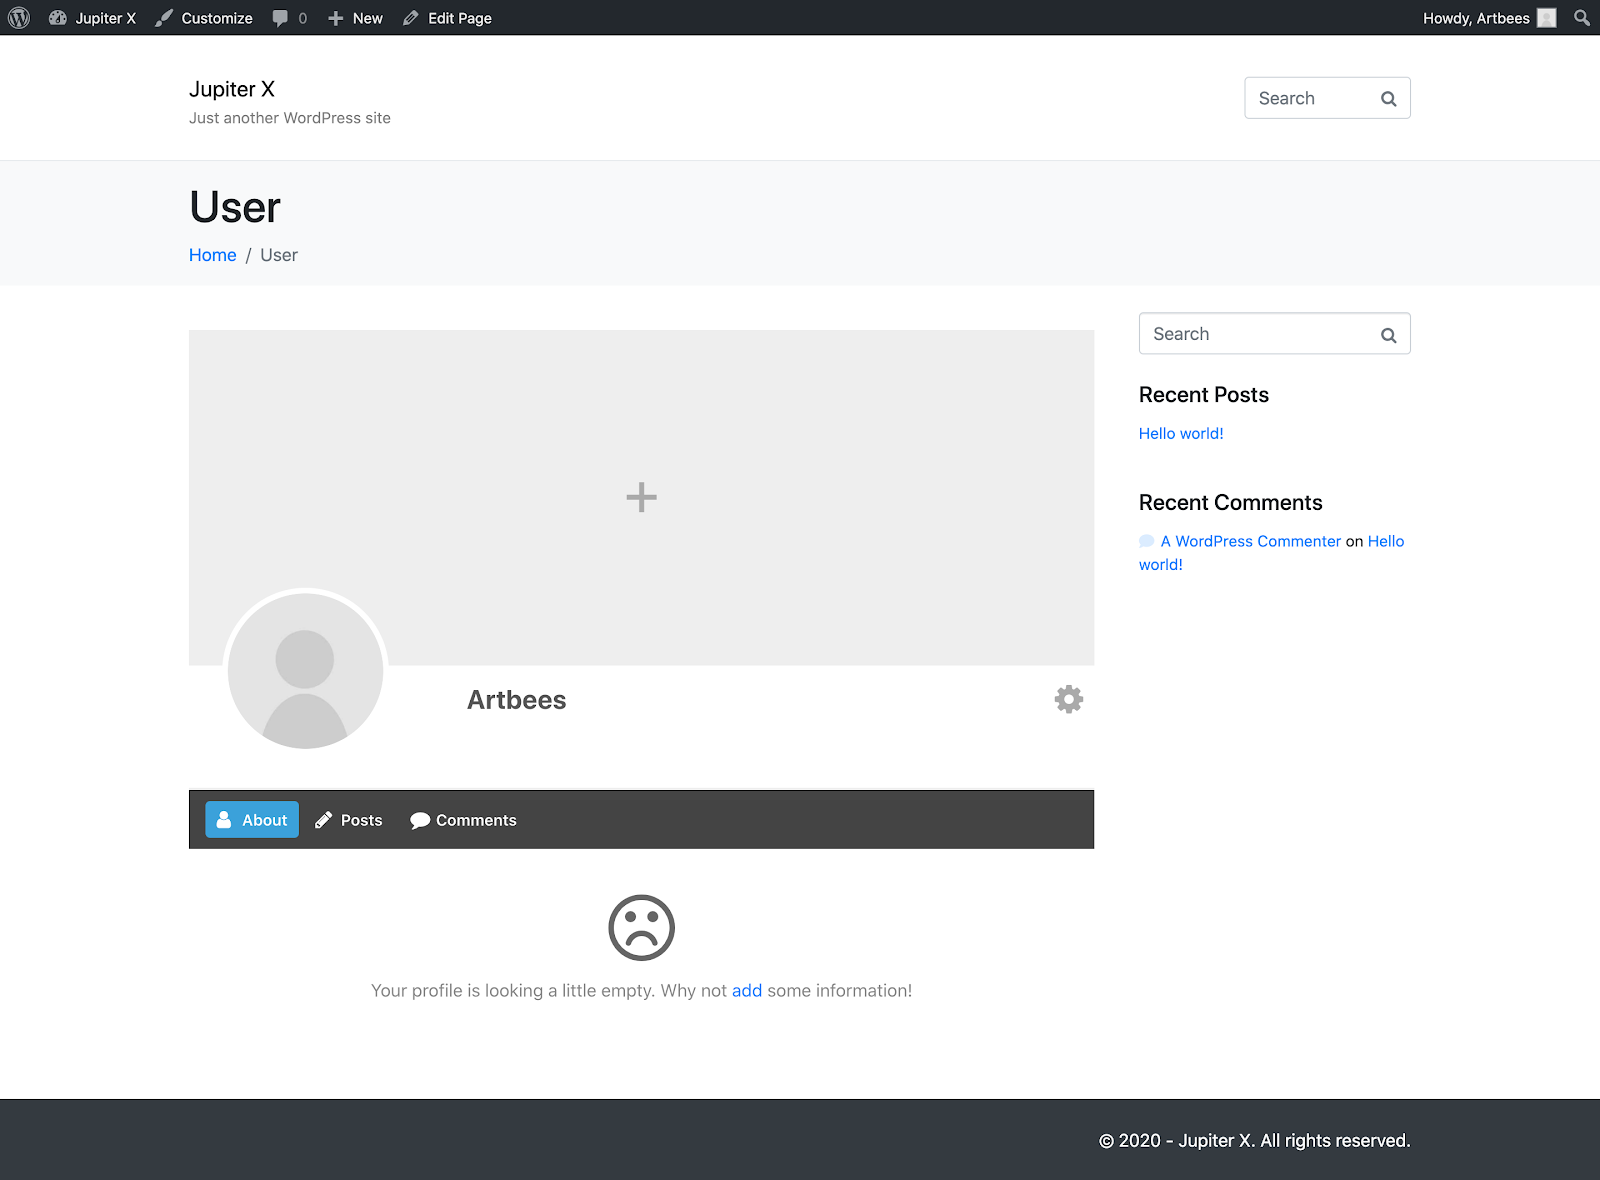
I’ll hide the sidebar and title bar by setting the layout options and disable the title and description on the page.
This can also be done by simply selecting the Full Width template from the page attributes. Using this method you can also remove the extra gap on top and bottom of the page.

The result would be like this:
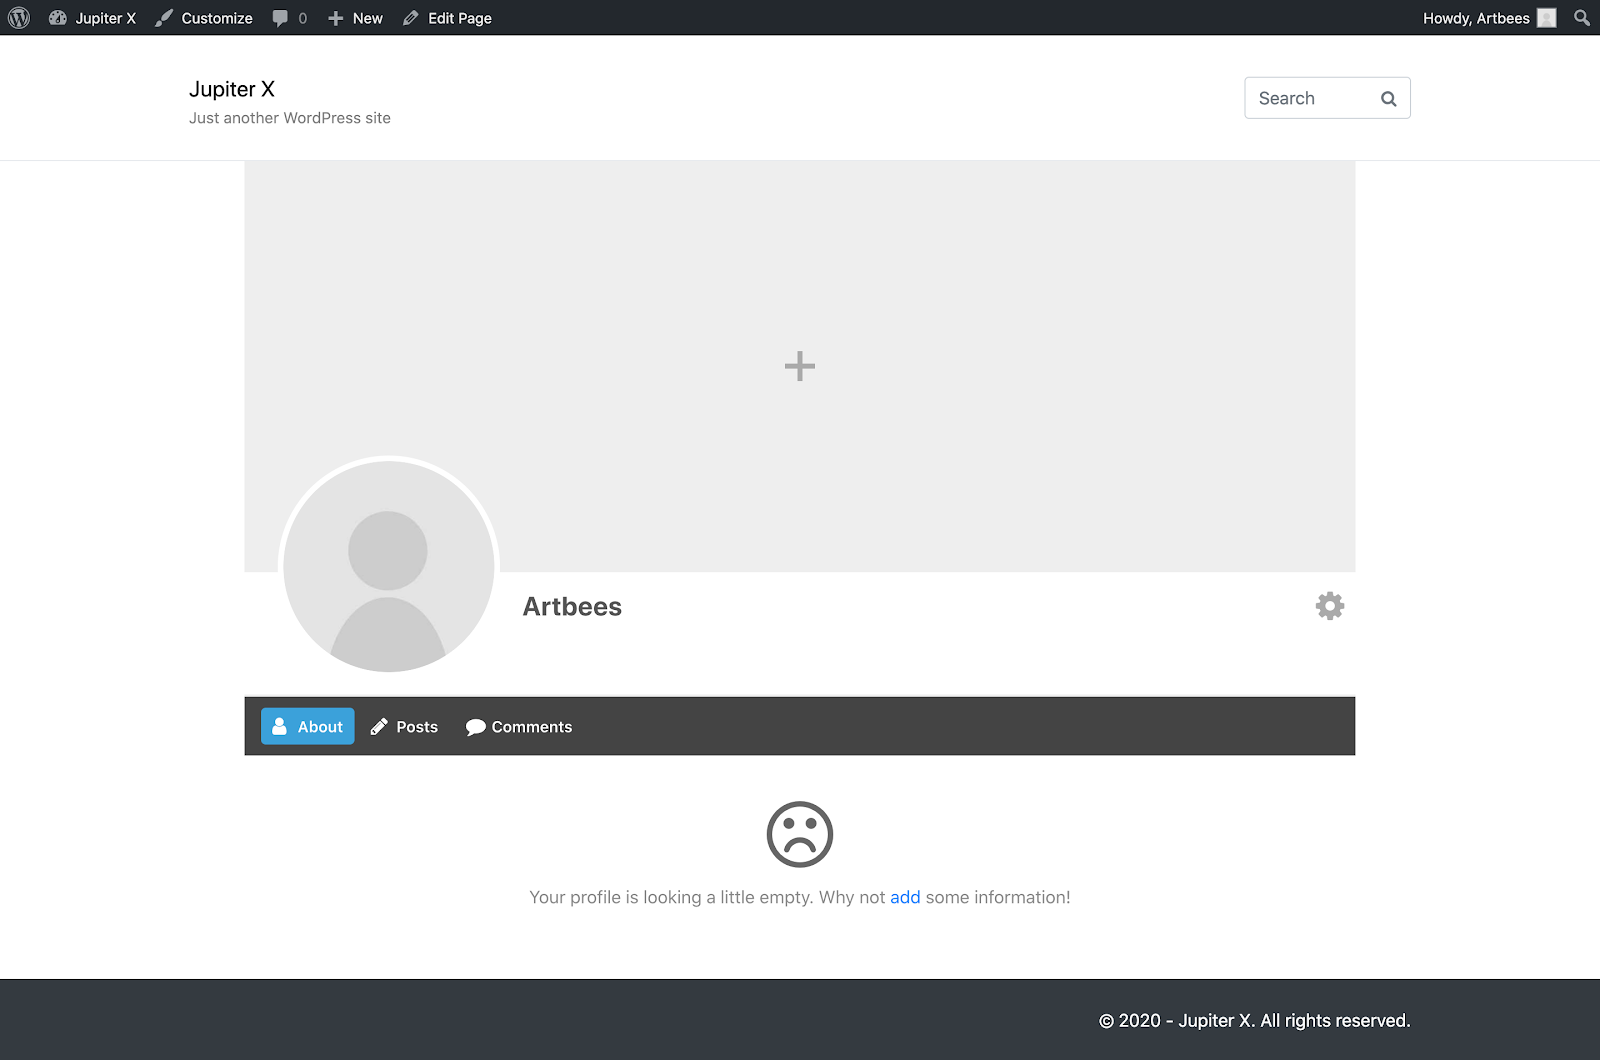
Now you can add a cover photo, custom avatar and all the profile details you want. More information can be found here.
Installing and configuring the Real-time Notifications extension
The good thing about Ultimate Member is that it lets you use extensions, particularly those whufeful when setting up a WordPress website notification system. Most of its extensions are not free, but indeed worth buying. A list of available extensions is provided here. It also has a developer API available here.
We want to add the Internal Notifications feature, so I’m going to buy and download the Real-time Notifications extension. On the extension description they say:
Add a real-time notification system to your site so users can receive updates and notifications directly on your website as they happen. This helps to increase user engagement and keep users on your site.
Great! So, after purchasing the extension, we need to install it like every other plugin. Navigate through Plugins -> Add New and upload the package and install. Then activate it through the plugins page.
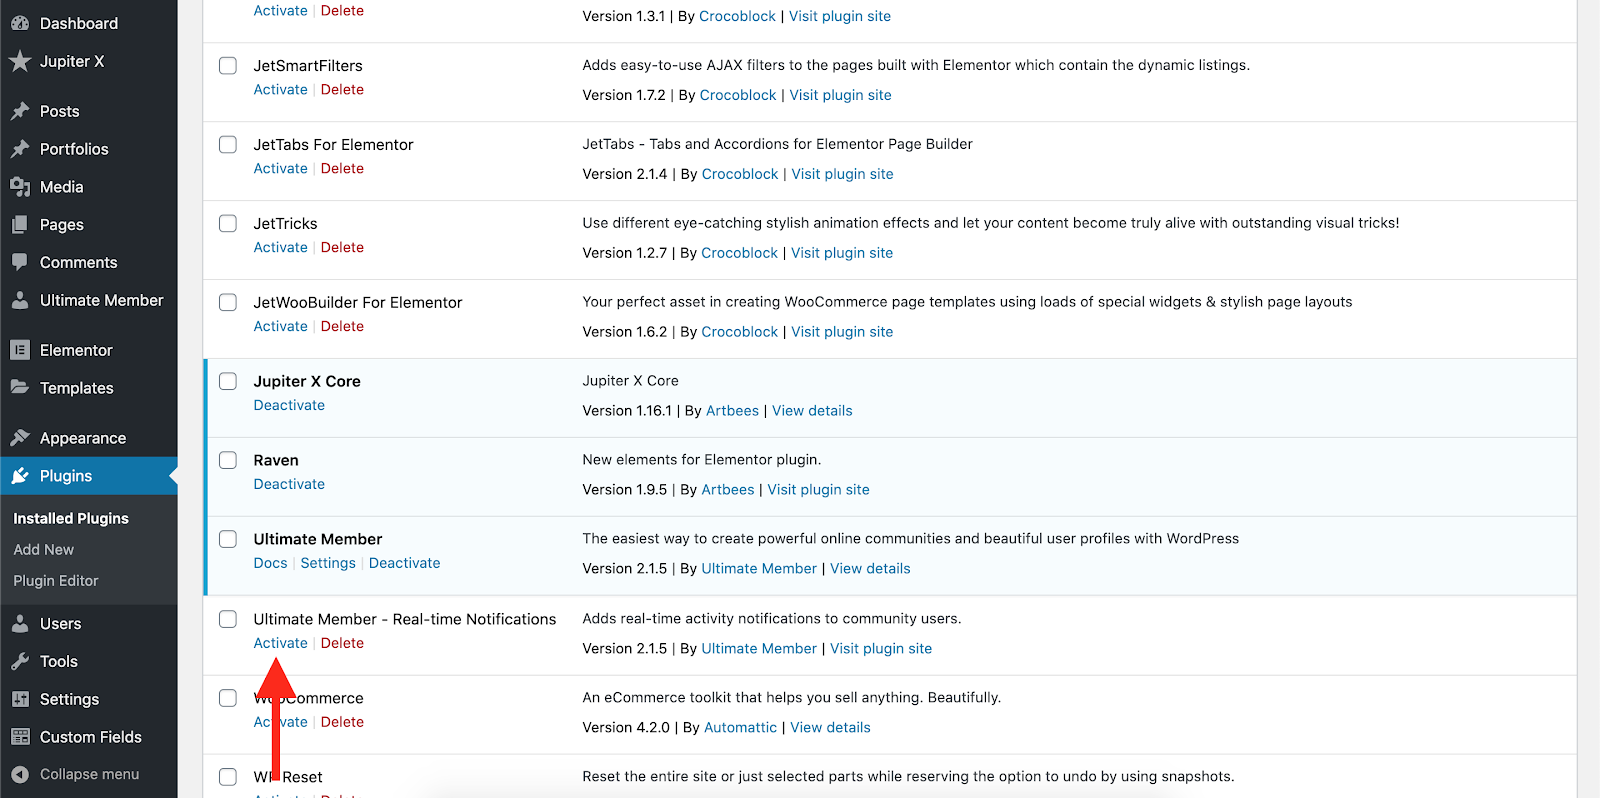
Register the plugin with your purchase key and go to Ultimate Member -> Settings. Right after the activation, you can see that a new tab named as Extensions is added to the settings page of the plugin.
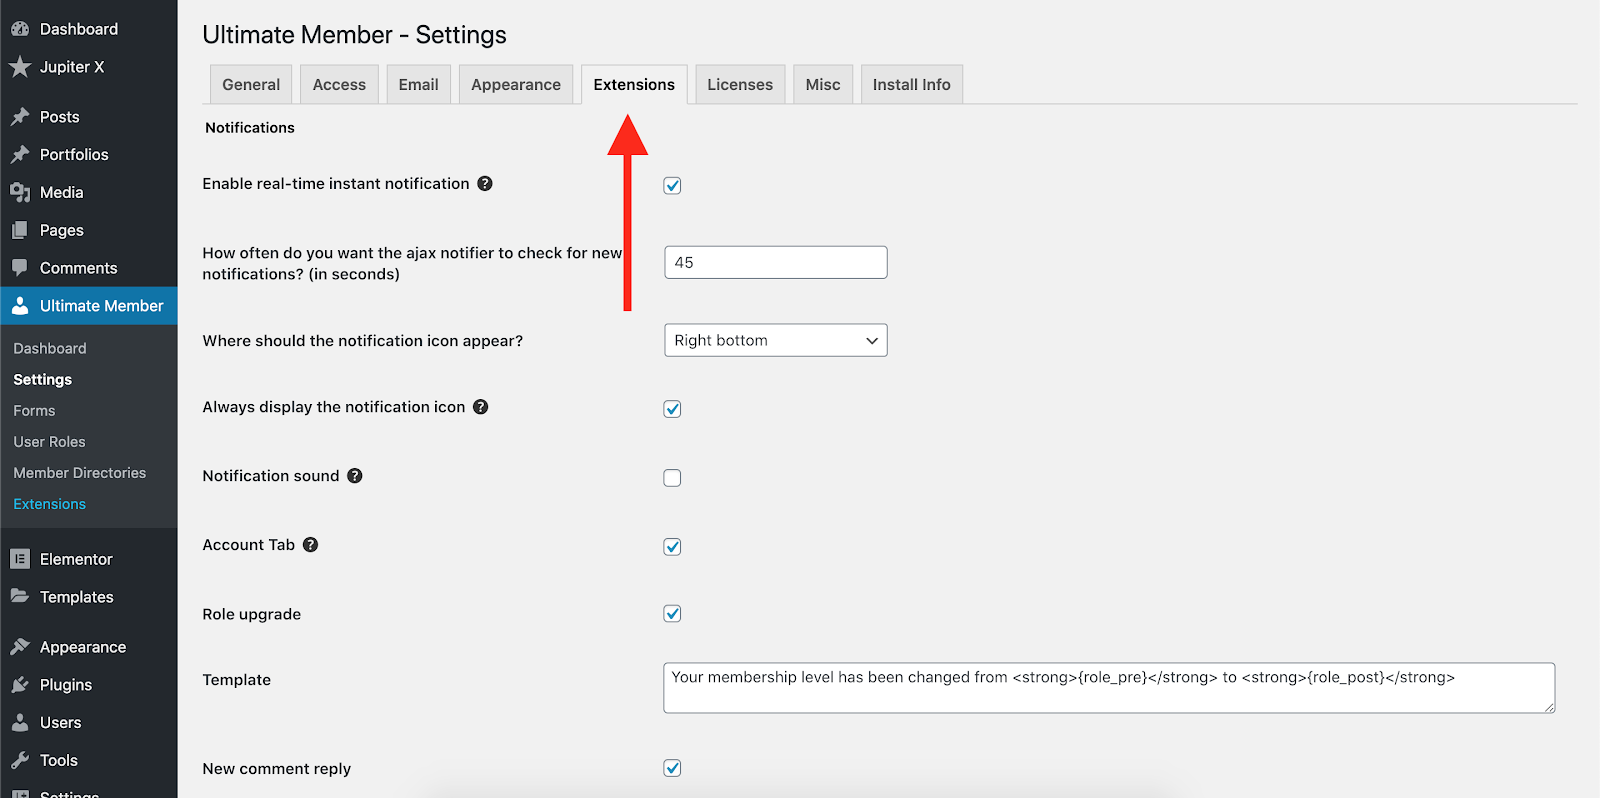
The first available settings on the extensions, prior to the installed ones, is notifications here. Configure the plugin as you wish. I would like to enable the instant notification to send the notifications even if the user has not refreshed the page.
Here you can find out about the features that this plugin offers. As the plugin doc says:
- Enable real-time instant notification – It is recommended to turn this setting off if your server is getting some load.
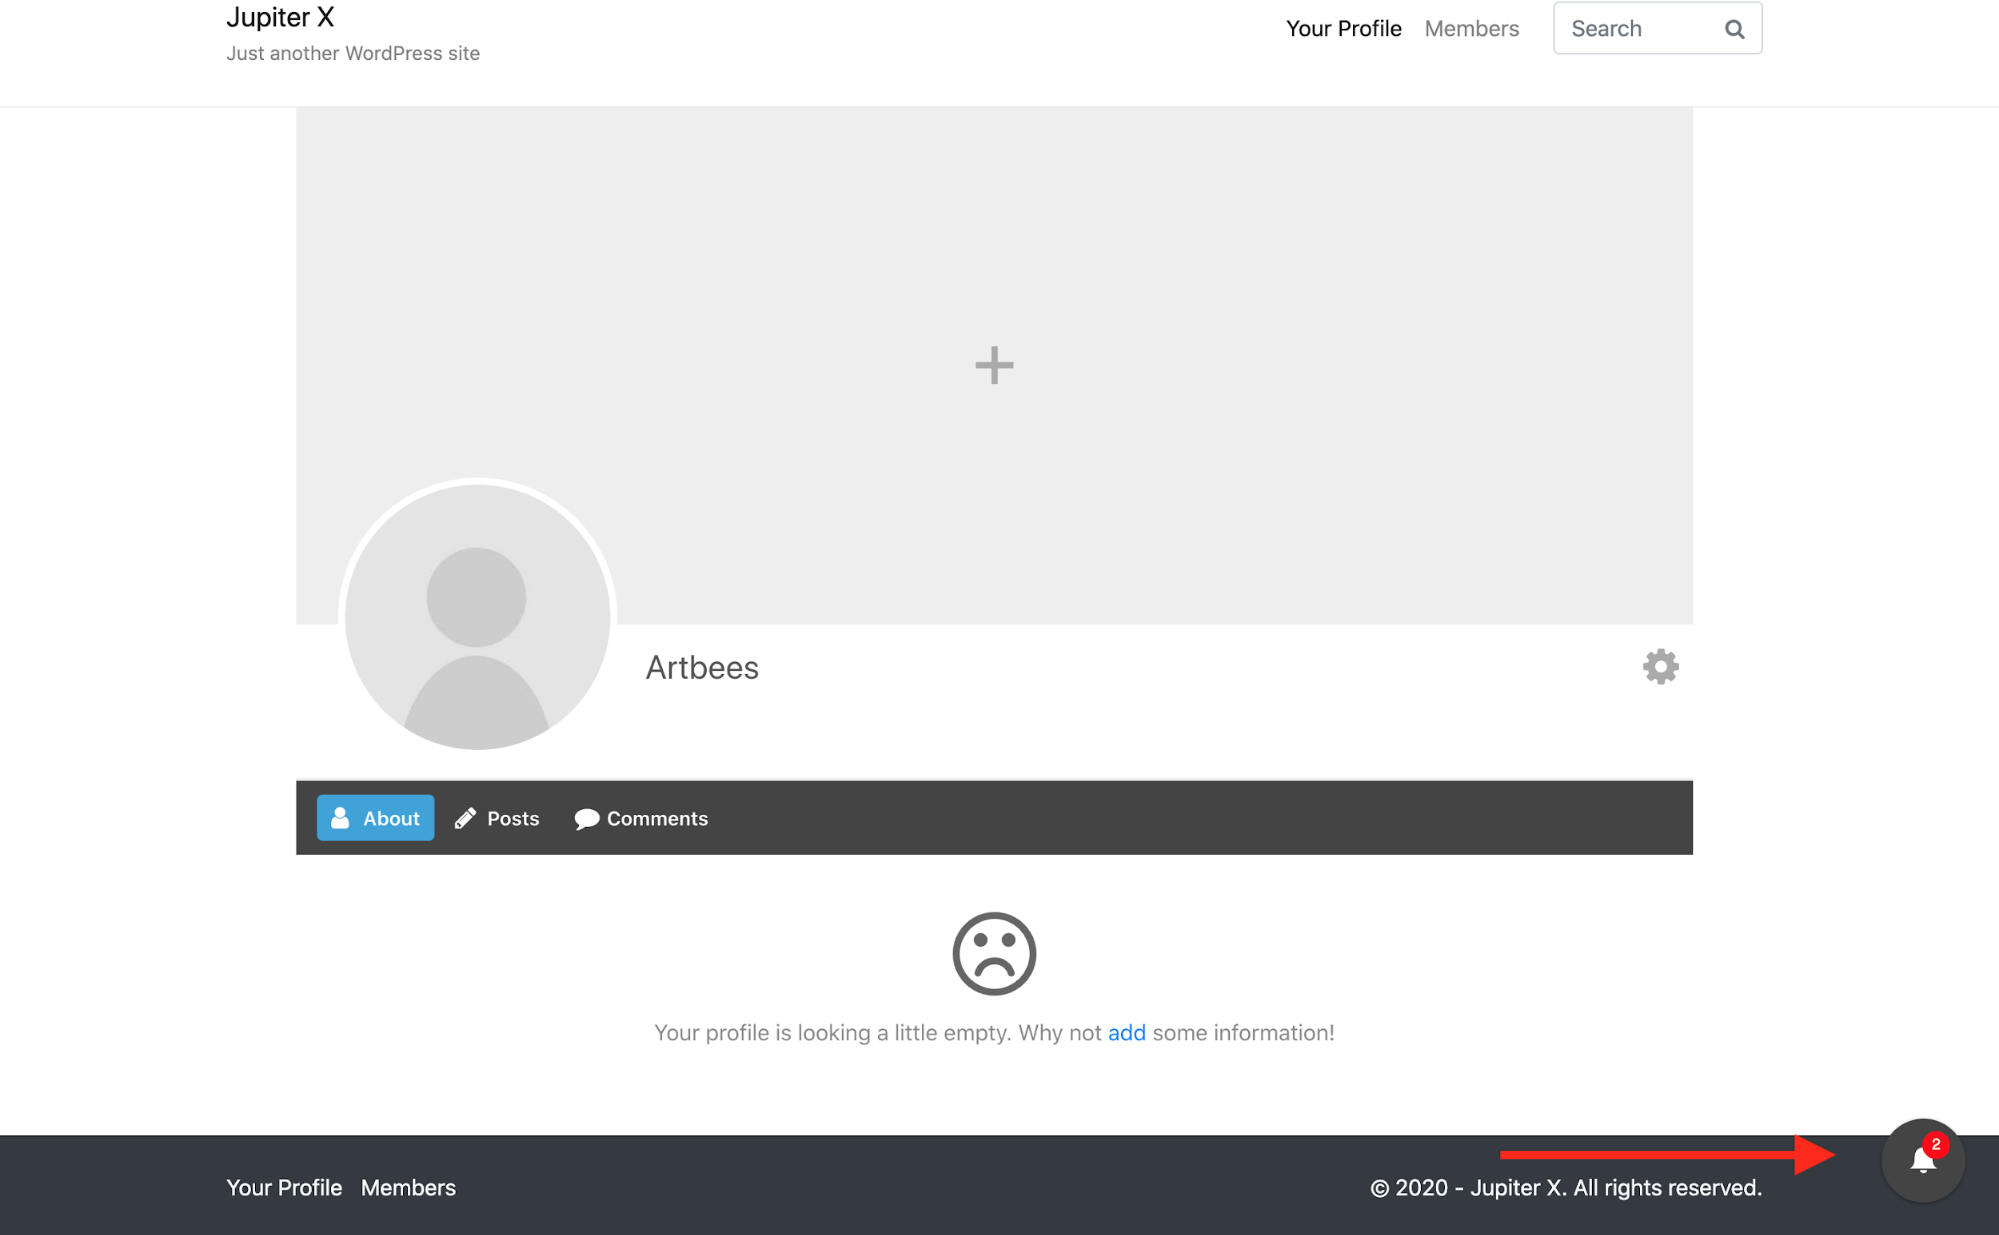
- Change the location of the notification icon to either bottom left or bottom right.
- Modify the number of seconds on how often you want the ajax notifier to check for new notifications.
- Always display the notification icon – If turned off, the icon will only show when there’s a new notification.
- Account Tab – Show or hide an account tab that shows the web notifications.
You can turn on or off notifications and edit the templates for the following :
- Role upgrade
- New guest comment
- User view profile
- Guest view profile
- User awarded points for action
- User deducted points for action
- User receives points from another person
- User gets a new private message
- User gets a new wall post
- User gets a new wall comment
- User gets a new post like
- User gets a new mention
- User account is verified
I’m going to create a temporary profile and test the functionality when I visit that profile. As soon as a guest or a member visits a profile – since we have enabled the “User View Profile” notification in the settings – he/she will get notified that someone visited their profile.
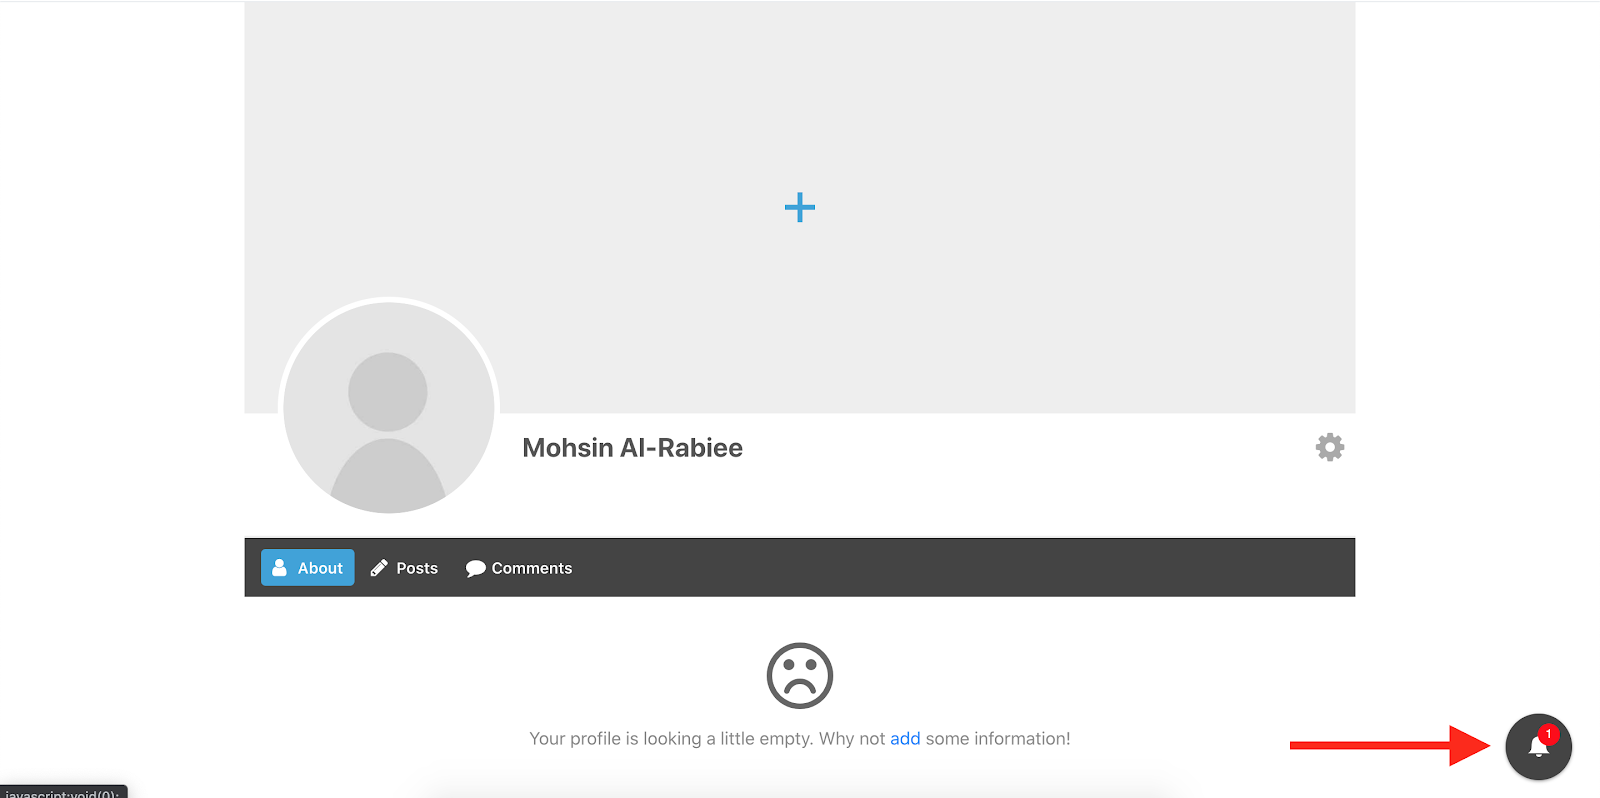
By clicking on the notification button, the following notification will be shown:

In the next step, we’re going to notify a user with a customized notification while triggering an action. For example, you may need to send a notification to a user when he/she downloads a file or when the user membership is about to expire.
Adding custom notifications using API
Let’s say that you have an online quiz website. The users register to your website, purchase a membership plan or a quiz and then want to take that quiz and get notified about the results. I skip the part that you take to provide the membership plan and monetize the quiz, but in brief, you can do it with a combination of the WooCommerce and Ultimate Membership plugin. You can add a new user role, then add a new WooCommerce product and use this extension to automatically assign that role to the user right after purchasing that product and then restrict your content for that user role.
Assuming that you are using the Quiz Master plugin, we want to send a notification to the user who finished the quiz and notify them as to whether or not they passed the quiz.
For the first step, I’m going to install the Quiz Master Plugin.
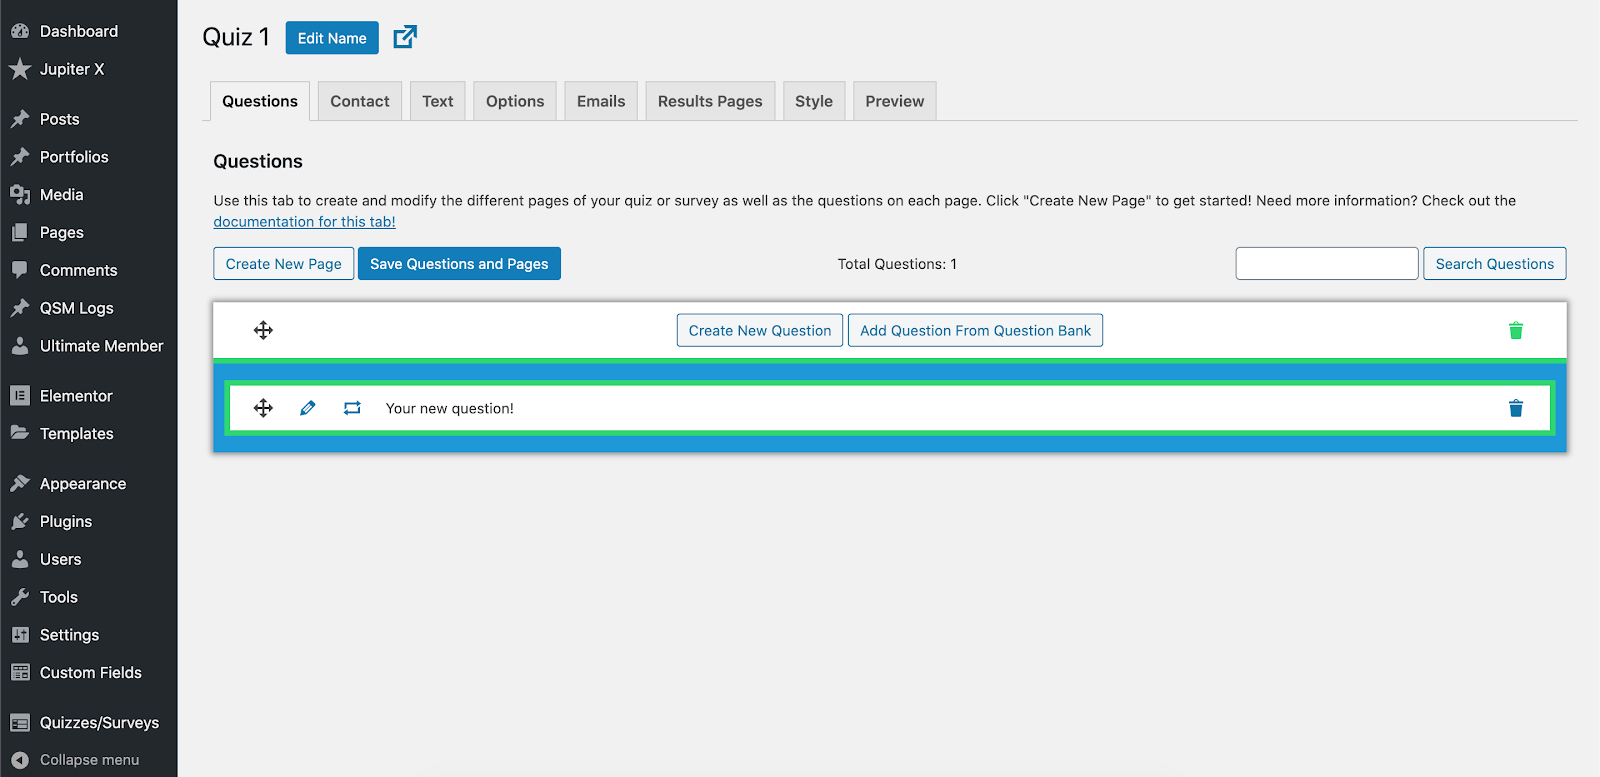
After that, from the Quiz Maker menu, I’ll add a new quiz.

Then I’ll provide the questions inside the quiz. You can find information about this process here.
I’ll add a page and a question and save the quiz.
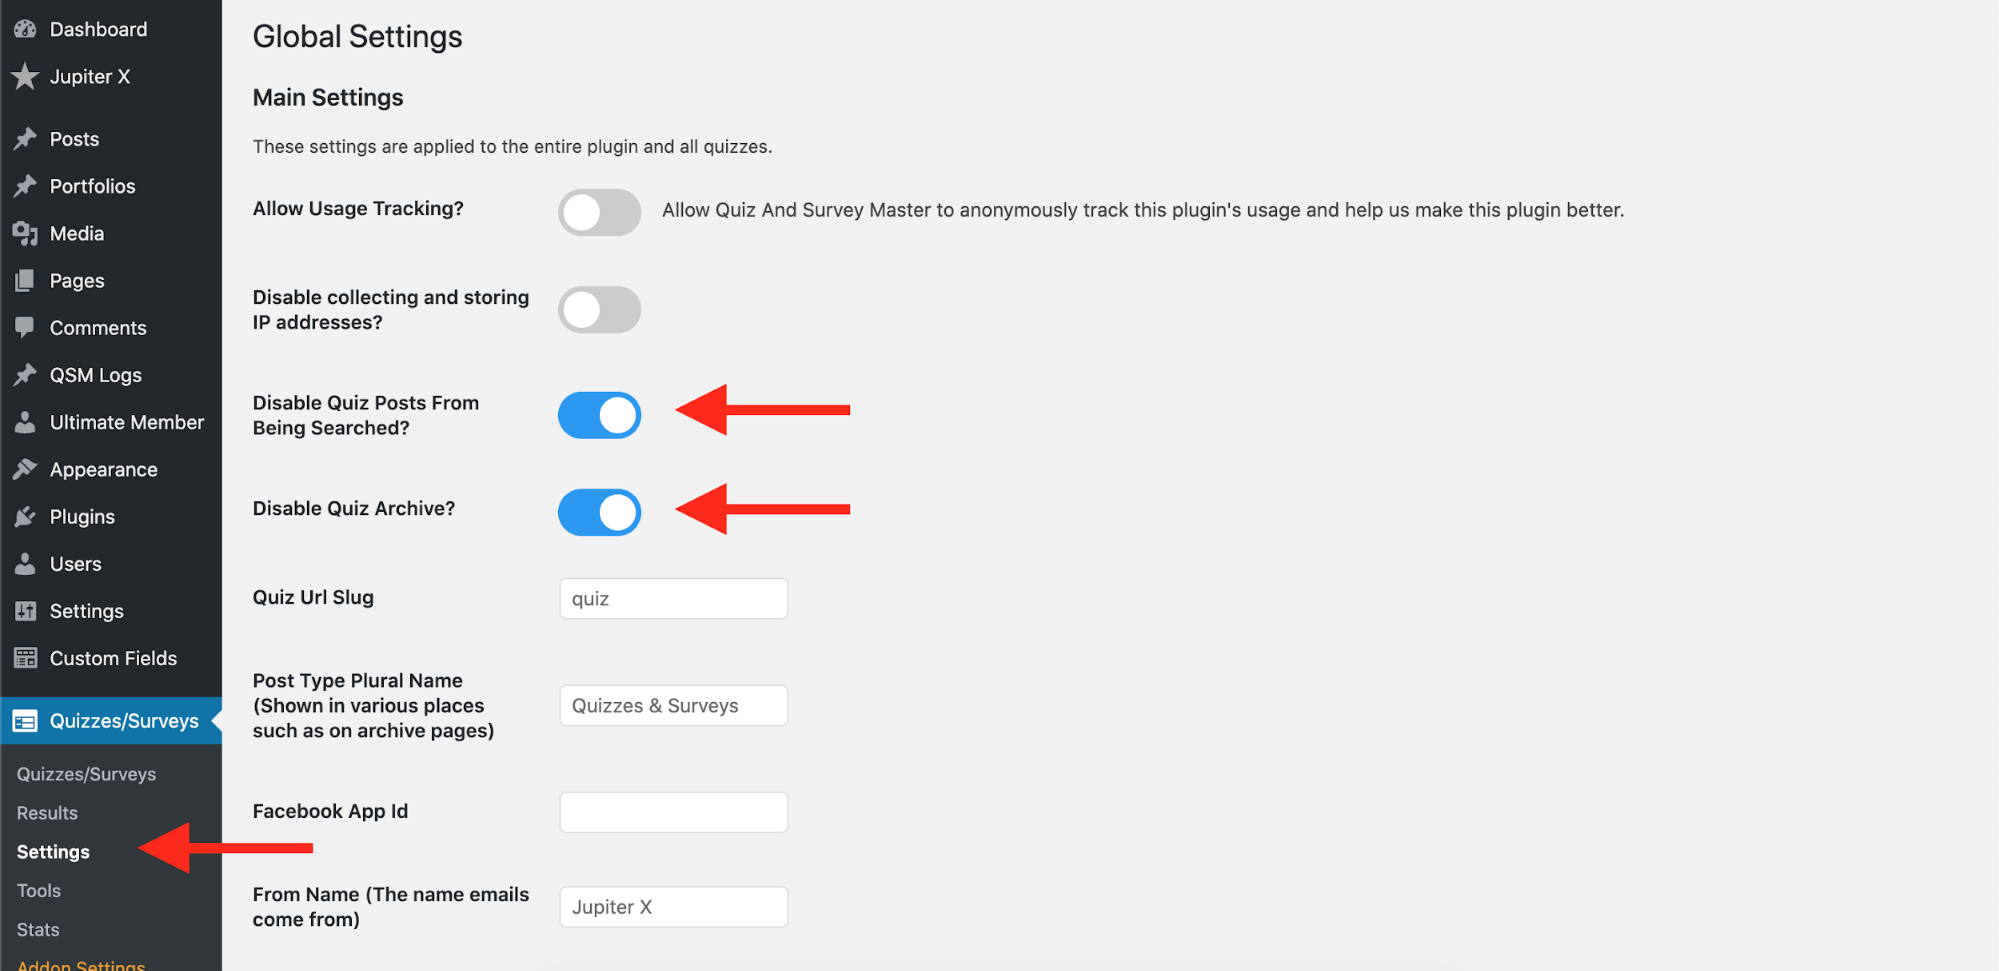
Then in the Options tab, I’ll make sure the quiz is only available for the logged-in users. If you want more restrictions, you need to redirect all the single quiz pages to the login or content restriction page using a redirection plugin. Then embed the quiz with a shortcode into a page and using Ultimate Member, restrict the quiz to the specific user roles. Also, make sure these two options are checked and activated in the Quiz Maker settings:
- Disable Quiz Posts From Being Searched?
- Disable Quiz Archive?
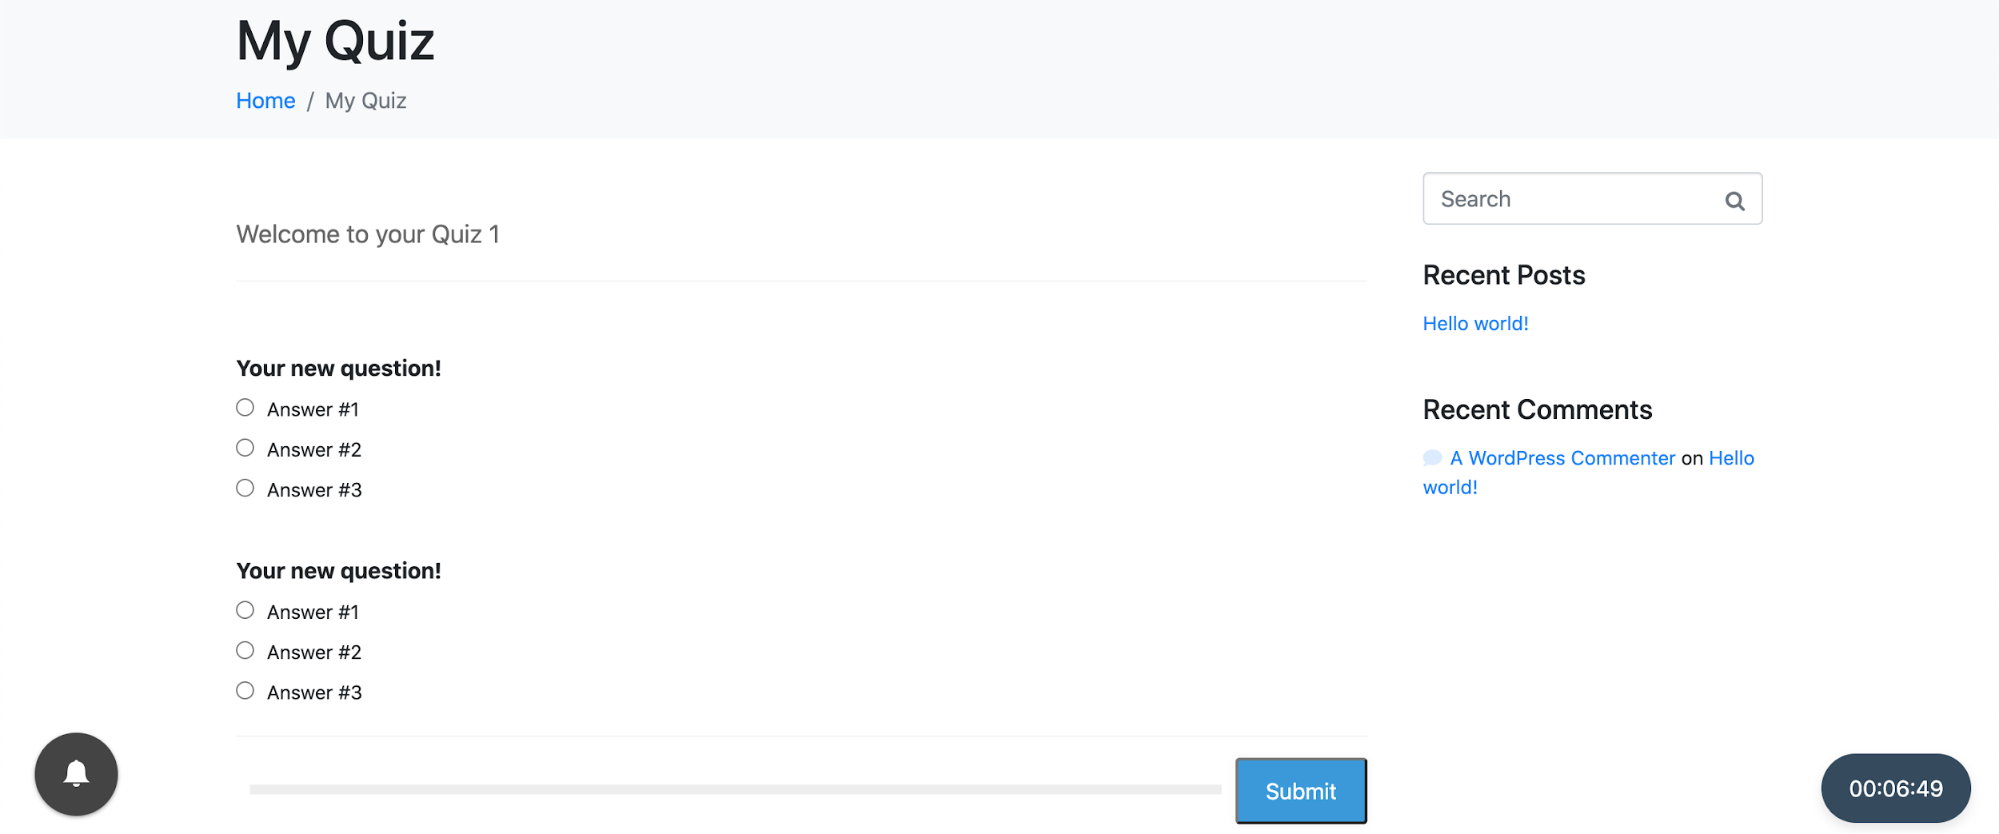
By clicking on the Embed link on the quizzes page, you can get a shortcode and put it on the page you want.
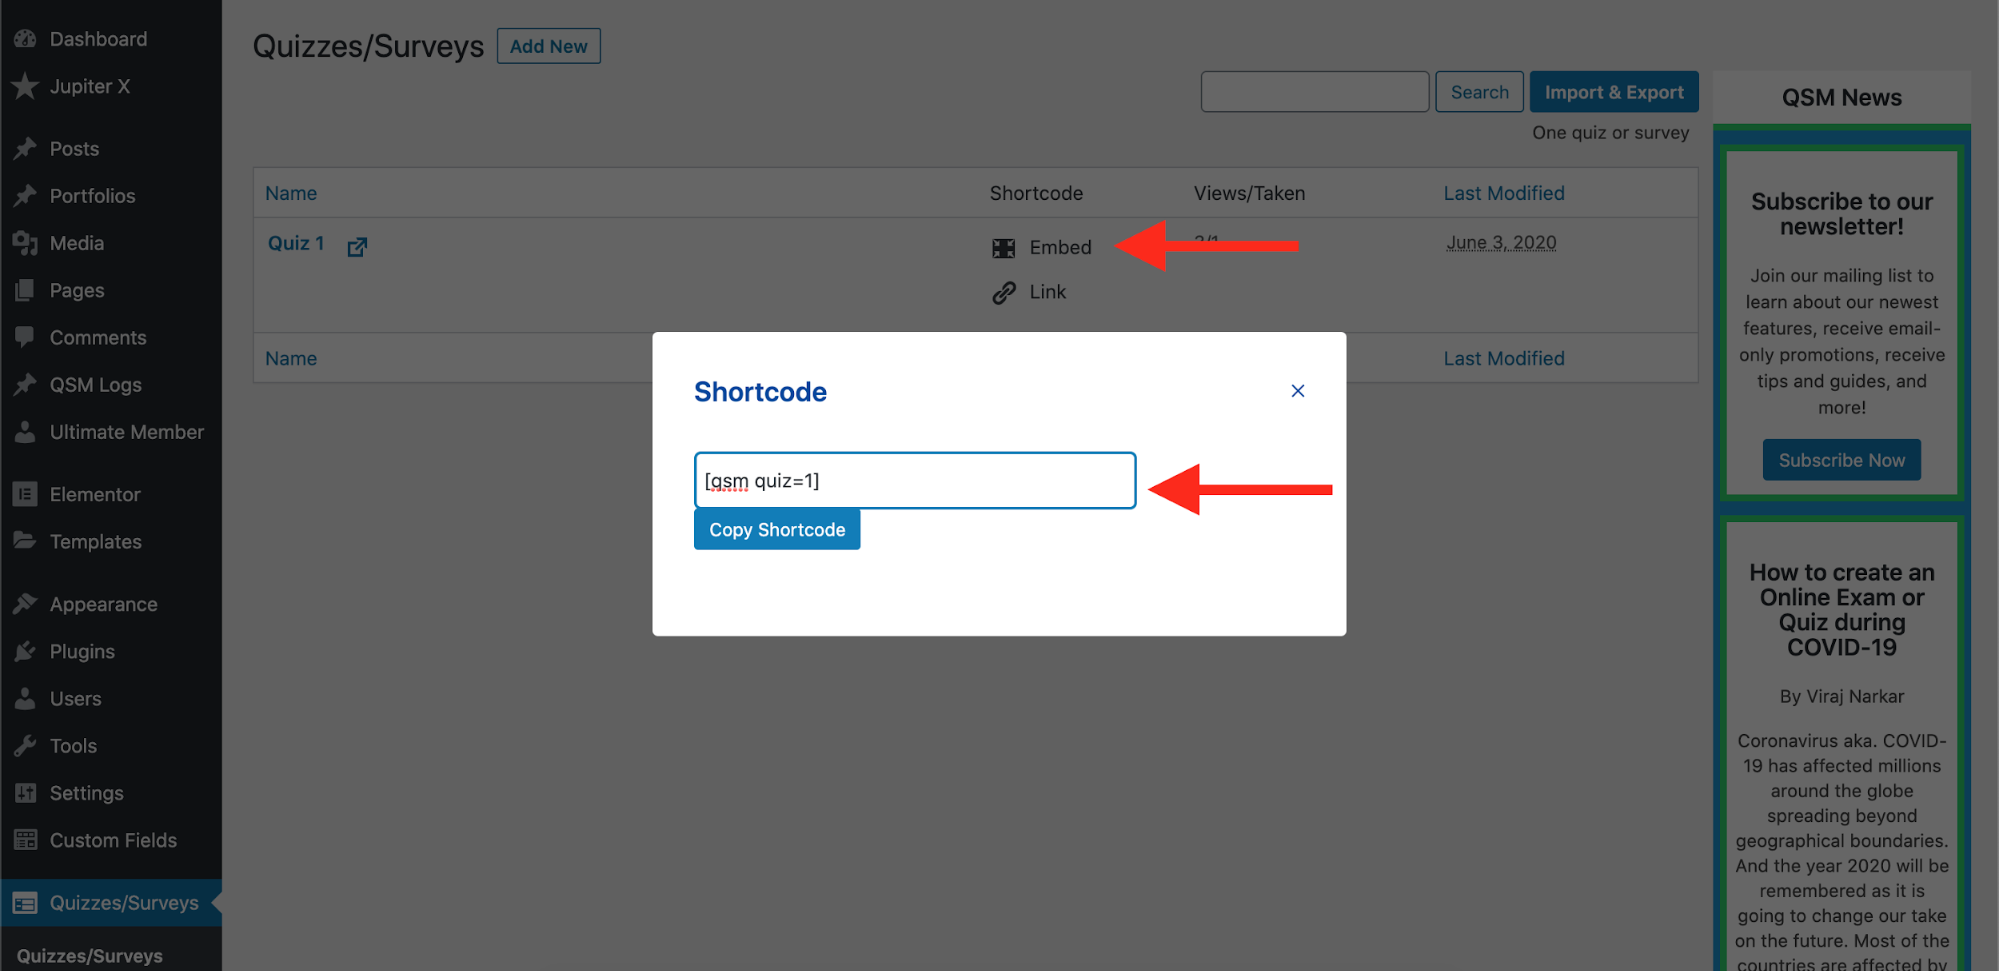
After copying the shortcode, create a page and add it to the content of that page. Then configure the page visibility for different user roles and, by doing that, you are restricting the quiz to specific roles.
Now while visiting that page and have the correct user role, you can take part in that quiz.
Here, I’d like to add a custom notification for the users to be notified about the results of their quiz. To do that, I need to activate my child theme and write some codes. As the first step, install and activate your child theme like what’s described here. Then, in the child theme’s functions.php file, I will add these codes:
/*

This code sample shows you how to use the API to create
and add custom notifications (for real-time notifications)
plugin.

STEP 1: You need to extend the filter: um_notifications_core_log_types with your
new notification type as follows. For example:

*/
add_filter('um_notifications_core_log_types', 'add_rad_shodan_notification_type', 200 );
function add_rad_shodan_notification_type( $array ) {

	$array['failed_in_quiz'] = array(
		'title' => 'Failed In the QUIZ', // title for reference in backend settings
		'template' => 'You failed in the quiz!', // the template, {member} is a tag, this is how the notification will appear in your notifications
		'account_desc' => 'When the user failed in the quiz', // title for account page (notification settings)
	);

	$array['pass_in_the_quiz'] = array(
		'title' => 'Passed the QUIZ', // title for reference in backend settings
		'template' => 'Congrats! You passed the quiz!', // the template, {member} is a tag, this is how the notification will appear in your notifications
		'account_desc' => 'When the user passed the quiz', // title for account page (notification settings)
	);

	return $array;
}

/*
STEP 2: Add an icon and color to this new notification type.
*/

add_filter('um_notifications_get_icon', 'add_custom_notification_icon', 10, 2 );
function add_custom_notification_icon( $output, $type ) {

	if ( $type == 'failed_in_quiz' ) { // note that our new action id is "new_action" from previous filter
		$output = '<i class="um-icon-android-close" style="color: red"></i>';
	}
	if ( $type == 'pass_in_the_quiz' ) { // note that our new action id is "new_action" from previous filter
		$output = '<i class="um-icon-android-done" style="color: green"></i>';
	}

	return $output;
}


//get the results of the quiz and in case the user was having the acceptable number, change his role to "passed_quiz_1"
//Add this custom action to php\classes\class-qmn-quiz-manager.php at one line before return the results in submit_results() function in order to be able to get the final results and parse the array based on category results
//        do_action('qsm_quiz_submitted_custom', $results_array, $results_id, $qmn_quiz_options, $qmn_array_for_variables, $result_display);

add_action('qsm_quiz_submitted_custom', 'get_the_results', 10, 5);
function get_the_results ($results_array, $results_id, $qmn_quiz_options, $qmn_array_for_variables, $result_display) {


	// Test if quiz name contains the word "Quiz 1"
	if(strpos(strtoupper($qmn_quiz_options->quiz_name), "QUIZ 1") !== false){
		$user_id = $qmn_array_for_variables["user_id"];
		// Fetch the WP_User object of our user.
		$u = new WP_User( $user_id );
		$matches = array();

//use the placeholder we put in the results text to fetch the results of different categories
preg_match('/\[points\]?(?:(.+?)?\[\/points\])?/', $result_display, $matches, PREG_OFFSET_CAPTURE);
		if(!empty($matches)) {
				$score = $matches[0];
				$category_results = explode(" " ,$score[0]);
				$CATEGORY_1 = $category_results[1];
				//$CATEGORY_2 = $category_results[2];
				//$CATEGORY_3 = $category_results[3];
				//$CATEGORY_4 = $category_results[4];
				//$CATEGORY_5 = $category_results[5];
				//$CATEGORY_6 = $category_results[6];
				//$CATEGORY_7 = $category_results[7];


//If the score in between equal 5 to 7 give him the score 7.5 and store the result in a meta field for the user
			       if($CATEGORY_1 >= 5 and $CATEGORY_1  <=7){
					update_user_meta( $user_id, 'CATEGORY_1', 7.5 );
					$CATEGORY_1=7.5;
				}
				else {
					update_user_meta( $user_id, 'CATEGORY_1', $CATEGORY_1 );
				}

				//Add as many customizations as you like in the results.

				if ( $CATEGORY_1 > 7 ){
						$u->add_role( 'passed_quiz_1' );
						$u->remove_role( 'subscriber' );
						UM()->roles()->set_role( $user_id, 'passed_quiz_1' );
						$user_data = wp_update_user( array( 'ID' => $user_id, 'user_url' => '' ) );

//Link to congratulations page and the other restricted content for the new user role. This link is being used when the user clicks on the notification.
	   $vars['notification_uri'] = get_the_permalink(1);

//trigger the notification API and send it to the user

UM()->Notifications_API()->api()->store_notification( $user_id , 'pass_in_the_quiz', $vars );
				}
				else {

						$u->add_role( 'failed_quiz_1' );
						$u->remove_role( 'subscriber' );
						UM()->roles()->set_role( $user_id, 'failed_quiz_1' );

						$user_data = wp_update_user( array( 'ID' => $user_id, 'user_url' => '' ) );

 						//Link to failed page and the other restricted content for the new user role. This link is being used when the user clicks on the notification.
						$vars['notification_uri'] = get_the_permalink(2);

						//trigger the notification API and send it to the user
						UM()->Notifications_API()->api()->store_notification( $user_id , 'failed_in_quiz', $vars );
				}
		}

	}
	return;

}
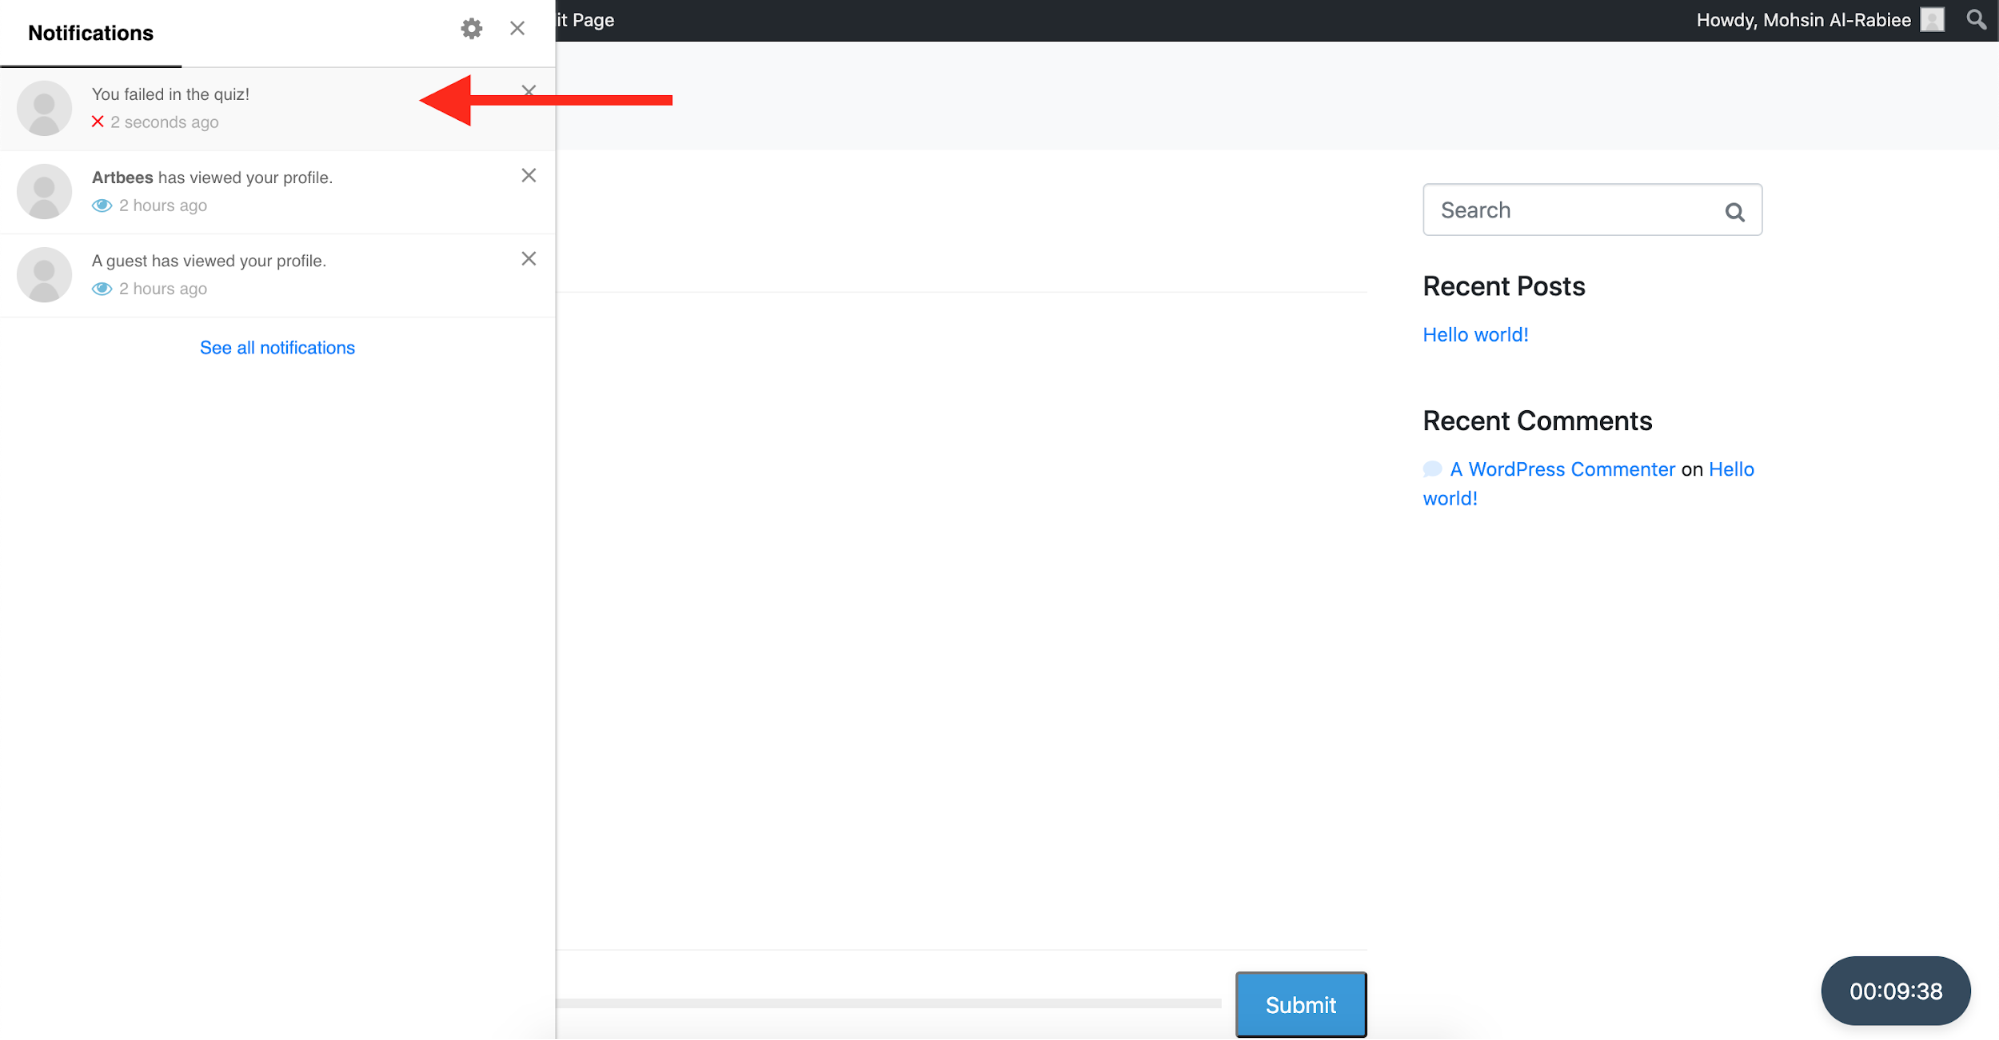
The above code will create two new notifications type:
- failed_in_quiz
- pass_in_the_quiz
It will trigger them in the ‘qsm_quiz_submitted_custom’ action as provided in the code.
You also need to modify the Quiz Master plugin a little bit and add a custom action to be able to fetch the results and do your calculations. Add this custom action to:
php\classes\class-qmn-quiz-manager.php at one line before return the results in submit_results() function in order to be able to get the final results and parse the array based on category results
do_action(‘qsm_quiz_submitted_custom’, $results_array, $results_id, $qmn_quiz_options, $qmn_array_for_variables, $result_display);
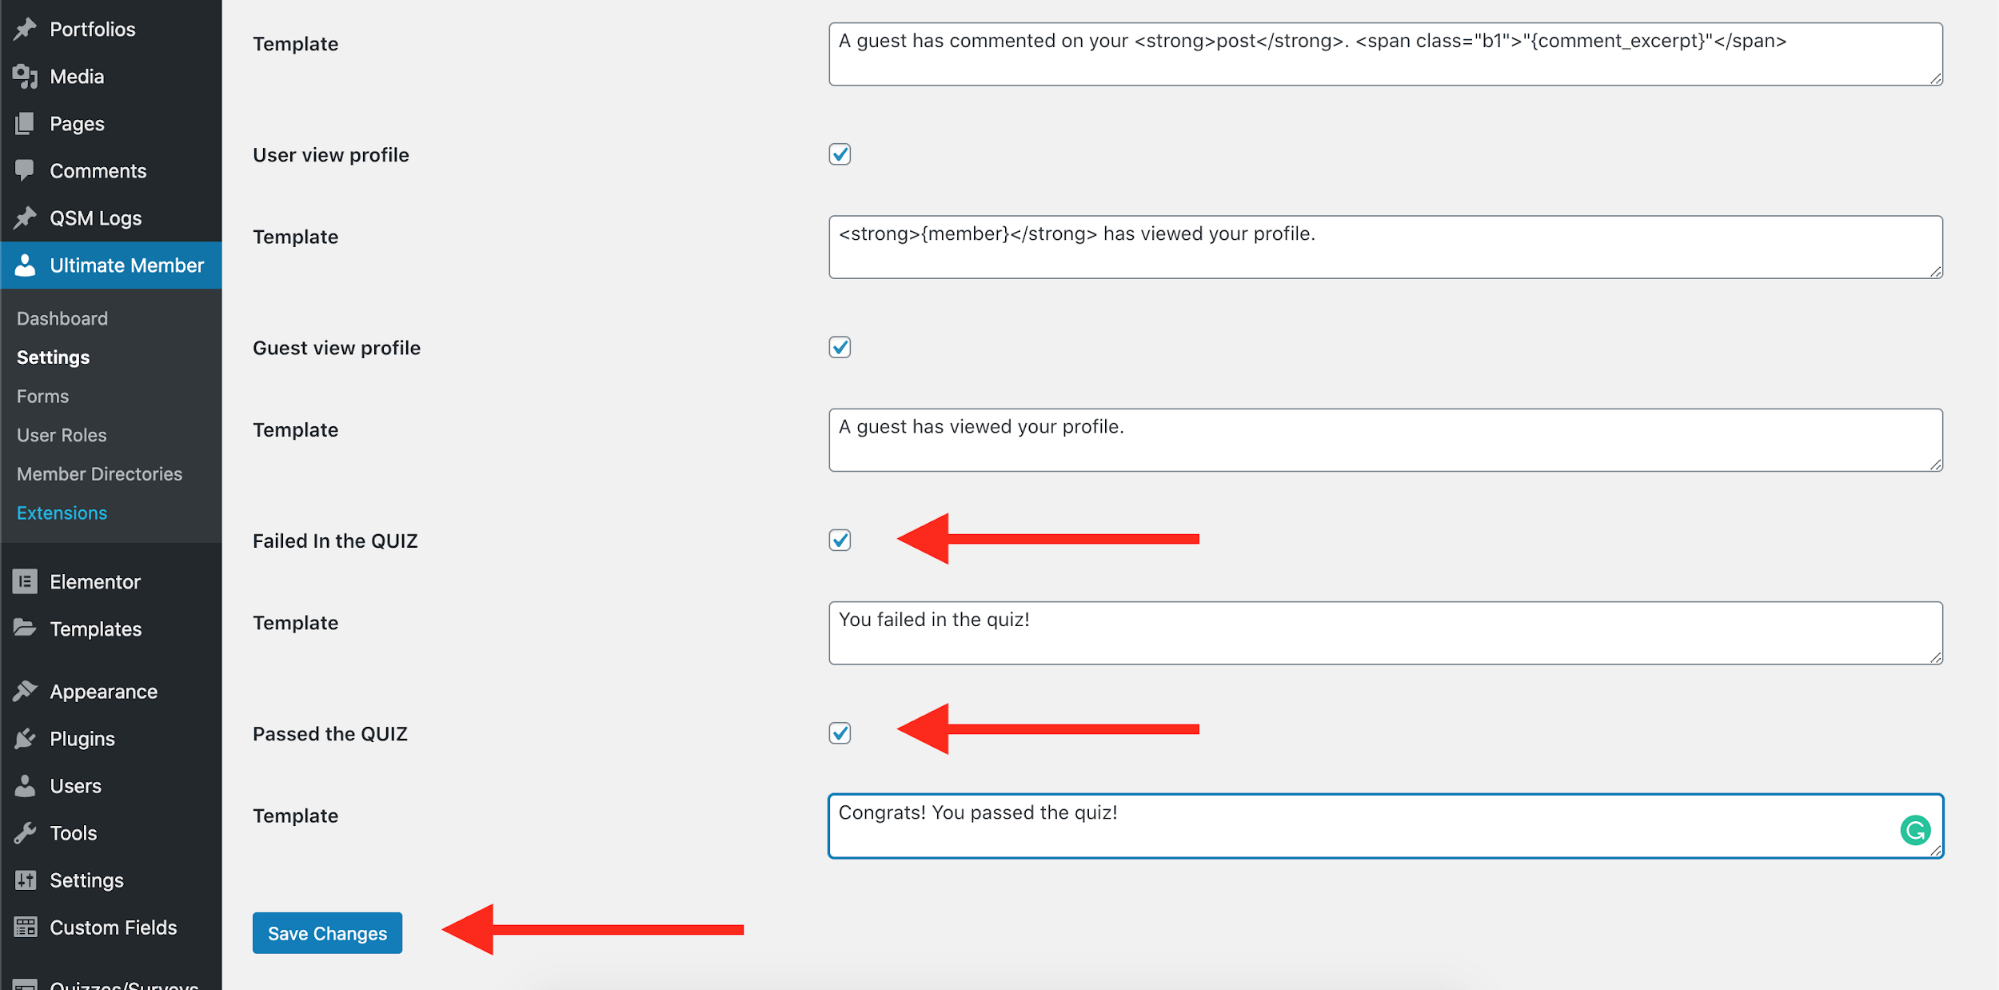
You need to know that, after adding a custom notification type, you need to activate it through the plugin settings to make it work. So, just navigate to Ultimate Member Settings -> Extensions and activate the new notification types and save the changes.
To make sure the code is fully functional, you need to pass the score to the results in a hidden div and fetch it the code using regex. Maybe in the next versions of Quiz Master plugin, they will do this favor and provide a way to fetch the category scores individually. But for now, this is the best way you can get the category scores one by one. So, I will add this code to the results of my quiz to make my code work:
<div style="display: none; " >
[points]%POINT_SCORE%[/points]
</div>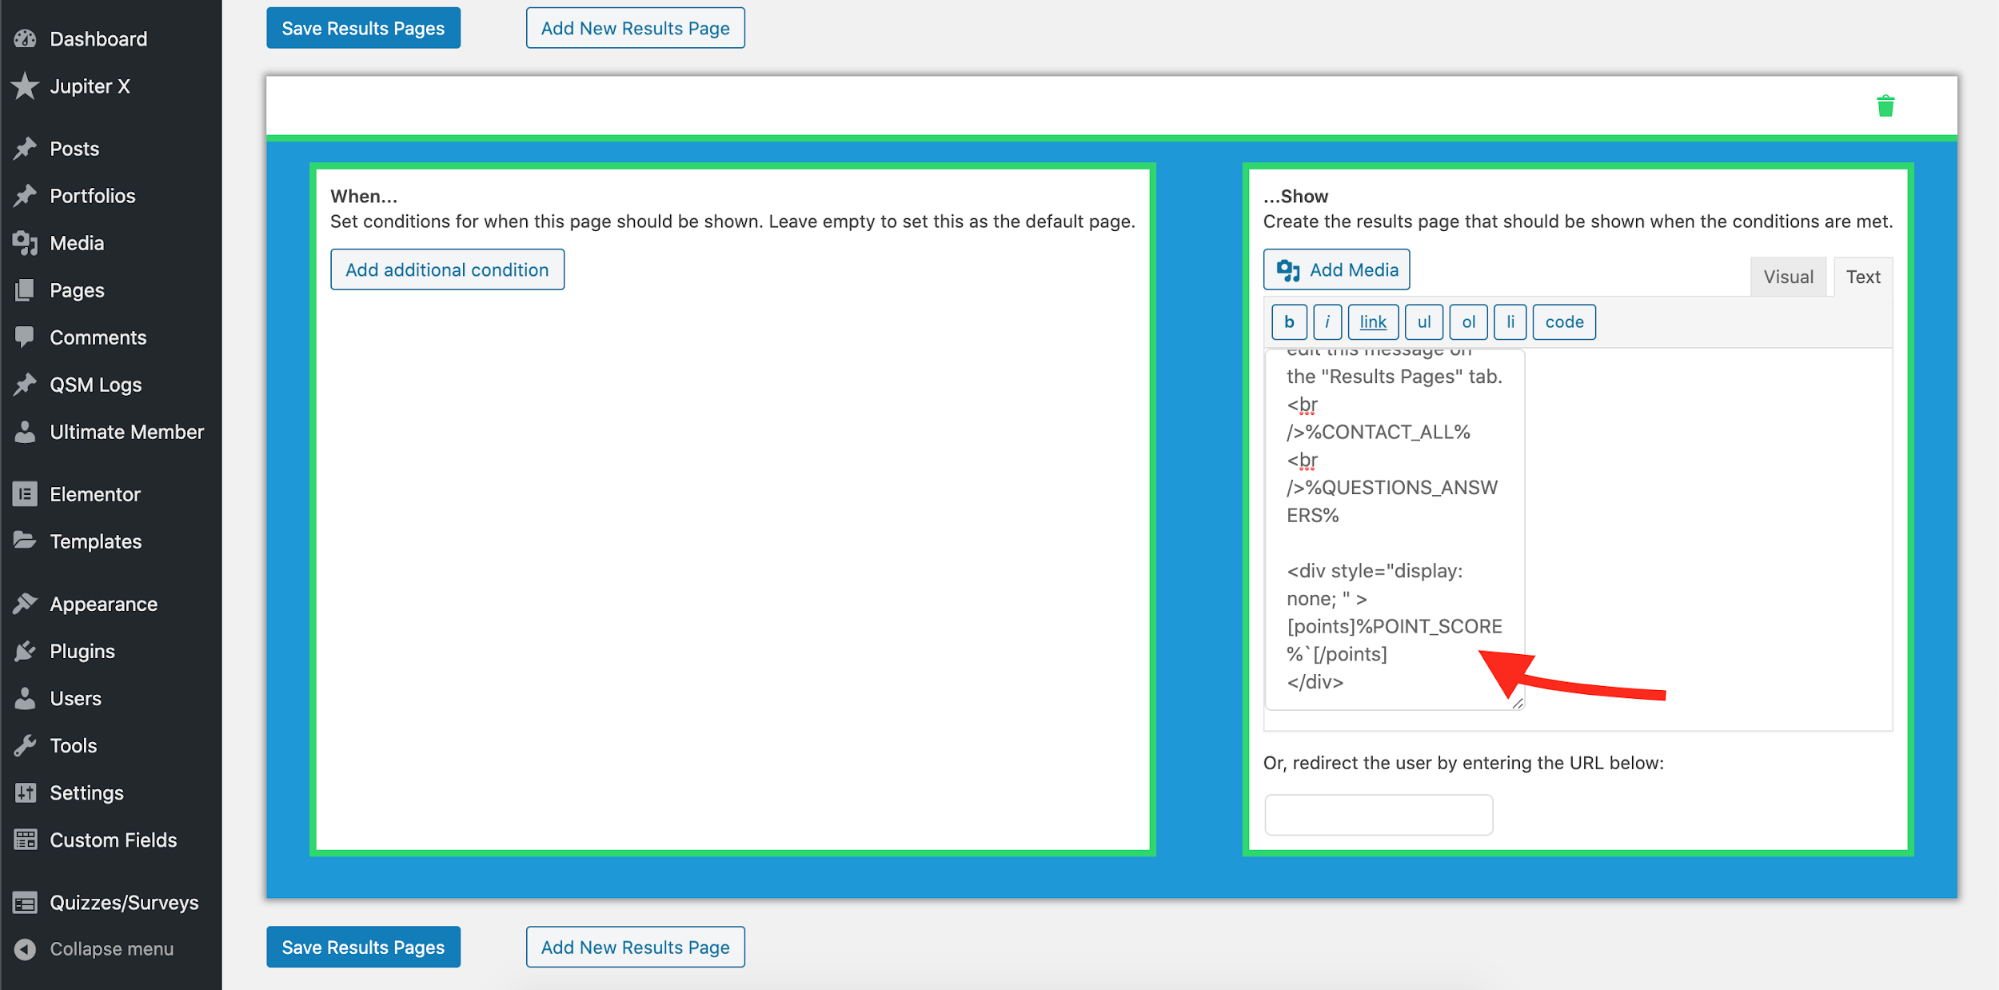
The results would be like this:
- User takes the quiz. If the user gets a minimum score, he/she will be considered as passed and his/her role will change to passed_quiz_1.
- If the user doesn’t get the minimum score (which is 7 here), he/she will be considered as having failed it, and his/her role will change to failed_quiz_1.
- In any of the cases above, the user will receive a notification prior to his/her acceptance or failure. This will be done by calling the notification API type pass_in_the_quiz or failed_in_quiz.
Add the notification button in the header
By default, you can only choose to place the notification button in the bottom left or right corner of the website. However, using Jupiter X, you can put it anywhere you want! Using a custom header template, I will put the notification button on my header and will hide the bottom corner button via custom CSS. In order to add the button in a header, create a custom header template like this and just add this shortcode anywhere you’d like:
[ultimatemember_notifications_button]
Find more how to create a custom header in Jupiter X here.
Final Words
In this article, we learned how to create a WordPress website notification system for our website using the Ultimate Member plugin and its addons. It still has a way to go – however it’s still possible to set up your internal notification system.
You may need to send an SMS or Email to inform the users and notify them about the things that are waiting for them on your website. Or you may need to provide a way to push the notifications in your user’s browsers. While there are so many other functionalities to discuss, we learned the fundamentals of running a notification system and also integrated it with custom functionalities like a quiz. If you had any questions or issues regarding the above code, kindly let me know in the comments below.

No comment yet, add your voice below!