Who loves bugs in the development process? No one, but experienced developers and designers know how to handle them, WordPress comes with an investigation system that can log and display almost any problem with your site. This system will help you identify a wide range of problems, but in order to use it effectively you need to know how it works. In this article we will discuss how to efficiently use the WordPress debug mode, deal with error logs and find the way to fix general issues.
WordPress Debug Mode
The debug option was first introduced in WordPress version 2.3.1. Later, in version 2.3.2, database errors were only printed if WP_DEBUG was set to true in wp-config.php. However, in later versions the development team decided to always print database errors. Starting with version 2.5, setting debugger to true raises all errors to level E_ALL, including warnings and notices.
Debug Mode in WordPress helps you to effortlessly get information when something turns out badly. There are many cases during development or site design when bugs pop up and you can’t continue working. By default you can’t see the error messages but WordPress has powerful options to deal with such situations.
There are two ways to enable WordPress debug mode, so let’s briefly review them.
Enabling WordPress Debug Mode With a Plugin
In this case, plugins like Wp Debugging can enable debug mode without you needing to touch the wp-config. php file. You just need to install a plugin and once you activate it WordPress debug mode will be active as well. If you have any warnings or errors you will see them immediately.

Enabling WordPress Debug Mode Using Code
If you are a more advanced user and you don’t want to install extra plugins then this option is for you. In this case you will need to edit the wp-config.php file (You may use the FTP client or file manager option from your hosting panel)
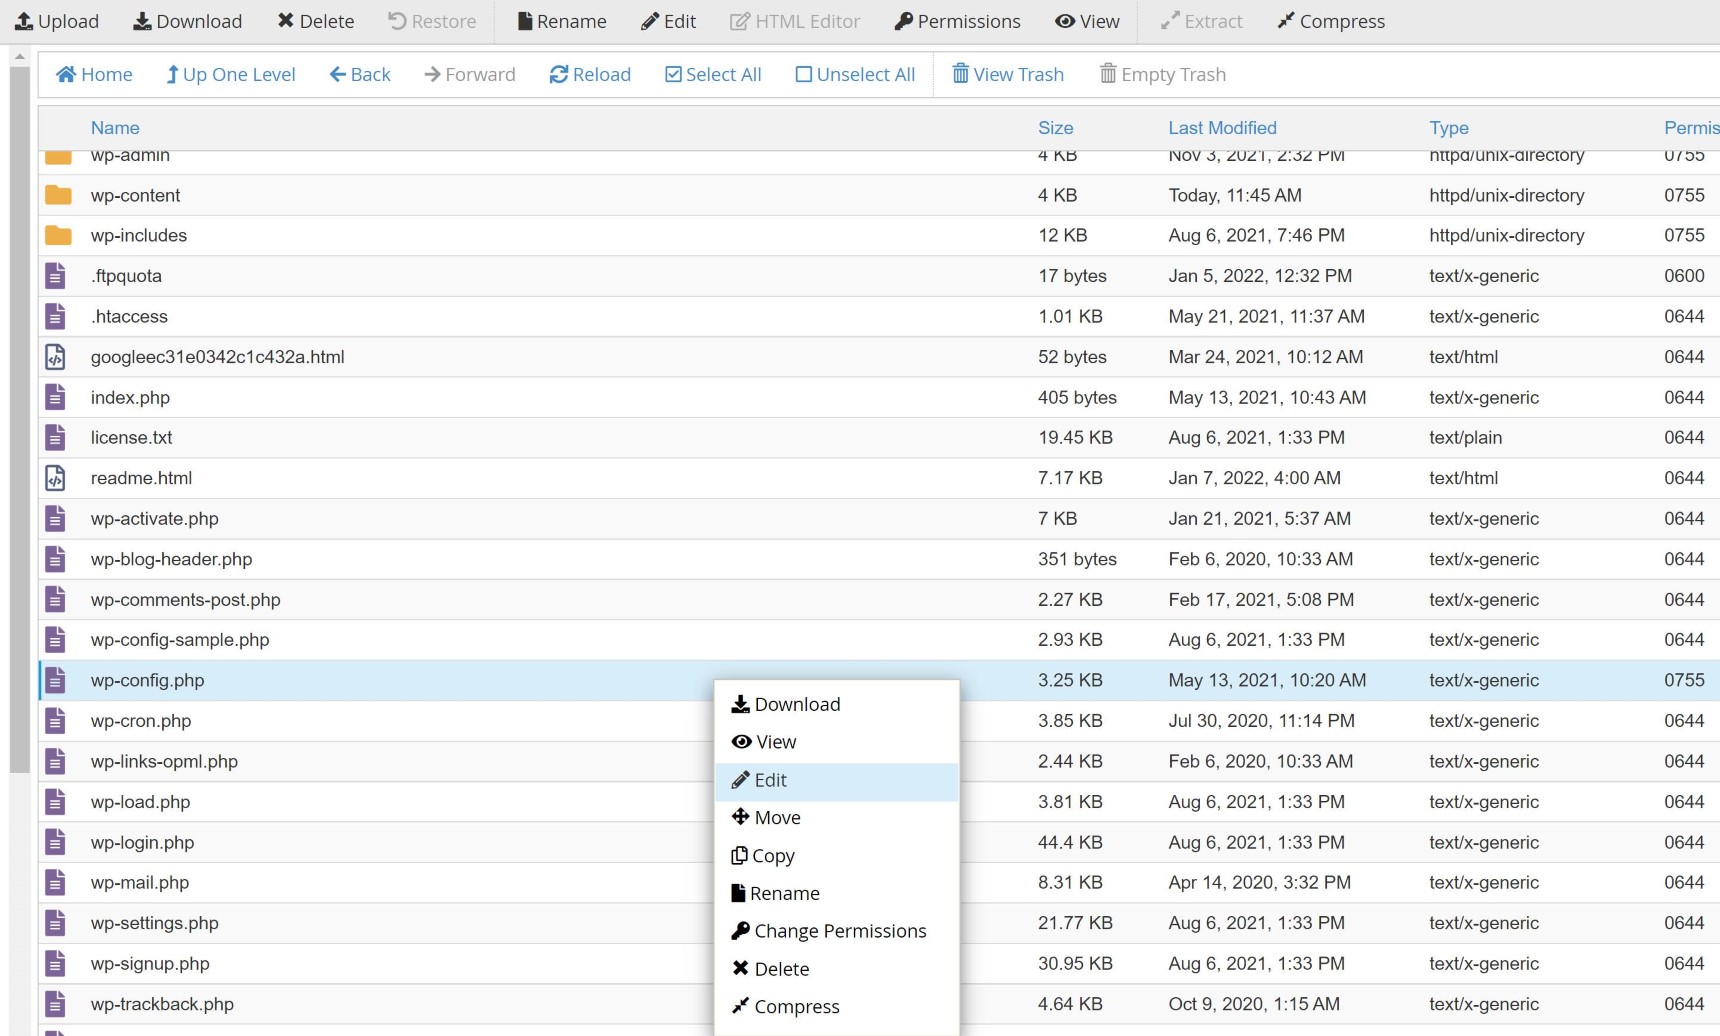
Open the file and find the line: “That’s all, stop editing!” Just before this line, go ahead and add these lines of code:
// Enable debugger
define( 'WP_DEBUG', true );
Save the file and refresh your website to see if there are any errors. That’s it! Now that we have enabled WordPress debug mode, let’s learn what error logs are and how they can help us.
‘WP_DEBUG’ has another companion setup that controls the appearance of the debug messages in the html of your webpage. By default it’s set to ‘true’, which means all of your error messages will be visible to your visitors. If you don’t want this to happen, use this code to hide them:
// Hide error messages
define( 'WP_DEBUG_DISPLAY', false );
This feature should be used with WP_DEBUG_LOG so that you will be able to review all your errors later in the error.log file
What is an error log?
An error log, as the name says, is a record of all the problems that have happened or are happening on your website. Basically, it’s like an instant replay recording a site’s problems. However, in order to make it work you need to properly configure it. There are several different modes and methods you need to know about before using it.
In order to start logging errors, enabling WordPress debug mode is not enough. We need to add this line of code after the debug enabler code:
// Enable Debug logging to the /wp-content/debug.log file
define( 'WP_DEBUG_LOG', true );
Please note that this code will only work along with the debugger enabled—it will not work without it.This line of code tells WordPress to start recording any errors occurring on your website in the file debug.log file in the wp-content folder. If you want to save your logs in different location then you need to use this code:
// Save Debug in tmp/wp-errors.log
define( 'WP_DEBUG_LOG', 'https://d3pa45a5f8vwb1.cloudfront.net/tmp/wp-errors.log' );
Finding Error Logs
At this point I assume that you already know how to enable error logging. You should also know that we can save this file in a different directory in WordPress and that the default location of the files is wp-content. In order to see it you need to visit your website through the FTP browser. Alternatively, you can use your hosting file browser as well. Once connected, navigate to your website root folder and open the wp-content folder and there you will find file named debug.log, which will contain all the errors and notices that have been logged.
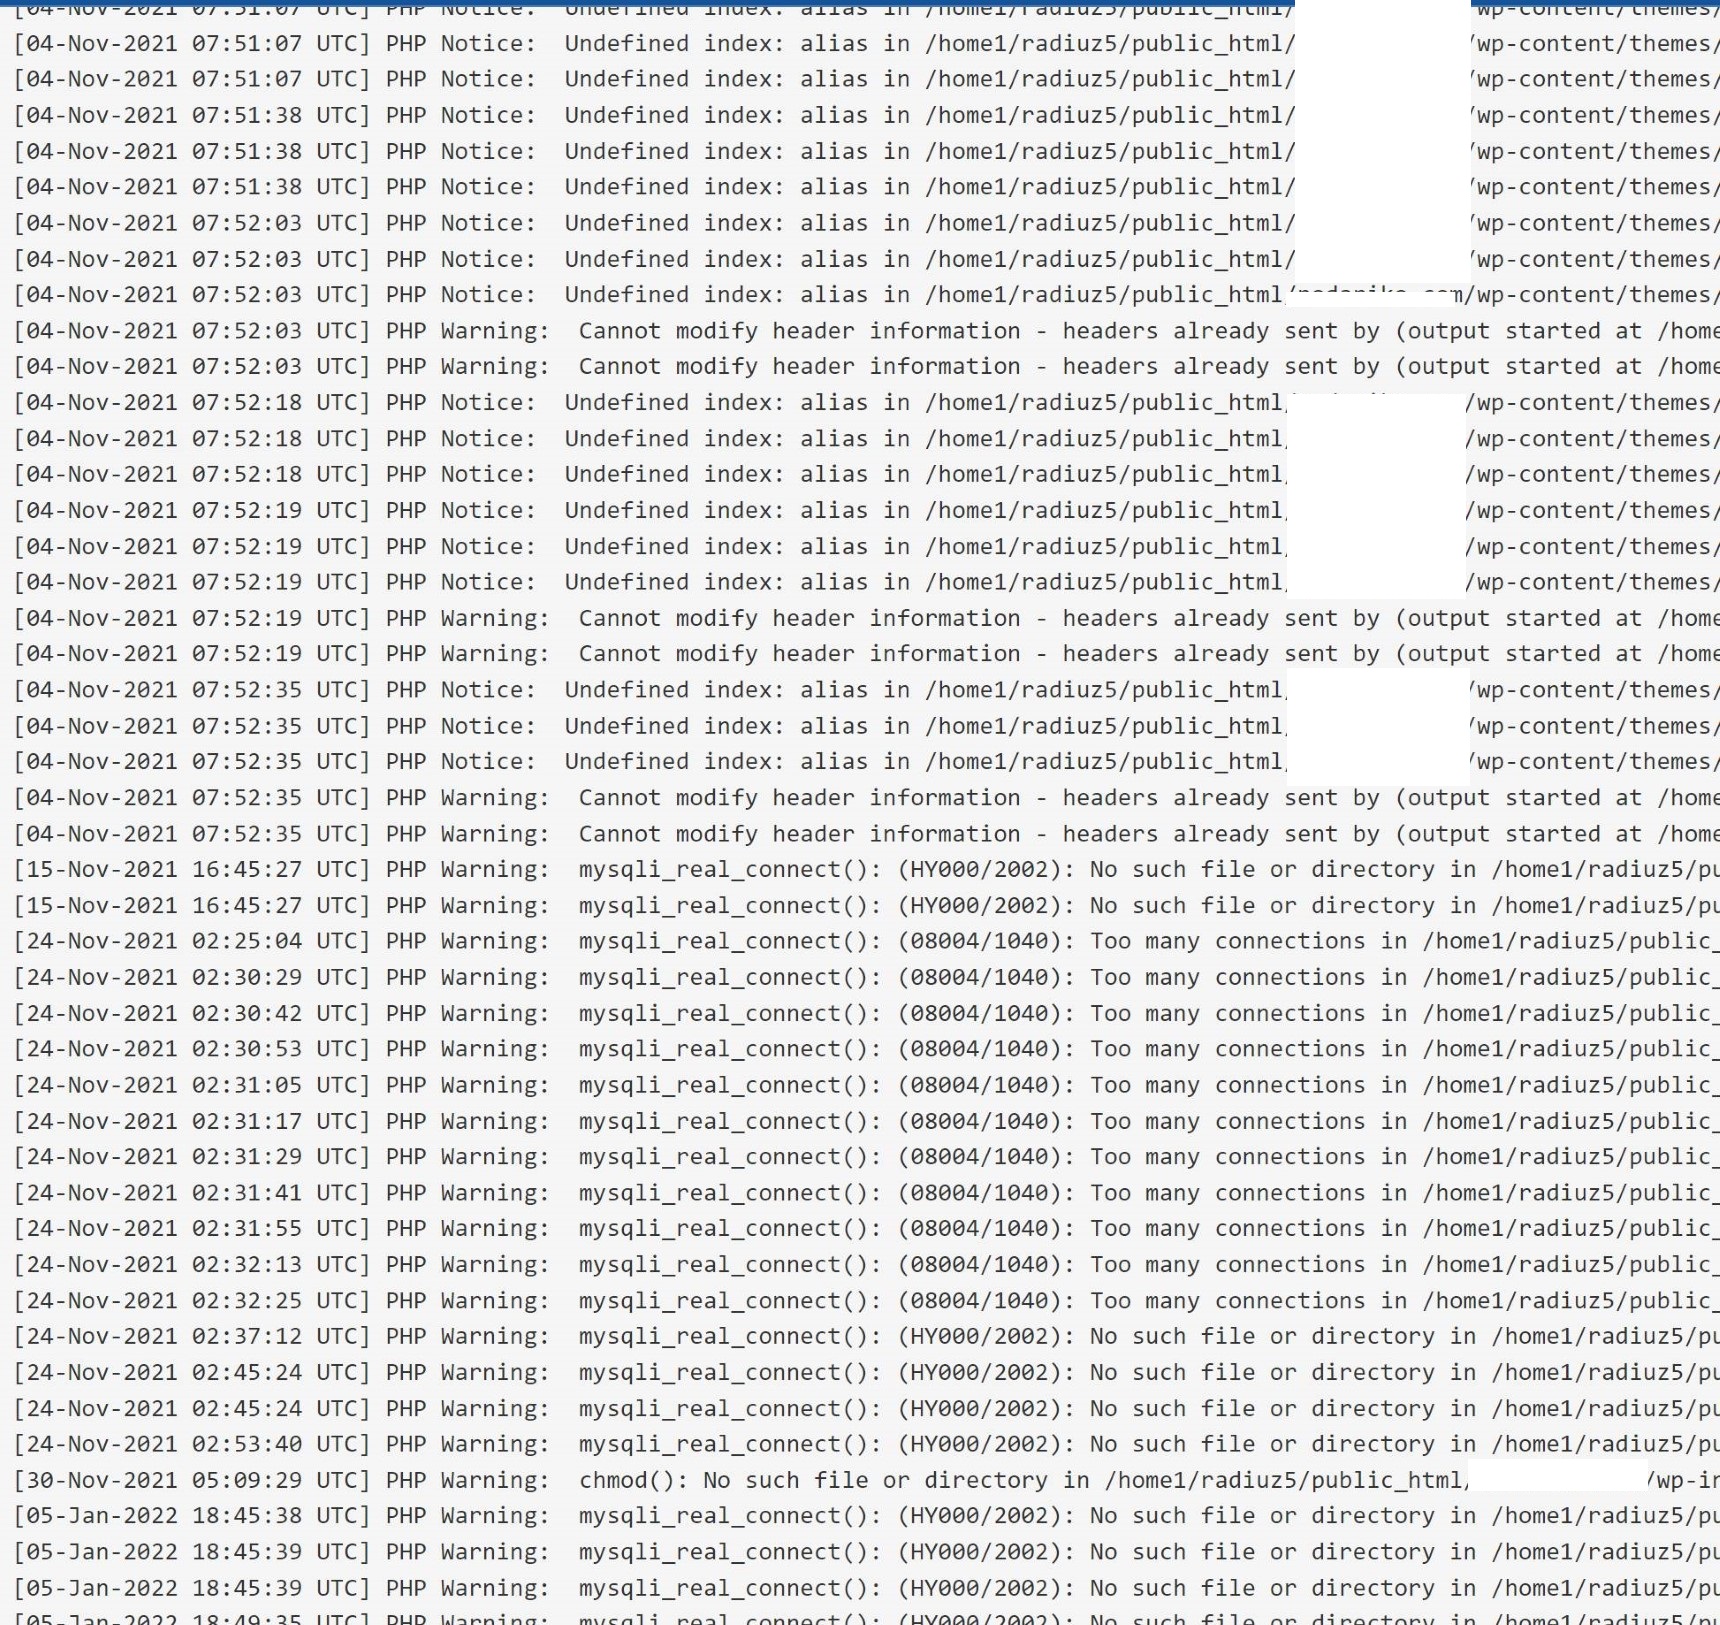
If you have newly enabled error logging you may find it empty from the start. It will be empty if your site doesn’t have any issues but once you get something buggy, the file will start filling up with different lines containing information about the problem.
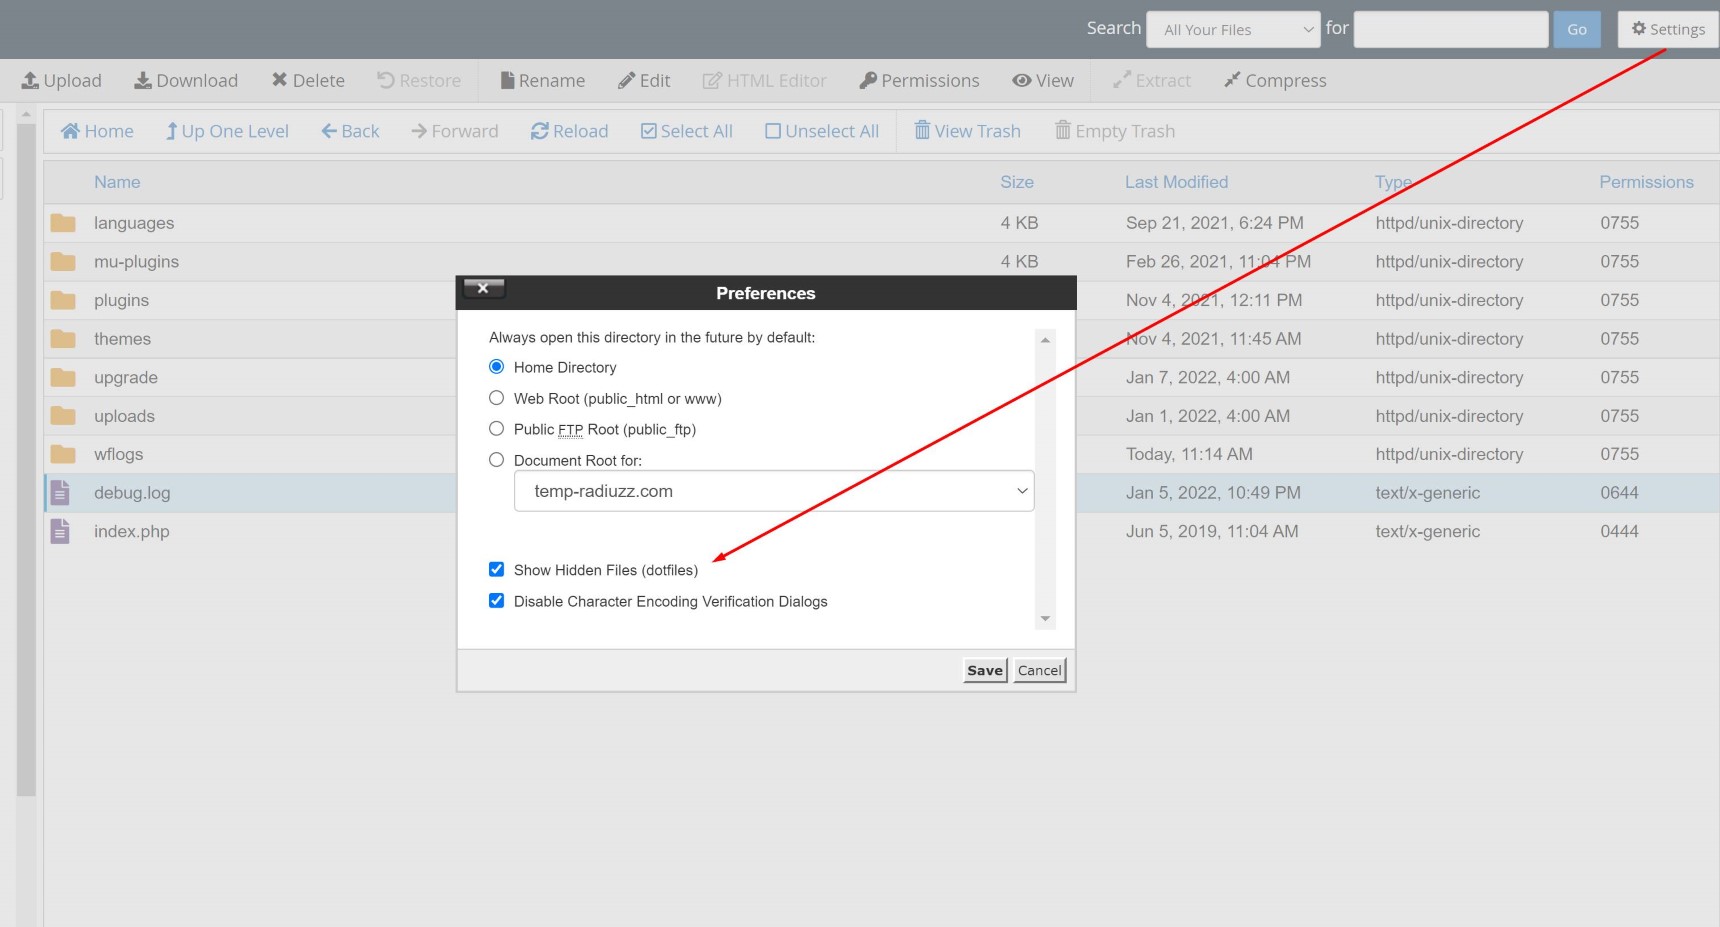
Please note that the log file in some server configurations may be invisible and hidden by default. In this case you need to make it visible first. To do this in your control panel, you need to click on the gear icon at the top and make sure that you are showing log files.
The error log file is for viewing and downloading—editing this file does not makes any sense since its generated by the system.
Errors in logs and how to disable them
Now let’s talk about errors in the log file. There are 3 types of problems you may encounter in WordPress, notices, warnings, and errors. Let’s take a look at each of them.
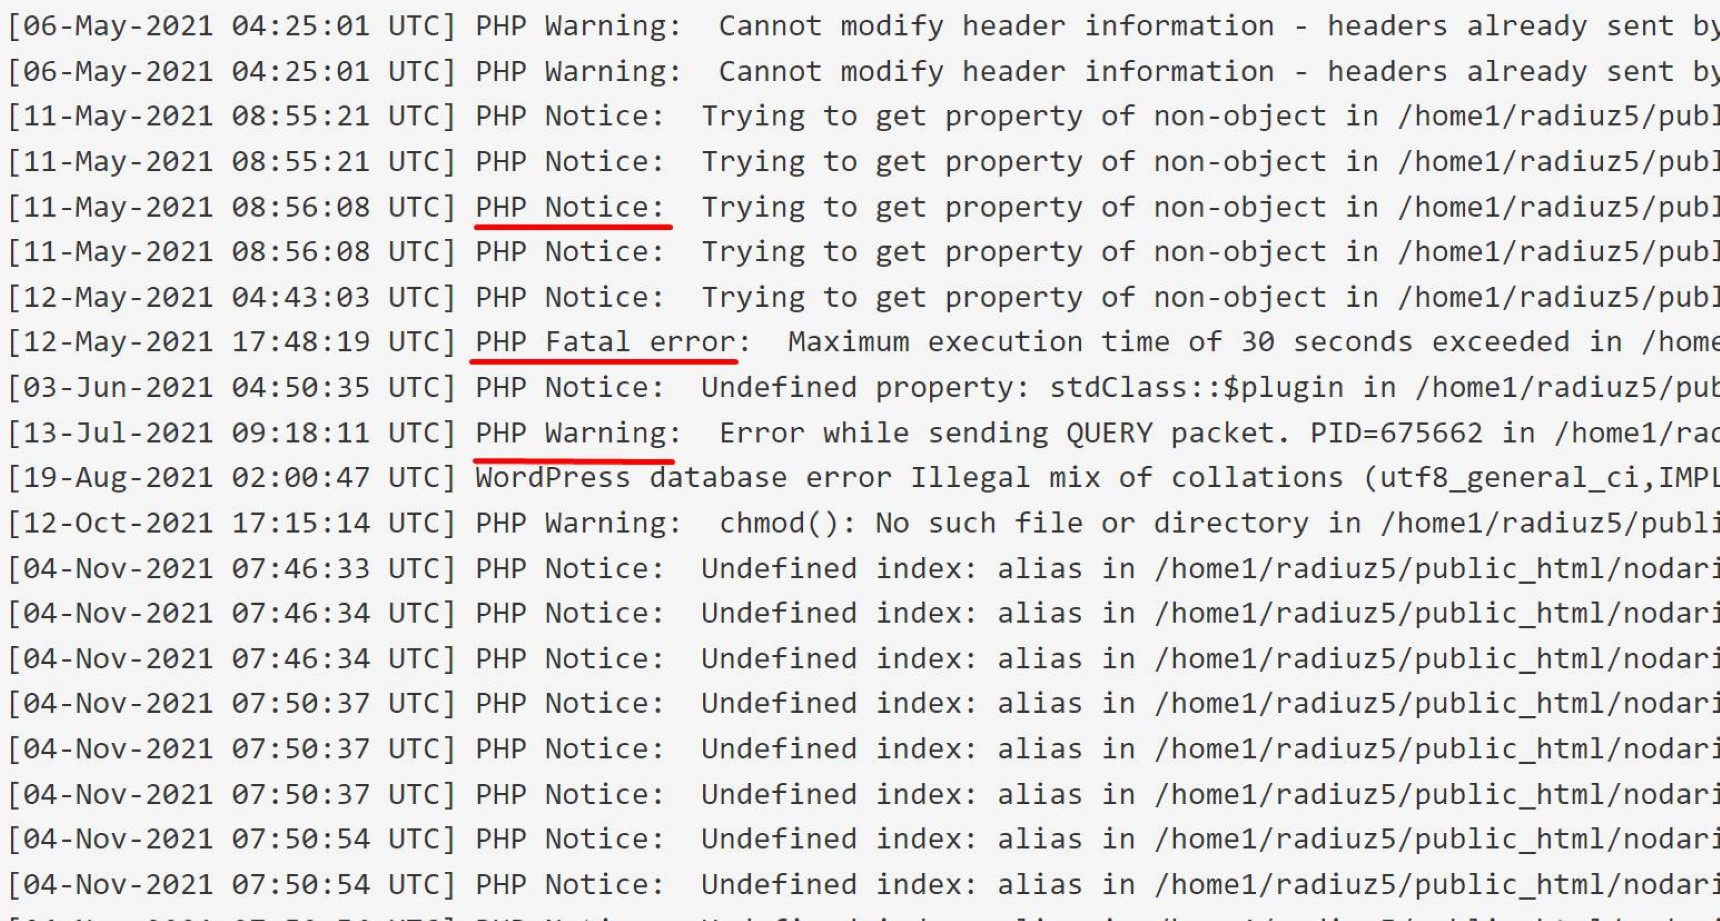
Notices
PHP notices are just notices and nothing more, so you have nothing to worry about when you see it. As stated on the official PHP website, you will see PHP notices when:
Run-time notices: Indicate that the script encountered something that could indicate an error, but could also happen in the normal course of running a script
This means your site will run without any functional problems but you need to carefully review it, since it may contain some important information about upcoming updates or changes and you must be prepared for such changes.
Warnings
Warnings are more important than notices and they deserve more attention, but your site will still continue functioning when you receive them. Warnings need to be addressed properly by making changes to your theme or plugin, or even in your hosting account.
This is a definition of the warning in PHP:
Run-time warnings (non-fatal errors): Execution of the script is not halted.
Here is an example of a WordPress warning message:
Warning: Cannot modify header information – headers already sent by (output started at /home/username/example.com/wp-content/themes/themename/functions.php:125) in /home/username/example.com/wp-includes/pluggable.php on line 1254
Usually warnings are handled by developers of the theme and the plugin.
Errors
Also known as fatal errors, these are the most important kinds of problems. They most likely will stop the functionality of your website. Without fixing this kind of problem you will be not able to use your website. This is how PHP officially describes it here:
Fatal run-time errors: These indicate errors that can not be recovered from, such as a memory allocation problem. Execution of the script is halted.
This is one of the most widely encountered errors in WordPress:
Error Establishing a Database Connection in WordPress

Disabling Debug Mode
Debugging in WordPress is a part of the website development process. This means we need to enable debugging only when we are developing a website or testing something. It’s not recommended to publish a project while debugger is enabled in your wp-config. php file.
Disabling debugging involves the same process as enabling it. You just need to log in through the FTP browser or by hosting a file browser to your website, navigate to the root folder of your website and open the wp-config.php file, where all you need to do is to set debugger to false:
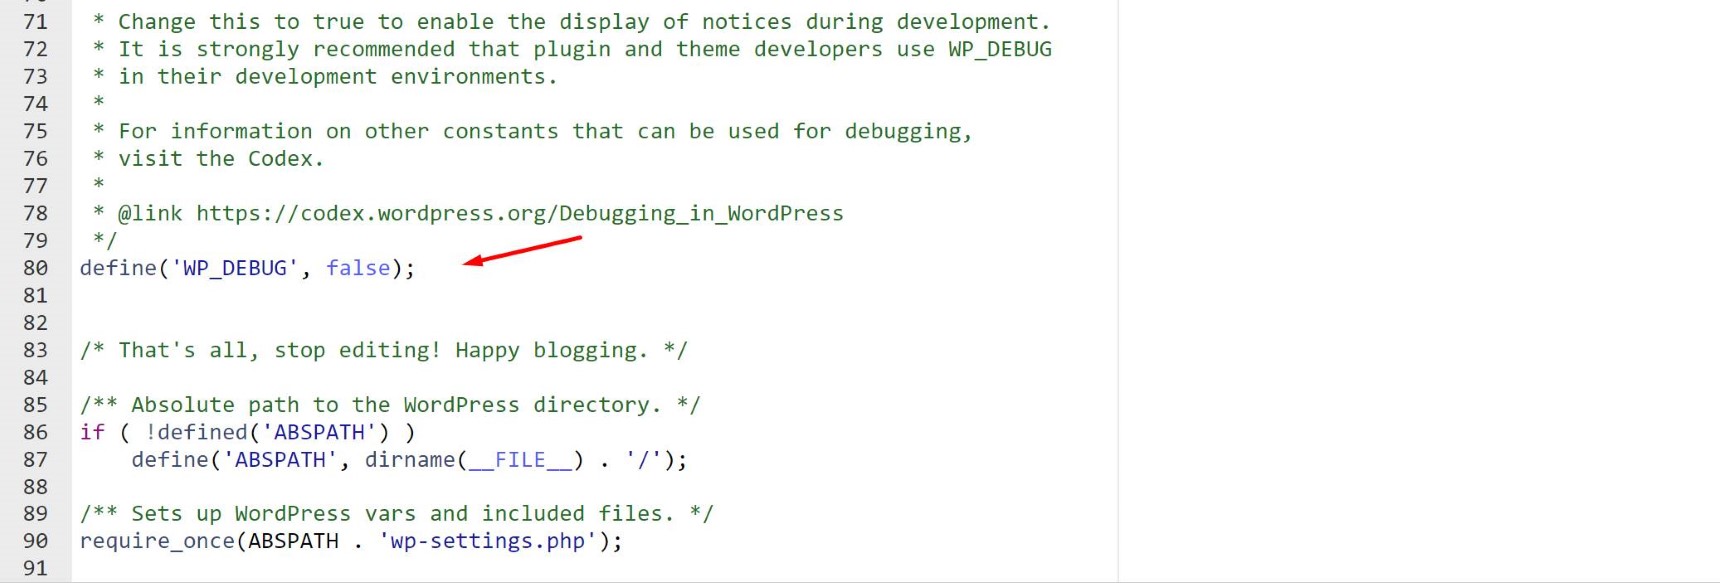
Leaving your site with an enabled debugger is a security risk and it’s strongly recommended to disable it on the production site.
Conclusion
I hope now you have a better understanding of how debugging and log handling works in WordPress. Now when you see any messages on your website, you can understand what it is and will know what to do and how to deal with it. Just consider that errors may happen and it’s impossible to entirely get rid of them. However, working toward a solution becomes a lot easier when you know how to deal with them.


2 Comments
Hello,
As i have go through your blog, its very interesting and helpful for WordPress developers, as we know that debug mode is a powerful tool that WordPress provides to help troubleshoot errors on your website. The error logs contain detailed information about any errors that occur on your website, allowing you to identify and fix the issue.
Thanks
Debug mode and error logs provide powerful tools for detecting and fixing WordPress errors. However, you should be careful when enabling these features on a live site, as errors may become public and pose a security risk. Therefore, it is important that you use the debugging mode only during the development phase and disable it on the live site. That’s what I was looking for, thank you very much.