
In our previous blog post, we talked about how to setup your dev environment for WordPress, so you can safely test your website revisions, before it goes live. Just as a reminder, when you want to update your WordPress website using a staging site, you can create an independent clone of your live production site.
Here you can test new plugins, make theme customizations, or check any updates without affecting the live website. And, if everything works fine after all needed changes are made, you can then push them into a live site. In this article, we’ll describe different approaches on how to redesign or update your WordPress website using a staging site.
Updating Jupiter Using a Staging Site
So, what if you want to update your Jupiter theme using a staging site first. Here’s how you can do this. We already described how to move your live site to the development environment in this article.
Once you’ve created your staging site, you can start updating the Jupiter theme. Check out the documentation in the Artbees knowledge base, where you can find clear, step-by-step instructions.
Now that you’ve updated your Jupiter theme, and you’re sure your site works without any problems with the new version, you need to migrate your changes back to the live site. Here’s what you need to do.
Using Hosting Panel Staging Features to Update your WordPress Website
The easiest way is when your hosting provider supports a one-click staging feature. For example, WP Engine and SiteGround have this useful tool in the control panel. You can easily create a staging site from your live one and push changes from staging to live with the click of a few buttons.
Detailed information regarding this feature can be found in the WP Engine and SiteGround documentation.
Update or Redesign your WordPress Website with Duplicator WordPress Plugin
Important Note: Before taking any actions with your production site, make sure to create a full backup (files and database) and download it to your local computer, just in case. Then, save the following credentials from the wp-config.php file of your live site: DB_NAME, DB_USER, DB_PASSWORD and DB_HOST. We’ll need them later.
Another approach to push staging site changes to the production one is using a plugin, such as Duplicator. The plugin can be installed on a staging site as usual, through your WordPress dashboard.
Installing Duplicator
- Log in to staging WP Dashboard.
- Go to Plugins.
- Click the “Add New” button.
- Type “duplicator” in a search field.
- Find the plugin in the search results, and click “Install now”
- Once the installation process is completed, activate the plugin.
Creating Duplicator Packages
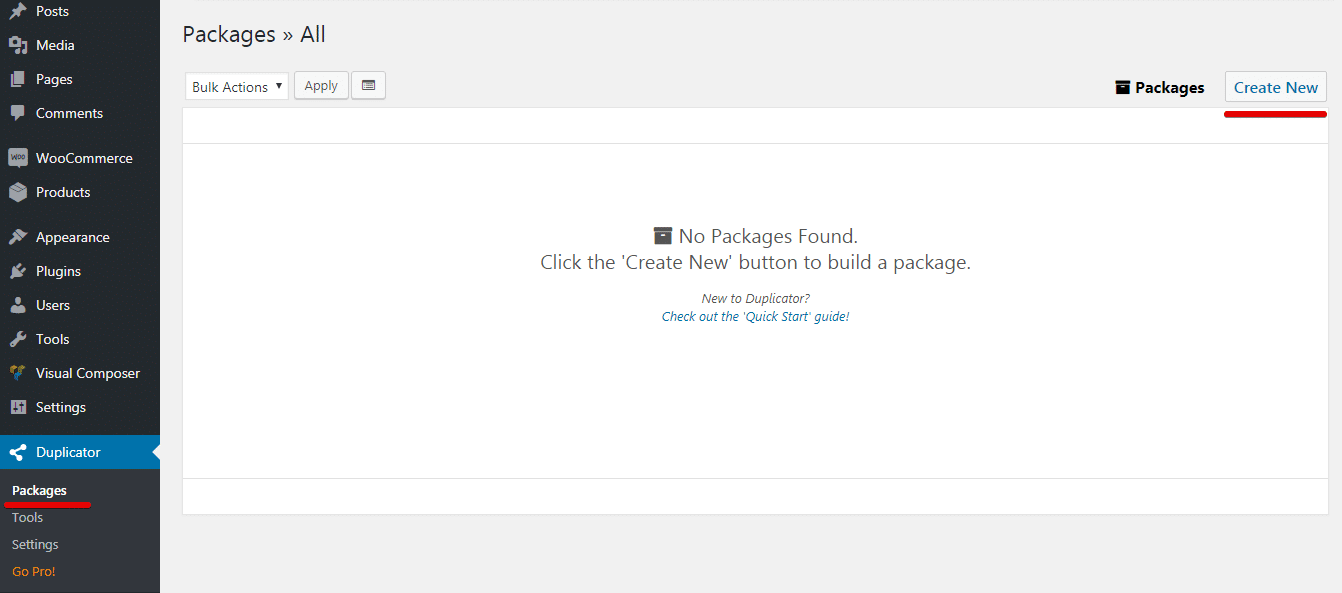
- In the admin sidebar, go to Duplicator > Packages.
- Click the “Create New” button.
- On the Next Screen, you’ll need to set a name for your package.
- Add a few notes if necessary.
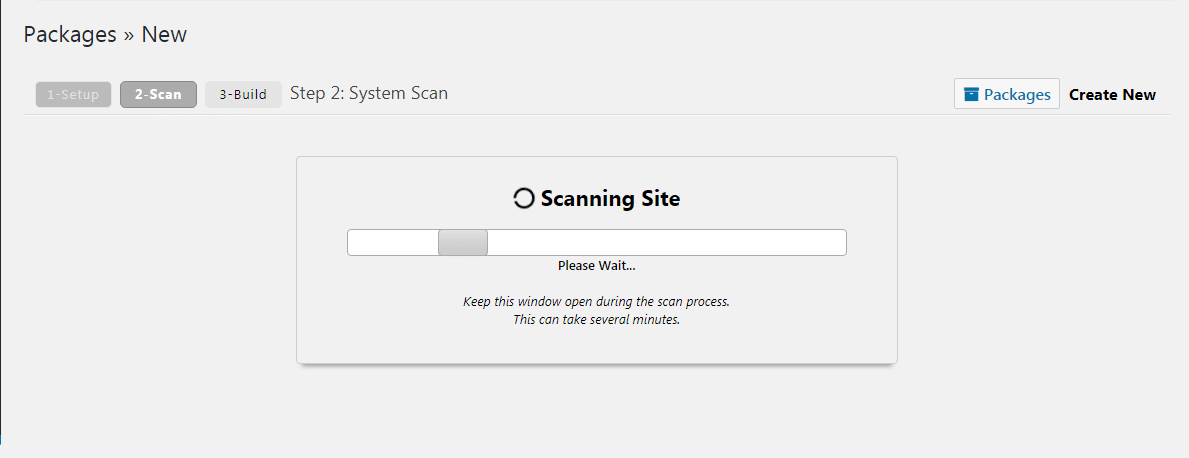
- When it’s done, click the “Next” button.

- Duplicator will run a scan of the site.
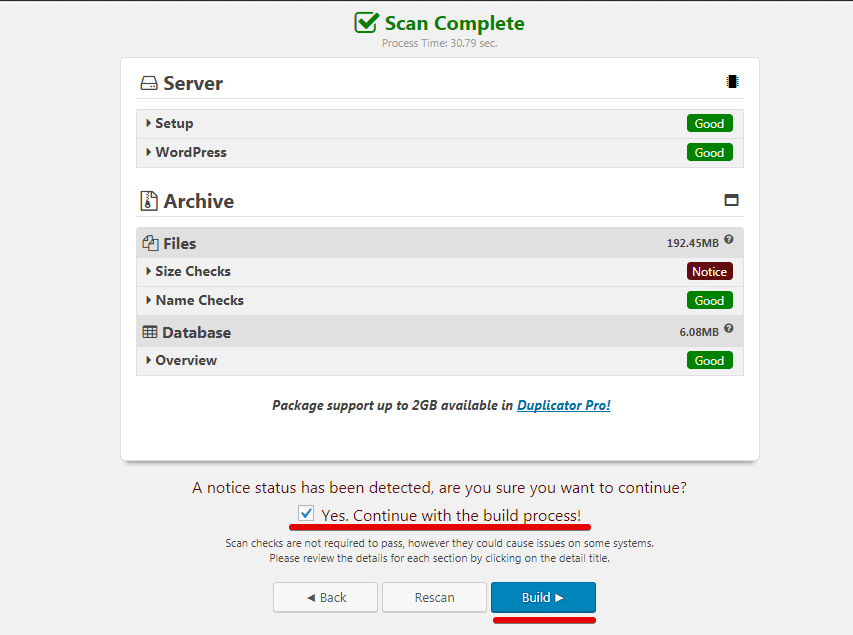
- Once scan is completed, check if there are any notices, then tick the “Yes. Continue with the build process!” checkbox.
- Click the “Build” button.
- The plugin will now begin backing up your staging site.

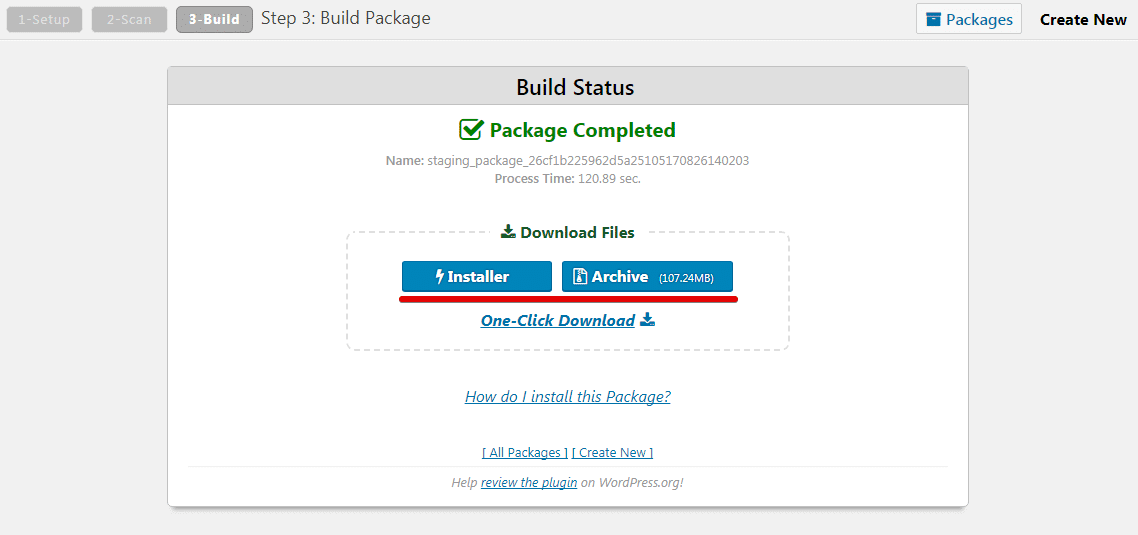
- When the building process is done, you’ll get two files: installer (.php file) and archive of the site (.zip file).
- Download both of them to your local computer.
Installing the Package on the Live Site
- Now, let’s install your package on a live site. To do this, you need to upload the installer and archive files to your live site directory. You can do it via an FTP software like FileZilla or via cPanel uploader.
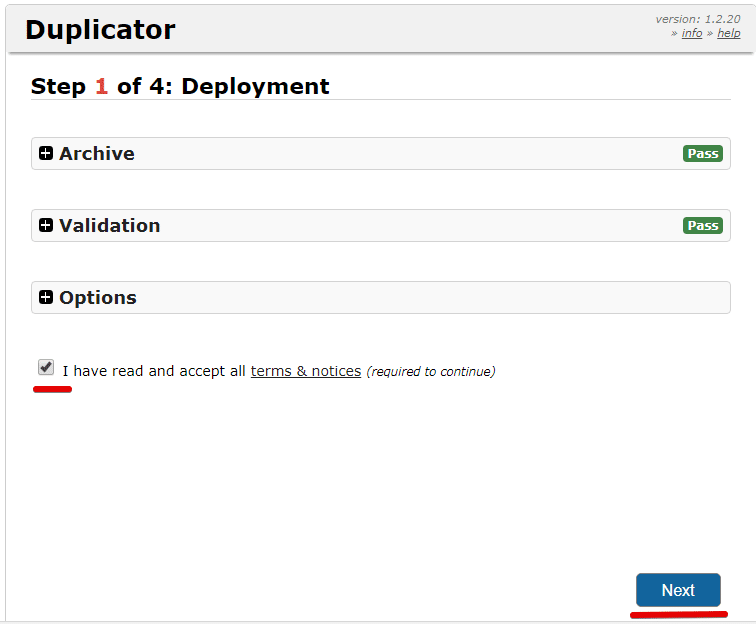
Step 1 of 4: Deployment
- After logging in to your site via FTP or cPanel File Manager, navigate to your live site root folder and upload the installer.php file.
- When uploading is completed, remove or rename your current wp-config.php file to prevent duplicator package installation errors.
- To access the installer we just uploaded, type the following line in a browser address field: http://live_site_domain/installer.php, where live_site_domain is a domain name of your production site (e.g. artbees.net).
- Press enter and you’ll see the installer interface.
- Accept the terms and click “Next”.
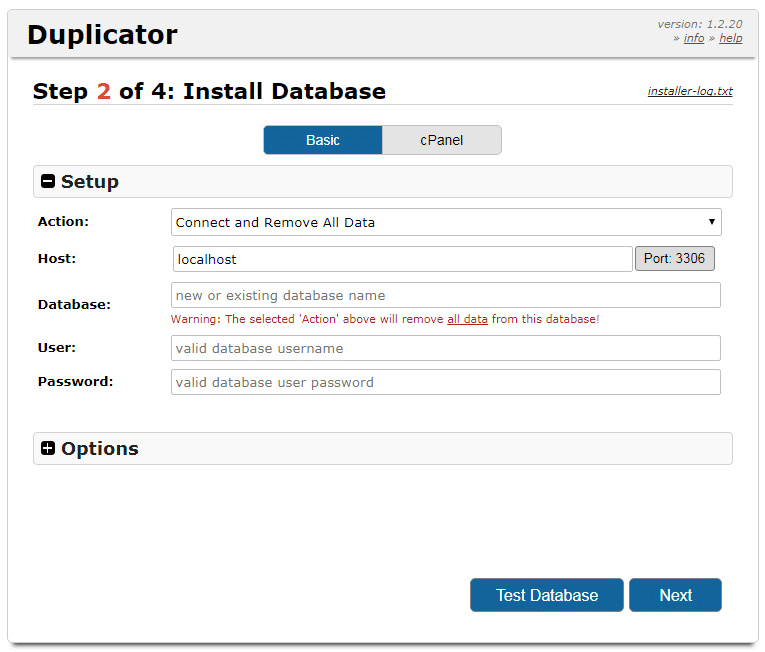
Step 2 of 4: Install Database
- On Step 2, you’ll be prompted to enter the database details.
- Enter the credentials you saved at the beginning from your live site wp-config.php file.
- Click ‘“Test Database”.
- If everything is okay, go to the next step.
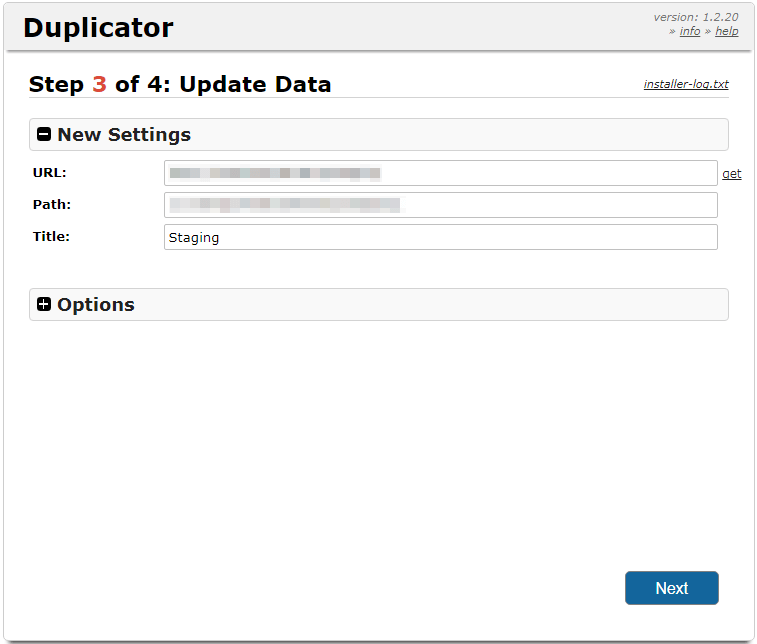
Step 3 of 4: Update Date
On Step 3, you’ll see the URL, Path and Title of your live site. Change the title if needed and press “Next”
Step 4 of 4: Test
Wait until the process is done and go to “Site Login” on the last Step to finalize the setup.
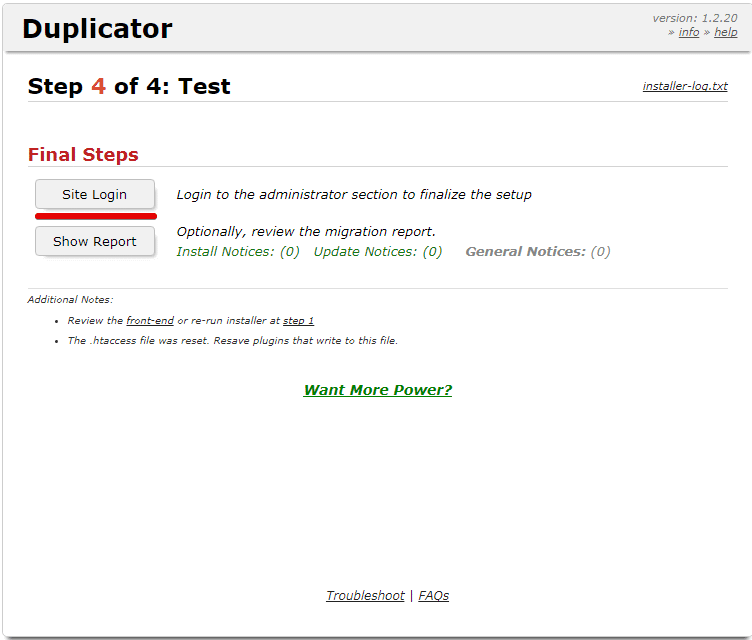
In the admin panel, you will be asked to remove installation files to finish the setup process.
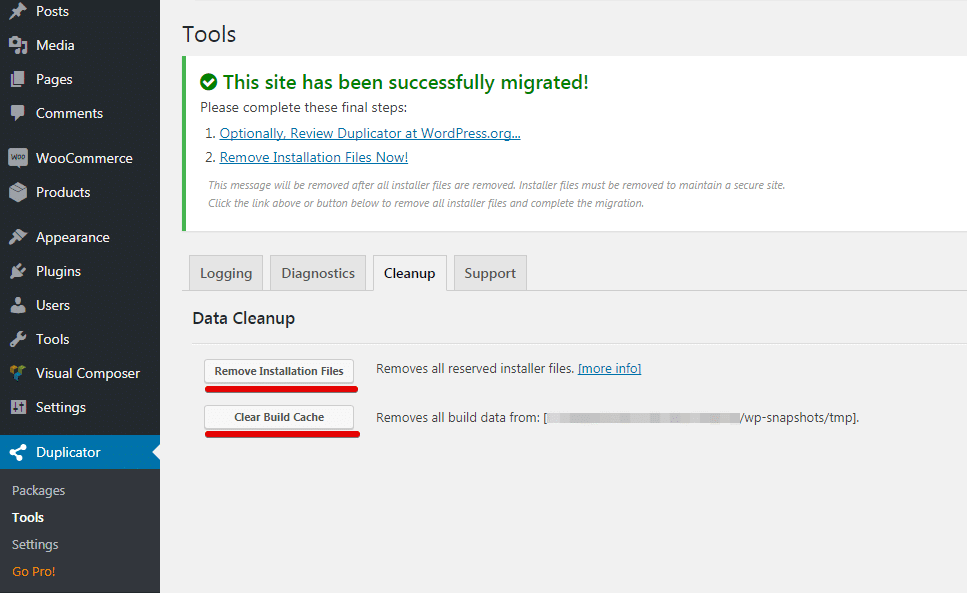
Aaaaand, you’re done!
So, if you’re using another hosting provider that doesn’t have a “staging site” feature, you can achieve the needed result with the Duplicator plugin easily. Just be sure all elements in your site work properly after the changes you made, before you upload it to the production site. Please check carefully!
[call_to_action title=”Have your custom WordPress project done by Artbees experts for competitive price.” target=”_blank” url=”https://themes.artbees.net/pages/artbees-care-wordpress-customisation-services/?utm_source=customization-related-docs-posts” type=”link”]
If you have further questions, let us know in the comments section.

No comment yet, add your voice below!