
Debugging WordPress themes and plugins is an essential, ongoing process to improve your website and smooth out any defects that are detected. When bugs arise, you can always file a bug report, but without the WordPress debugging feature this can unnecessarily cost you some precious time.
The best option is to learn how to clear bugs yourself. Luckily, WordPress provides a simple, built-in debugging process that is accessible to all its users. Way to go WordPress! The WordPress debugging feature is fairly easy to activate and use. Once it is activated, the system generates a debug.log file in the wp-content folder where you’ll be able to clearly see what is causing an issue with your website.
As you can imagine it becomes extremely useful to have a debug.log if you’re experiencing unknown problems or are receiving “Error” messages without any description (such as Error 500 or Error 200). As well as giving you clarity, you’ll also be able to get faster support from us if you can add the debug.log in the tickets you raise. In the end, everybody will save some time and confusion.
Activating The WordPress Debugging Feature
So, time to enable the WordPress debugging feature! First log into cPanel or access your account using SSH. Using the cPanel File Manager open the wp-config.php file in your preferred text editor. To activate the WordPress debugging feature, add the parameter WP_DEBUG to the wp-config.php file. The parameter should be changed to “false” as the default.
Here is how it should be modified in the wp-config.php file:
define( ‘WP_DEBUG’, true );
define( ‘WP_DEBUG’, false );
If you add the WP_DEBUG parameter, thus enabling the WordPress debugging feature, then all the errors, notices and warnings from your website will be clearly displayed for you. This is a great feature when faced with fatal errors, errors with no definitions or a blank screen.
Storing Errors In A Log File
There are a few additional settings you can use to manipulate the debugging information that WordPress offers. One of these settings is a useful companion for the WP_DEBUG parameter – the debug log file. As previously mentioned, the WordPress debug log will store all the errors, notices, and warnings that you experience throughout your website in a cohesive log file, which will be placed in the wp-content folder.
By default, this setting is disabled so you need to go in and enable it yourself. WP_DEBUG_LOG is the trigger for creating the debug.log. You can simply add the following code in wp-config.php file:
define( ‘WP_DEBUG_LOG’, true );
(If you want to have a debug.log, then the WP_DEBUG parameter needs to be defined as “true” beforehand.)
Displaying Errors In Pages
Another great companion for the WP_DEBUG parameter is WP_DEBUG_DISPLAY. This setting will be enabled by default. It basically allows error and warning messages to be displayed on web pages. If you want to disable this so that messages are hidden from view add the following line to the wp-config.php file:
define( ‘WP_DEBUG_DISPLAY’, false );
When To Use The WordPress Debugging Feature
You can use the WordPress debugging feature for theme issues, plugin conflicts, fatal errors and the white “screen of death” that we all dread so much. The debugging mode will help you to define the root of any issues you experience more accurately and give you the ability to solve them faster.
Using the WordPress debugging feature or debug.log is generally intended for use by developersand is not recommended for live websites. Staging and other development environments are the best places to use those features. However, the debugging feature can be used in certain cases to help troubleshoot issues from third-party code, such as themes or plugins.
Examples Of The WordPress Debugging Feature
// Enable WP_DEBUG mode
define( ‘WP_DEBUG’, true );
// Enable Debug logging to the /wp-content/debug.log file
define( ‘WP_DEBUG_LOG’, true );
// Disable display of errors and warnings
define( ‘WP_DEBUG_DISPLAY’, false );
Additional Resources
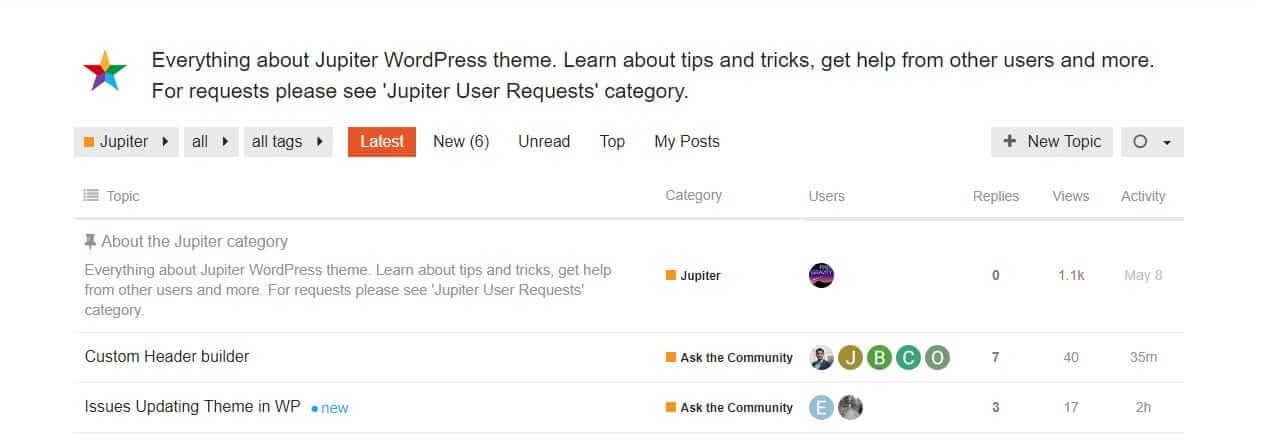
If after you’ve activated the WordPress debugging feature and followed our instructions you’re still experiencing some difficulties or confusion – don’t hesitate to reach out to support. You can get help by visiting the Artbees community forum. This is an excellent source to discover tips and expert advice from Artbees members and users.
Otherwise, as mentioned previously, you can head to the support portal and file a feature / bug report. Submitting a feature request or reporting a bug via the support portal is simple and can be done in just a couple of easy steps. This is a viable option at any point and time while you have a support subscription. But even if your support subscription is expired, you can open up a ticket, choose “Bug report” as the type of ticket and then submit your issue. Anything beyond that you’ll have to extend your support subscription which you can learn to do here.
Final Thoughts On The WordPress Debugging Feature
As you can see WordPress includes a whole array of settings that can be used to help debug your themes, applications, custom codes, and more. All you have to do is activate the WordPress Debugging Feature and then add or alter code when you want to tweak the settings. If all else fails, you can always reach out to support or to the Artbees community forum. We’re here to help and so is WordPress! Hopefully with this advice you’ll be a bit closer to a bug-free site!

No comment yet, add your voice below!