Throughout its existence, email marketing has experienced some major changes. This is particularly true for the past 10 years with the appearance of several new tools and standards that have fundamentally altered email marketing. An email campaign from the early 2000s would look completely different from one today. An email that would have a high likelihood of being opened might not even make it to a user’s inbox today. This is because email providers and services have rolled out several quality measures in an effort to ensure recipients get emails that are most relevant to them.
In this post, we’ll take you through these standards so that you can take the necessary steps to ensure that your email campaigns avoid the spam filter and land in a recipient’s inbox.
1- Send emails with your own domain
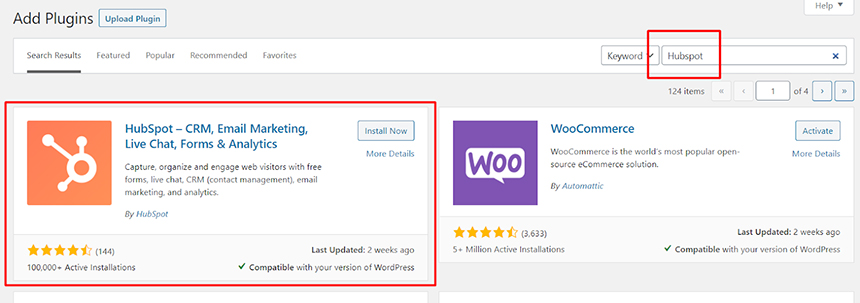
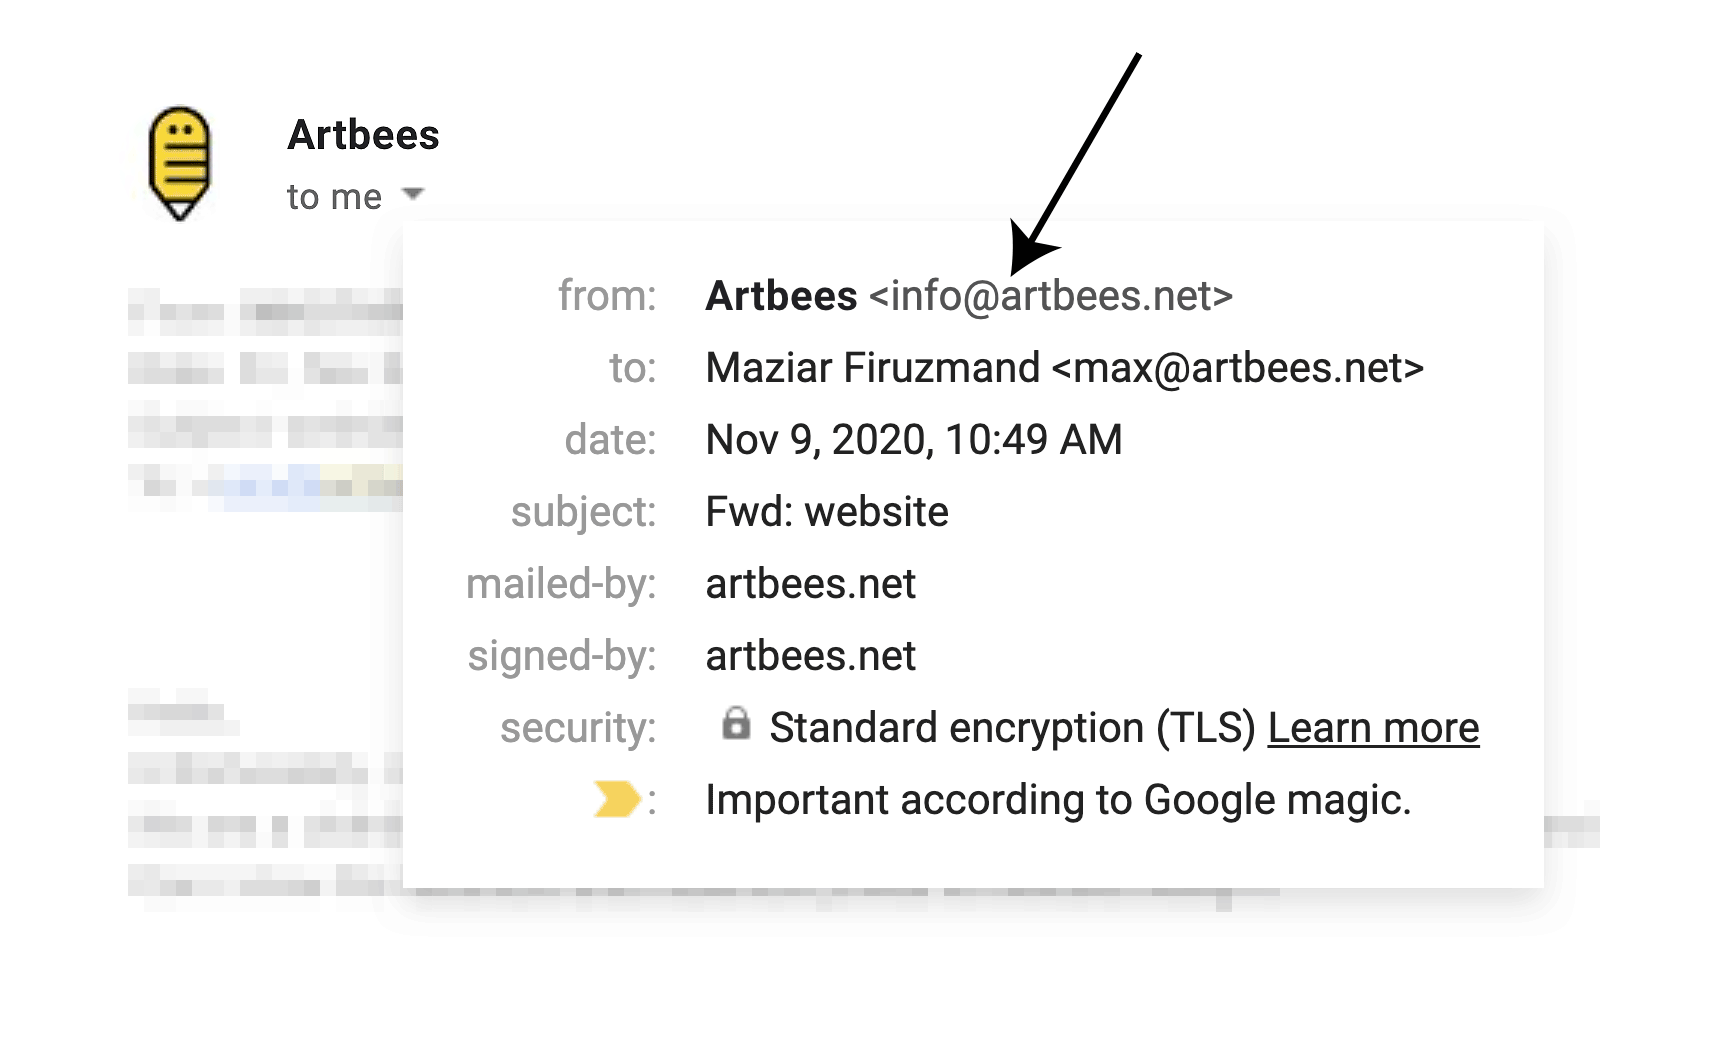
When sending out marketing emails, it’s always a good idea to use your own domain. ISPs (which refer to the major email providers: AOL, Outlook, Gmail, Yahoo and others) tend to take a negative view of free email campaign providers such as Mailchimp. For instance, someone who uses Mailchimp might take advantage of the service and send out low-quality, irrelevant emails, which would lower Mailchimp’s general score for Gmail. As a result, if you use Mailchimp, you could be negatively affected as well. If recipients have engaged with emails you’ve sent out before (such as transactional emails), then there will be a better chance that the ISP will direct your email to the recipient’s primary inbox.
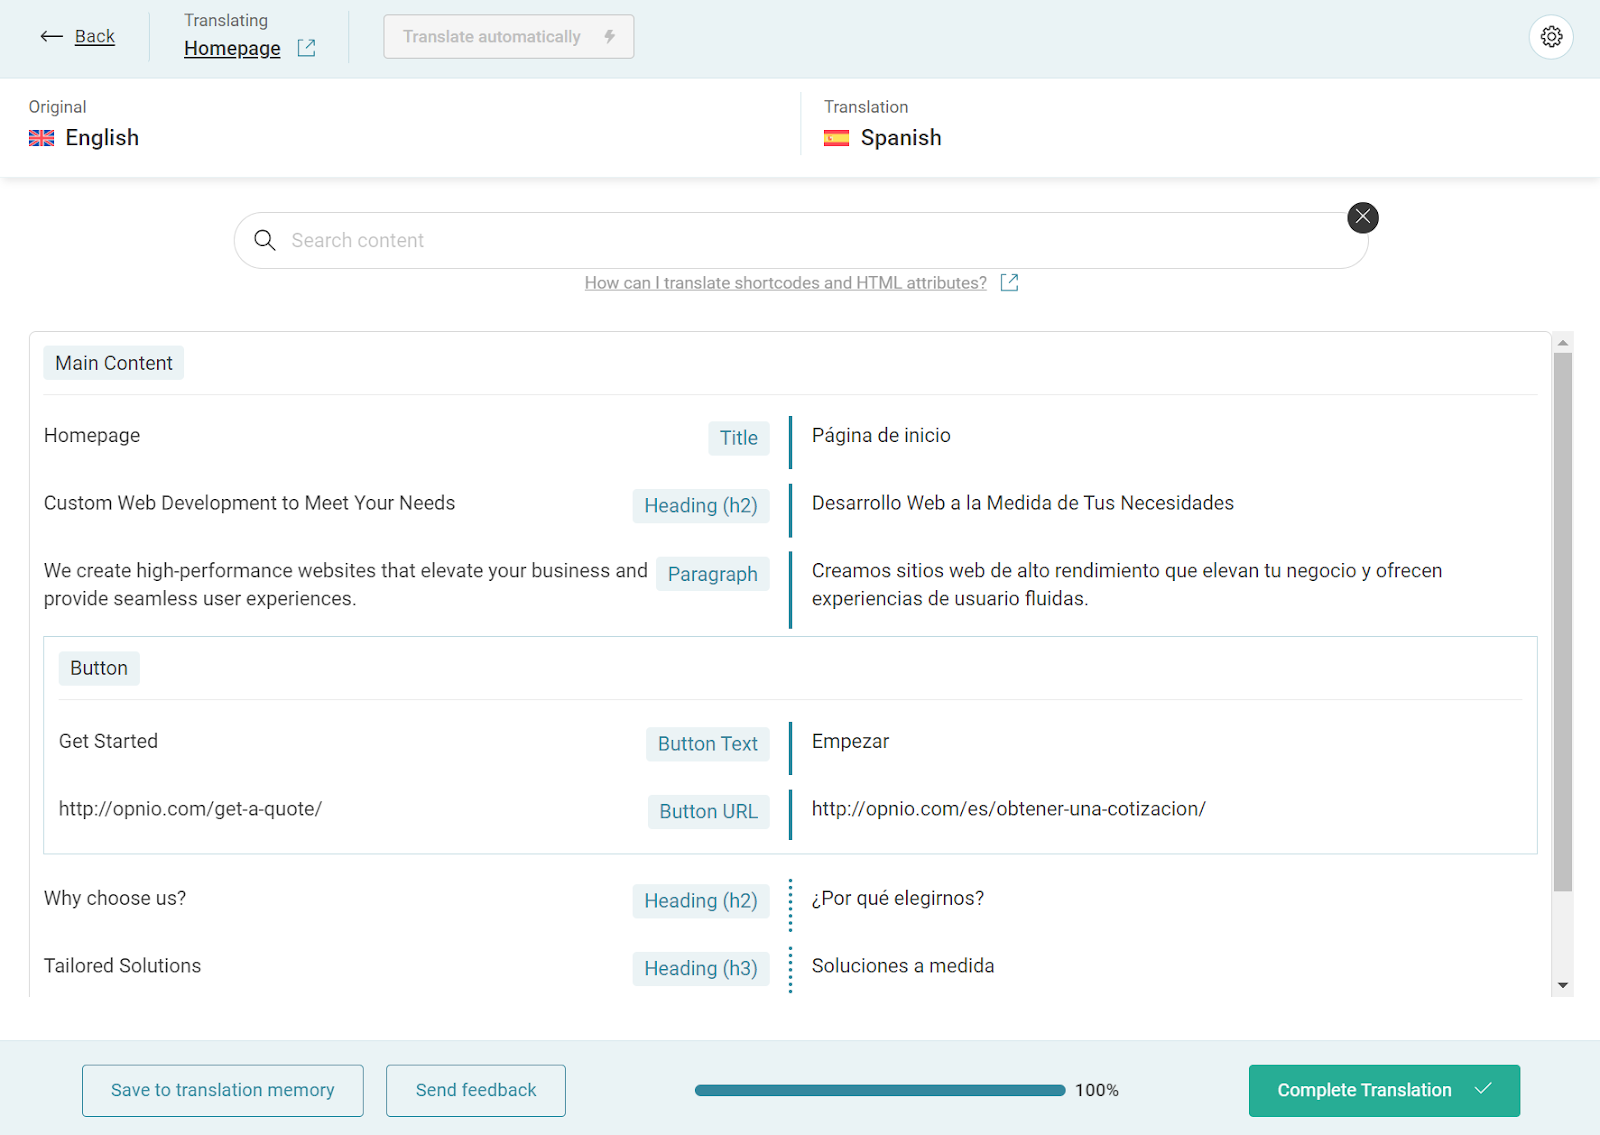
Certain email marketing tools have white labeling features. You can check out this documentation to find out more. For instance, Growmatik allows you to add custom outbound emails in site settings and utilize them in various email campaigns.
2- Correctly utilize your authentication records
The first thing that a recipient’s ISP looks at when deciding whether an email goes to their inbox or spam folder is authentication records. Authentication records are parts of code embedded in the header section of your email and serve as a digital signature that verifies your identity and will work toward increasing the delivery rate. Your email server must support the two main protocols of DKIM and SPF.
SPF (Sender ID)
SPF – which stands for Sender Policy Framework – enables the ISP to authenticate the identity of the party sending the email. By making it clear that YOU are the sender instead of anyone else, SBF lowers the chance that someone else pretending to be you would send out emails. This increases your email delivery rate.
DKIM
DKIM – which stands for DomainKeys Identified Mail – sender’s coded authentication message that connects the email with the server’s DNS of origin and validates the domain is in fact real. In other words, this provides a type of identification for the emails that you are sending your targeted recipients, which will also go a long way to help you avoid the spam filter and boost those email delivery rates.
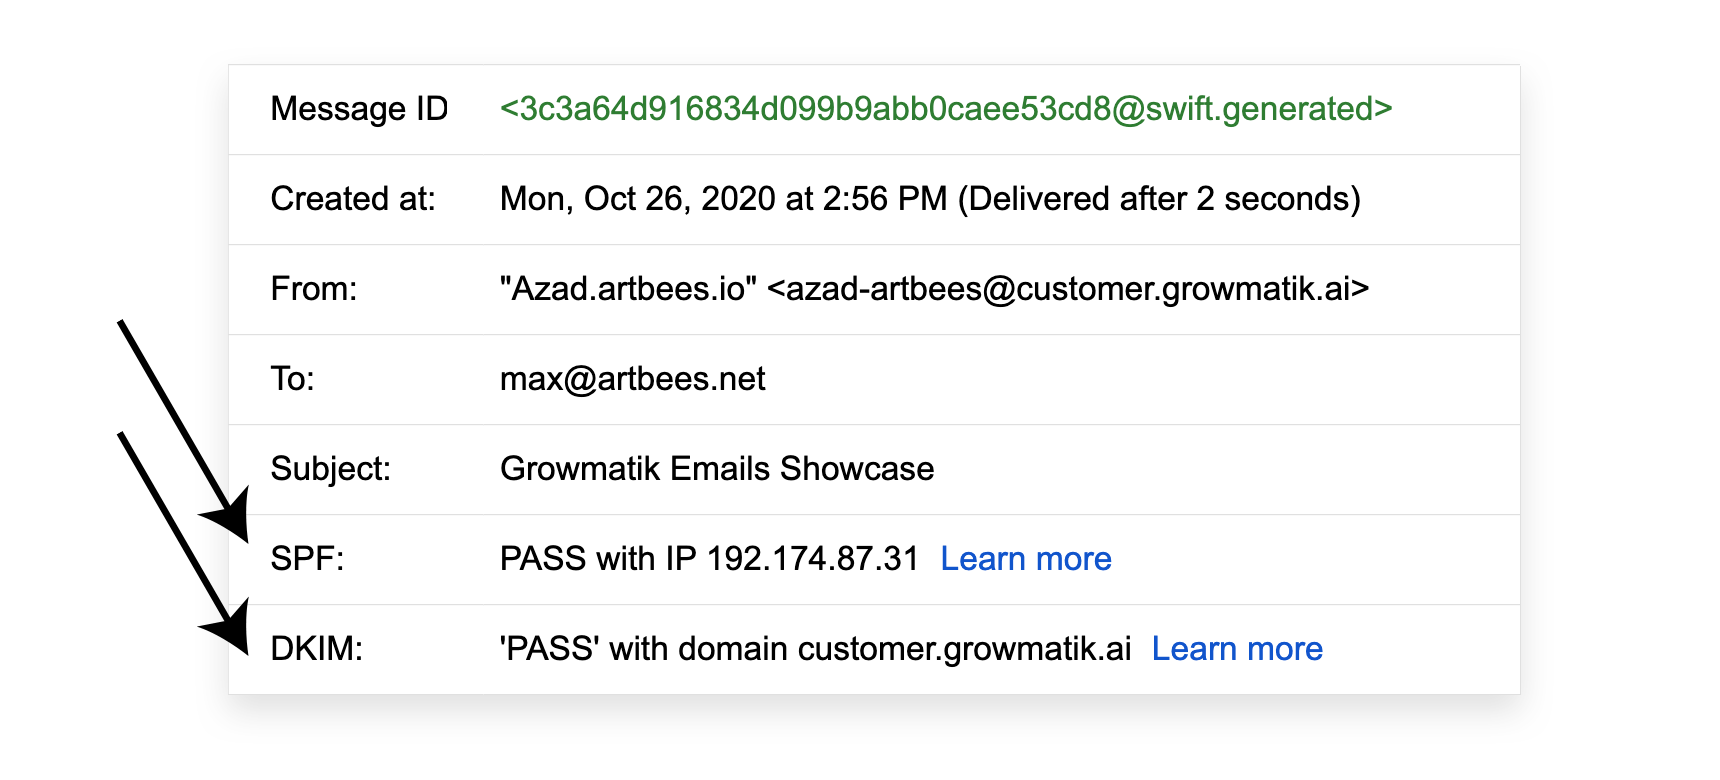
Authentication records are vital if you send out emails from an email automation platform as it allows that platform’s servers to send out emails on your behalf using your own domain. This means that you need to ensure the platform you select offers email white-labeling services and provides support for these protocols. For instance, in Growmatik, after the tenant adds and verifies custom outbound addresses, then SPF and DKIM are automatically inserted into the header of your email.
3- Look up the reputation of your sending domain
If your sending domain has tons of spam reports from their users, then their email service provider will rank them poorly. In turn, this will greatly impact your email’s quality score, and your email might be rejected or directed into the spam folder. It’s always a good idea to regularly stay up-to-date on your sending domain’s reputation and to make changes if their reputation is either low or starts to fall. Several tools on the market that provide a sender score and information on how to boost it include Sender Score, Barracuda Central, Thalos database, MXToolbox and Google Post Master and Mail Tester

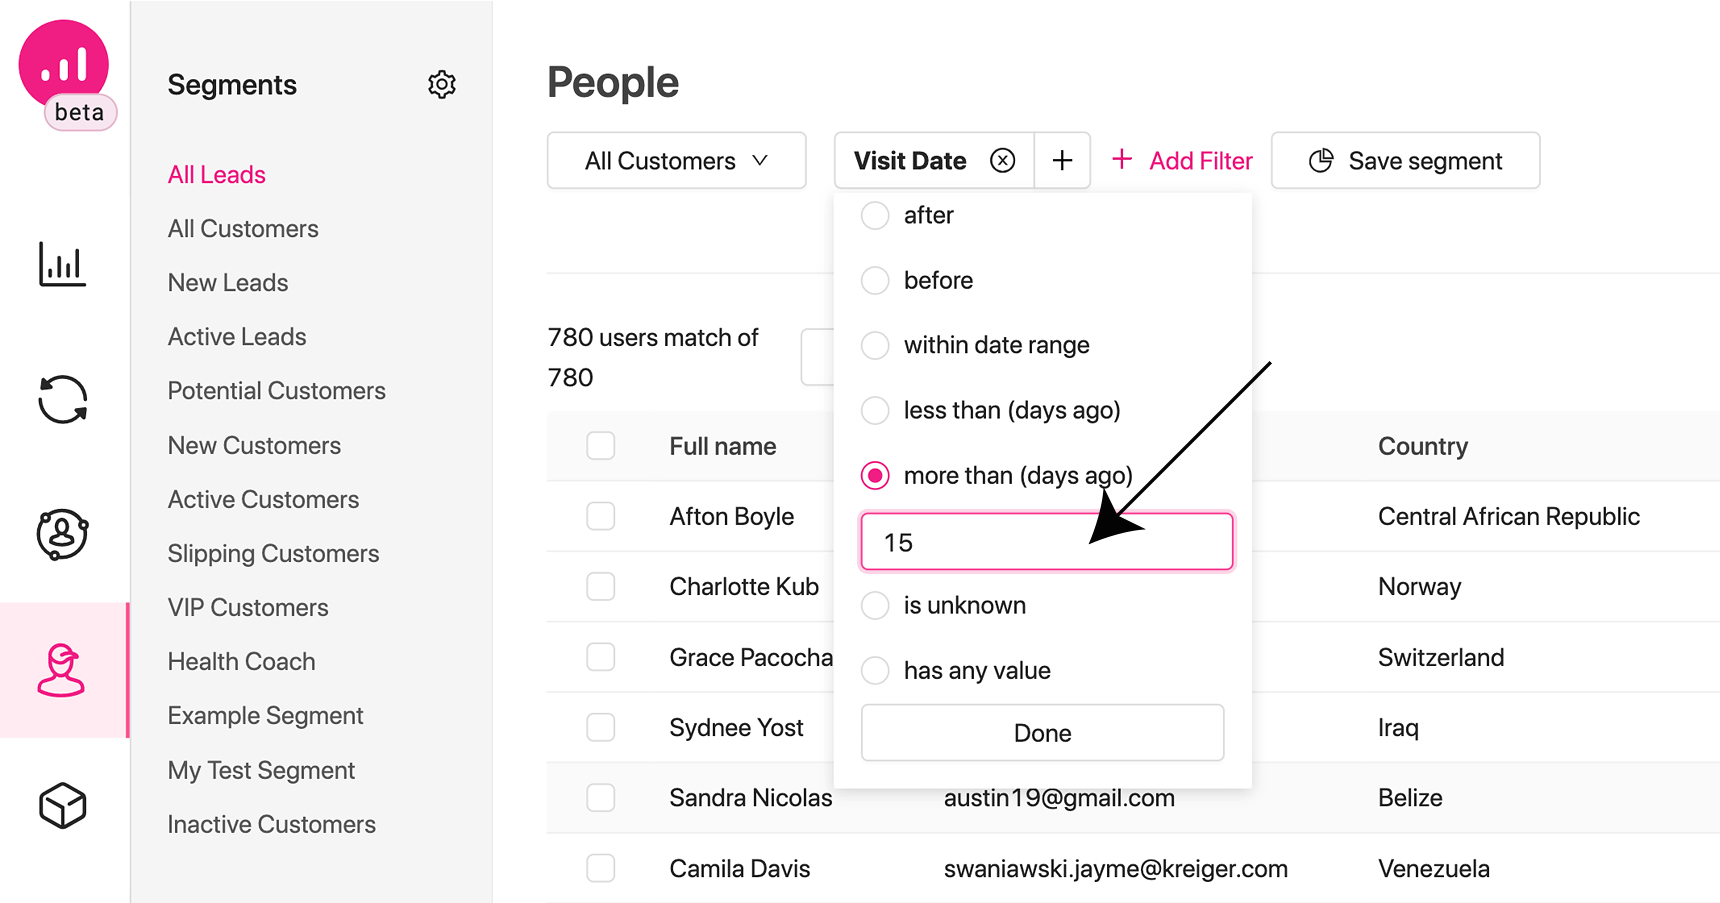
4- Focus on transactional, not broadcast emails
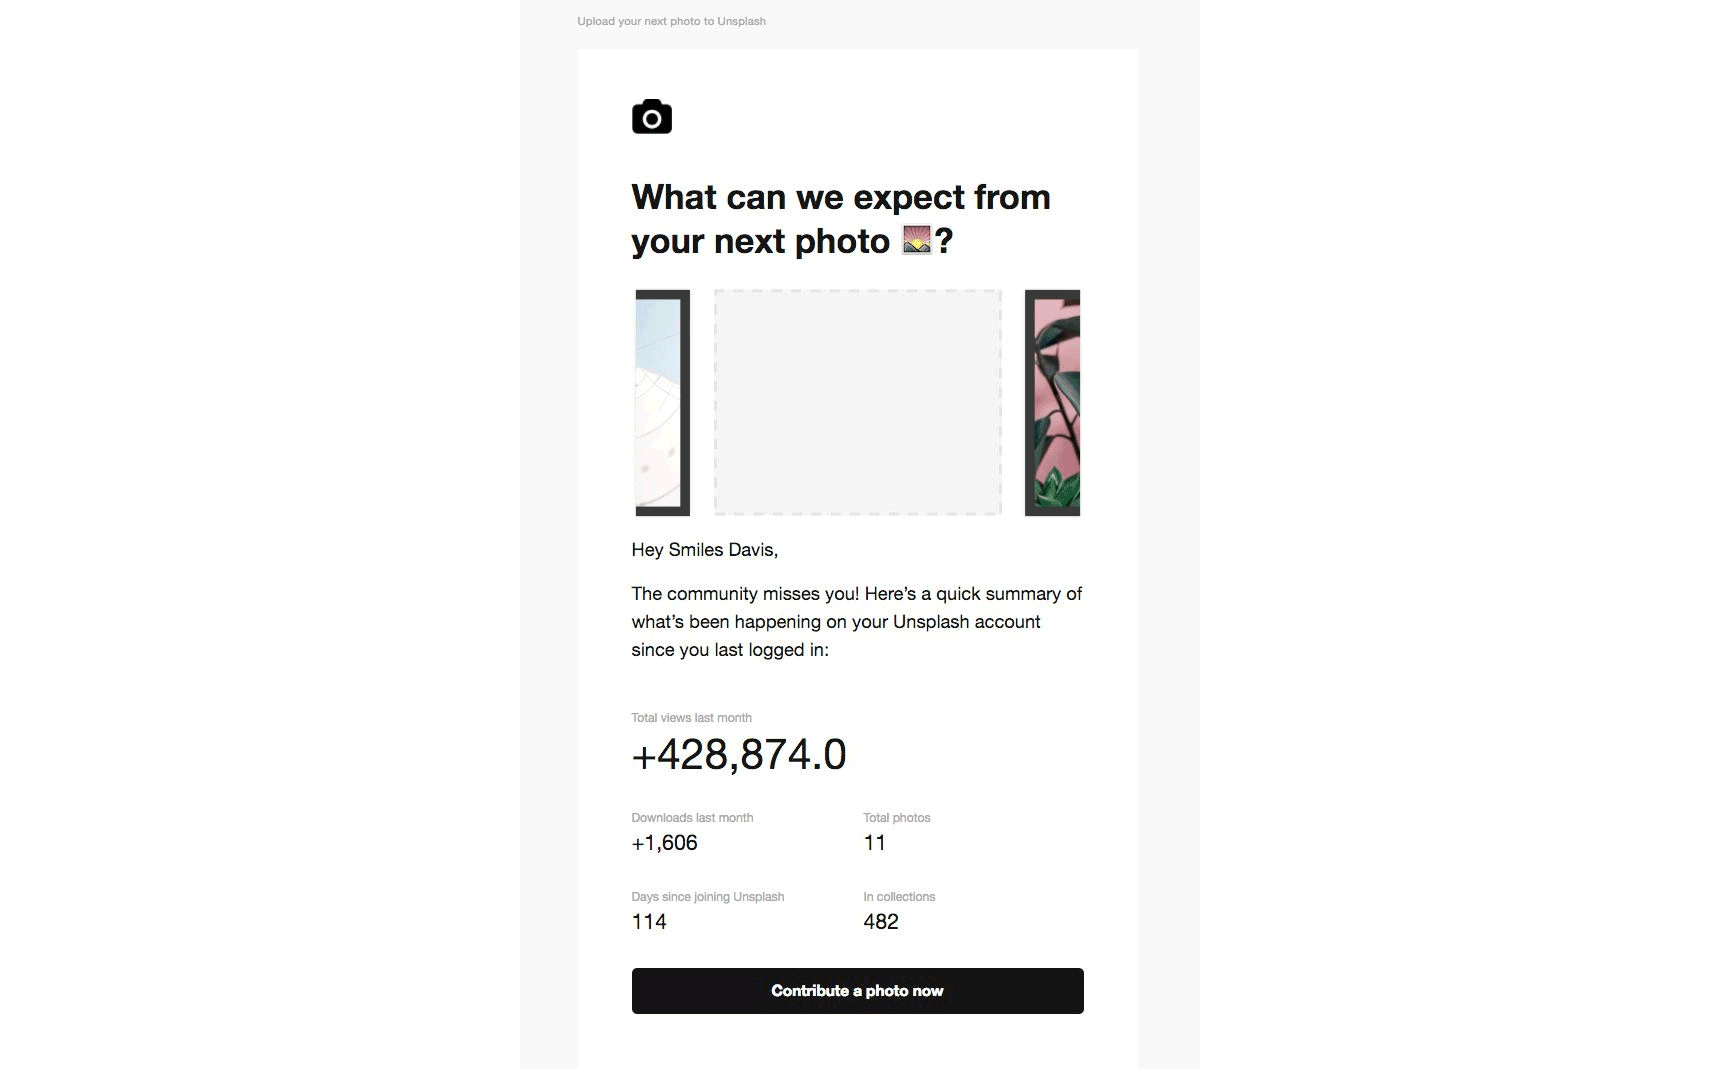
Marketing emails can be categorized as either transactional or promotional (also known as broadcast). Transactional emails are sent out to a recipient after they have made a particular action when engaging with your business. On the other end of the spectrum, promotional emails are set out en masse to all your leads or subscribers. As you’d expect, these types of emails are less customized and relevant, thus more likely to get tagged as spam or land in the promotional emails tab.
One of the best ways to avoid the spam filter or the promotional tab is by sending email campaigns that combine both transactional and broadcast emails.
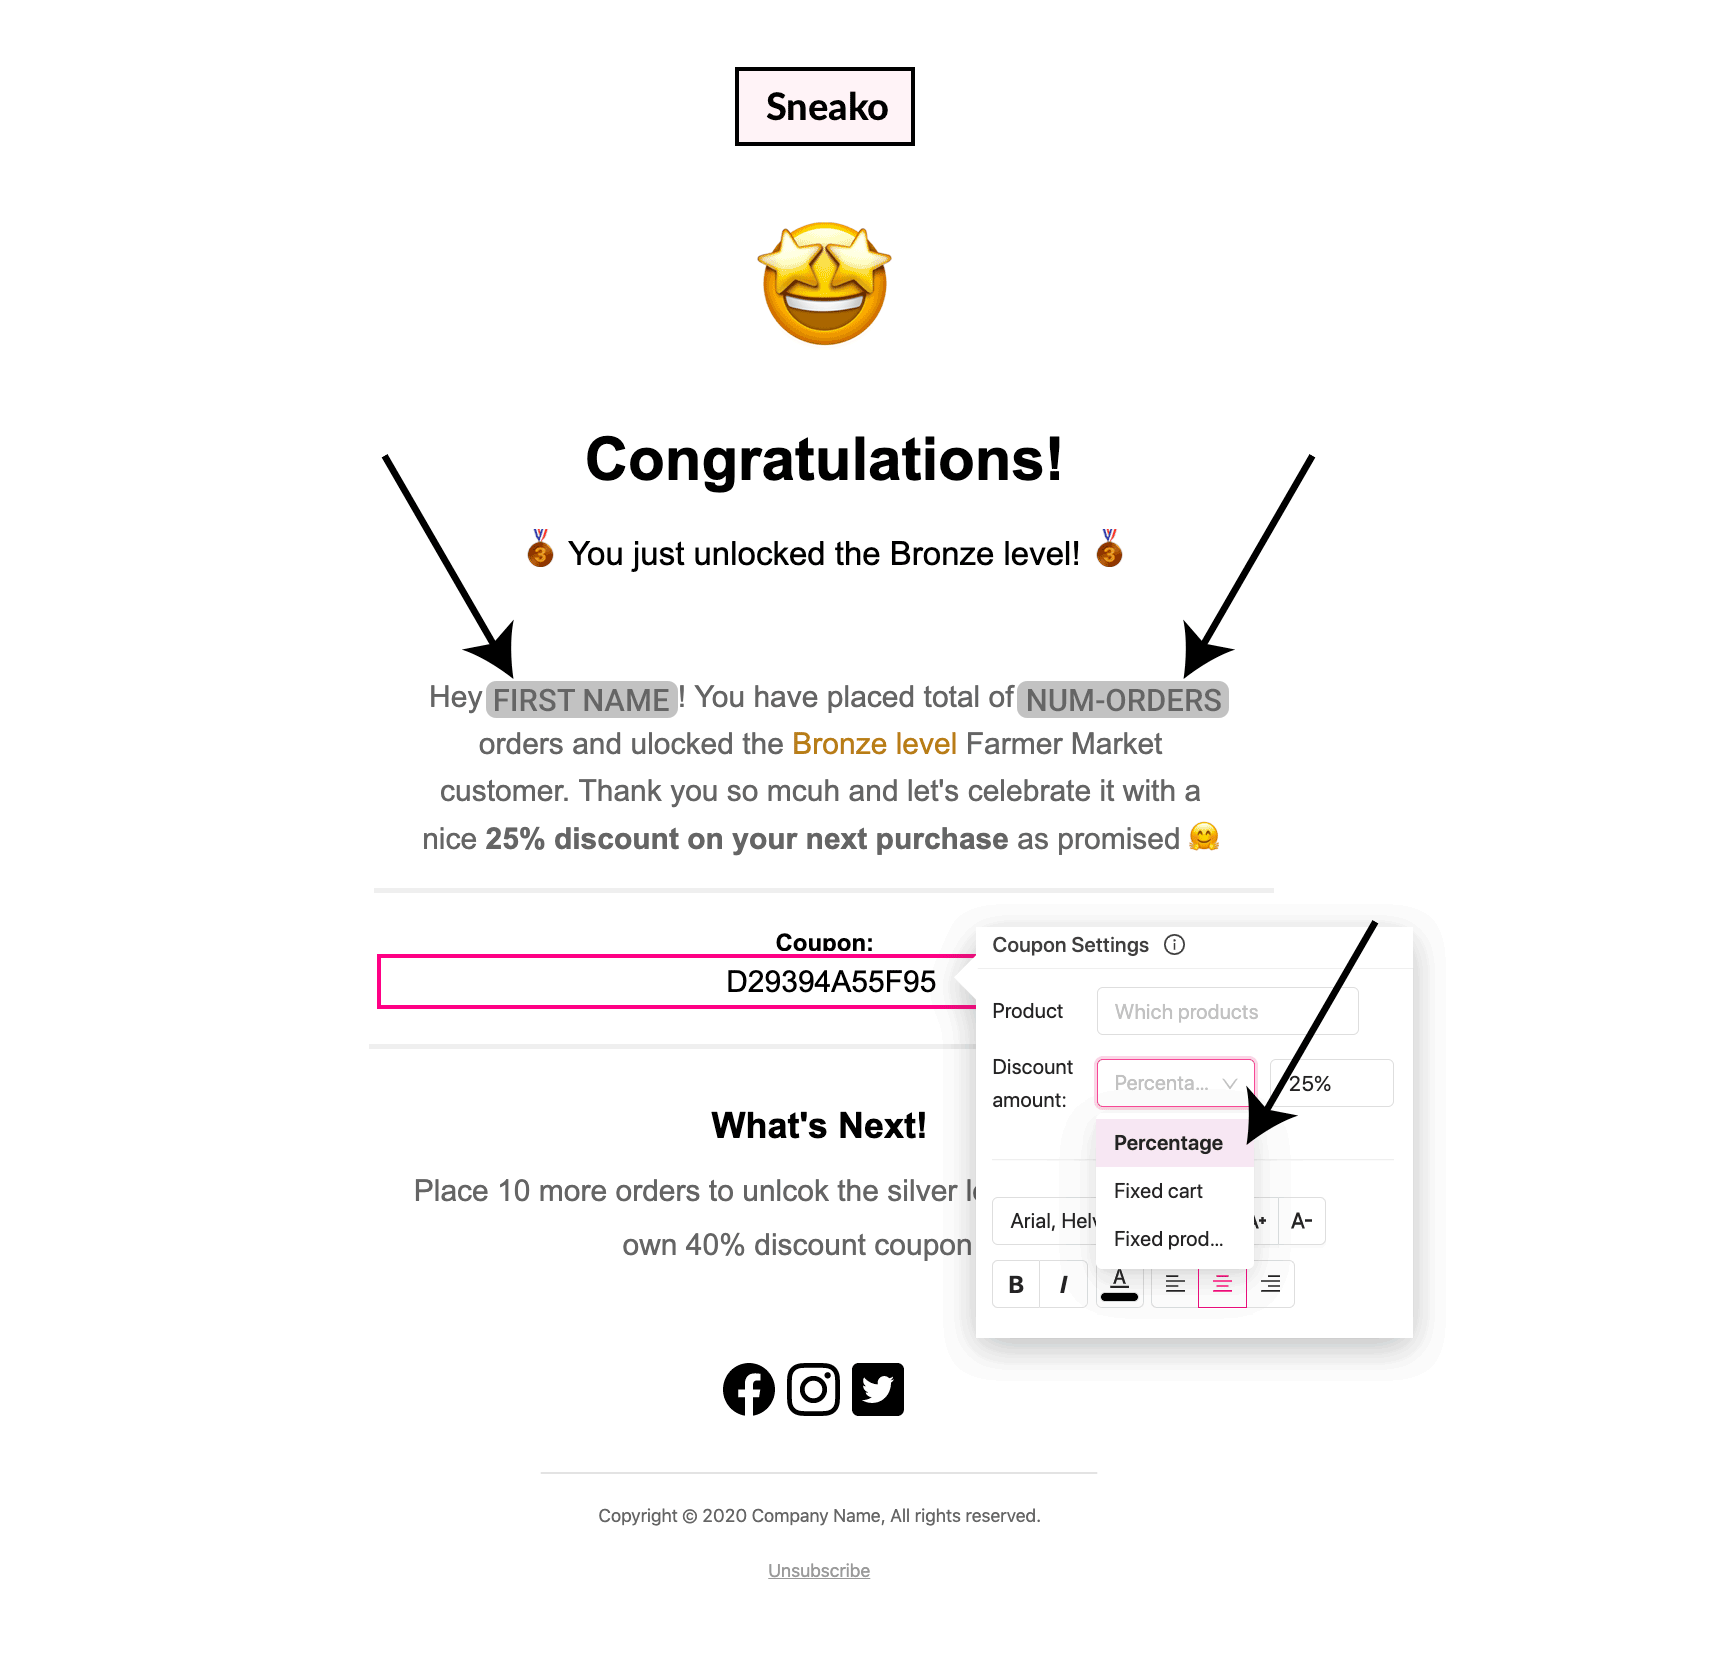
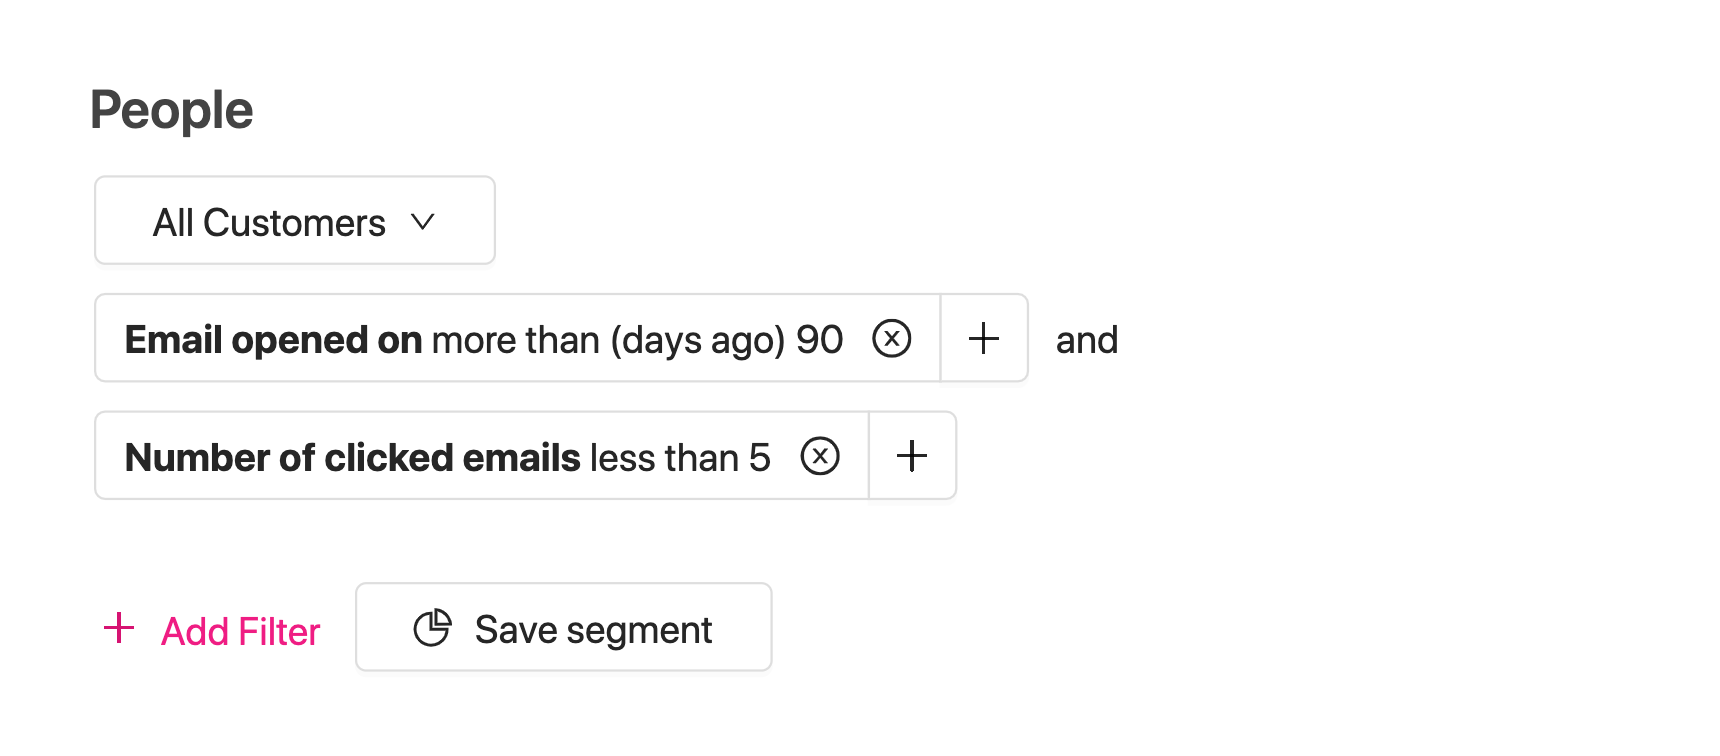
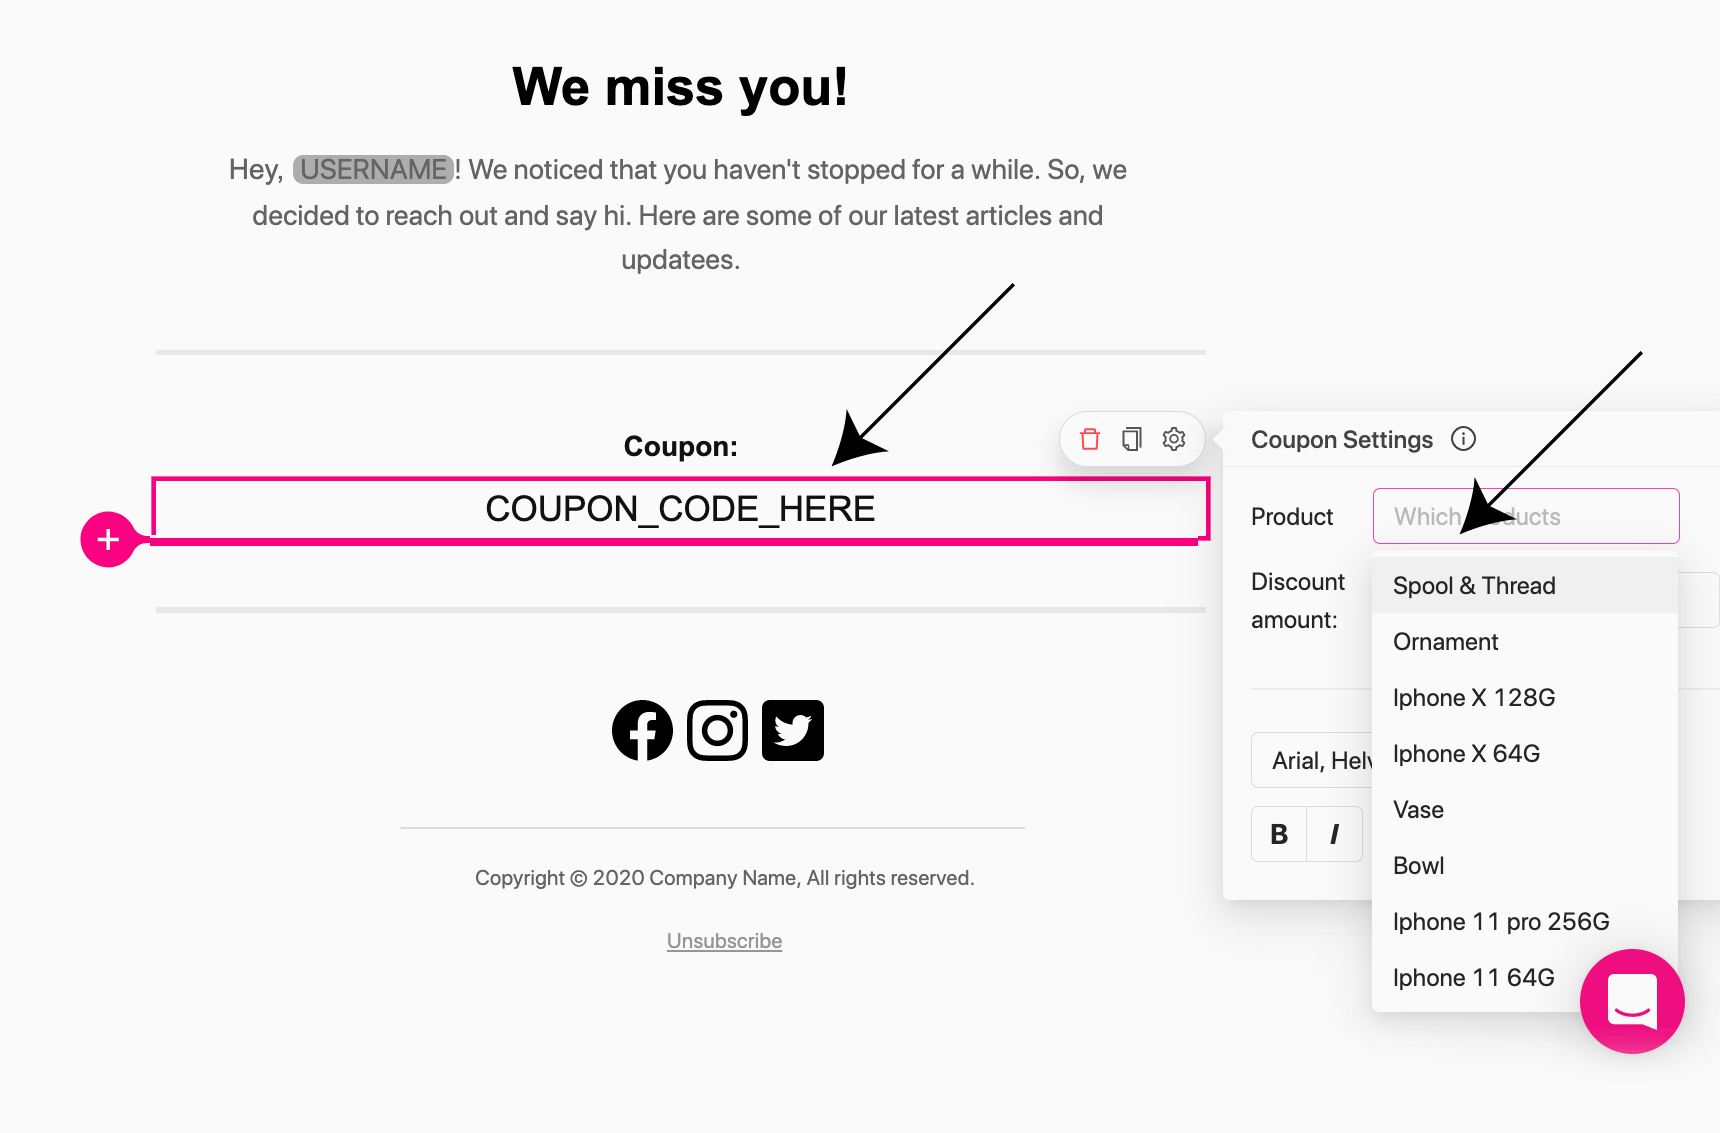
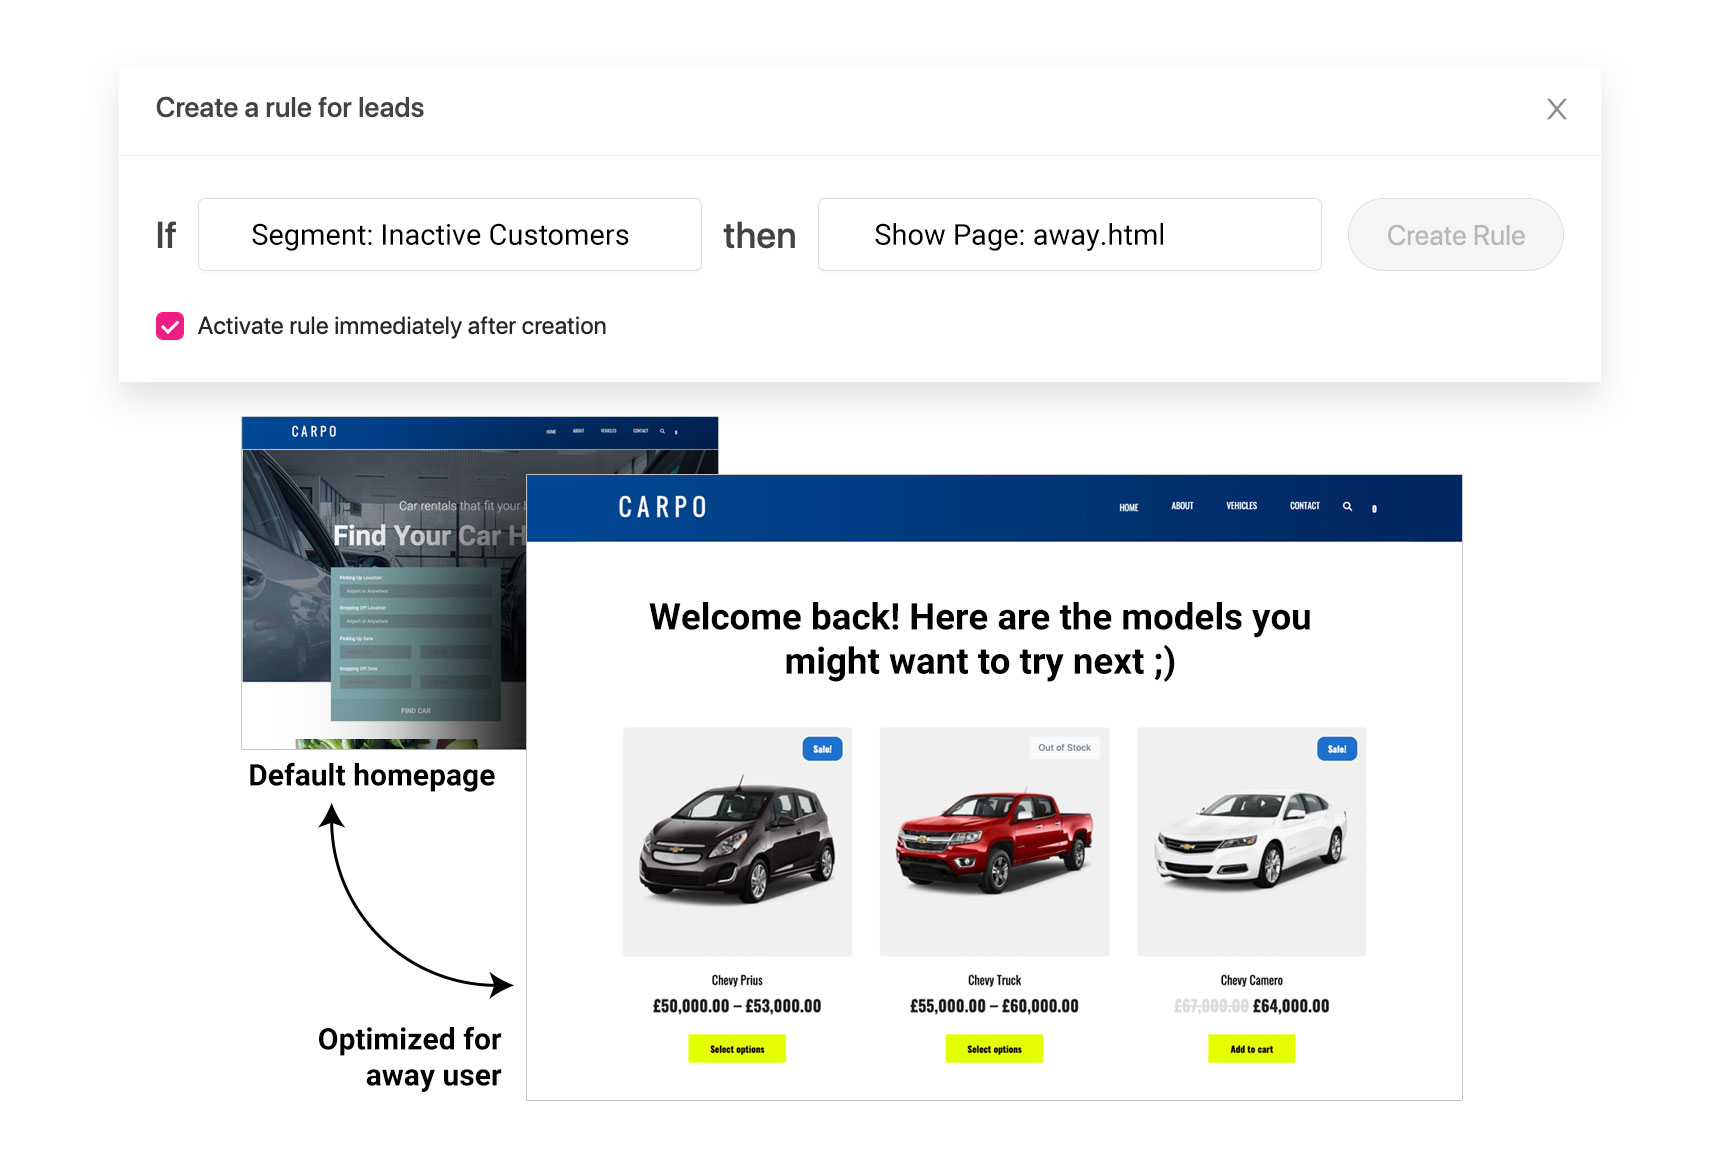
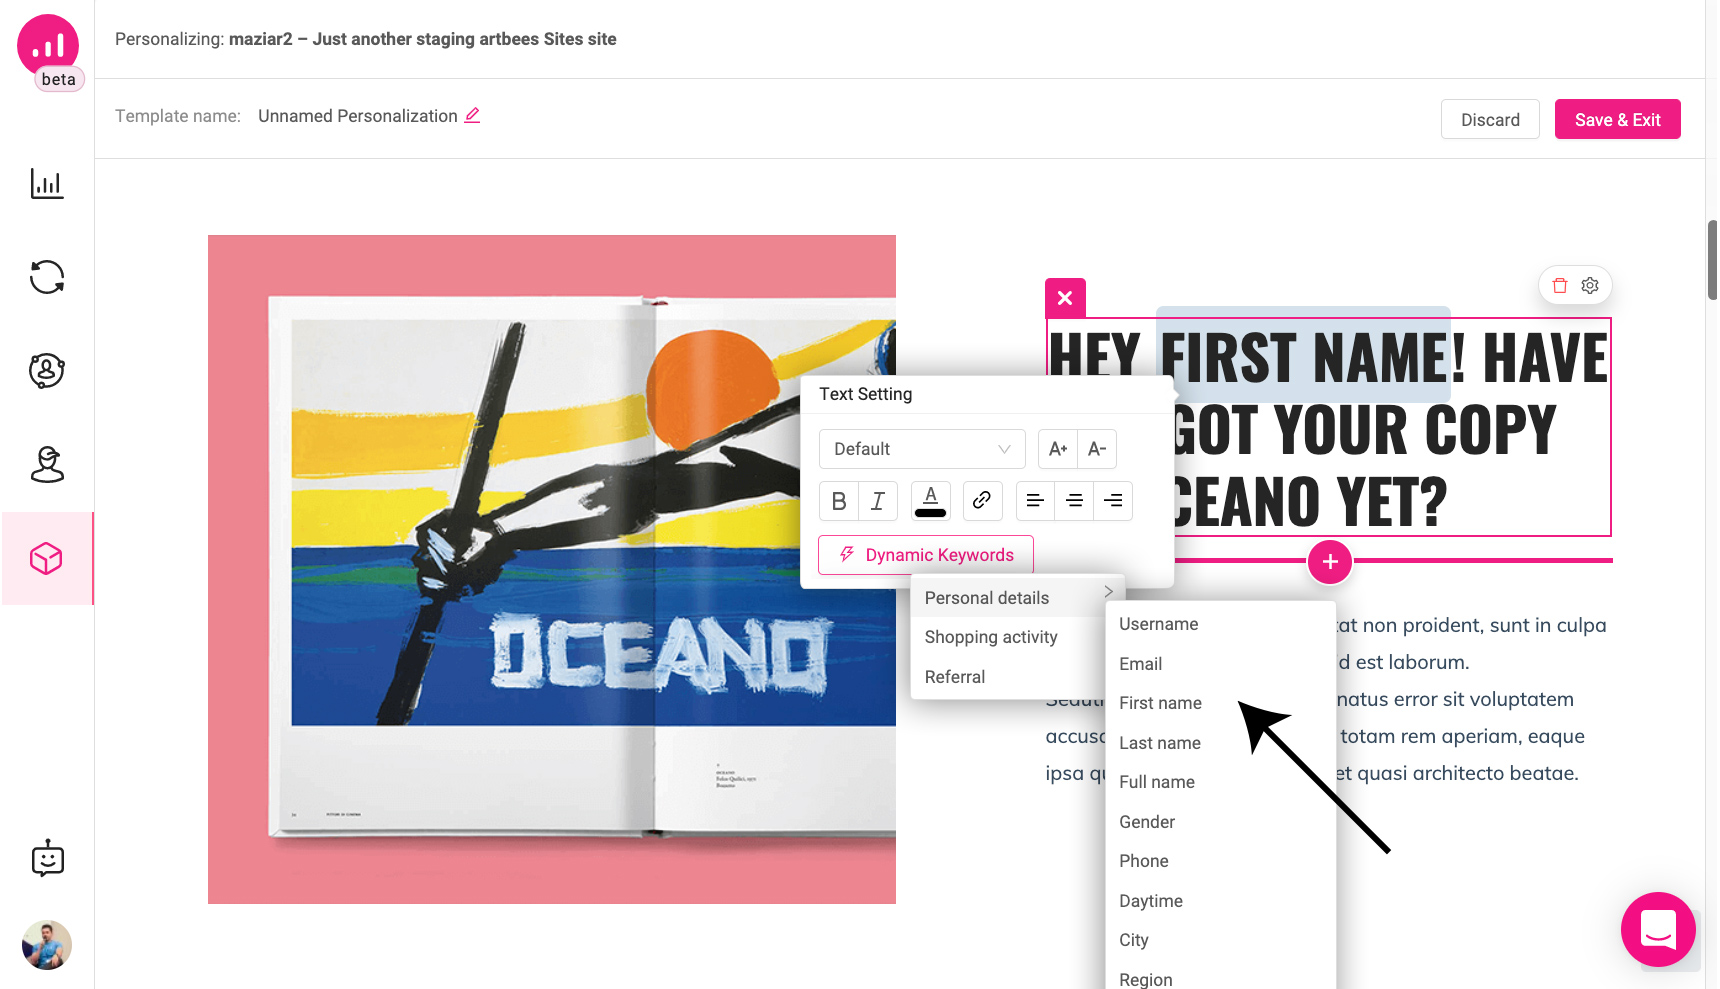
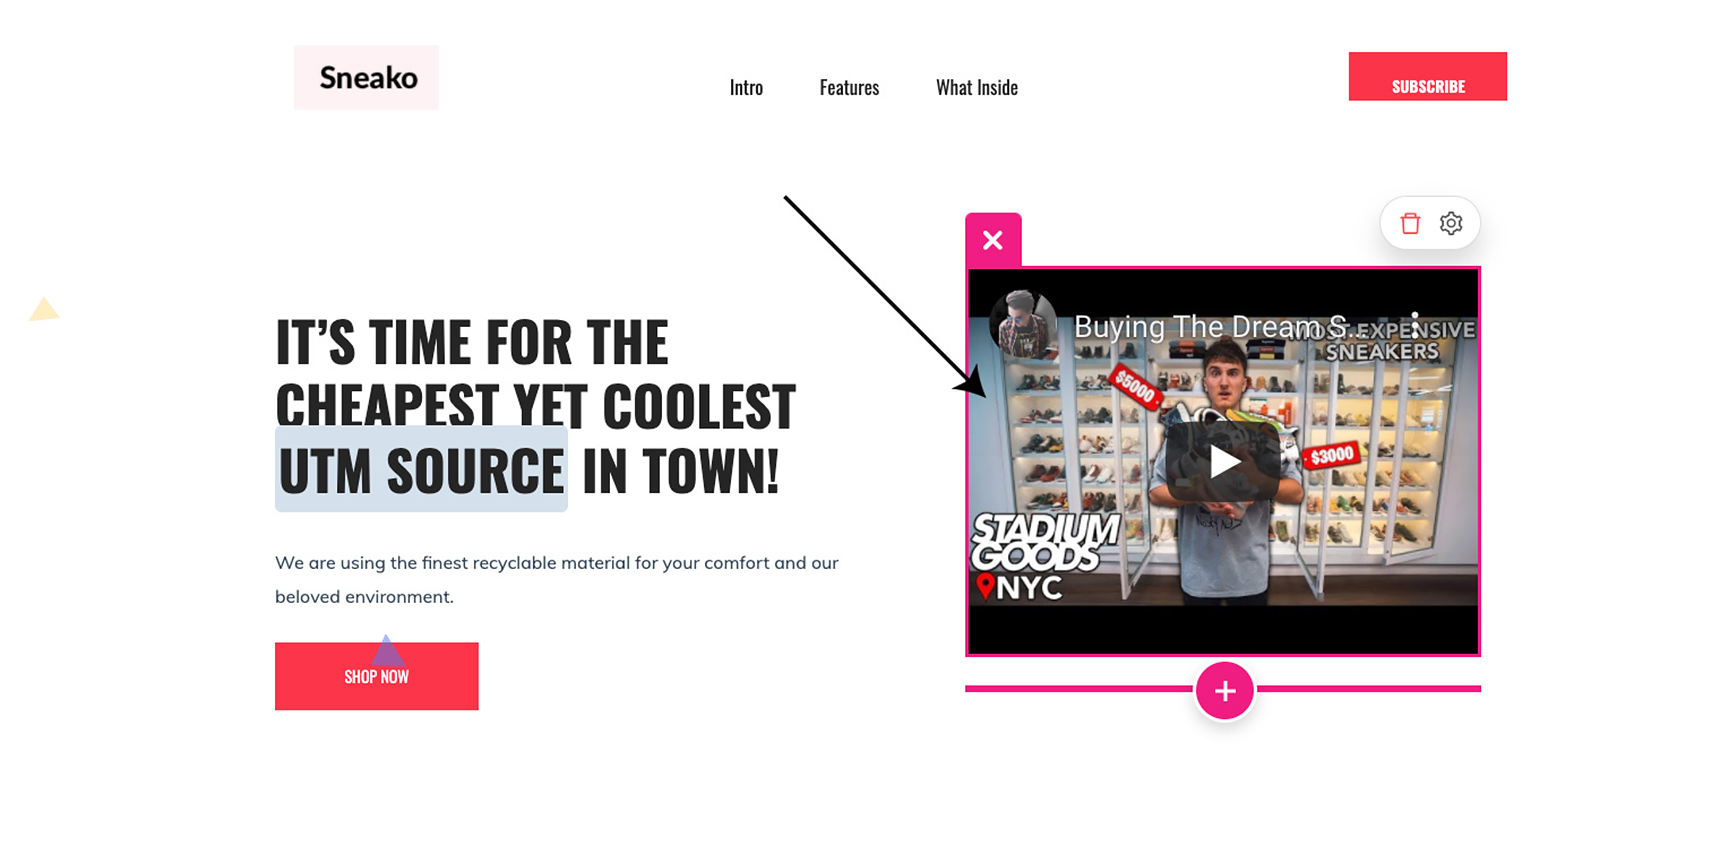
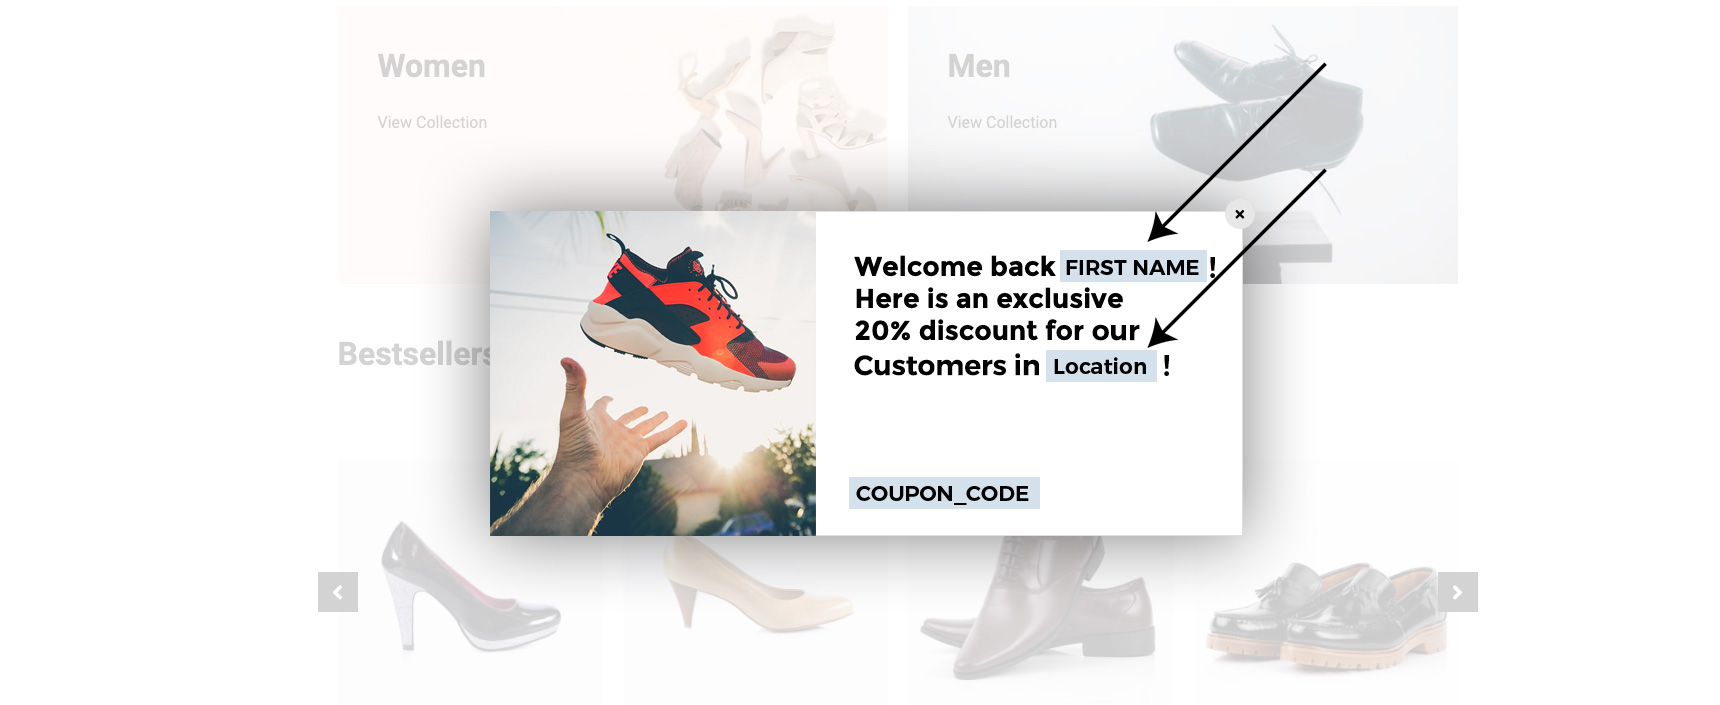
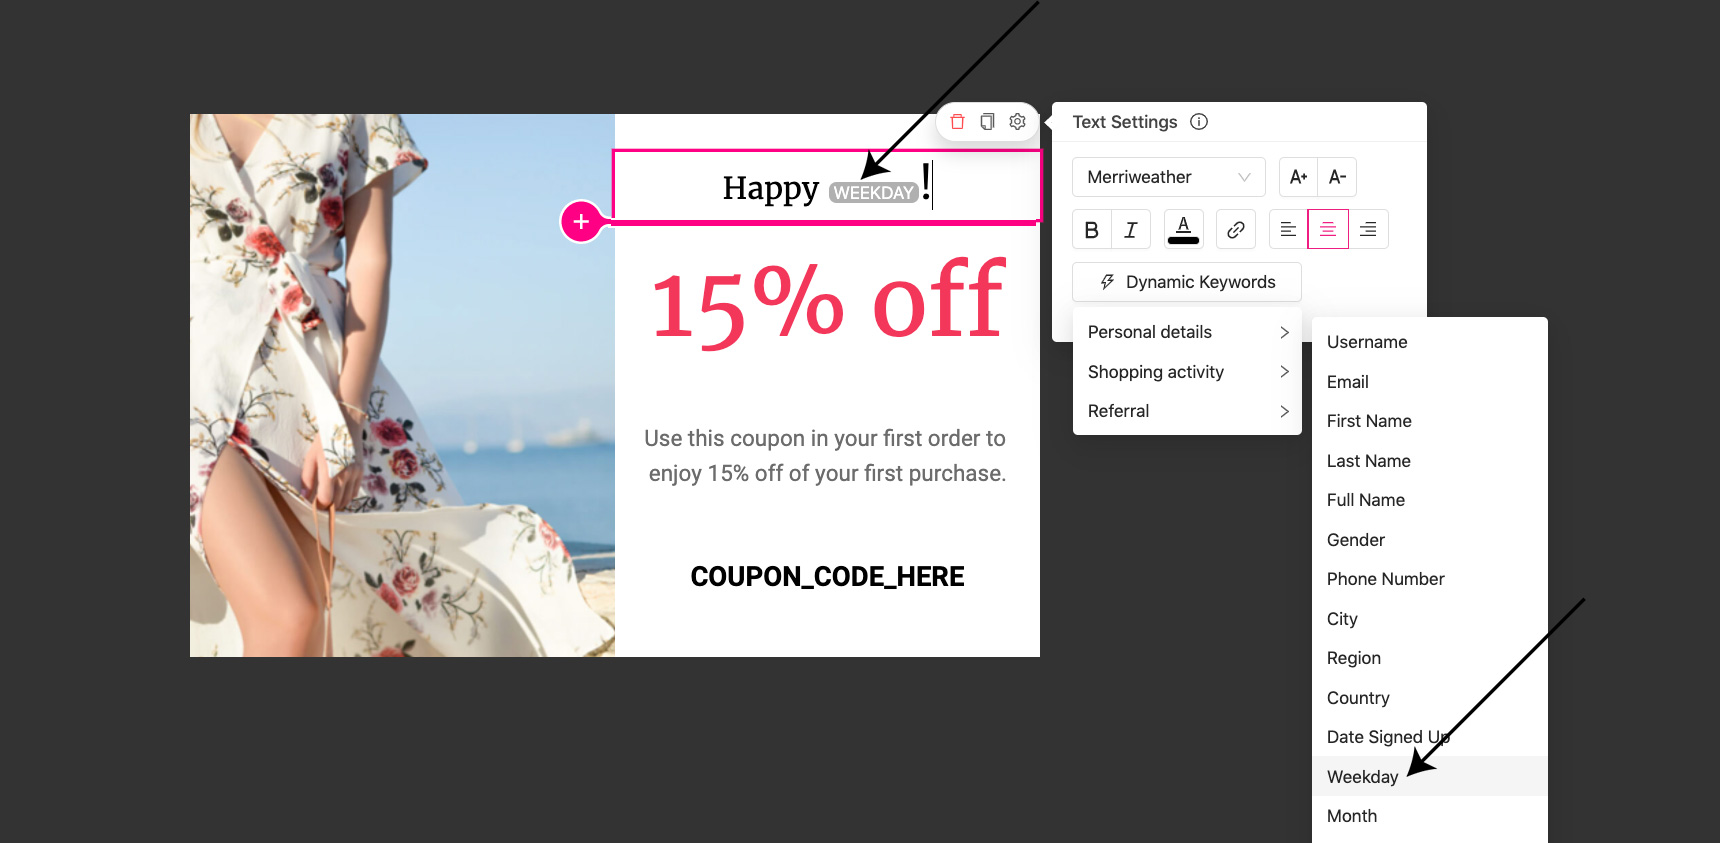
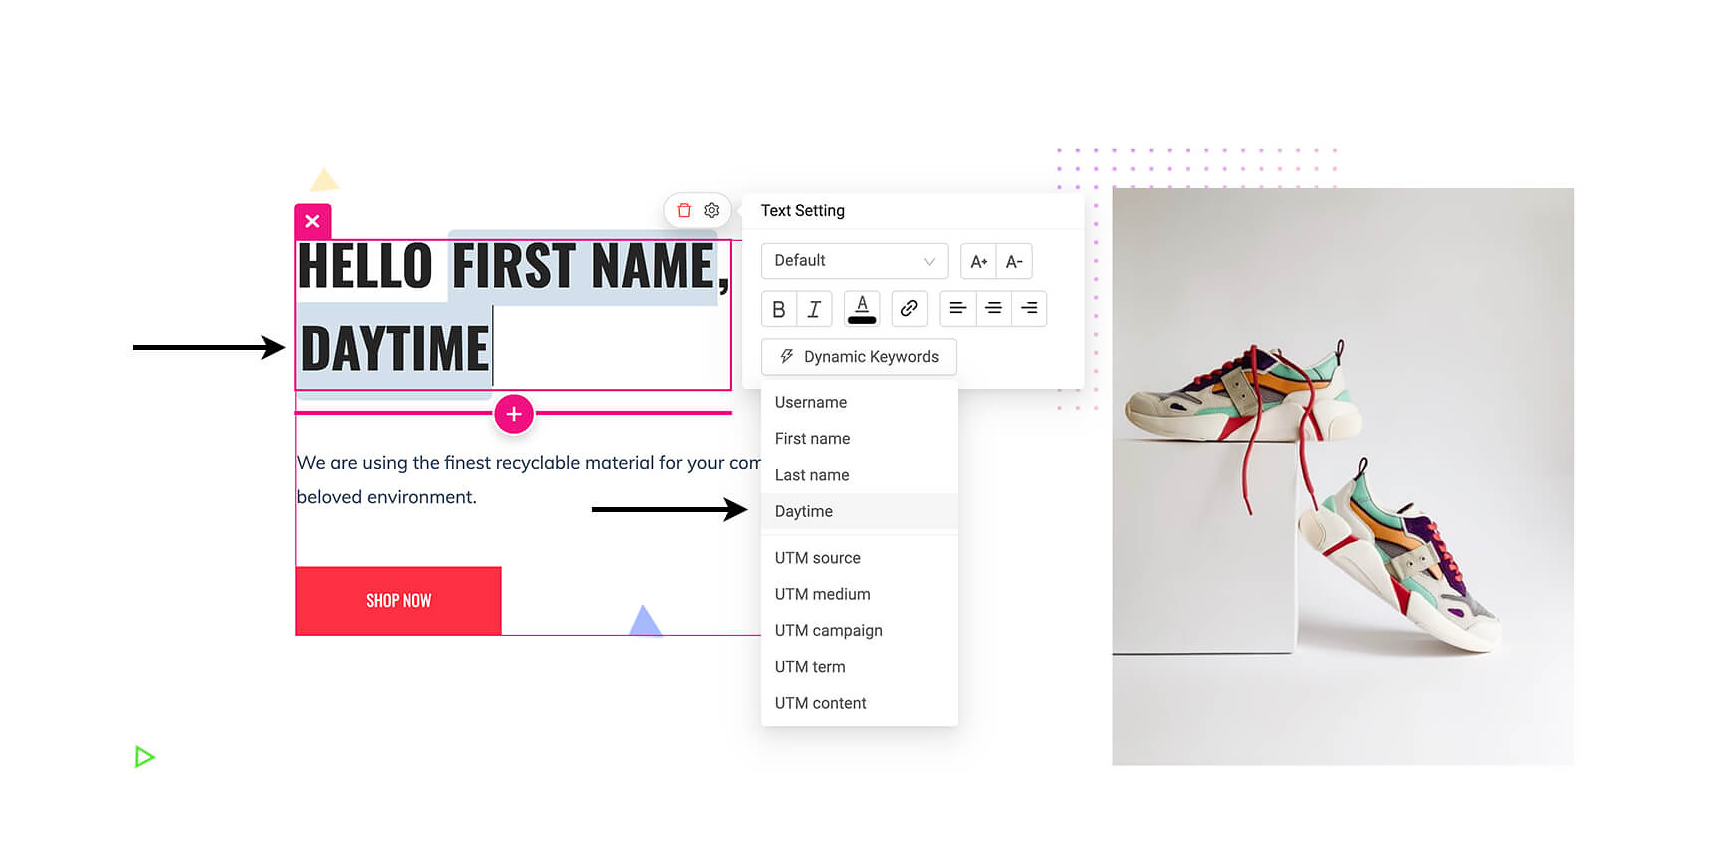
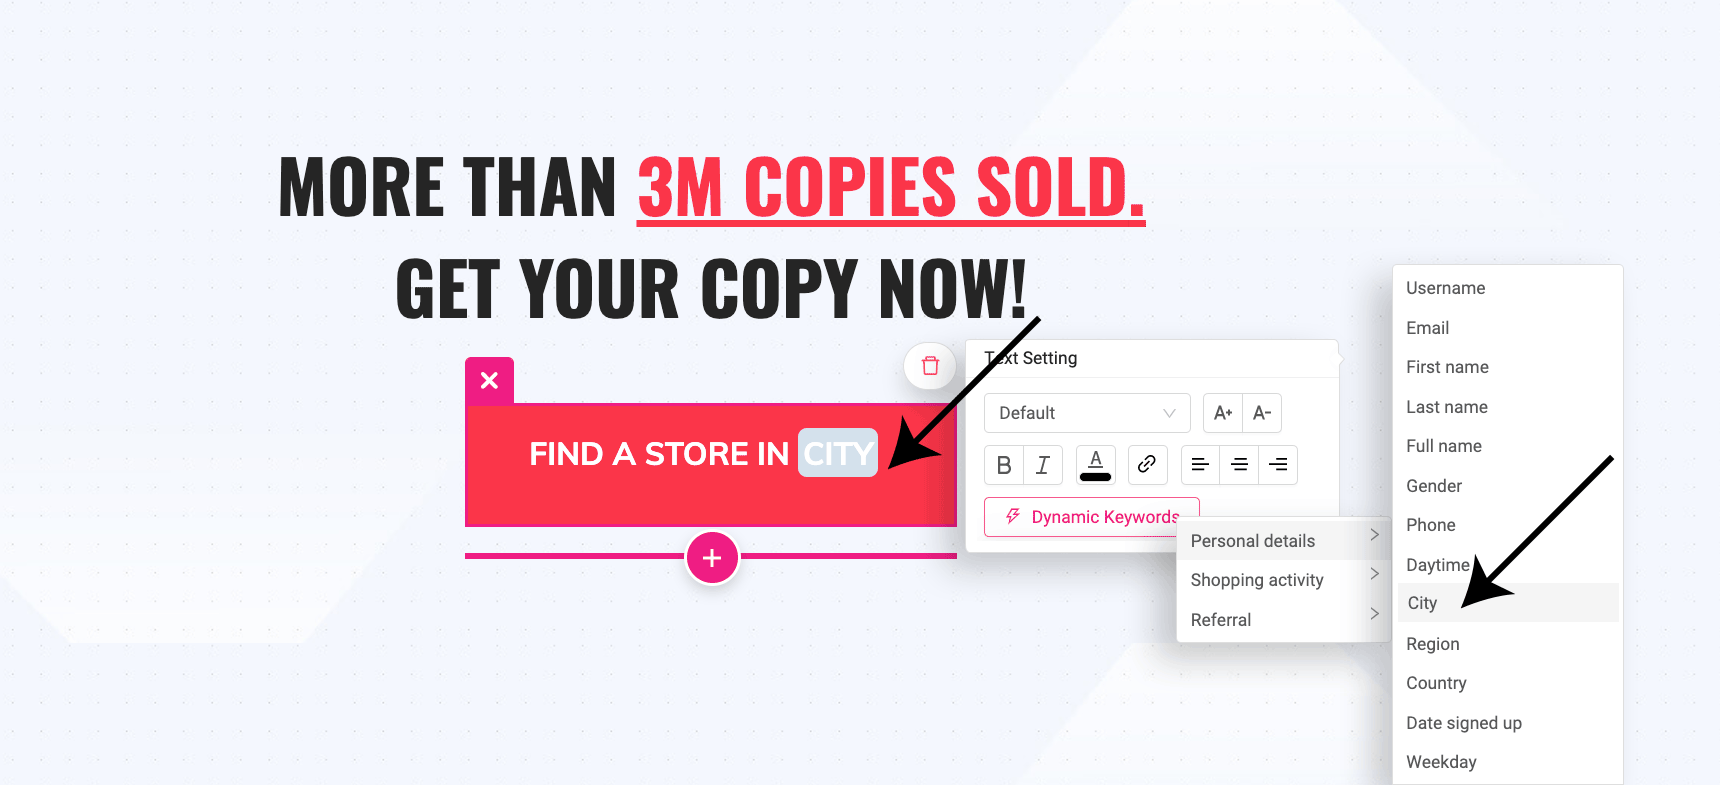
The best way of going about this is by adding a personalized touch to promotional emails. The personalization needed here extends beyond simply inserting the user’s name to the subject time and at the beginning of an email. A tool like Growmatik offers up several dynamic keywords that help in personalizing an email’s content with personal attributes that have to do with in-site behavior and purchase activity.

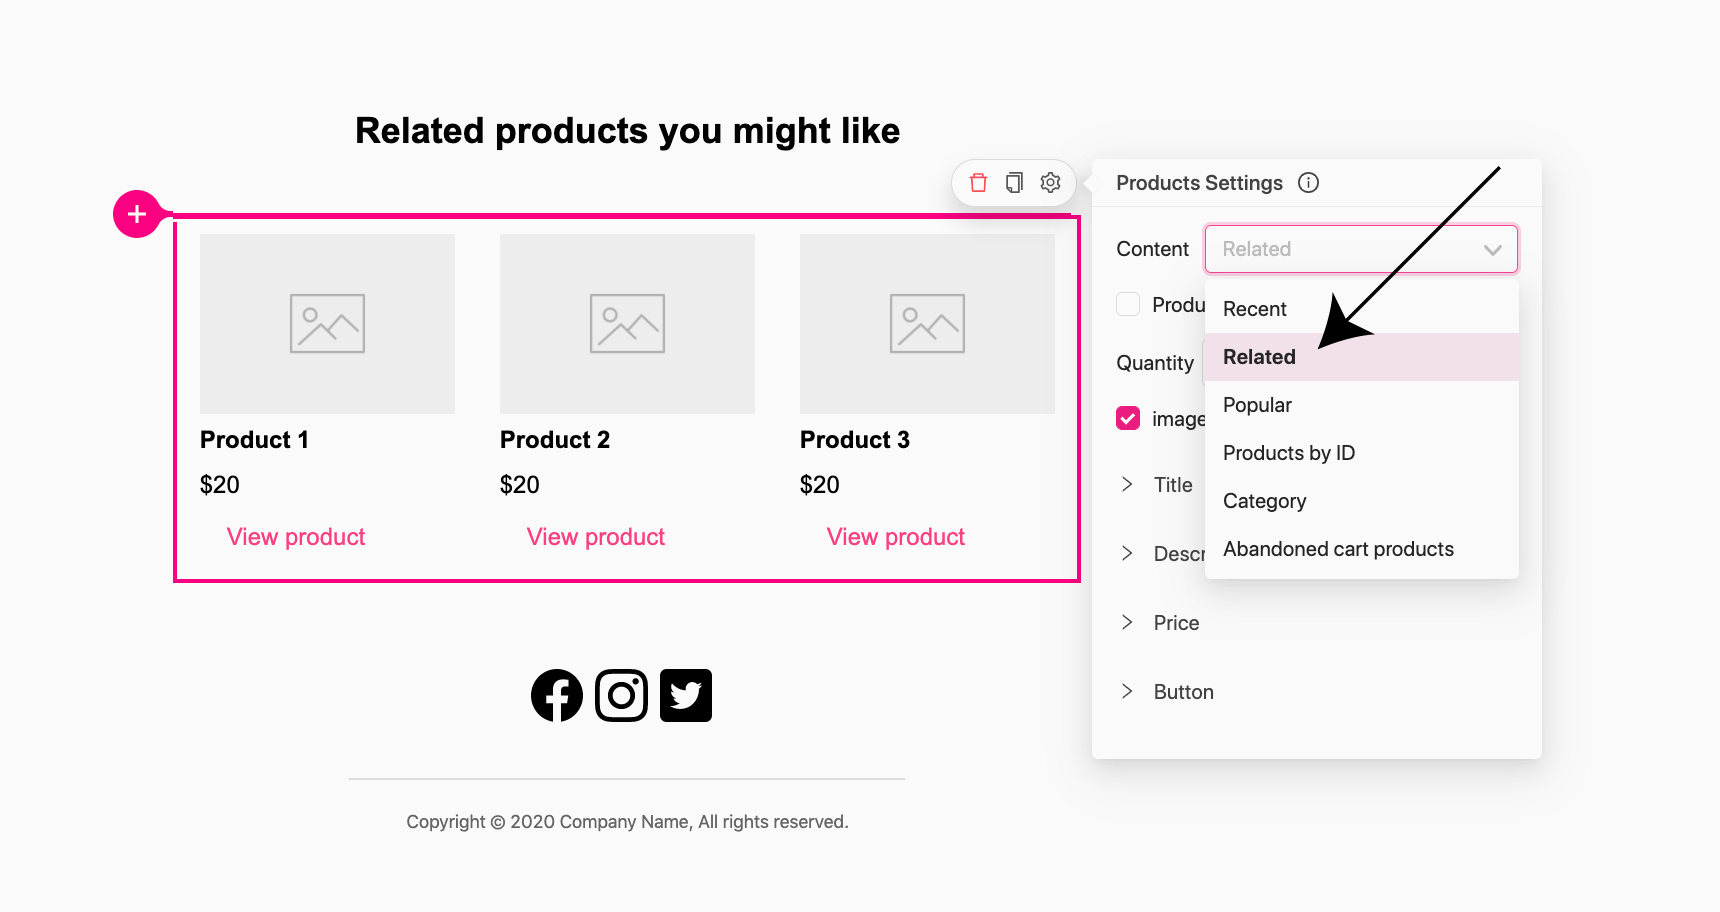
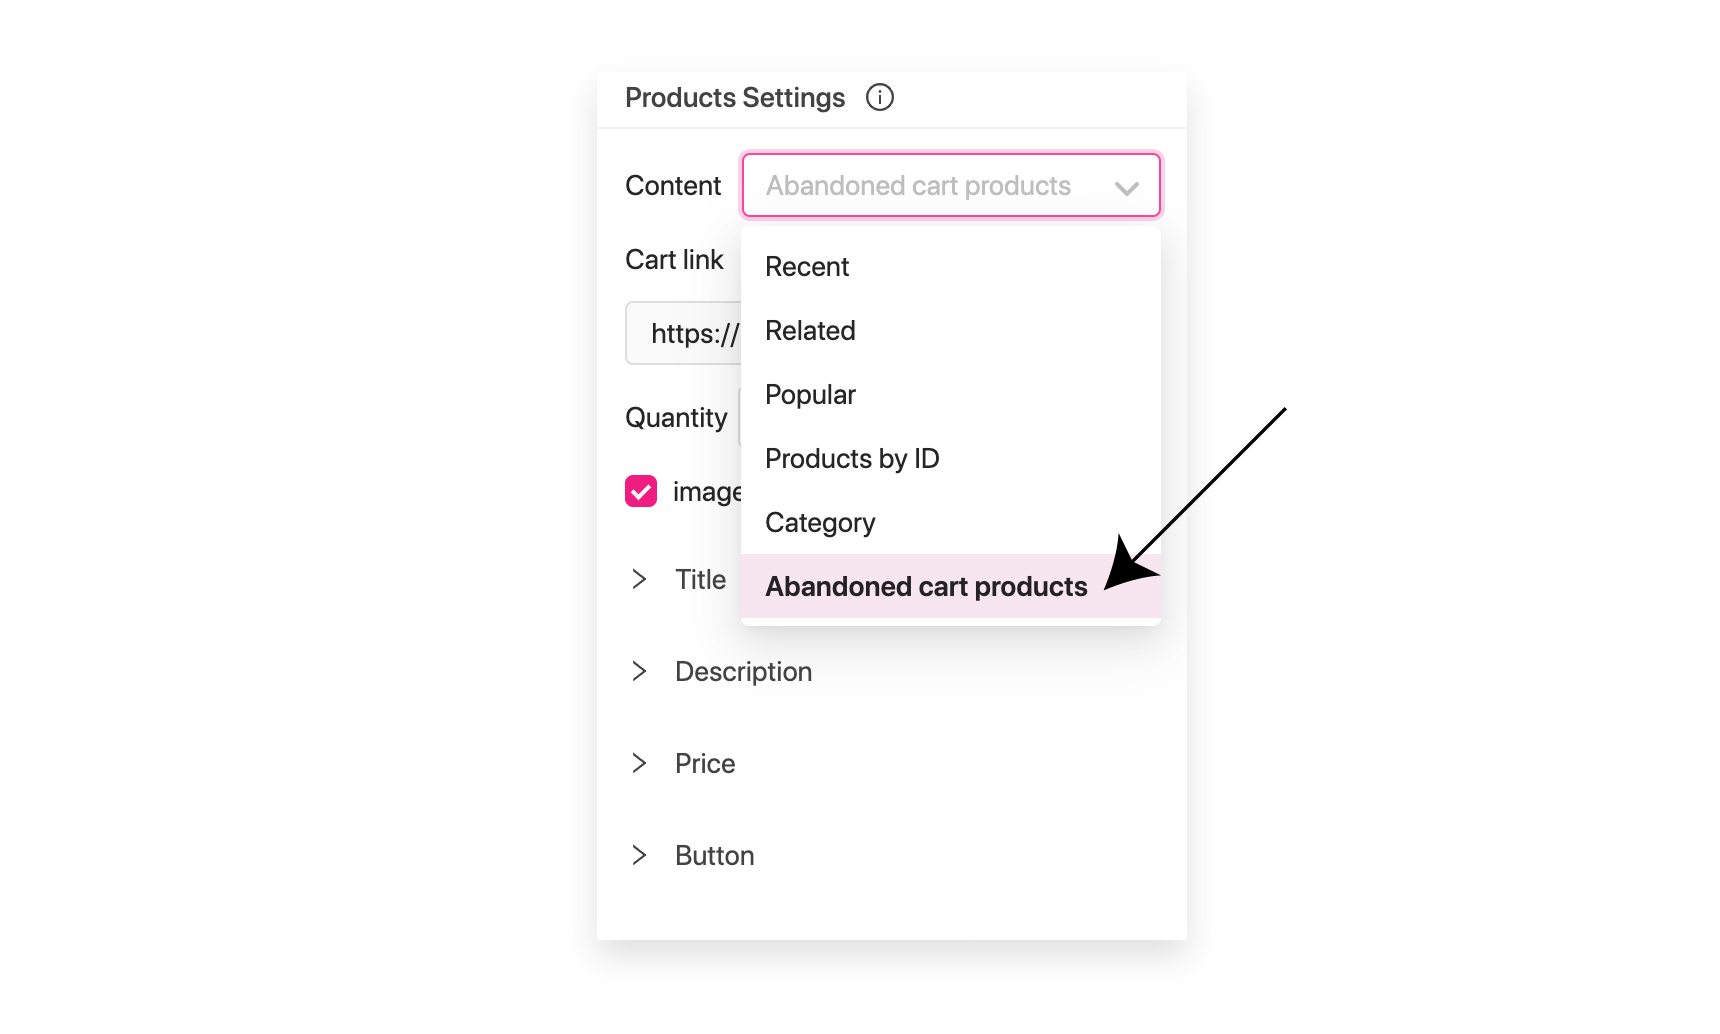
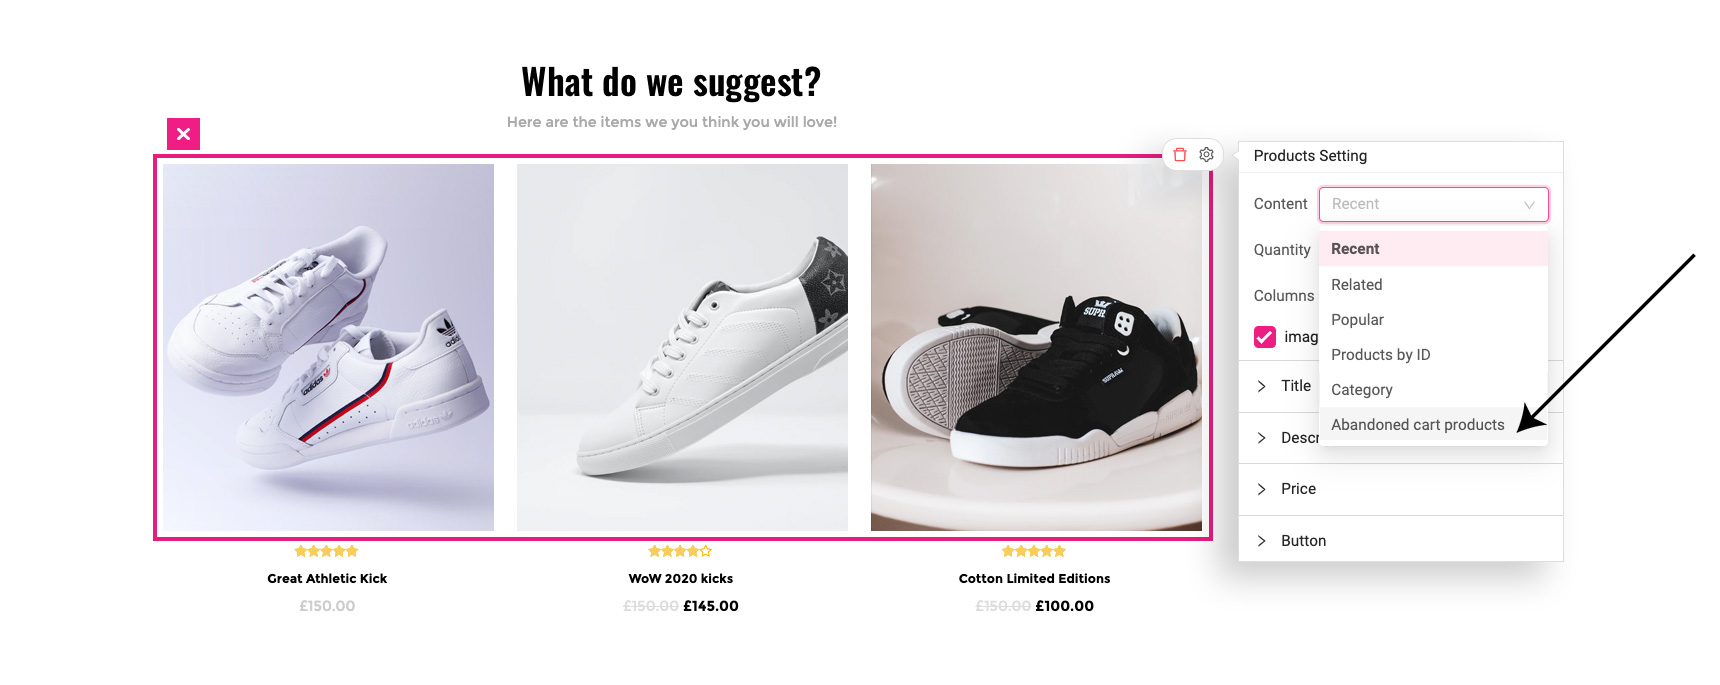
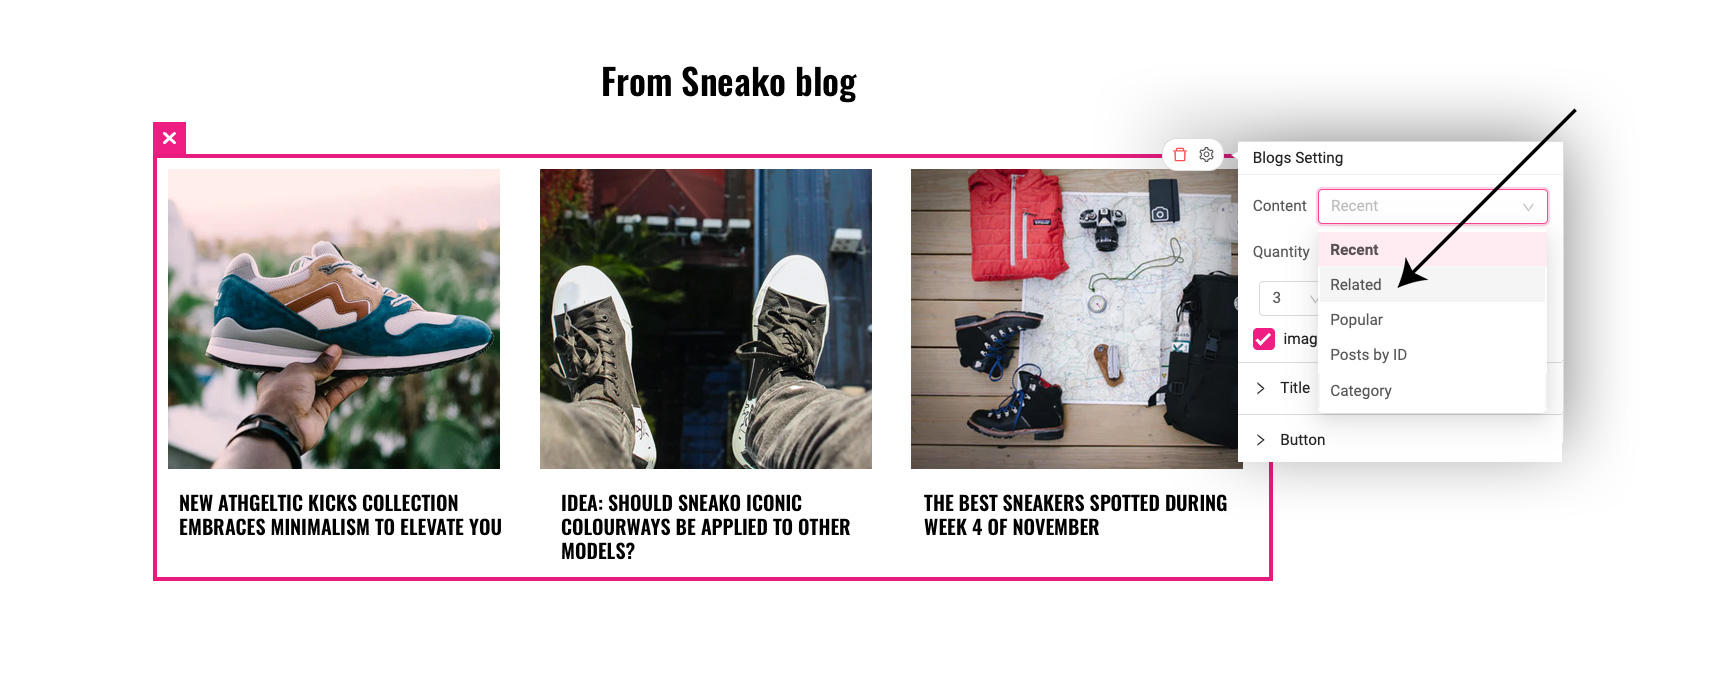
In addition to the text of the email itself, the products you’re promoting should also vary for each recipient and depend on their purchase history. An excellent way to customize promotional emails is by sending out cross-selling emails or cart abandoner follow ups. You can easily do this in Growmatik by using the Product Element in the tool’s email builder to add personalized product lists in the email based on the recipient’s shopping behavior.
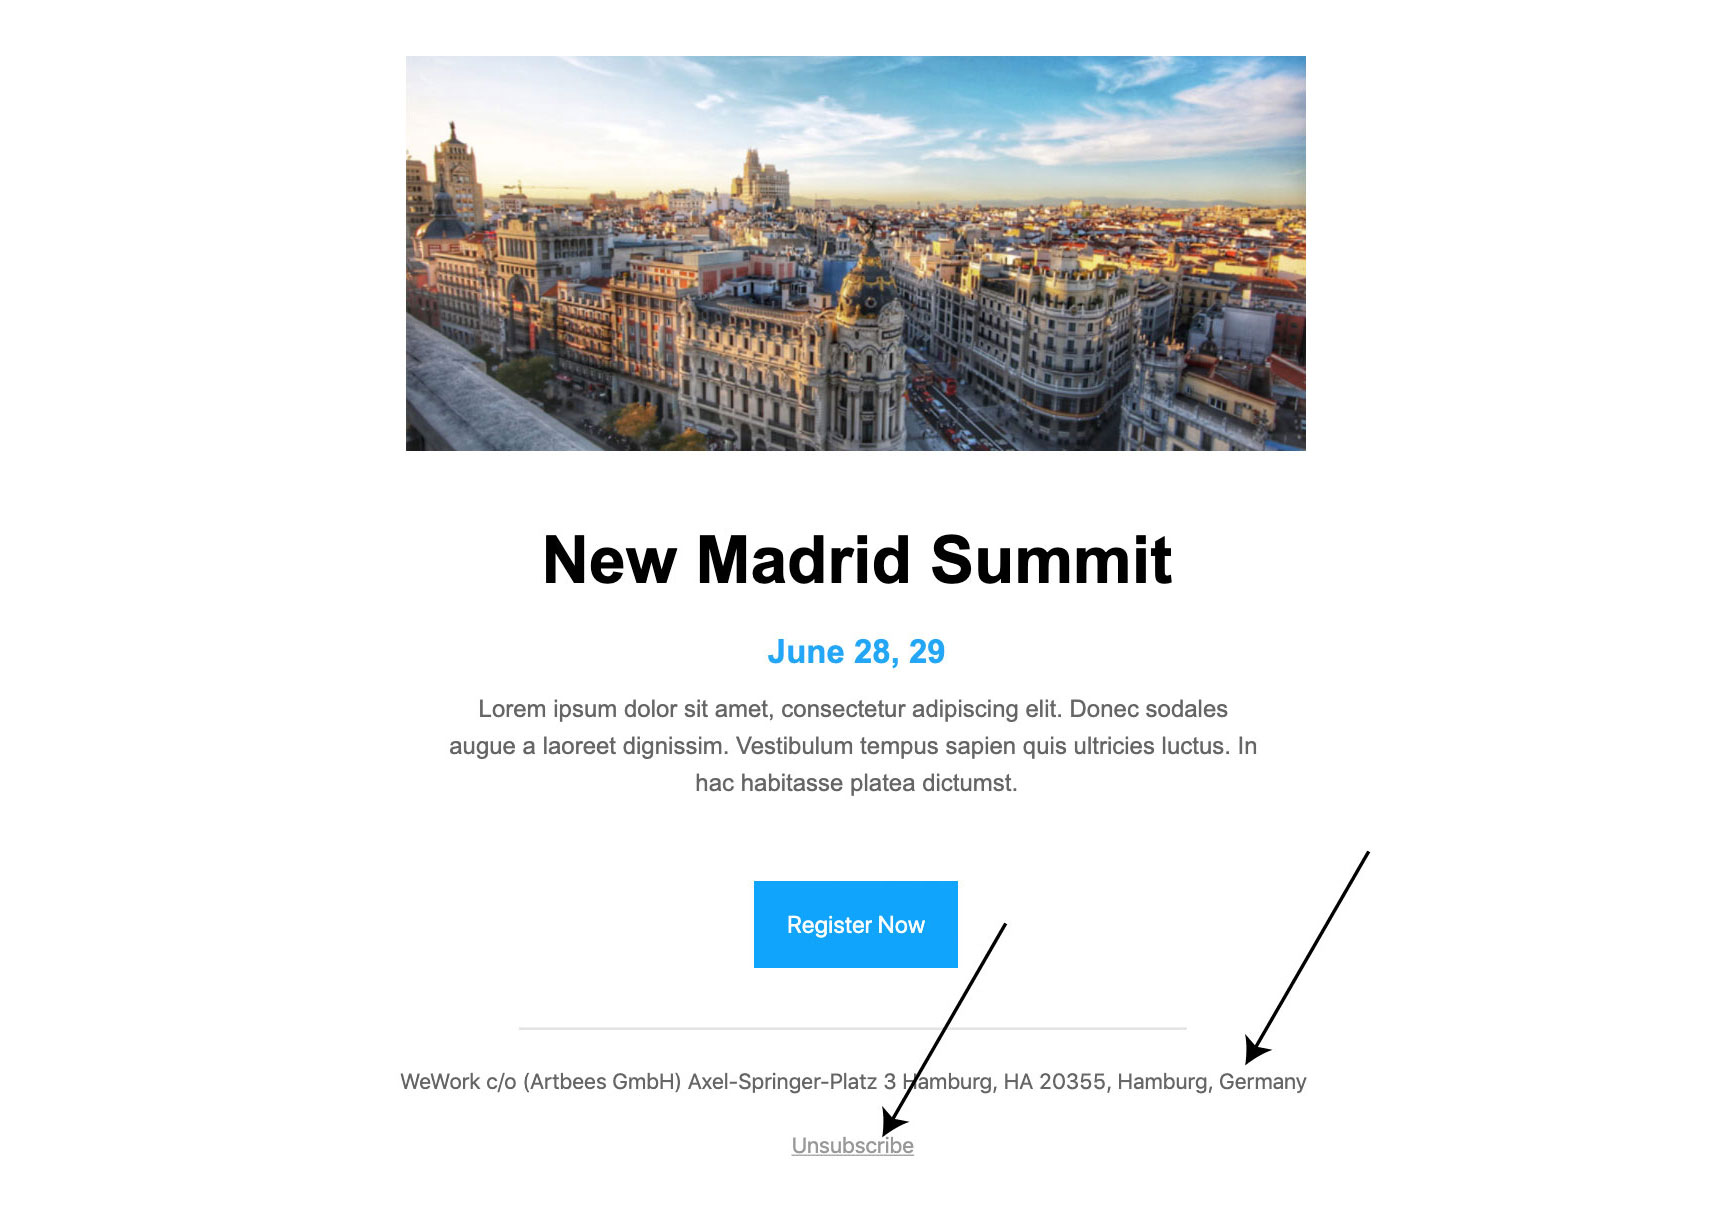
5- Include address and unsubscribe options for broadcast emails
A tool that is compatible with CAN-SPAM and GDPR will make you add your legal physical address in the footer section of each broadcast email. For instance, in Growmatik, its email builder will automatically insert the address section in the footer of an email.
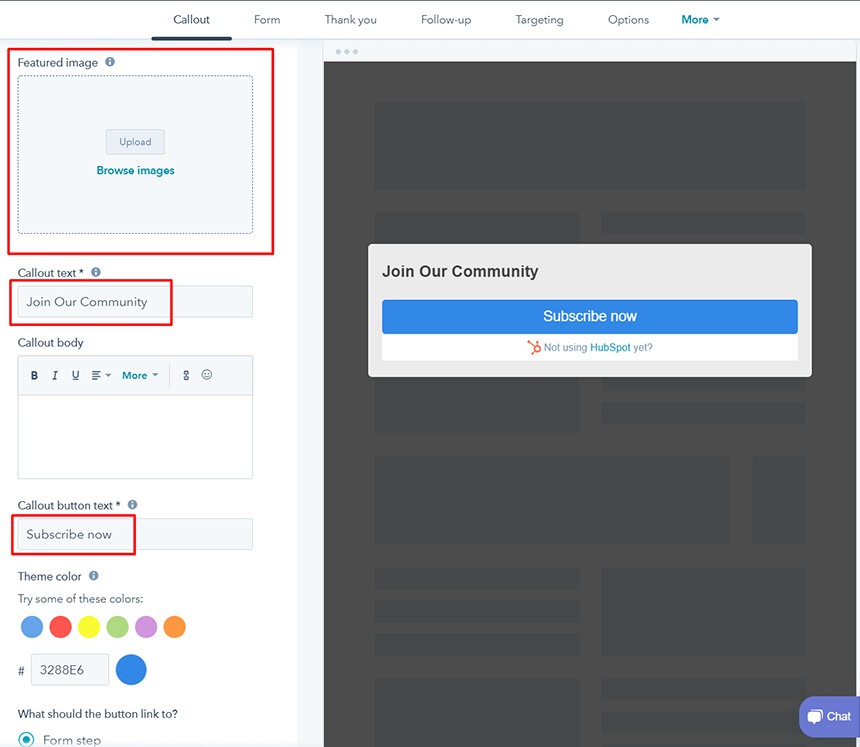
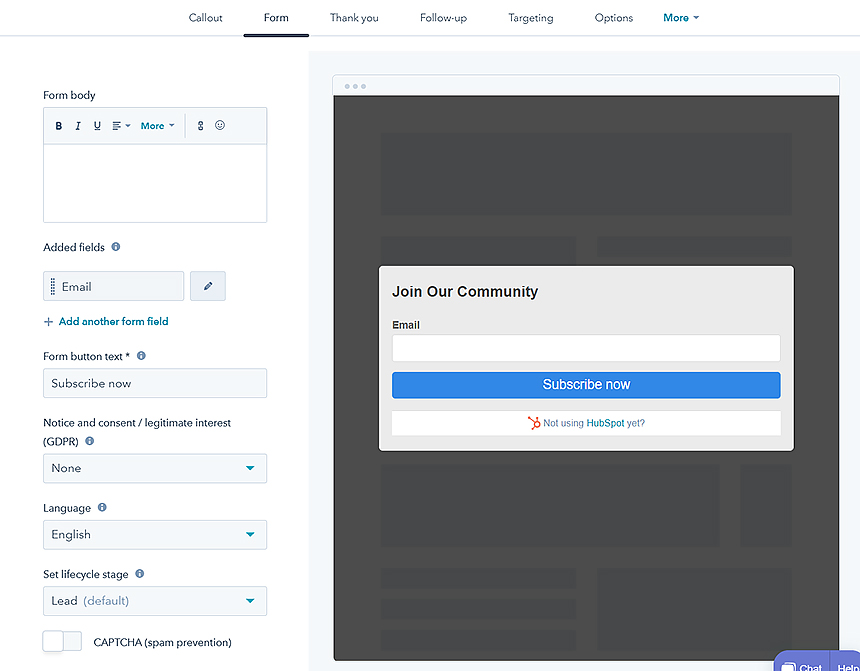
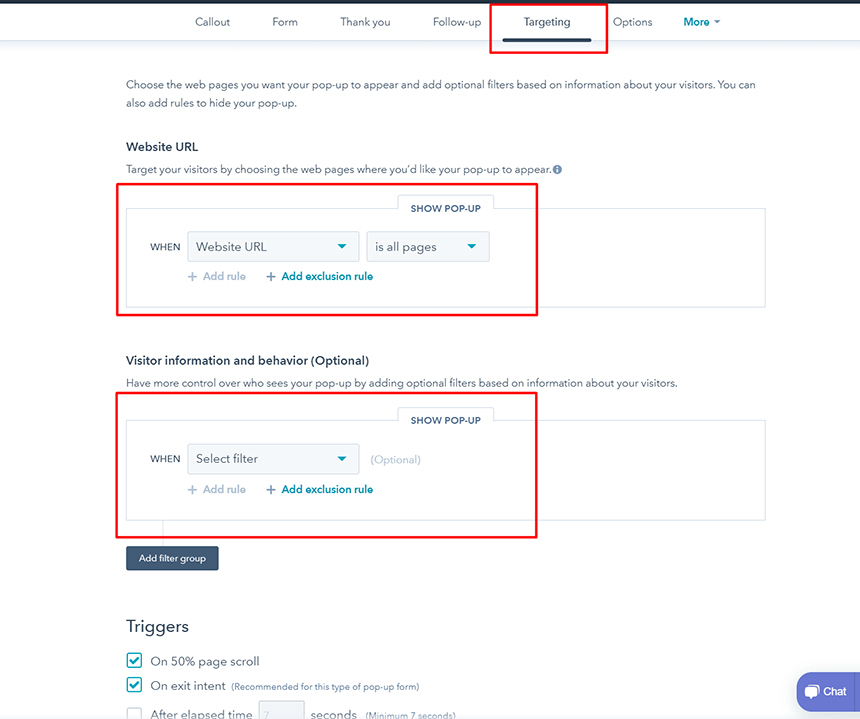
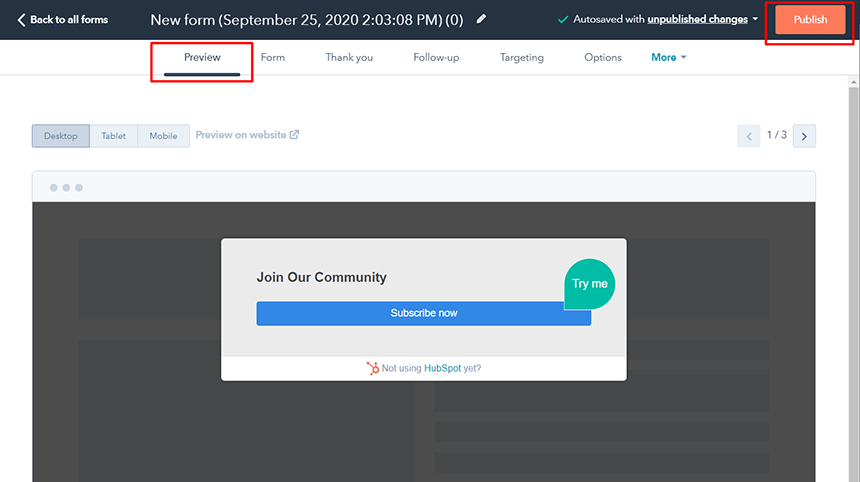
6- Utilize sign-up forms that are double opt-in
It’s no secret that doubt opt-in is one of the best ways to build and sustain a robust mailing list. This holds particularly true when making a list for broadcast emails as double opt-in hinders additional expenses and goes a long way in sustaining a decent domain sender score. You can also use tools such as Email Verifier to verify authenticity of recipient email addresses individually or in bulk.
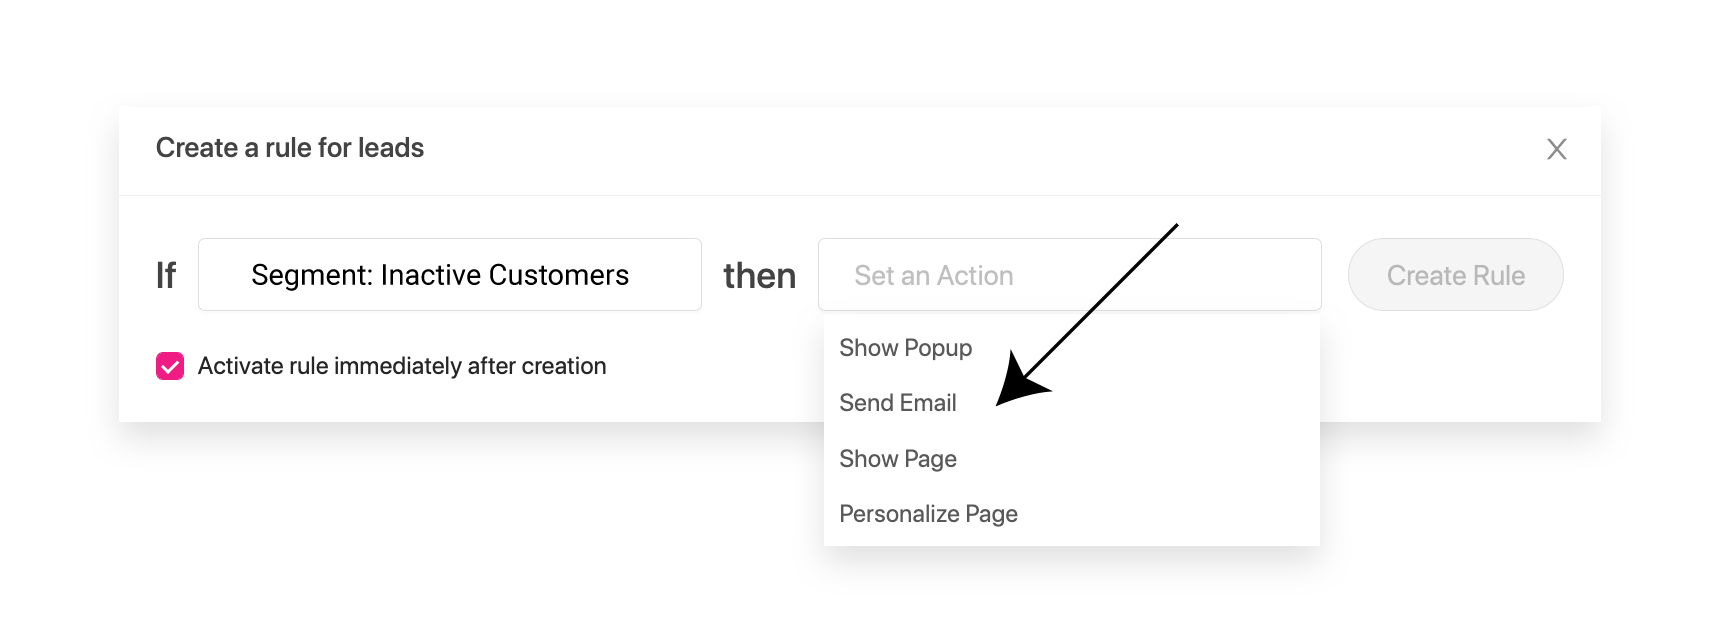
7- Send emails that align with the consent
Let’s say that your targeted recipient is a customer, and you’d like to keep them in the loop about particular events or things. The best thing to do to avoid the spam filter is to send them transactional emails that you know are relevant to them and that they want to receive. Keep in mind that you should only send broadcast emails if the recipient has allowed for marketing emails from your business.

8- Add quality content following CAN-SPAM guidelines
The content in your emails should completely comply with CAN-SPAM content guidelines, as well as the guidelines (e.g., pornography, phishing, cyberbullying, etc…) set out by your email marketing platform. Furthermore, if you don’t want your email to be tagged as promotional, you should not overuse certain marketing terms in your email subject and body. These terms include discount, sales, action, apply now, call now, unbelievable (and of course viagra!)
| Best price | ❌ | Dear friend | ❌ |
| #1 | ❌ | Winner | ❌ |
| 100% free | ❌ | Weight loss | ❌ |
| Billion | ❌ | Deal | ❌ |
| Free gift | ❌ | Debt | ❌ |
| Giveaway | ❌ | Lifetime | ❌ |
| Guaranteed | ❌ | Score | ❌ |
| Risk-free | ❌ | Unlimited | ❌ |
| Apply now | ❌ | Urgent | ❌ |
| Get it now | ❌ | Become a member | ❌ |
9- Stay away from HTML content and use a good image/text ratio
Simply put, you won’t have a shot of making it to the primary inbox tab if you send out an HTML email. Most ISP have algorithms that flag HTML content as promotional emails, therefore funneling them to the promotional tab. Emails that are most likely to land in the main inbox are ones with plain text and not that many links and images.
Following from this, the content of your emails needs to have a good image/text ratio. Content that doesn’t contain an image has a higher chance of going to the primary inbox (that is, if the email meets the other criteria), and content with a lot of images or text is more likely to be directed to the promotional tab. Furthermore, content that doesn’t have any text will probably land in the spam folder.
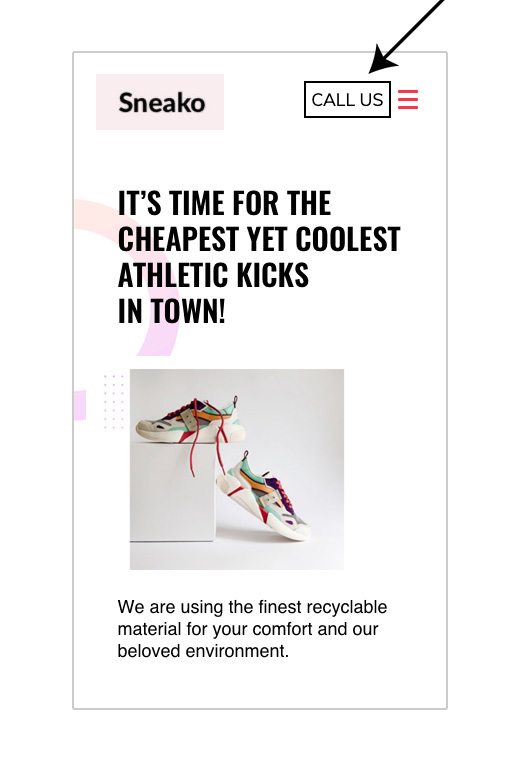
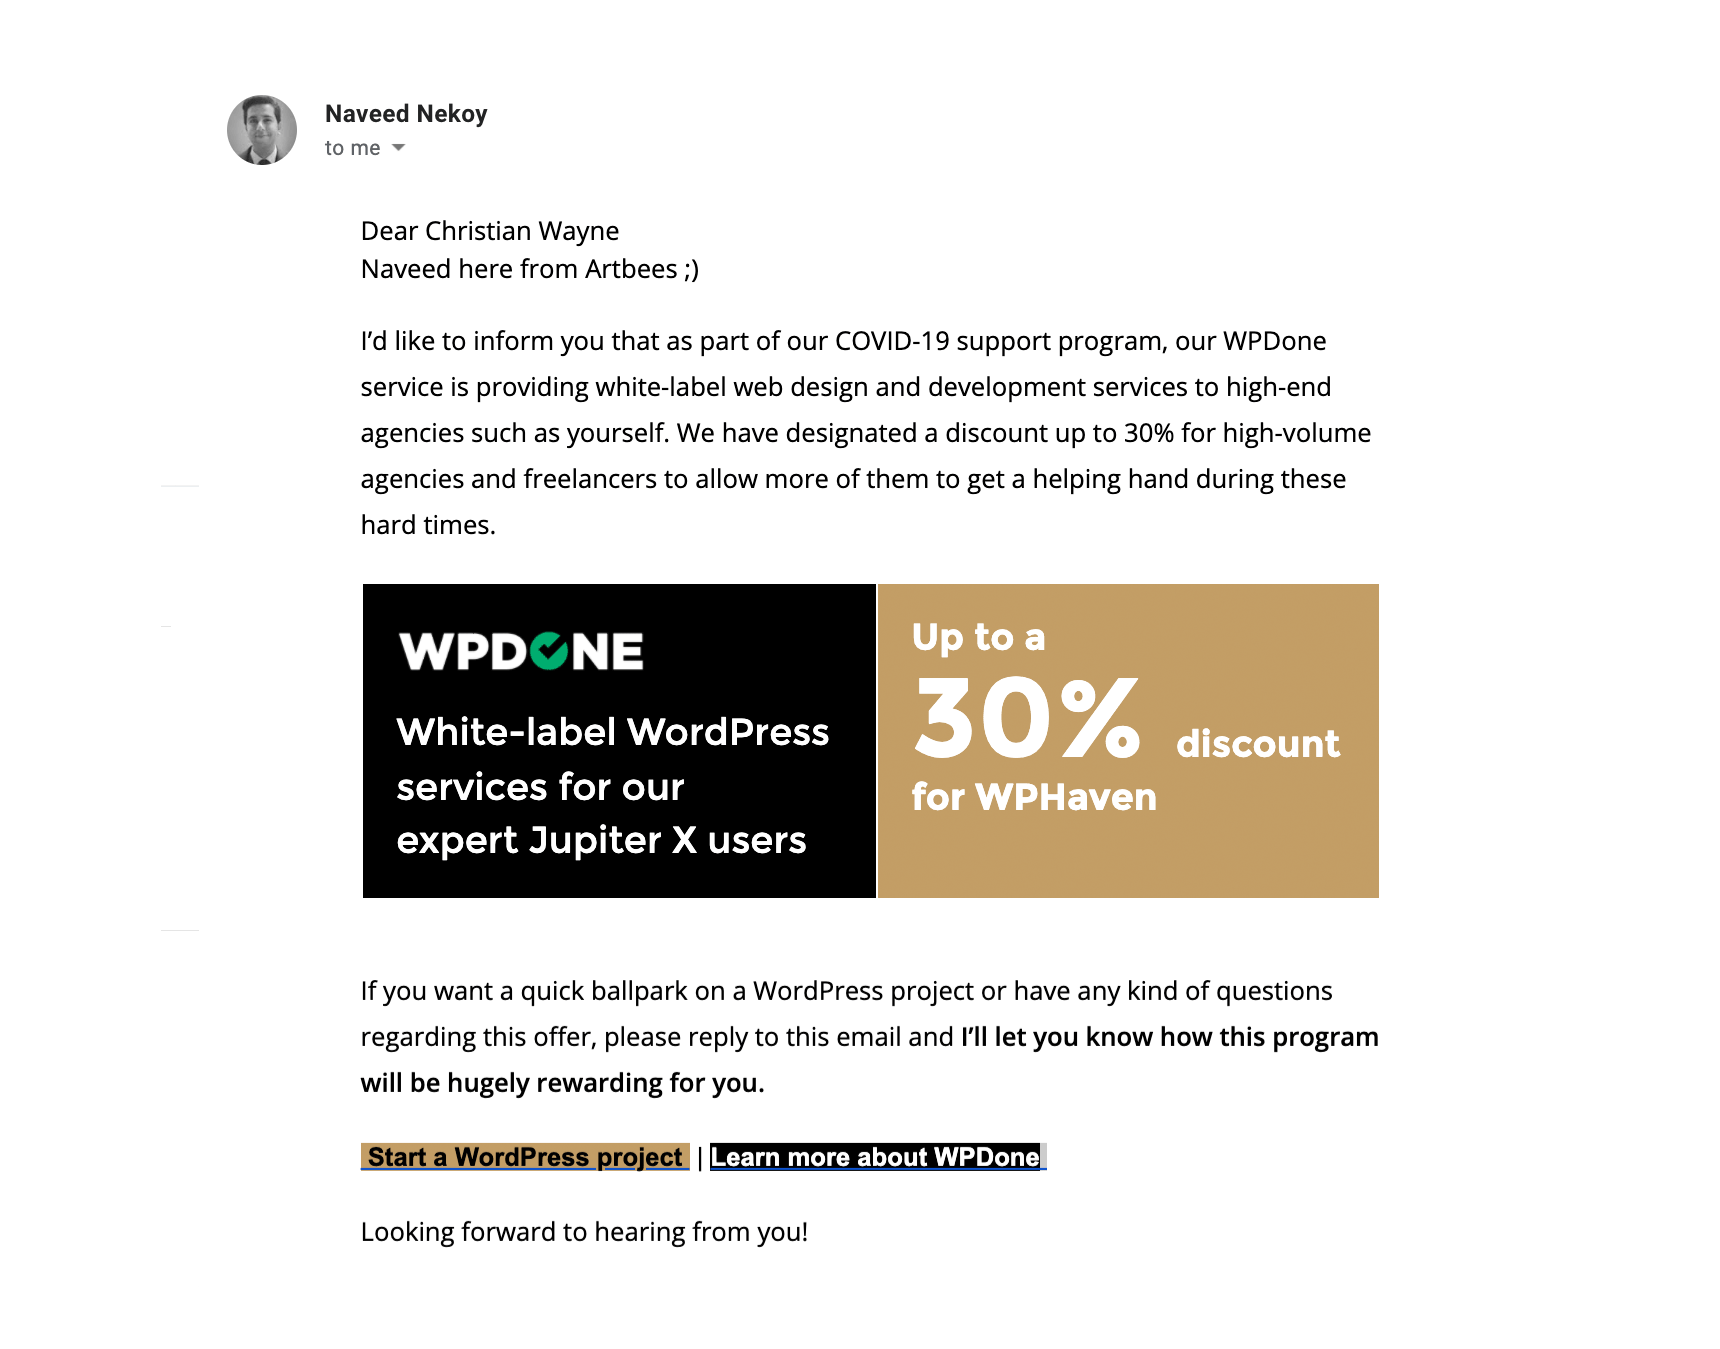
10- Use links that match your From address
If your email contains a call-to-action button, you should link it up to the same domain of the From address found in your email’s header in order to avoid the spam filter. If not, the recipient’s ISP may assume that you’re sending the email as an affiliate marketer attempting to make sales for affiliate earnings for another business or brand.
Bonus tip! Closely track the performance of your campaign
This is the final step, and it is probably the only step that should be taken consistently. After implementing the above tips into your email campaigns and sending them out, you should closely follow how each is doing by referring to its performance analytics as well as the sending reputation of your domain. For the former, you can look at the analytics provided by our email marketing campaign.
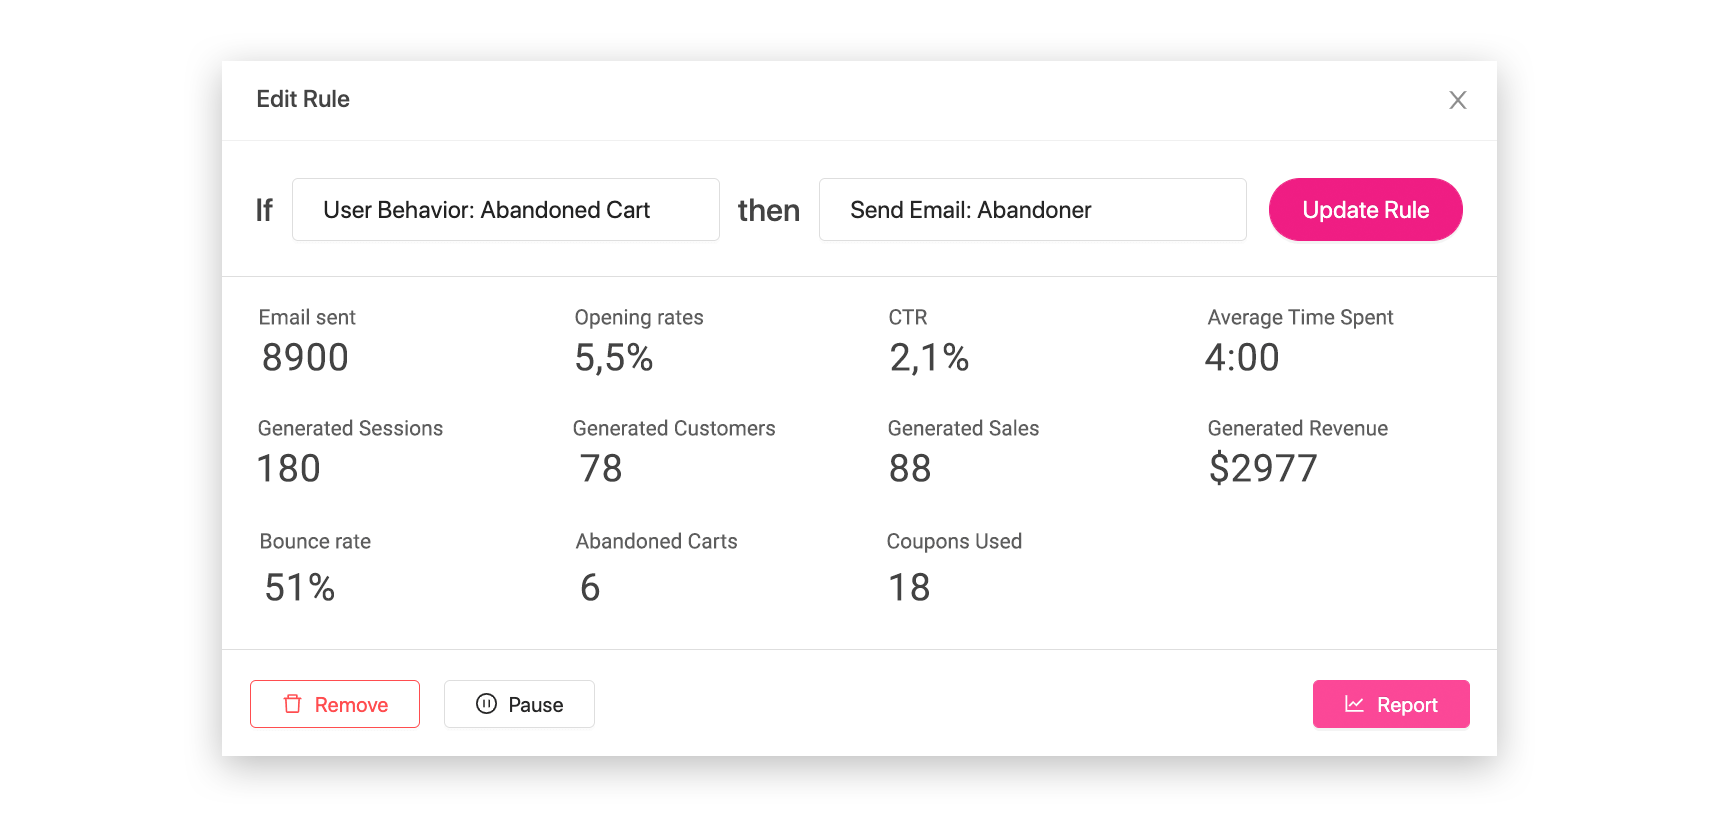
For instance, in Growmatik, you can see how well each email campaign is performing by going to the Report section in the automation dashboard. To check the sender reputation over time, you can utilize tools such as Mail Tester.
Closely following your email campaigns will enable you to notice any potential issues, such as low engagement or delivery rates, so that you can make the necessary changes at the appropriate time. This is crucial so you can minimize any potential damage to your email campaign and your sender reputation.