Developers spend most of their time in test environments. Having a good development environment can save tons of time and energy. This begs the question: what’s the best test environment for WordPress? In this article, I’ll share some of my personal thoughts about five of the best WordPress development environments. I’ll dive deeper and talk about their features, so you can make an informed decision when choosing the right environment for your particular workflow.
The best WordPress development environments in a nutshell
I chose 6 of the most necessary features and will do a quick comparison among the Valet, Vagrant, Local, DesktopServer and XAMPP development environments, so you can quickly wrap your head around these environments.
| Valet | Vagrant | Local | DesktopServer | XAMPP | |
| Cross-platform | Mac | Mac, Windows, Linux | Mac, Windows, Linux | Mac, Windows | Mac, Windows, Linux |
| Easy installation | Yes | Yes | Yes | Yes | Yes |
| Dashboard | No | No | Yes | Yes | Yes |
| Easy configuration | To some extent | To some extent | Yes | To some extent | Yes |
| Multiple websites | Yes | Yes | Yes | Up to 3 in free version | Yes |
| Price | Free | Free | Free & Pro | Free & Premium | Free |
Valet
Simply put, Valet is awesome. I can’t help but use this development environment since I found out about it some years ago. I’ve been amazed by the simplicity of this environment. The Laravel team has done a fantastic job in developing so many great features. I won’t list all the features but will quickly share a few key points with you.
Pros
- It’s open-source and free.
- It’s blazing fast.
- It has a wide range of support for different platforms (WordPress, Laraval, Lumen, Drupal, …)
- It’s easy to install via Homebrew (The Mac package manager).
- With the help of Homebrew, you can switch between different PHP versions. In my job, I am sometimes in great need of this feature.
- It offers two ways to share your local project online via Ngrok or Expose. It’s very practical for quickly getting feedback from your clients.
- It has well-written documentation.
- It has a long list of commands to control different aspects of the development environment.
- No usage of virtual machines. This might be a con also but to me, the simplicity that it provides in comparison to virtual machines is worthy.
- You can secure your site with TLS easily using a single command.
Cons
- Multisite WordPress installation requires installing a separate driver. It’s easy to install, but I feel that it should have native support.
- It’s not cross-platform. It only has official support for Mac users. There’s a fork called Valet Windows for Windows users, but it’s not official.
- It configures your Mac to use some specific server type, and it can get messy if you want to use other servers and packages.
- It’s not possible to turn on/off individual sites.
Vagrant

Vagrant is an all-in-one software for having full-featured environments. The main selling points of this software is that it’s portable and distributable, which allows it to provide lots of flexibility regardless of your operating system. It’s able to handle any type of environment that you need. The initial feeling that you may get is that it’s a software for pro developers but once you get your head around it, you’ll like it.
Pros
- It’s open-source and free.
- It’s a cross-platform software that runs on Mac, Windows and Linux.
- It’s portable and distributable via Vagrantfile. This is a killer feature.
- It has the necessary commands to control the software via the command line.
- Isolated packages and configurations for each environment.
- Ability to turn off/on individual sites.
Cons
- It has good documentation, but it could be improved to help newbie developers learn faster.
- It seems that it’s intended for pro developers, not all developers.
Local
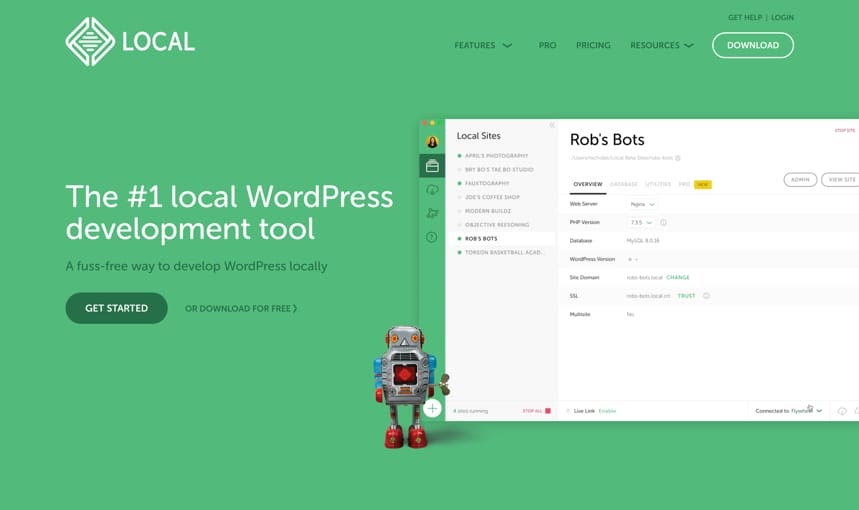
Local is a modern WordPress development environment that offers many features. It provides a dashboard in which you can control your sites easily. If you are the type of developer who likes to have a dashboard instead of working from the command line, Local is one of the best available tools.
Pros
- It’s free. There’s a premium plan, but the free version is rich with features.
- It’s a cross-platform software that runs on Mac, Windows and Linux.
- If you want to serve your site in Flywheel and WP Engine, you can simply push your site to those servers from the dashboard.
- To quickly share your local site online, you can create a live link with one click.
- After creating the site, you can easily reconfigure the settings via the dashboard. Like changing the PHP version, server confirmation and more.
- Ability to turn off/on individual sites.
- It has built-in support for Mailcacher which makes email testing easy.
- You can export/import your sites. It’s very handy to recreate your site in another operating system.
Cons
- It seems that it’s slower than Valet in some cases.
- It’s not possible to use the command line to control the environment.
XAMPP

XAMPP is an old player in providing WordPress development environments. It’s completely free and easy to install. I have used XAMPP before, and it has all the necessary features for having a good WordPress environment but I moved to Local some time ago.
XAMPP has a unique feature that almost none of the other environments has, which is a community that can quickly offer help.
Pros
- It’s completely free.
- It’s a cross-platform software that runs on Mac, Windows and Linux.
- It’s getting frequent updates to support the latest versions of PHP.
- It provides a way for you to easily configure the PHP and the server.
- It comes with all the necessary modules to run a smooth WordPress environment.
- It has a wide range of add-ons to support different platforms not only WordPress.
Cons
- It’s slower than Valet based on my testing in some cases.
DesktopServer
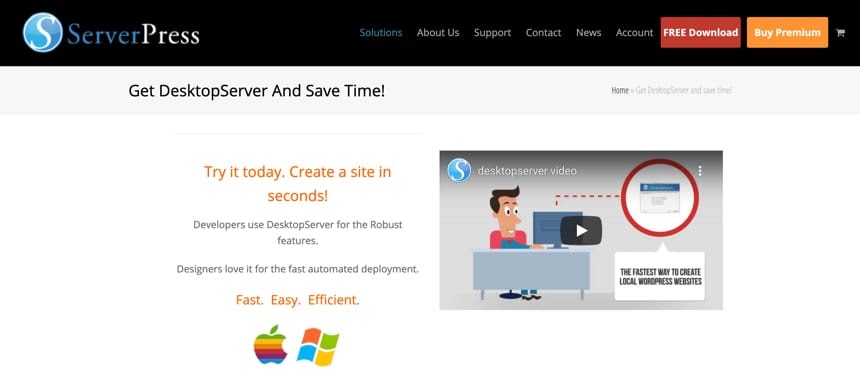
DesktopServer is similar to Local and offers a dashboard to manage your sites. It’s not intended only for developers, other people like designers can also use it easily. It has free and premium versions. The free version is very limited in comparison with Local and XAMPP. I’ll mention the pros and cons of the free version below.
Pros
- It’s free with basic features.
- It’s quick and easy to create a WordPress site from the dashboard.
- It has built-in support for Xdebug which is a handy tool for debugging.
- Ability to duplicate a site. This feature comes very helpful for me since I need to create my main sites with different versions of WordPress themes for testing purposes.
- It includes the latest versions of PHP.
Cons
- It’s not possible to create multisite.
- It’s limited to creating only 3 sites.
It’s worth mentioning that the premium version of DesktopServer has tons of features. Some of their features like importing/exporting, having code editor integrations, and blueprints for automated WordPress configurations are indeed time saver and worth the try.
Wrapping up
Selecting the right development environment is a personal choice, and I shared a few pros and cons of each of them. It’s recommended that you play with different environments and use the one that fits your needs.
In my opinion, what I’ve mentioned above are the best WordPress development environments at the moment. Personally, I use Valet and Local based on my needs. I’d love it if you would share your development environment in the comment section below and share their key pros and cons!