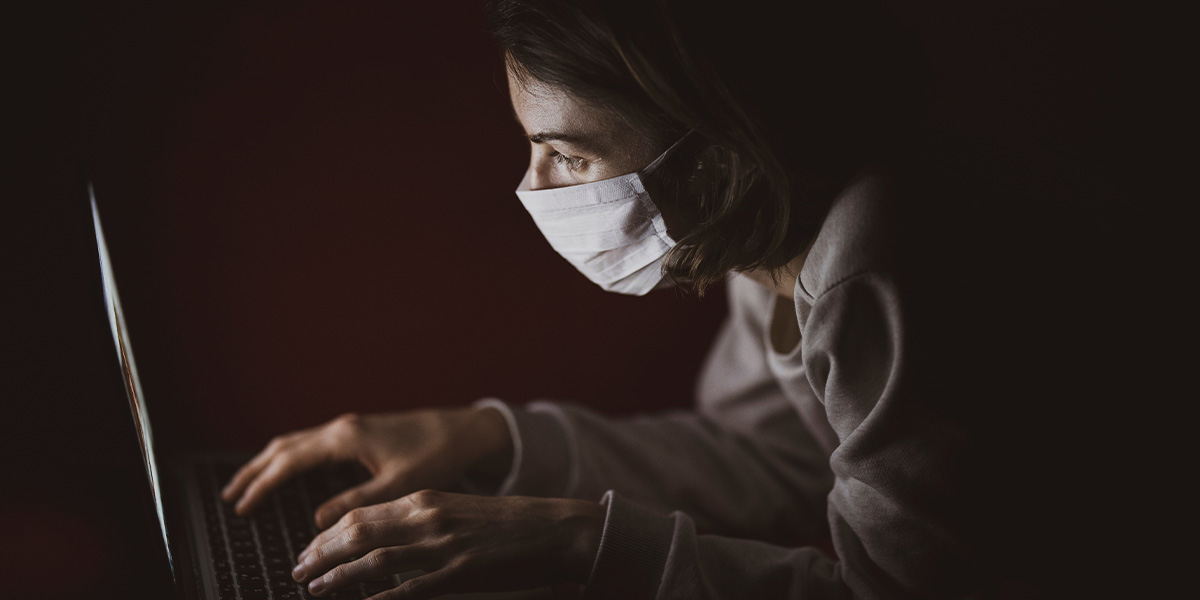
Amid the COVID-19 outbreak, many companies around the world were forced to roll out remote work as their top policy to help slow the rapid spread of Coronavirus. And we weren’t the exception! As a member of the WordPress community with 80% of our staff already working remote, shifting to working-from-home mode was not a major hassle for us. Following the initial announcement, we partially shut down the office, and nearly everyone was asked to begin working remotely during COVID-19. Since the beginning of last week, we completely closed our office doors, and we are now happy to announce that our team is 100% remote, hoping we could – even if only a bit – help to break the chain of infection.
Obviously, this shift was pretty new for a couple of us, and we experienced some challenges to get everything in place working from home. So to get a grasp on real-life experience, we asked both our veteran remote workers and newbies to share what challenges they faced and how they overcame them. We also gathered some tips on how to effectively work in lockdown, which could be helpful for anyone struggling to strike the work-life balance at home.
Constant communication is key
Remote work means you are also remote from your colleagues, office environment, coffee break chats and more. According to the stats, 20% of remote workers struggle with loneliness. Working remotely during COVID-19 with the added pressure of social distancing doubles concerns about a breakdown in communication. This loneliness and lack of proper communication with colleagues can demotivate and negatively affect the overall quality of someone’s work. Fortunately, in the age of the internet with numerous communication tools available, this shouldn’t be a major issue anymore.
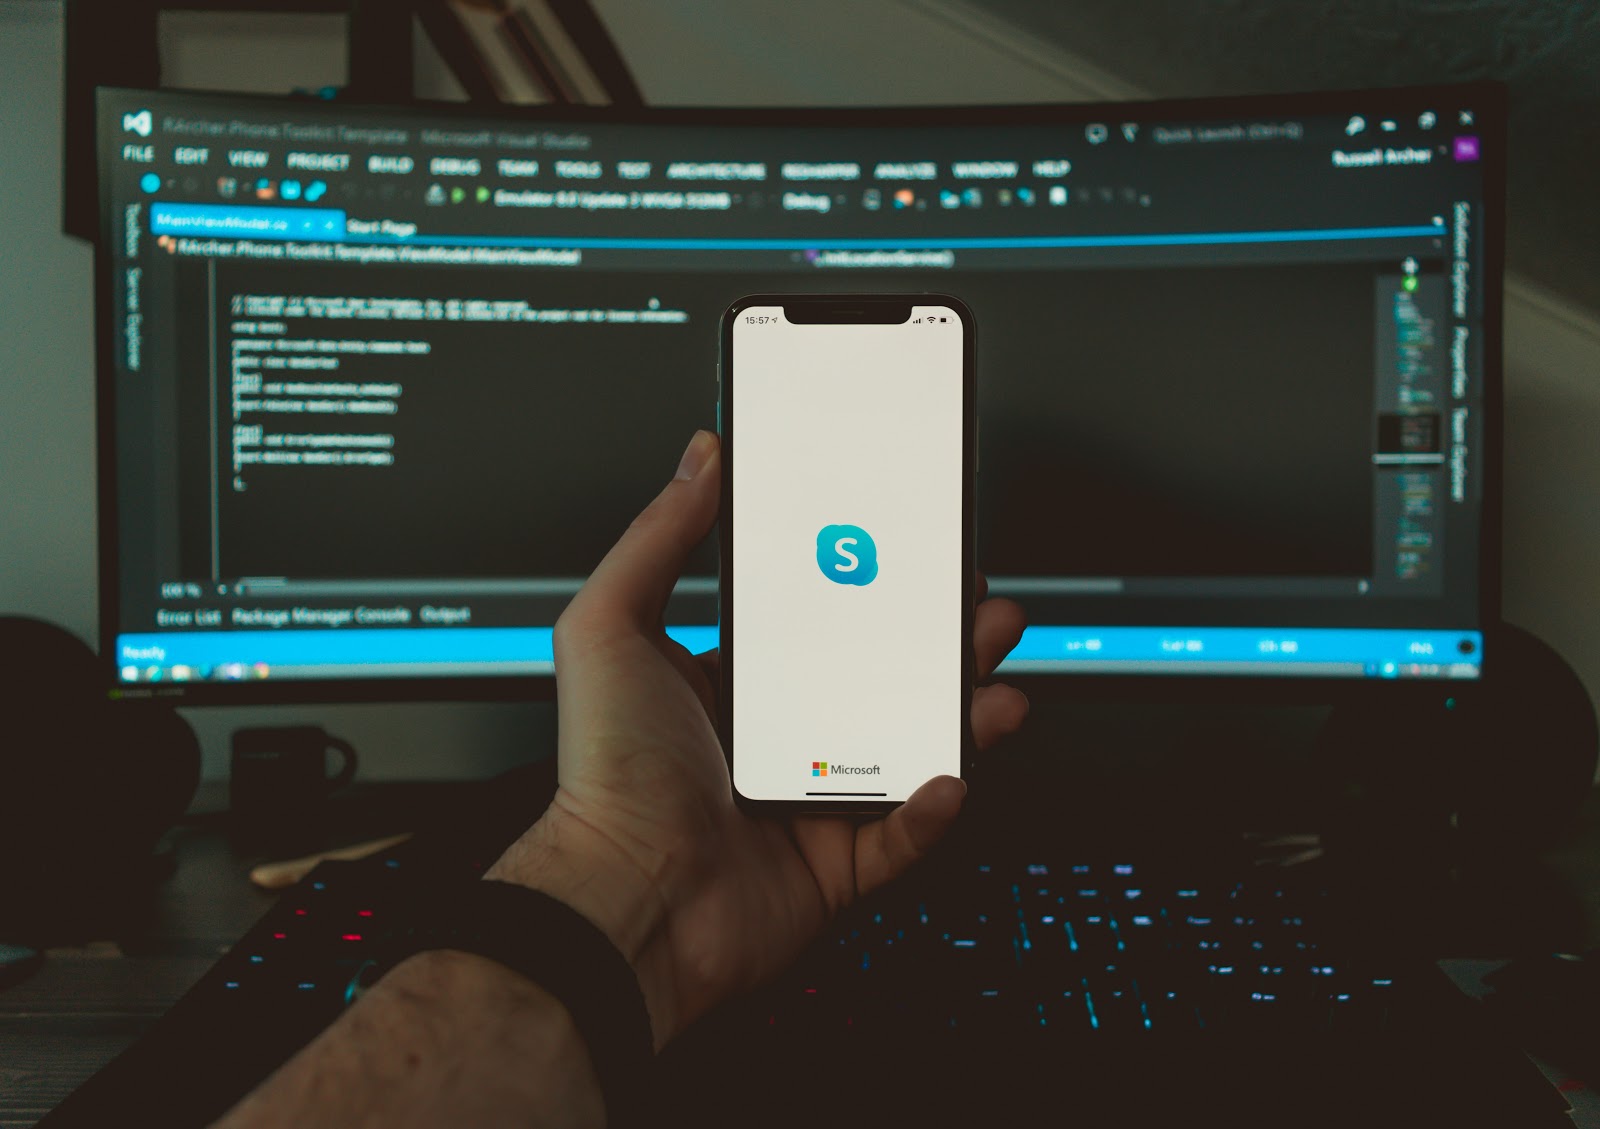
Set up daily stand-up meetings with your team or supervisor at the beginning of the day. Even a single wave in a short video conference will boost your energy for the day. Use tools such as Slack, Skype and Zoom to be in constant communication with your team. Tatyana, our Senior Support Staff, also believes that anyone can easily overcome the miscommunication issue:

I myself have been working remotely for 6 years. Sometimes it’s difficult as you don’t have your colleagues near your side, and no one will give you a piece of advice. But in the age of technology, this problem can be solved. We have different messengers like Skype, Slack, Viber where you can communicate with each other.
Treat it like you are at the office
Working remotely from home? Woohoo! I’ll go ahead and wear my warm pajamas, jump in my cozy bed, have my coffee by my side and promise to be the most productive me! Stop there! This is definitely the worst approach toward working from home.
Working in your house clothes in an improper place like your bed can affect productivity in the long run. So try to get up at least an hour before work starts, take a shower and get dressed. You don’t have to be too formal. Doing things such as brushing your hair, putting on make-up (if that’s part of your work routine) and dressing in comfortable and proper clothes is enough to help your brain to prepare for work. This also helps establish some normalcy, which is particularly important while working remotely during COVID-19. Plus, you won’t be caught off guard if your supervisor makes a video call out of nowhere!
Gulhan – who is a developer – and two members of our support staff, Alexander and Aamir, think you should define a specific routine to stay organized while working from home:

Gulhan: I wake up early and always go to bed and wake up at the same time even on weekends. Because my brain clock knows my routine I never feel sleepy or tired. I also change my clothes before I start to work. Working at home doesn’t mean that we work with sleeping clothes. Nobody is asking us to suit up surely but working in sleeping clothes is not acceptable at all.

Alexander: When you work remotely the main thing is to be self-organized and divide your home routines and working time. Get up before the working shift starts, at least 1 hour earlier to do some morning exercises, and never work in your pajamas!

Aamir: One tip for working from home is to make sure that you get dressed. There’s something about getting dressed, putting clothes on, brushing your hair, because when you do this, it kind of puts you into work mode and it tells your brain, ‘okay I’m transitioning from the bed into work mode.’
Equip your home office efficiently
One of the biggest challenges of working remotely is finding the best spot to establish your workplace that isolates you from your personal life and family members. Dedicate a special time to set up your home office and do as much as you can to equip it with any tools and devices that will help you keep your productivity steady.
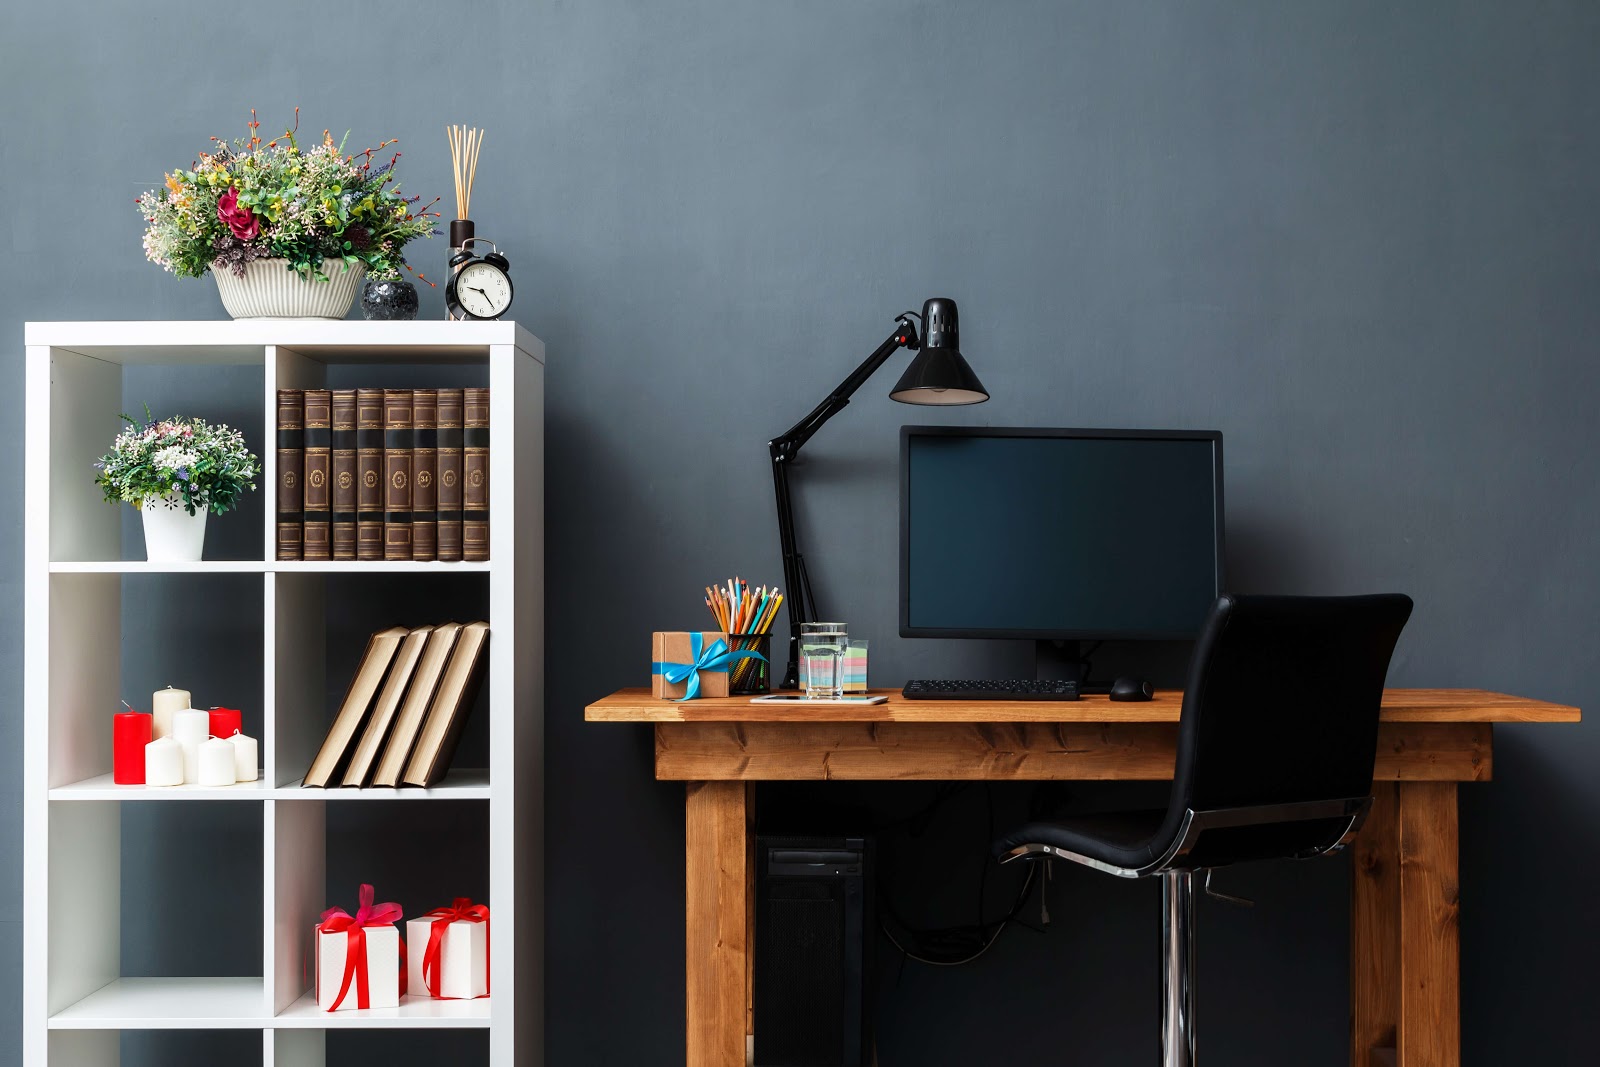
If you’re a messy-desk type of person and have already made peace with your clutter, then this piece of advice will be the easiest task for you to accomplish! Just grab your laptop, find a place for it on your desk and start creating wonders! But those who are used to working on a neat desk, you should take time to create your own workplace away from any distraction. The best thing to do would be to dedicate one room to work. But if you live in a small apartment, a comfortable corner that separates you from the rest of your home would also do the job. Get a comfortable chair that you can safely spend hours on and try to choose a place with enough natural lighting. Separating yourself from your personal life like this also helps your family members understand you are officially at “work” and to respect that by not distracting you with any conversation, chores, etc.
After all, it’s a matter of what works the best for you. You might want to change your workspace once in a while from your room to a sofa in the living room or even to the balcony. You will gradually figure out what and where allows you to focus on your work better. Just like what Aamir suggests:

You don’t have to be in the same spot every single day. Sometimes what I do is I actually go hang out in my sisters room and I actually get work done there, because when you work from home it’s nice but sometimes after a while you can easily get bored and it can drive you crazy.
Or you can separate a room for work – and only work – like what Gulhan did:

I have my own working space at home and it’s designed like an office. I have only 1 table and 1 very comfortable chair and that’s all. I did not put a second chair intentionally, because I did not want anyone else to come to my room to hangout or chat.
Or like Alexander, pay close attention to the furniture and devices you need:

The most important part is a working place: spacious table, comfortable chair, ergonomic keyboard and mouse, eye-friendly monitor (don’t forget to keep your eyes safe). Good and stable internet connection also plays an important role to be more productive.
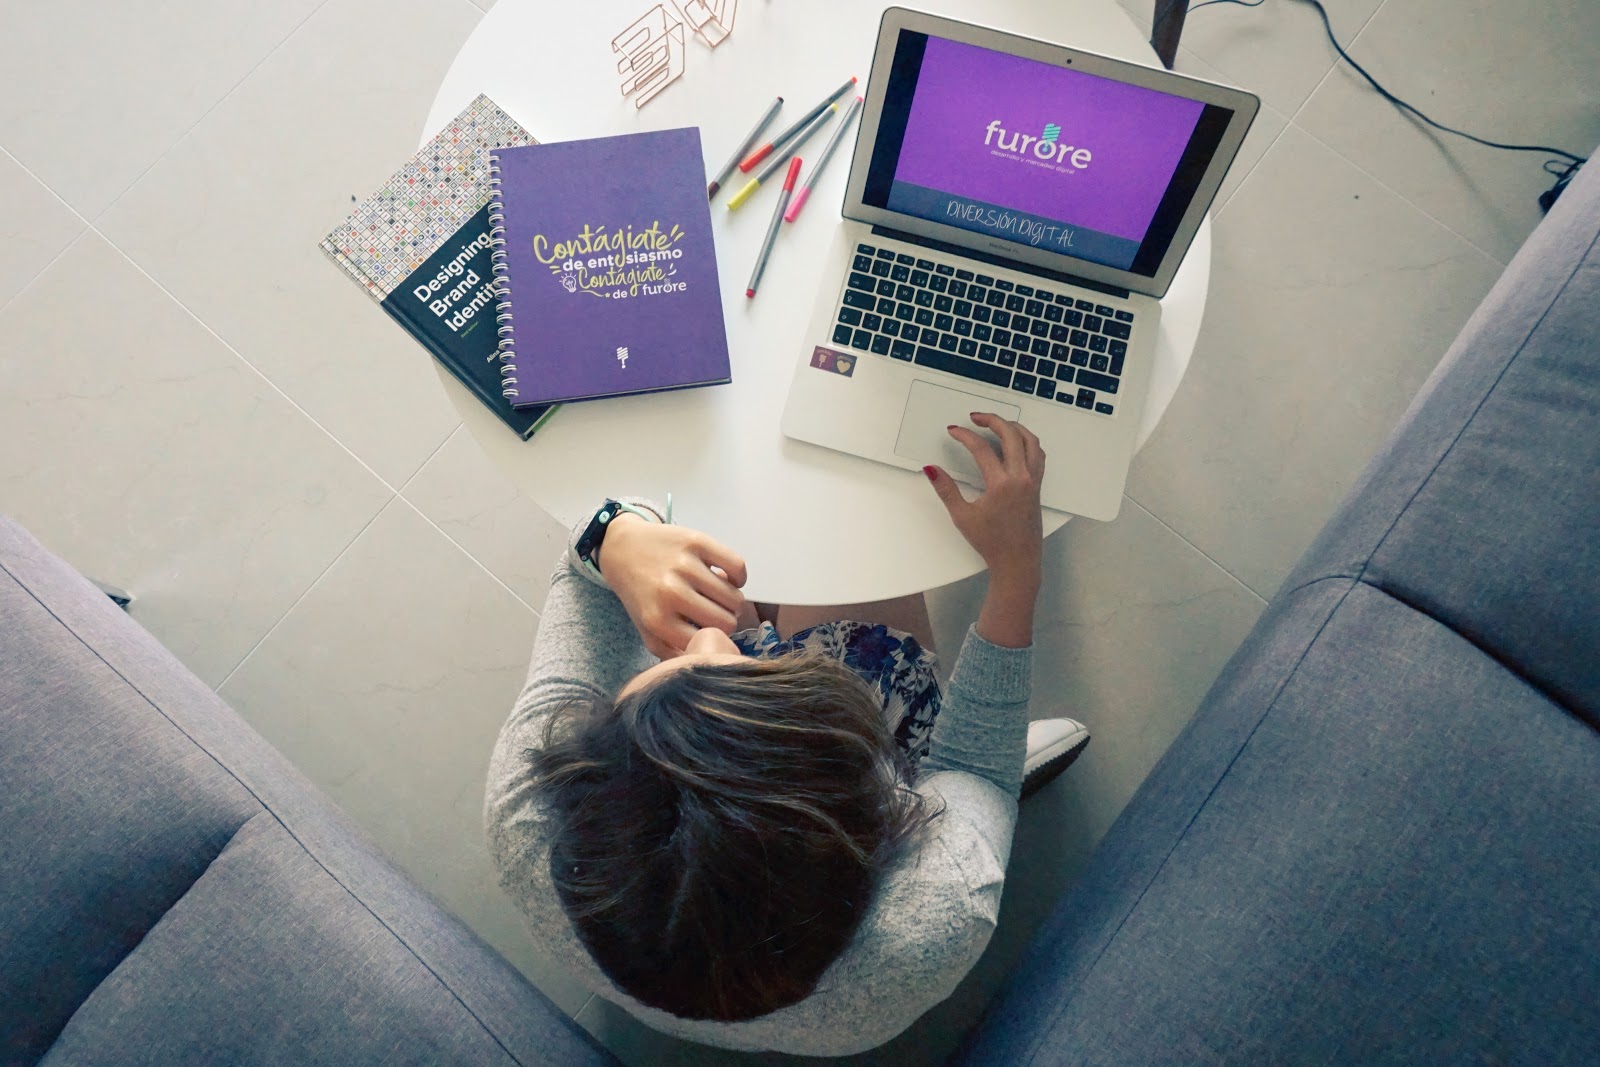
Sometimes you need to personalize your home office as much as possible to stay focused. Patrick, our developer, believes so too:

Having my own desktop and laptop. I cannot simply work on other people’s devices. I mean you need something that you own personally. And I work on desktops more than laptops. I love a large screen, keyboard and mouse. I feel much more productive and comfortable.
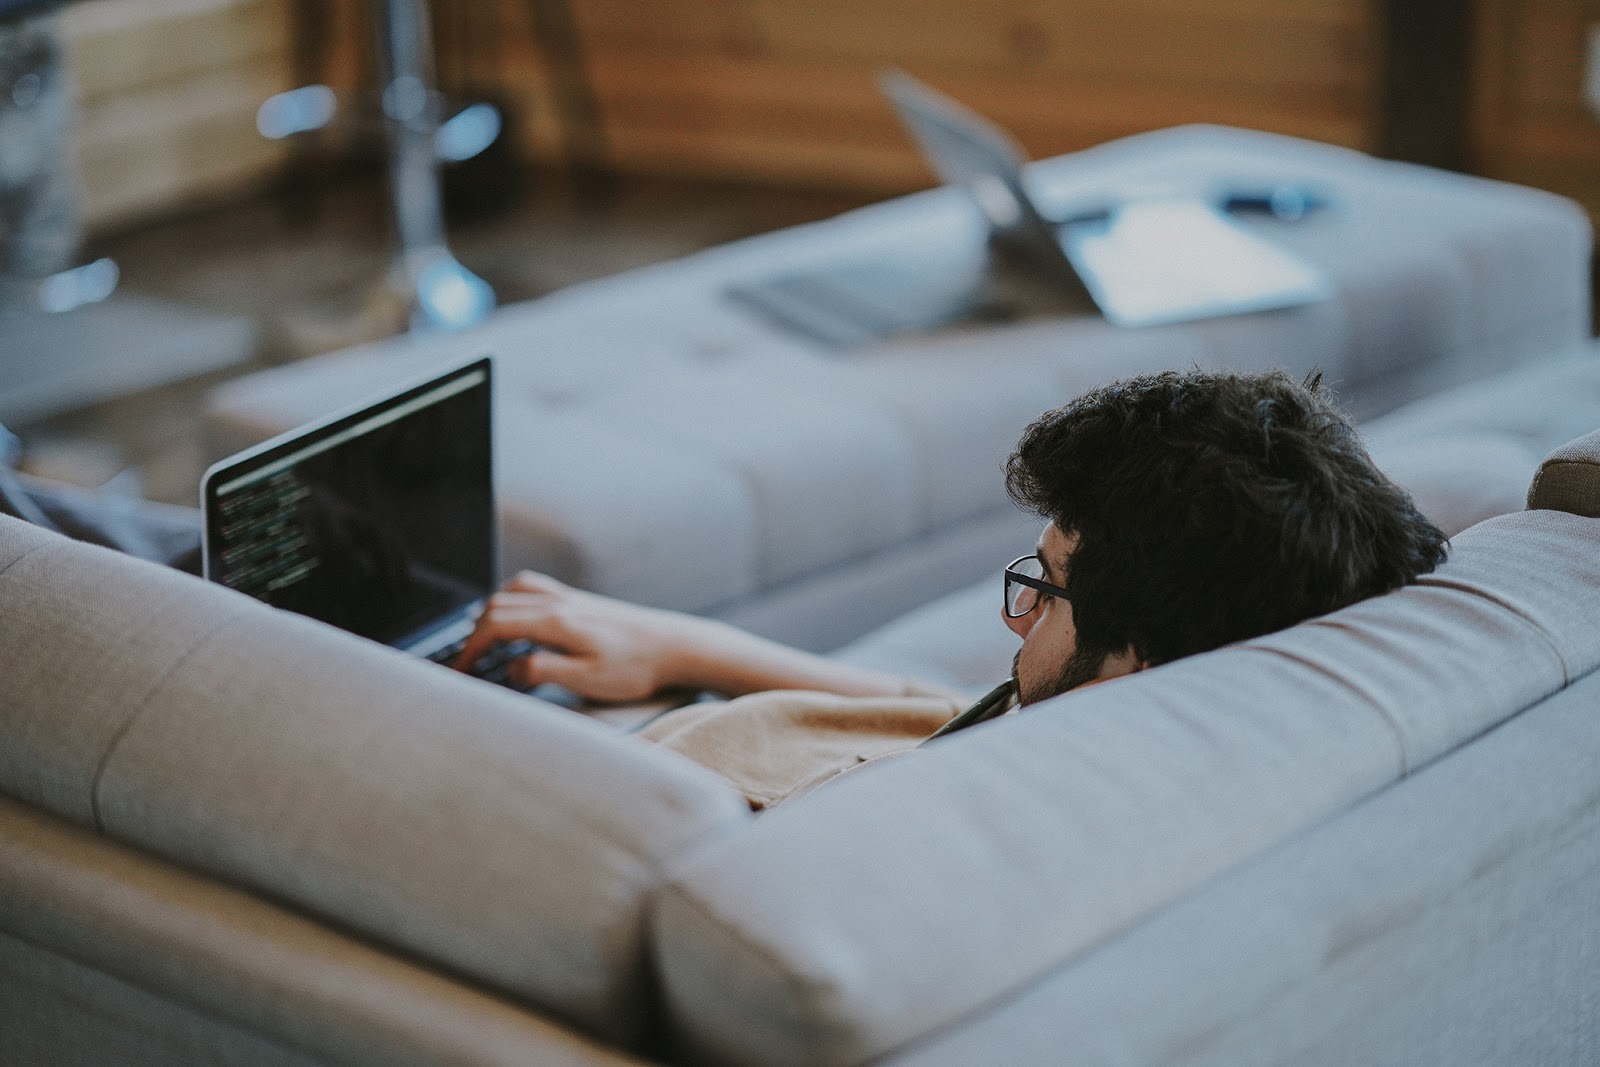
And finally, as we mentioned earlier, choosing the best spot to work depends entirely on you and your mood. Nodari, a member of our support staff, for example, went against all odds and figured out he can be productive and creative in different locations –even on a hammock!

Sitting at the PC desk for several hours can be very boring, can affect your back and probably you will be tired very soon. This was the problem I was dealing with when I started working from home, then I started exploring some other options and this is what I came up with:
The main station – I call it my main working desk where I spend most of my time with my laptop. It’s kind of a universal place and usually I use it when I’m working on a serious task.
Sofa – I love it because I can take different poses on the sofa, I can lie on it, and I can even take half sitting half lying poses! 😀
Beach chair – not often but I have one and sometimes it’s very comfortable to lie on it. Maybe it’s reminding me of summer and sun? 🙂
Hammock – Believe it or not, I have a hammock in the room! It’s great for creativity!
Well, why not?! If it helps you stay focused and increases your productivity, then go for it! Even if it runs counter to all the tips mentioned above!
Take small breaks
While working at home, you obviously don’t have the option to get up and go around the office or meet in the cafeteria for a coffee and chat a bit with co-workers. You are more likely to spend all day behind the desk, which is dangerous for your health and bad for the quality of your work.
Take small breaks, prepare a tea or a coffee, take casual walks around home and get back to work again. But remember, your break times are for relaxing only! Try not to mix it with completing chores around the house!
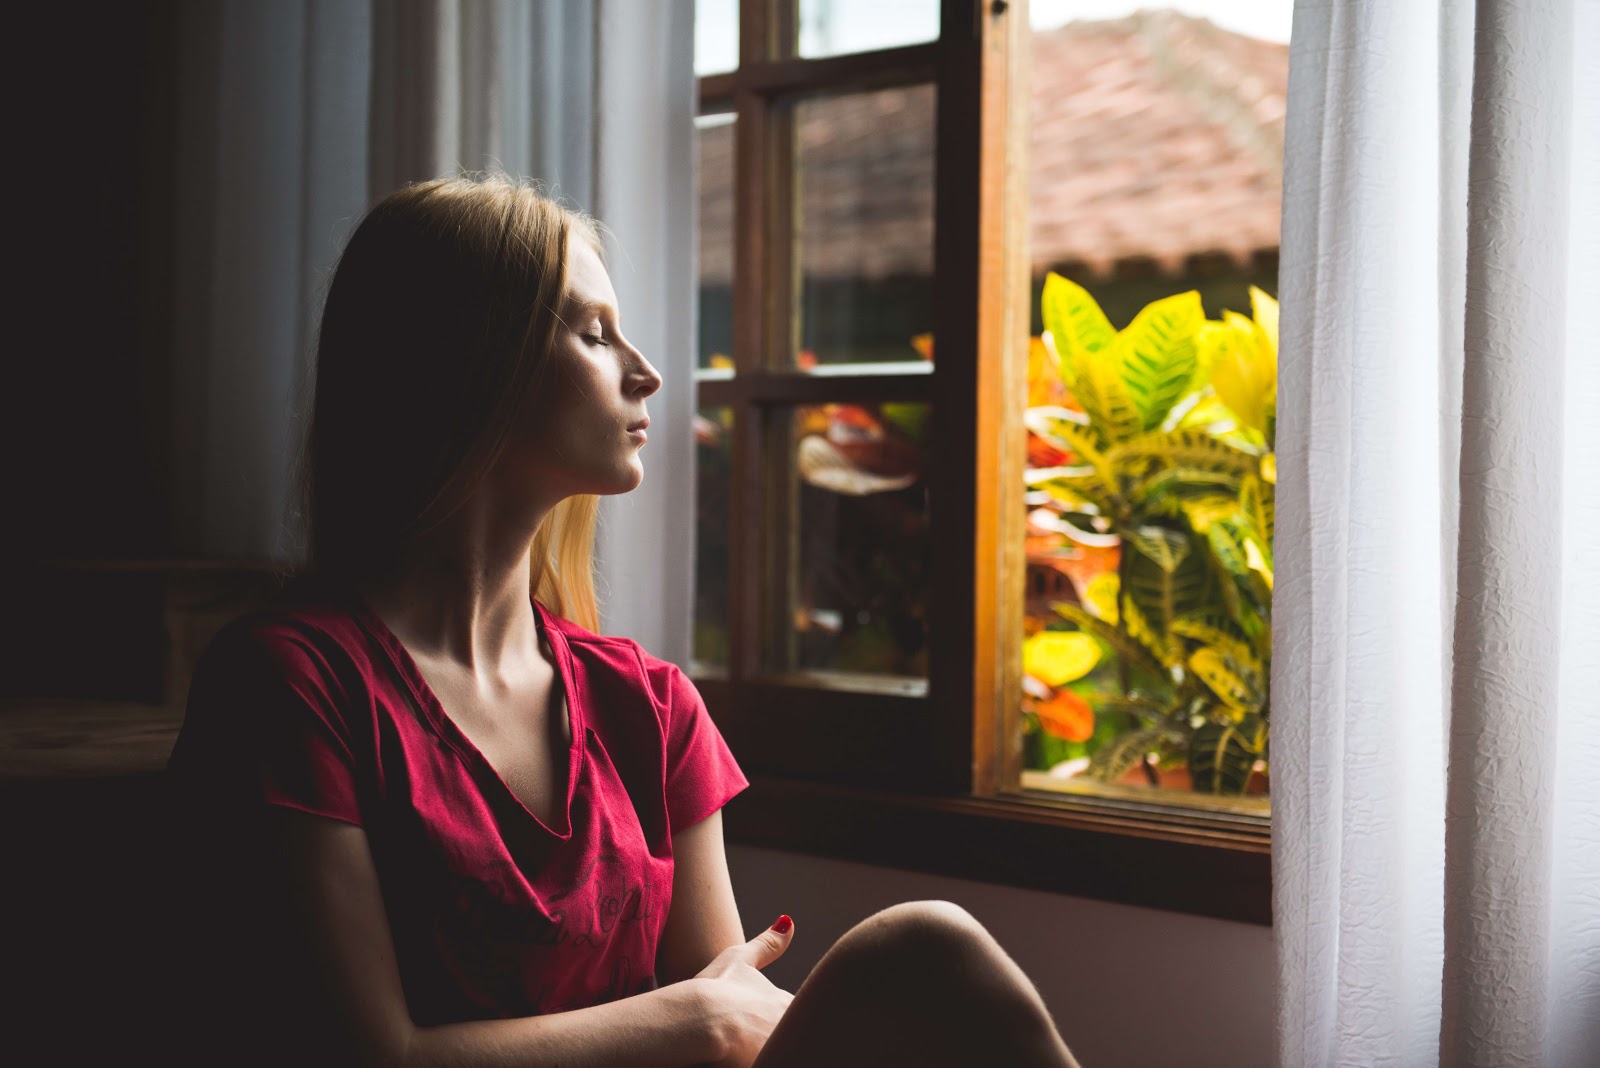
If you have small children, go spend some time with them while they’re watching cartoons. Have a conversation with other family members. Put on your headphones and listen to your favorite music, do exercises, yoga or meditation for a couple of minutes, which will boost your mental and physical health. This is invaluable advice, particularly while we are working remotely during COVID-19 and ongoing social distancing.
Nearly all our colleagues pointed out the importance of breaks:

Tatyana: Don’t sit at the desk the whole working day! You’ll be tired and bored. Take a 5-min rest after each hour, make some cup of coffee or tea or even talk to your remote colleague via chat or video call.

Aamir: Make sure that you take frequent small breaks, these are really important. I usually follow the 20-20-20 rule. It goes like this “Every 20 minutes, take a 20-second break and focus your eyes on something 20 feet away.”

Alexander: Don’t forget to take breaks each 1-2 hours and shake your bones, as sitting and working affects your health in a bad way.

Patrick: Have flexible break times. I either take a break before or after a daily stand-up meeting. Sometimes I’m in the zone and I have to pause my break for later. And I drink coffee twice a day, one after I started my day and another one after my break.
One final word to leaders
And finally, a word to all leaders and managers working remotely during COVID-19! As a manager in the web industry, there is a high probability that you already developed remote working strategies for at least a couple of your employees – meaning that managing a remote working team won’t be that difficult for you. But managing a team during a pandemic can be challenging, and you might need to develop extra plans to lead your team through this tough time. Many plans you previously put in place might not be effective or appropriate during this time.
For example, following the Coronavirus outbreak, all kids are at home now, so be as flexible as you can with working hours to your teammates with children. It might be difficult for them, at least in the beginning, to balance their time between kids and work.
Keep track of your teammates and communicate with them more often. A casual chat or a video call to check on if they’re doing ok and all is well with work would be very motivating and will drag them out of unwanted isolation.
Send feedback to your team more than usual, celebrate their wins and get them engaged in group conversations on Slack or any other instant messaging app. It’ll make them feel as if they are part of the family.
Hold virtual happy hour meetings once a week and ask everyone to join with their favorite snacks and just talk about anything other than work – you could even get their family members to join. Trust me, nothing will boost their morale more than this during this challenging time.
We are in this together!
Working remotely during COVID-19 can pose challenges to our lives, particularly with the stress, rumors and negativity that come with the outbreak. However, if it’s done in the right way, it can even be the most productive period of your professional life. So accept the challenge and always remember that your lockdown has such a big effect on reducing the likelihood of transmission. So stay inside, stay connected, stay safe and don’t forget that we’re all in this together!
We also shared our experiences working from home in the video below. If you have any other tips and experiences regarding remote work, please comment below and help us spread the useful knowledge!