This is a guest post contributed to Artbees Themes blog by Elisa Abbott.
Social proof is a psychological phenomenon that many businesses use to boost their sales. It serves as an additional confirmation for every potential buyer that a particular product or service deserves their attention. More precisely, it confirms the value and quality of a service or product.
The good news for businesses is that adding social proof on their WordPress website is not challenging. First of all, there are different types of social proof that they can add. Some examples include case studies, certifications, customer reviews, etc. Of course, the effectiveness of this marketing tool depends on the way businesses use it.
Many tools can help people add all forms of social proof to their website and make the entire process a lot easier.
What are these tools? In this article, you will find out all the ways to increase social proof on your WordPress website. Go on reading to learn the essential details that will help you increase your sales.
The Importance of Social Proof for Businesses
The first thing people look for when they land on a website is the features and benefits of a product. Of course, the product description for each item needs to be clear and engaging.
However, customers need one more piece of evidence that will convince them to take action. This is the moment when social proof becomes essential. First-time customers need to feel that they are not alone. A large group of previous customers raving about the benefits that a brand provides is sure to be a good sign for potential customers. They will get confirmation that people with the same problem found a solution here.
Companies, on the other hand, use social proof as an external confirmation of their quality and expertise. In that way, they aim to boost the reputation and convince potential customers that this company is the right choice. In this case, companies do not need to spend money and effort on direct promotions. Their satisfied customers will do the work for them.
Using the right method to deliver social proof to customers can be tricky. The good news is that businesses can use different channels. They can place customer reviews on the landing page of a WP website, somewhere across checkout pages, within their email campaigns, etc.
Entrepreneurs should know that social proof comes in different shapes and sizes. By knowing all of the possibilities, business owners will be able to determine the best one for their needs. Besides, they will also manage to determine the right place to share these external confirmations.
Types of Social Proof
Different types of social proof are effective for different purposes. Which one you use depends on your goals.
Customer Reviews

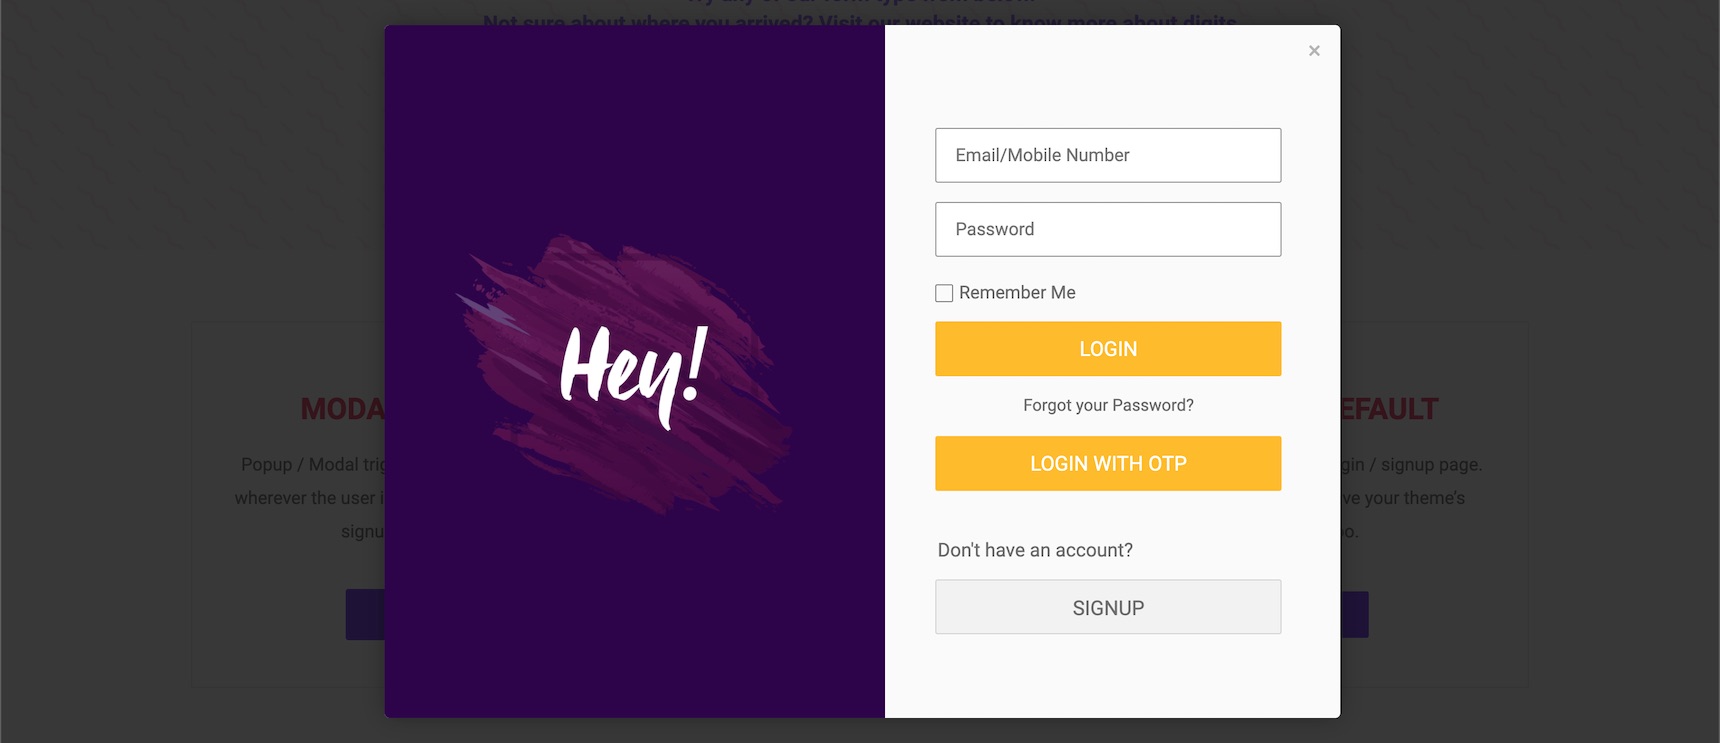
The way Bizzabo did it can serve as an inspiration for many WordPress website owners. Bizzabo is an event software that helps planners and marketers boost the quality of the events they organize. Here, they used an entertaining background to make the customer reviews look interesting. Additionally, they shared the full names of the customers that are satisfied with the way the platform works. This helps first-time visitors recognize that these reviews come from “real people.” They will also get the necessary confirmation that the platform can address their needs as well.
Certifications and Licenses
A license is a piece of evidence that companies receive from third-party authorities. Depending on the industry they are working in, they will need to have a confirmation that everything they do is legitimate.
An excellent example of how licenses can boost the reputation of a business are companies that produce toys. We can use Lego as an example. They are proud that their product meets all the requirements of the US Consumer Product Safety Act and the EU Toy Safety Directive.
Parents would never allow their kids to play with toys that are made of materials that could potentially be harmful. Once they see the license, however, they have additional confirmation that Lego toys are completely safe. This type of social proof protects the reputation of Lego and boosts their sales.

Reviews and Testimonials of Celebrities
Small businesses probably won’t have the opportunity to collaborate with celebrities. However, the solution to that problem is out there. Such companies can hire social media influencers. Logically, picking the right influencer is the main important point here. Brands should chase those that already interact with their target audience. After they have established a collaboration, they can also add a video or image of the influencer using their product.
The strongest brands in the world use the exact same tactics. A good example of that is the PUMA sneaker brand, which uses the influence that Selena Gomez has. The first thing people will see when they visit Puma’s website is Selena wearing Puma shoes.

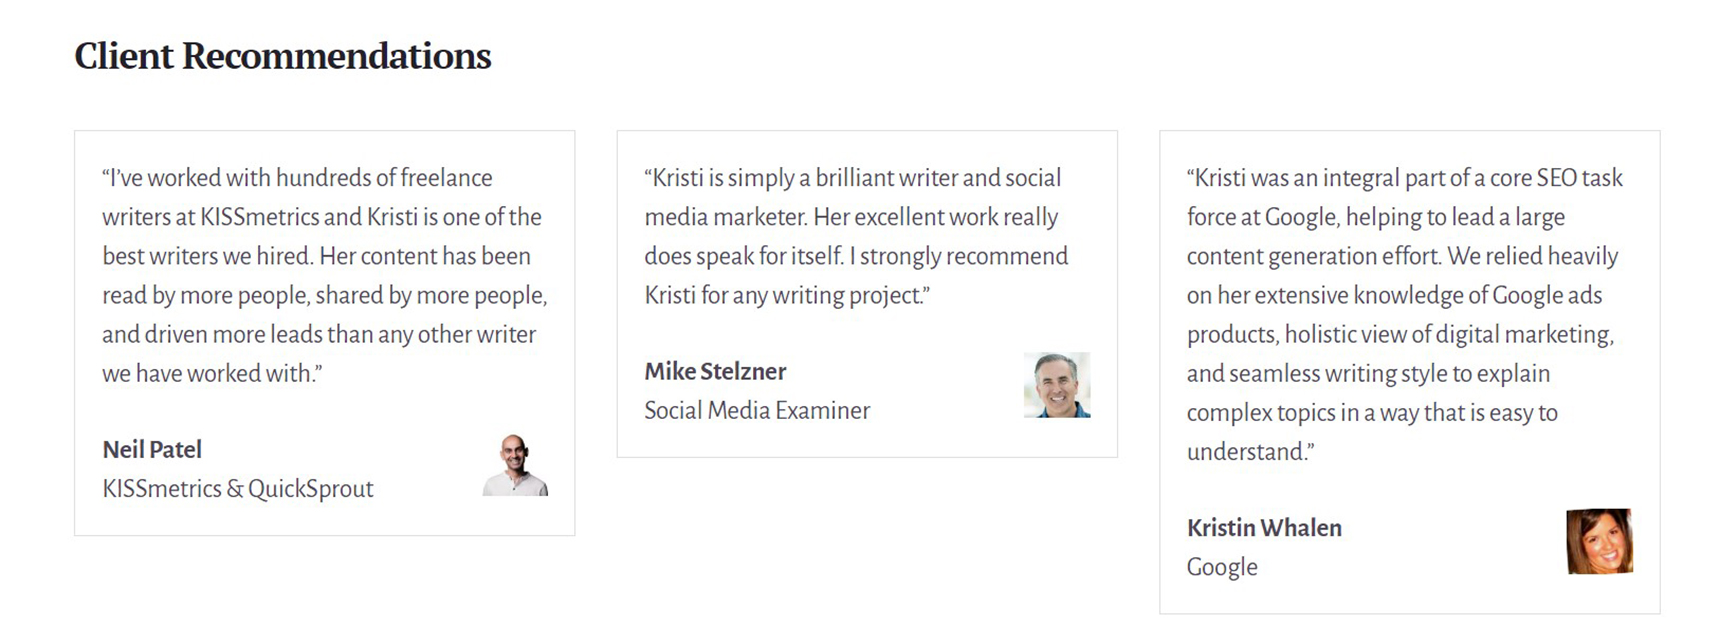
The same rule counts for individuals that plan to offer their services on a WordPress website. You can check out the example below and see how Kristi Hines did it. She asked some of the experts in the digital marketing niche to share their reviews of her work.
Case Studies
Customers come to your website because they are looking for a solution to their problem. As we’ve mentioned before, they need confirmation that your services or products can help them solve the problem they have. However, they also want to know how a strategy, tactic, or item has solved similar problems for others.
Case studies can confirm a couple of things. First of all, the customer will see what the entire process of reaching the goal looks like. He will also manage to see what the brand has achieved. Finally, case studies often serve as a marketing tool to talk about other brands or individuals they collaborate with. The way Lane Bryant did it is a perfect example for others to follow.
Of course, making the case study engaging and valuable is not an easy task. Entrepreneurs should also use different content writing strategies to make it more interesting. If they struggle to do that, they should work with paper writing websites to help them reach their goal. With the help of professionals, the quality of their case study will likely increase.
Tools to Add Social Proof to the WordPress Website
Adding social proof to a WordPress website does not require advanced coding skills. Instead, people should focus on using different tools that will make the entire process easier. Here are a couple tools that deserve special attention.
WPfomify

There are three reasons why WPfomify is a good tool for adding social proof to a WP website. Each time that someone purchases a product or signs up to the website, the plugin displays that notification on the homepage. This allows a business to benefit in three different ways.
First of all, their conversion rate will increase. Similarly, thanks to social proof on the website, their credibility and reputation will improve. Finally, both benefits will result in a bigger number of sales and increased revenue.
TrustPulse

WordPress website owners can help people in a couple of different ways. First of all, TrustPulse helps website owners leverage social proof power. In this way, they will be able to improve conversion rates via their website. Thanks to its features, TrustPulse users can track all the signups, purchases, and other customer activities.
The best feature of all is the program’s smart targeting feature. Website owners can determine the time that they want to show the social proof on their own. They will also be able to see exactly who can see their social proof.
Final Thoughts
We have finally come to the end. WordPress owners should add social proof on their WordPress website for many reasons. It can increase the conversion rate and lead to a bigger number of sales.
Social proof is one of the most effective marketing tools of all. For every potential customer, there can be a valuable confirmation. They will see that your brand provided a solution to people that have had the same issue. Thanks to different tools, placing social proof on your WordPress website has never been easier. With a small dose of creativity, entrepreneurs can boost their reputation and impress their target audience.