WordPress is one of the most popular CMS platforms, and using its Elementor page builder will allow you to create a fully functional website from PSD without any coding. It makes the process much easier! While there is no magic button to press to convert your design to WordPress, Elementor is very user-friendly. You’ll see how easy it is to recreate your PSD in no time.
Do you want to convert your PSD to WordPress, but aren’t sure how? In this article, I will show you how to convert your design to WordPress using Elementor and the Jupiter X theme, step by step.
Why Elementor is better with Jupiter X
Advanced Customization – Jupiter X offers different customizations, allowing you to easily style your pages by setting the typography and layout options in the Customizer, and much more.
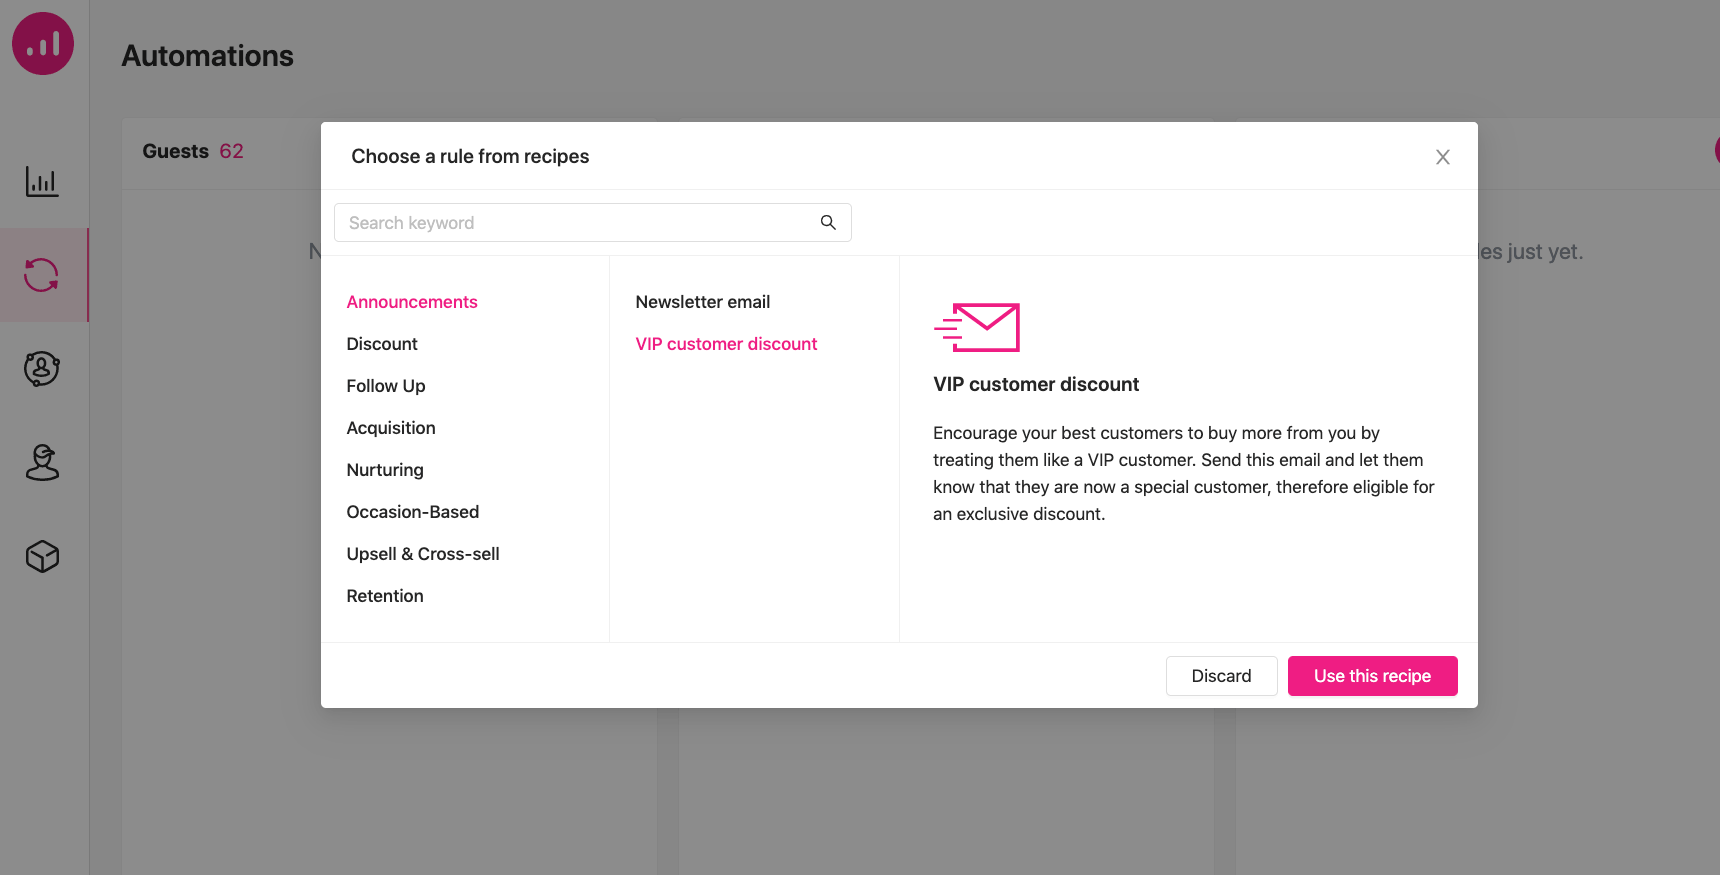
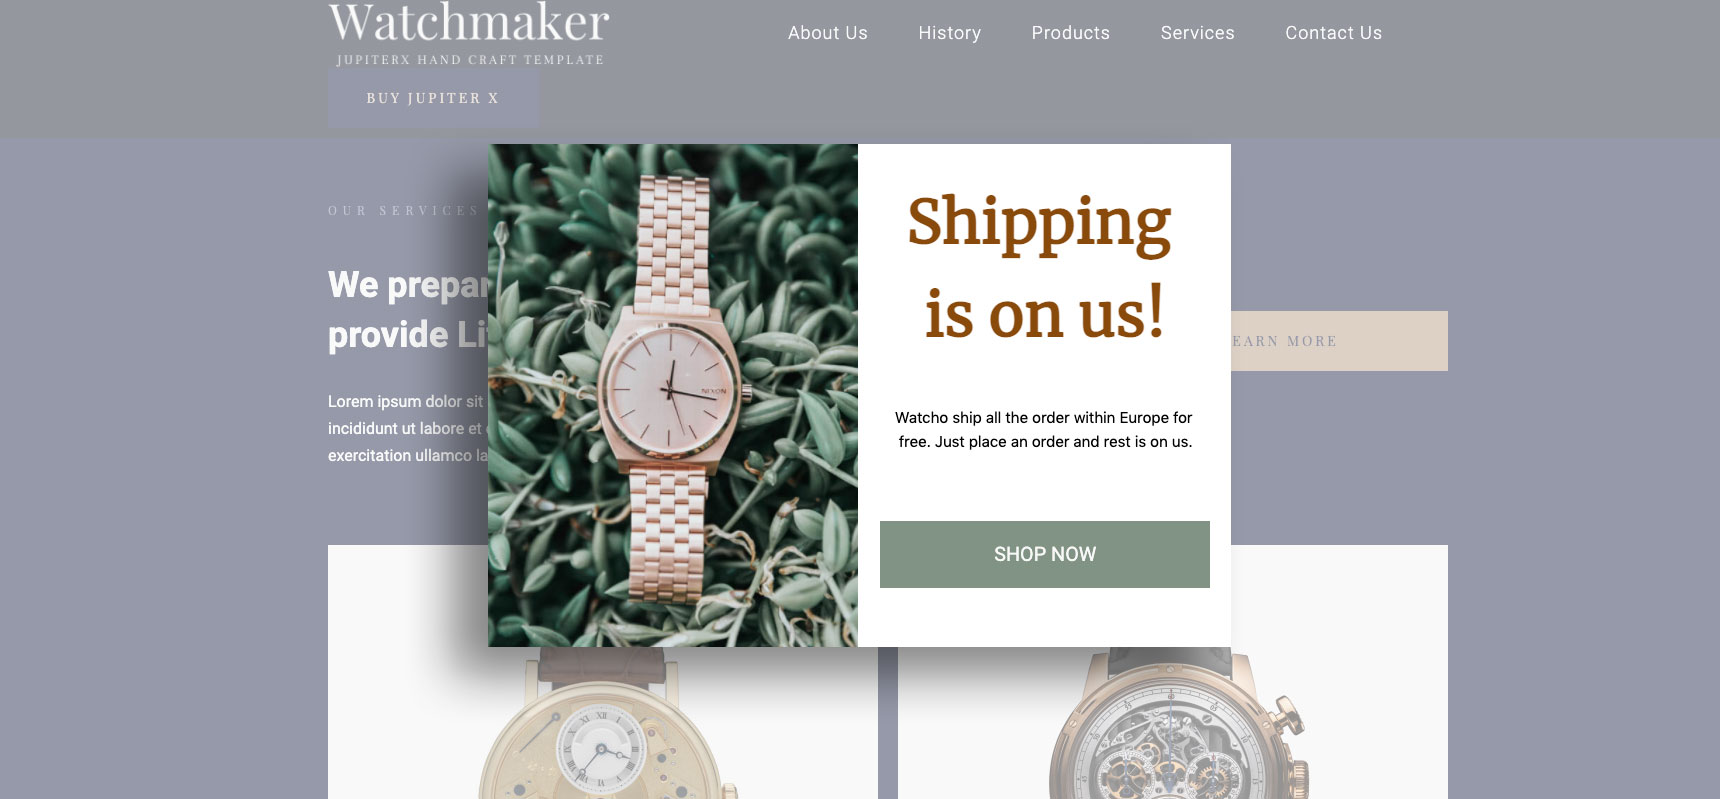
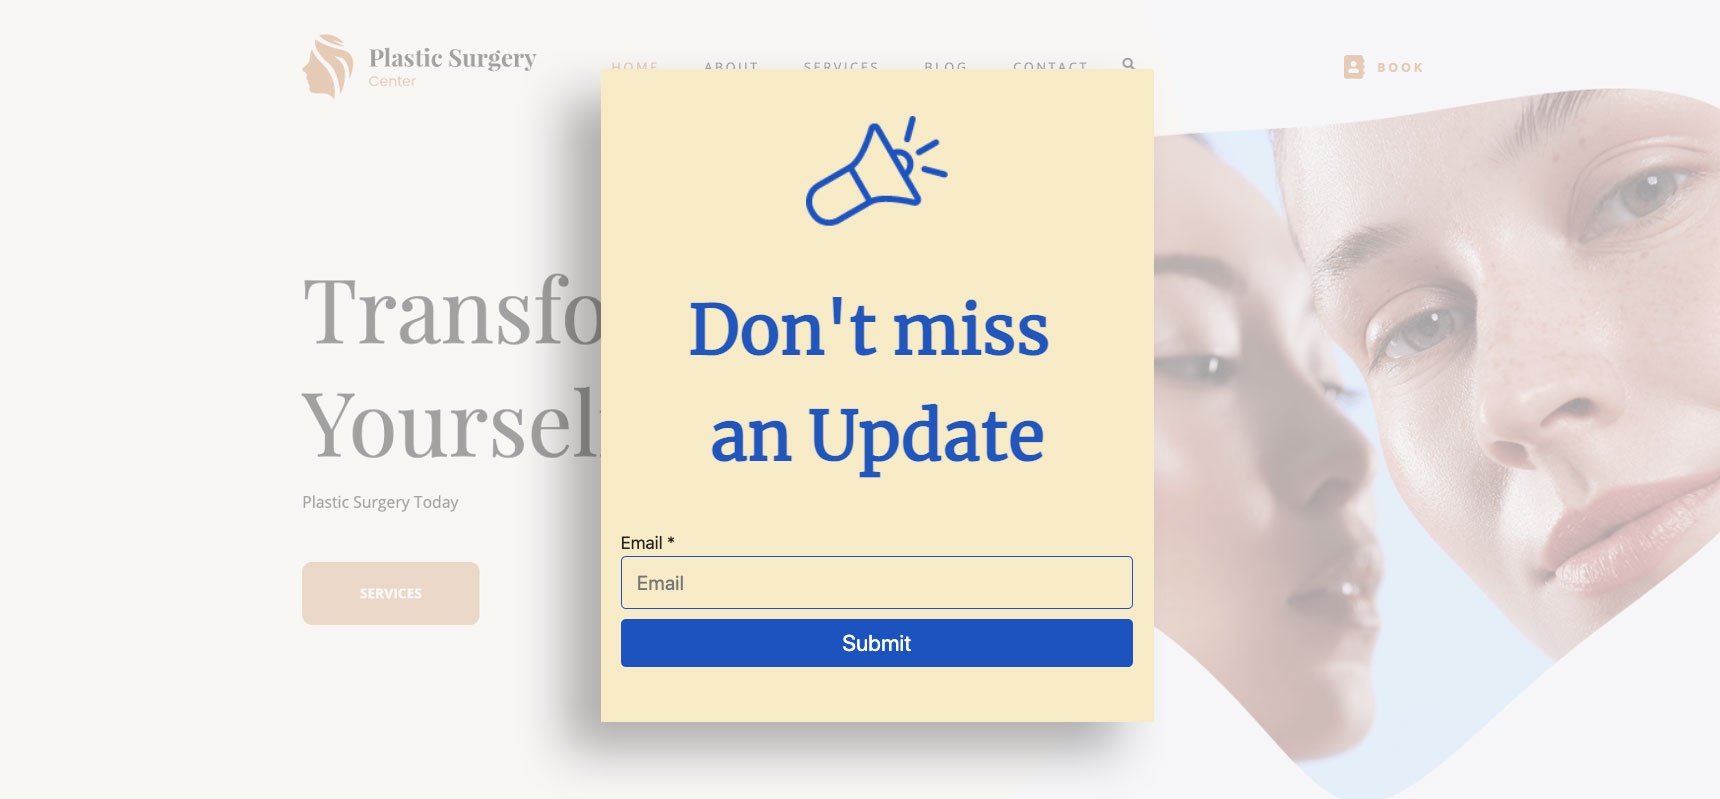
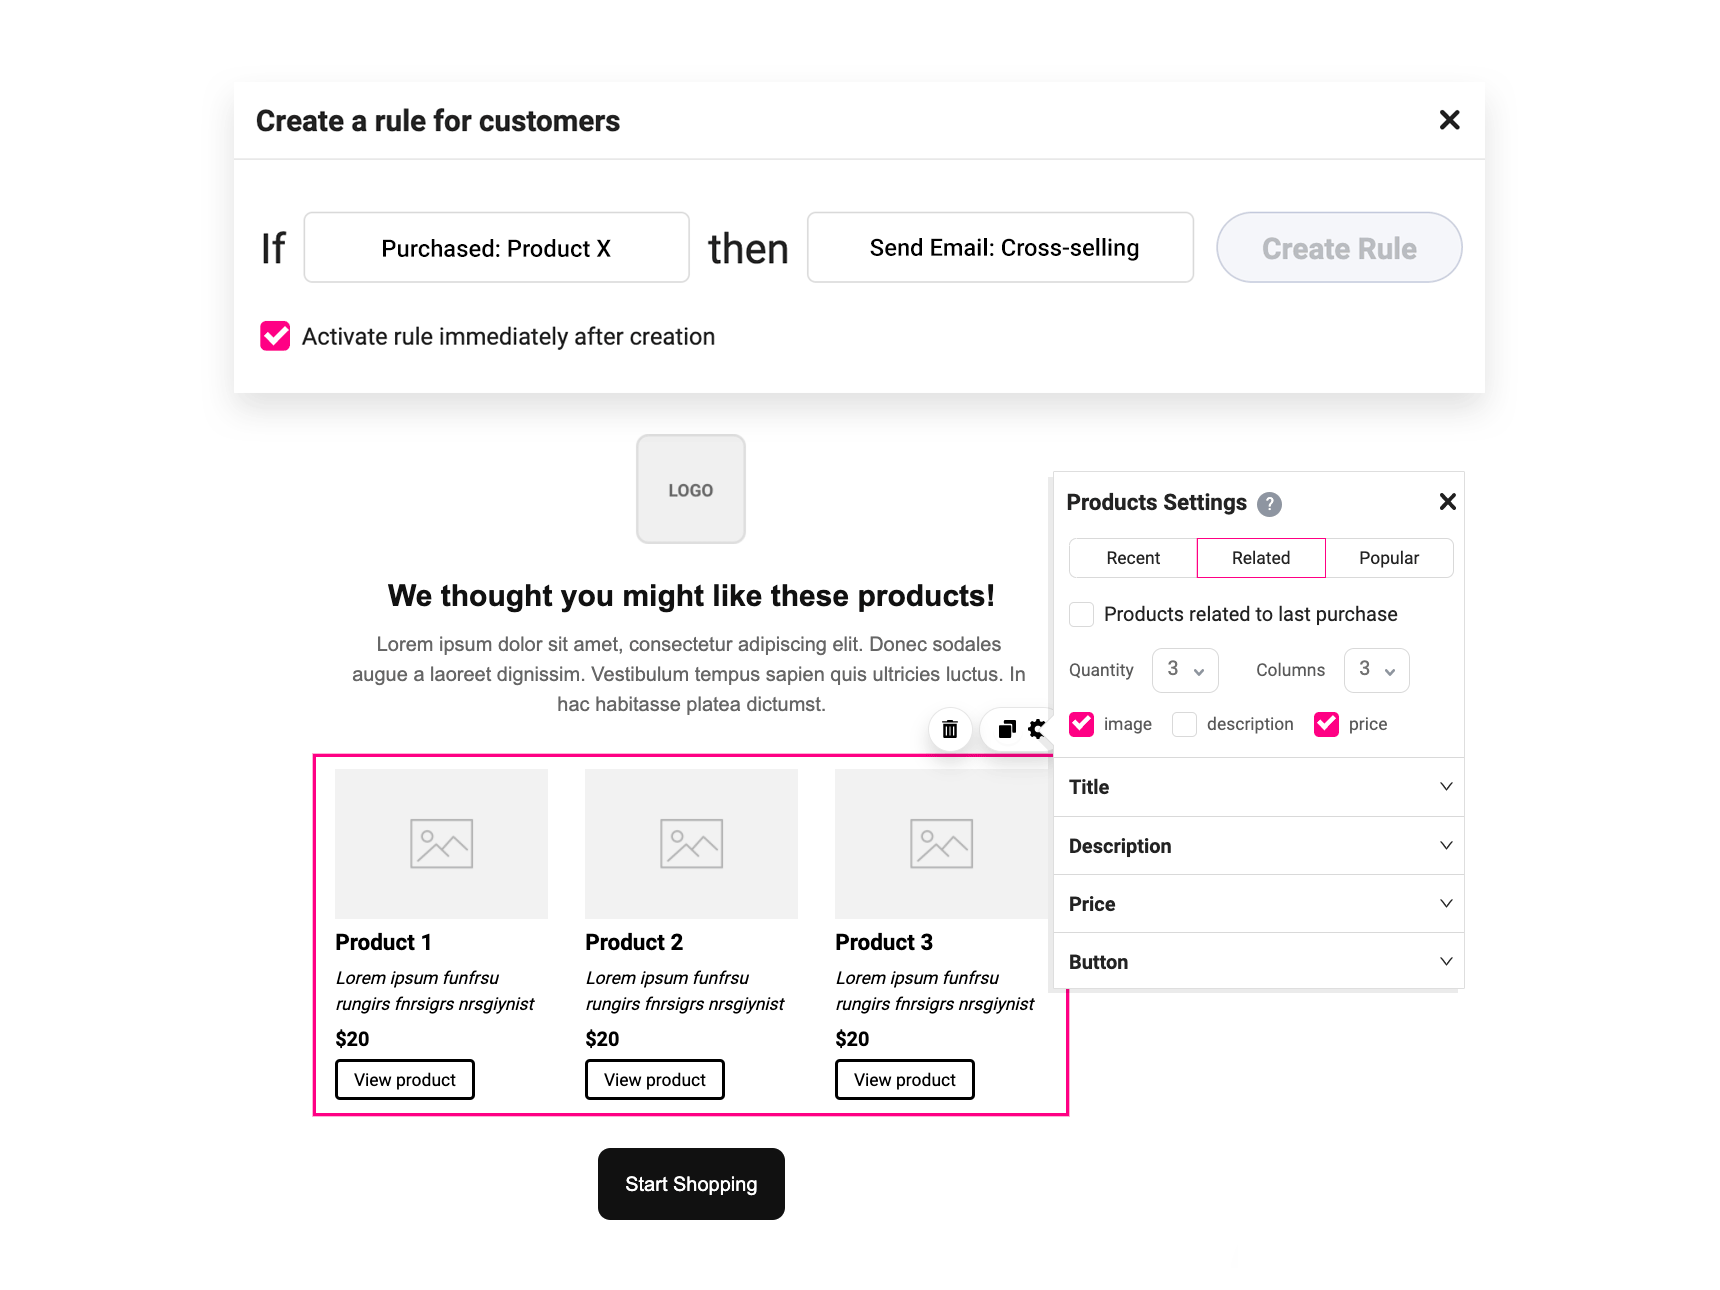
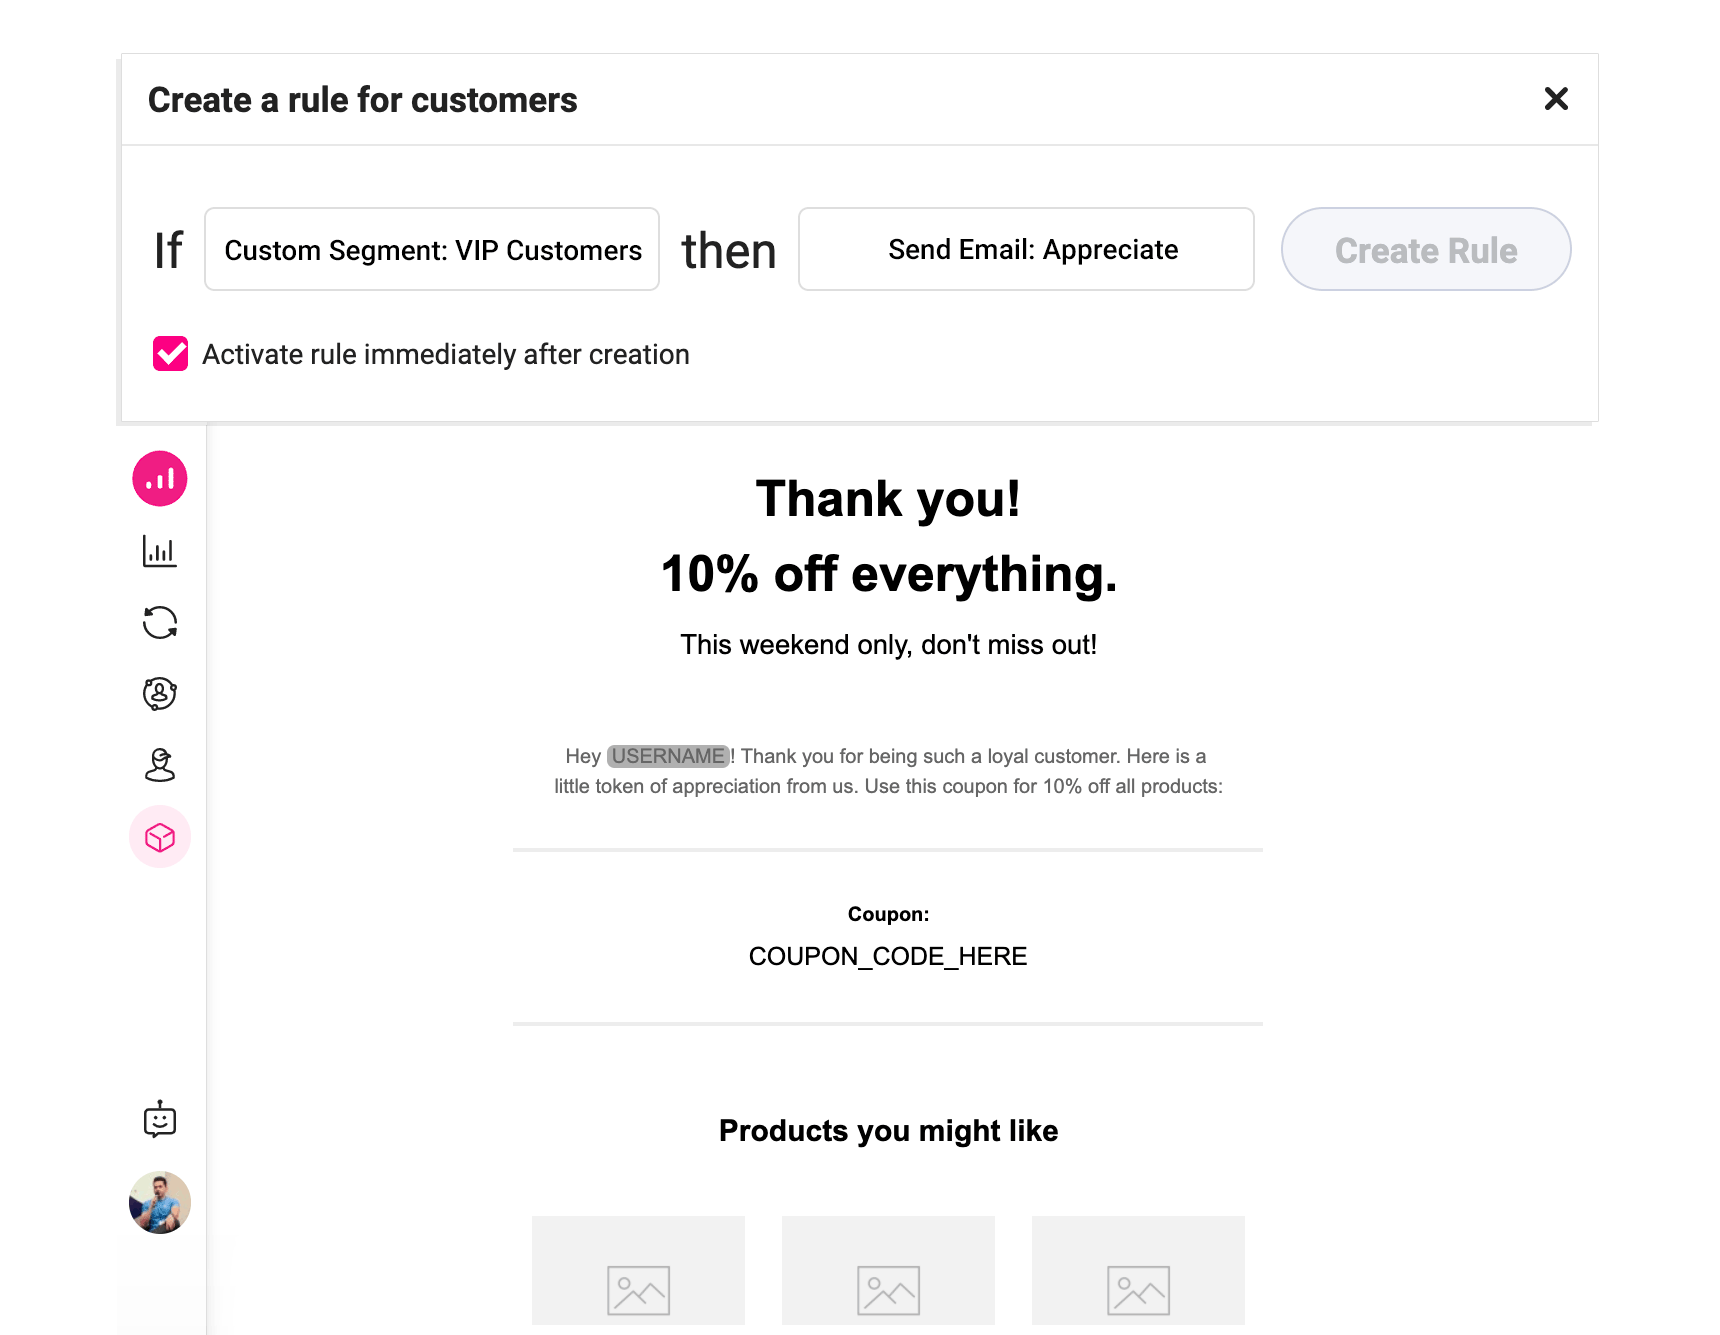
Pop-up Builder – Popups are very important in online marketing. Elementor Pro has this feature, but with Jupiter X you can avoid paying for the Pro license. Artbees has bundled in the JetPopup plugin so that you can create great popups with the free Elementor version.
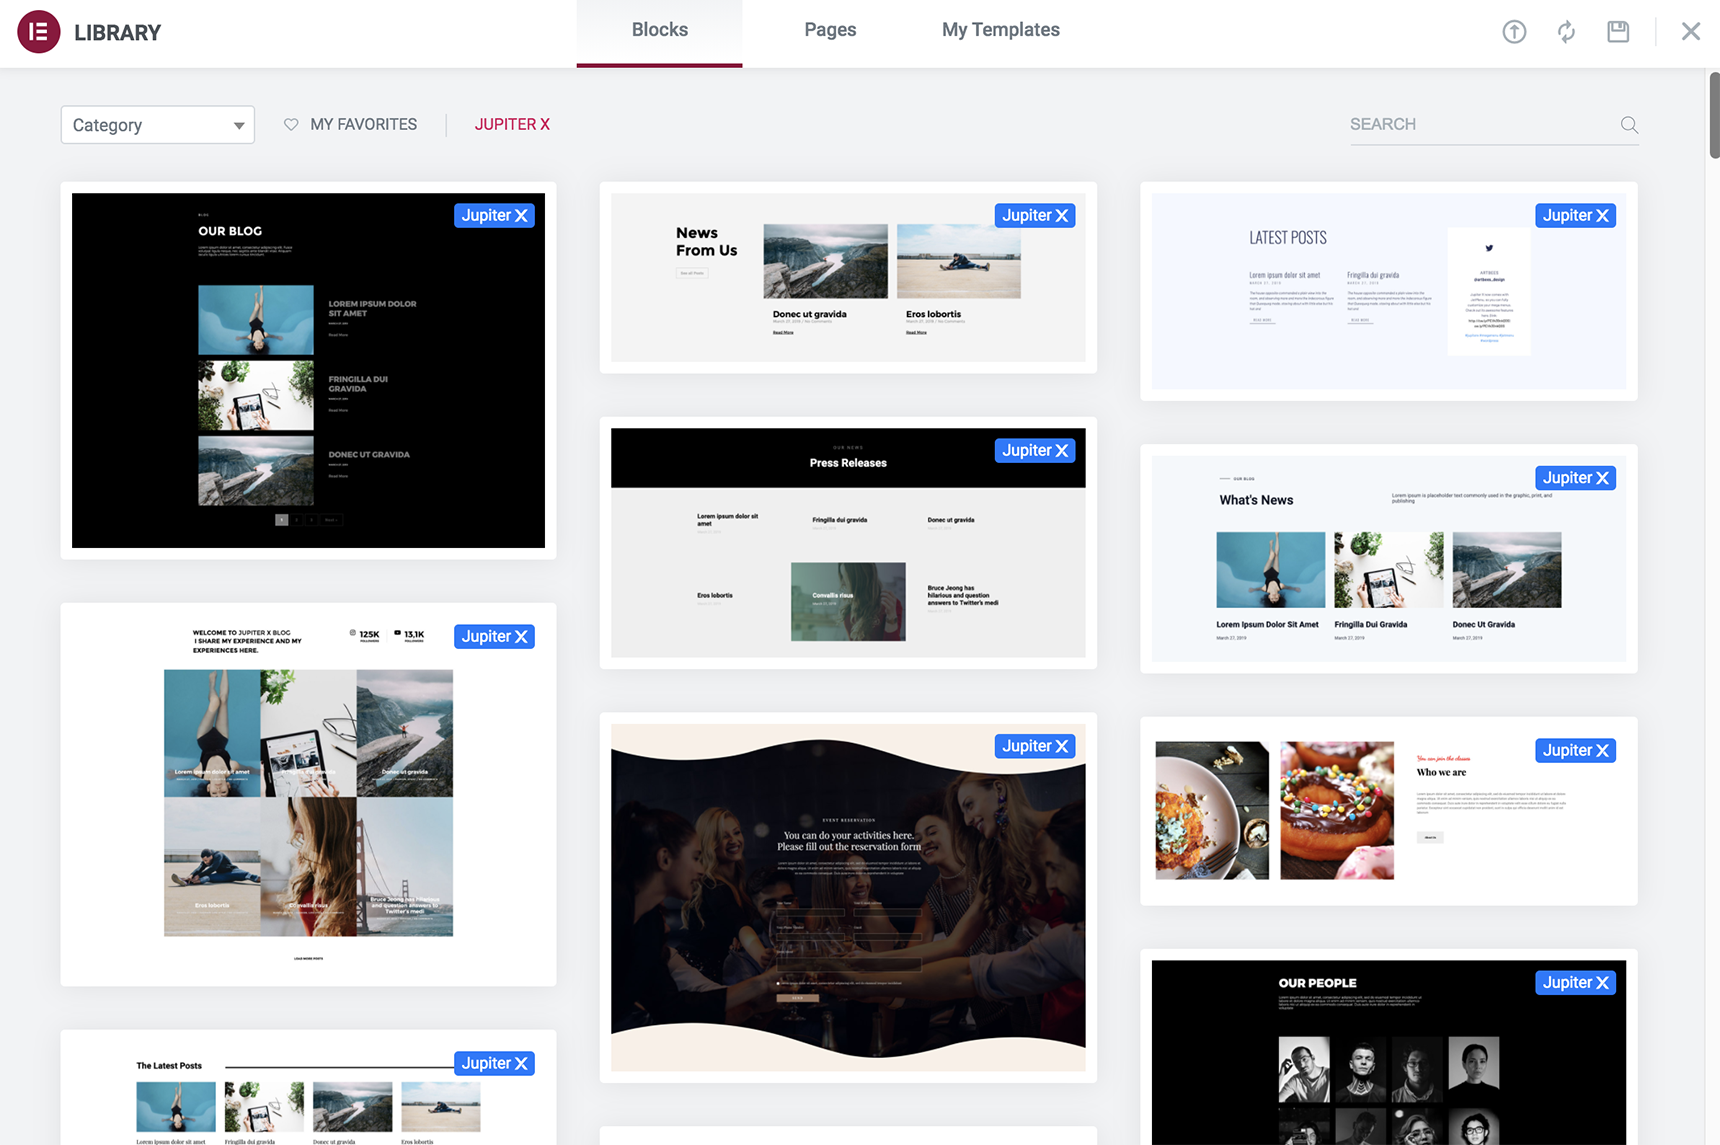
400+ Layouts – Both Elementor and Jupiter X provide a wide variety of layouts for your site. You’ll find them in the Elementor library and will be able to import these layouts as full pages or as sections. It will help you to create the site much faster, and you may find interesting layouts that you want to try.
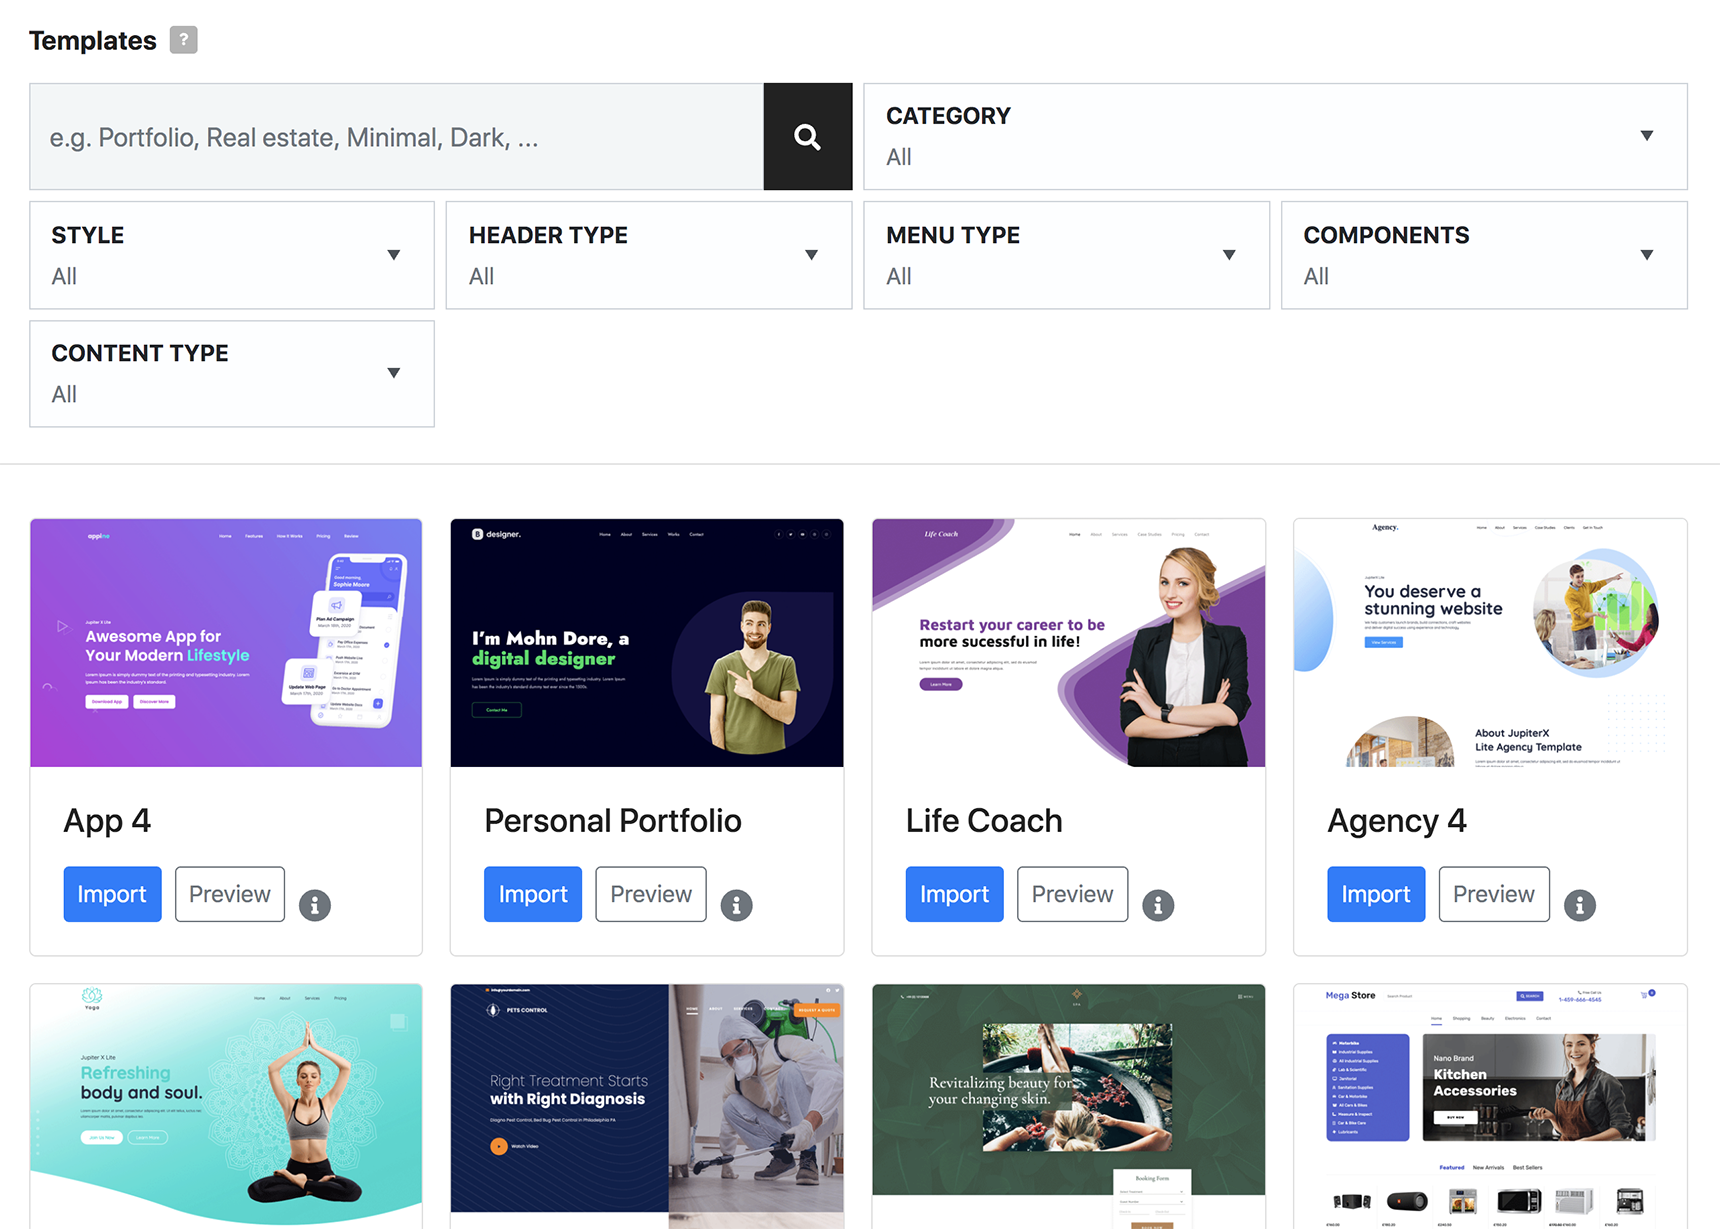
Templates – Jupiter X provides a lot of demo templates that you can use. Find the ones that match your design and your site will be ready in no time. Just install a template and replace the content with yours. You’ll get a fully designed template!
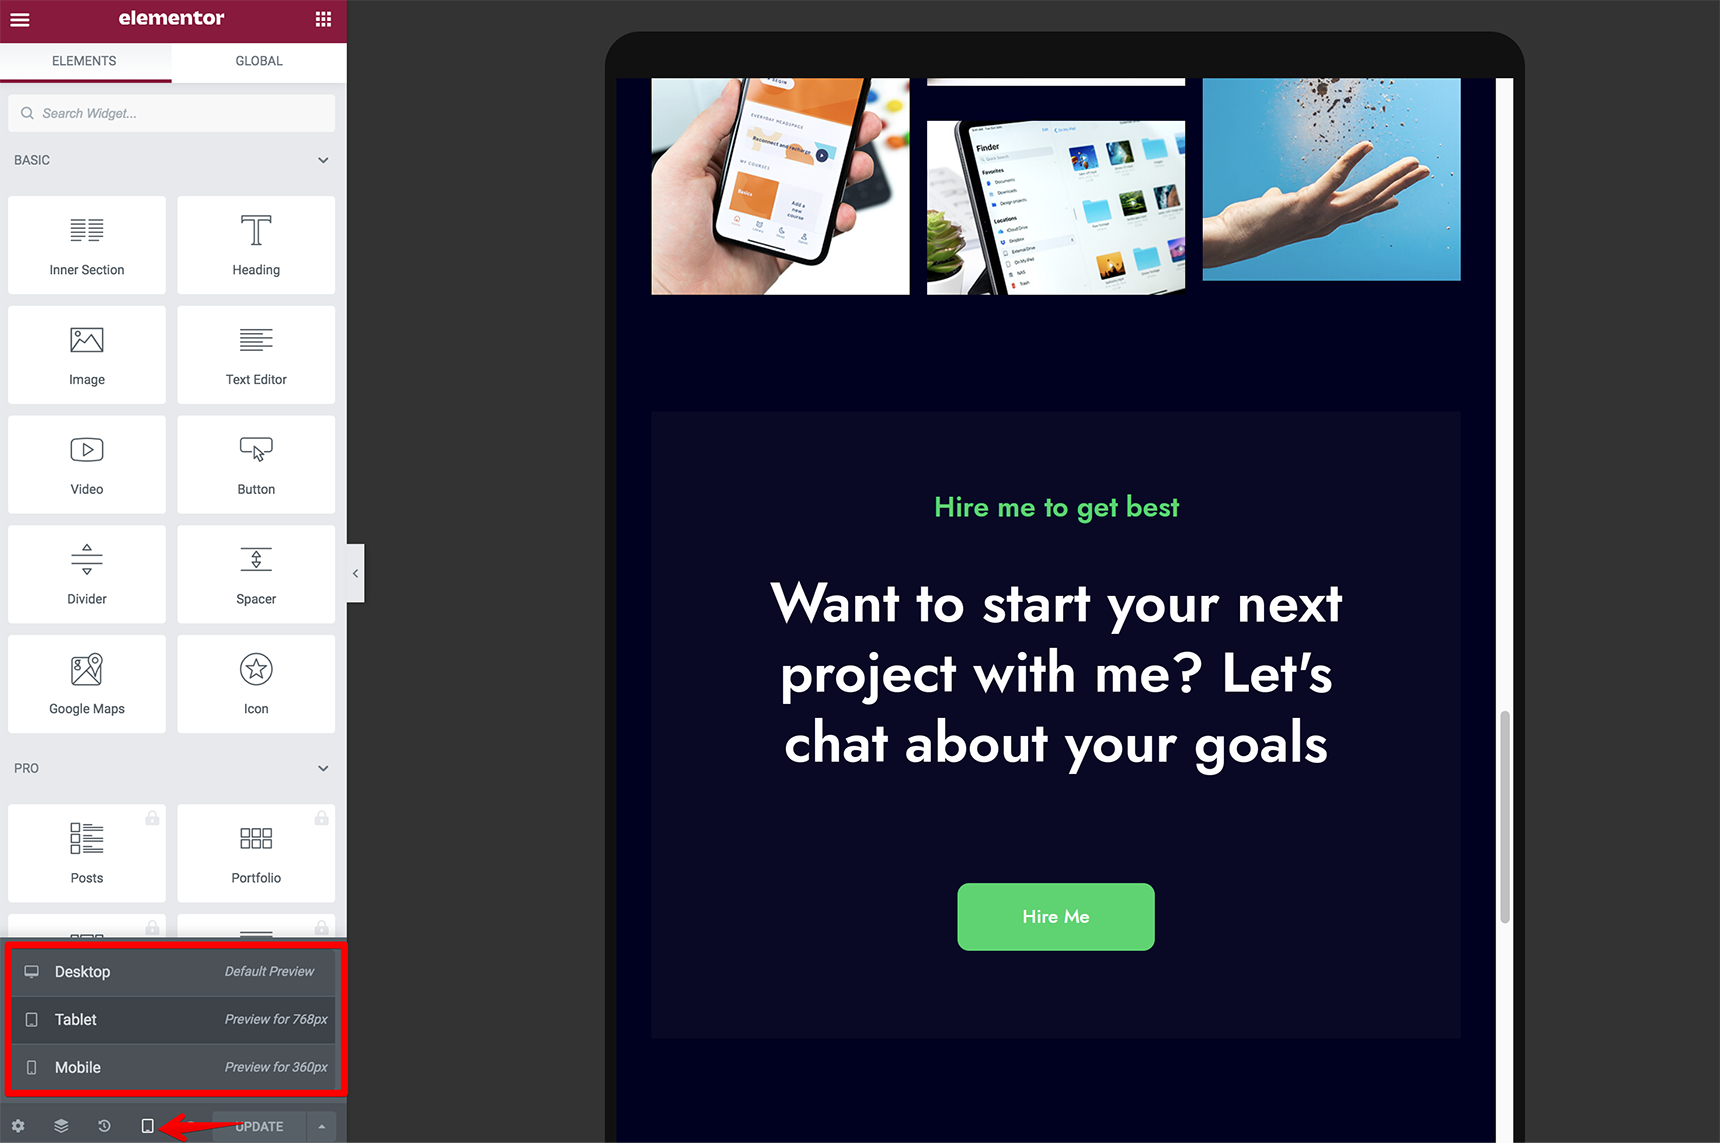
Mobile Preview – In Elementor’s editor you can preview the pages on mobile and edit content instantly. The same preview is available in the Jupiter X Customizer so that you can modify styling and check immediately how it looks on mobile devices.
Email Integration – Jupiter X provides the option to integrate email with different email marketing tools like HubSpot and MailChimp.
Excellent Widgets – Elementor has its own widgets that help you make your pages functional. Jupiter X expands on this feature by additional widgets, such as the widgets from the bundled plugin JetElements, so you can have more fun.
One-time Payment – With Jupiter X you pay only once and get full-time updates and additional features, in contrast with the subscription for Elementor Pro, which you need to renew each year.
Selecting Design
Whether you create your design with Photoshop, Sketch or Adobe XD, it will be easy to convert it with Elementor. PSD is short for PhotoShop Design. It’s one of the most popular design tools used to create designs for WordPress sites. There are a lot of readymade PSD designs that you can download directly from PSDHUB. This will save you time when creating a design. But, if you decided to create the design yourself, here are the factors you need to cover in your design:
- Clean Layout: your design must be elegant. This will help you make a pixel perfect website.
- Follow Direct Tasks: the design must clearly fit your site’s purpose. For example, you’ll probably want to use a hotel website PSD to create a hotel website.
- Complications: try to avoid complexity when choosing design. Often, the simpler it is, the better your website will turn out.
The First Steps to Convert PSD To WordPress
WordPress is a very popular platform thanks to its ease of installation. The installation process is simple. So installing WordPress is the easy first step for converting your design to WordPress. If you need guidance throughout the process, WordPress support provides a detailed article on “How to install WordPress”. It should take less than five minutes of your time.
Once WordPress is installed, you should then proceed with the installation of the Jupiter X theme. The detailed process is described in the following Artbees article: “Getting Started with Jupiter X”.
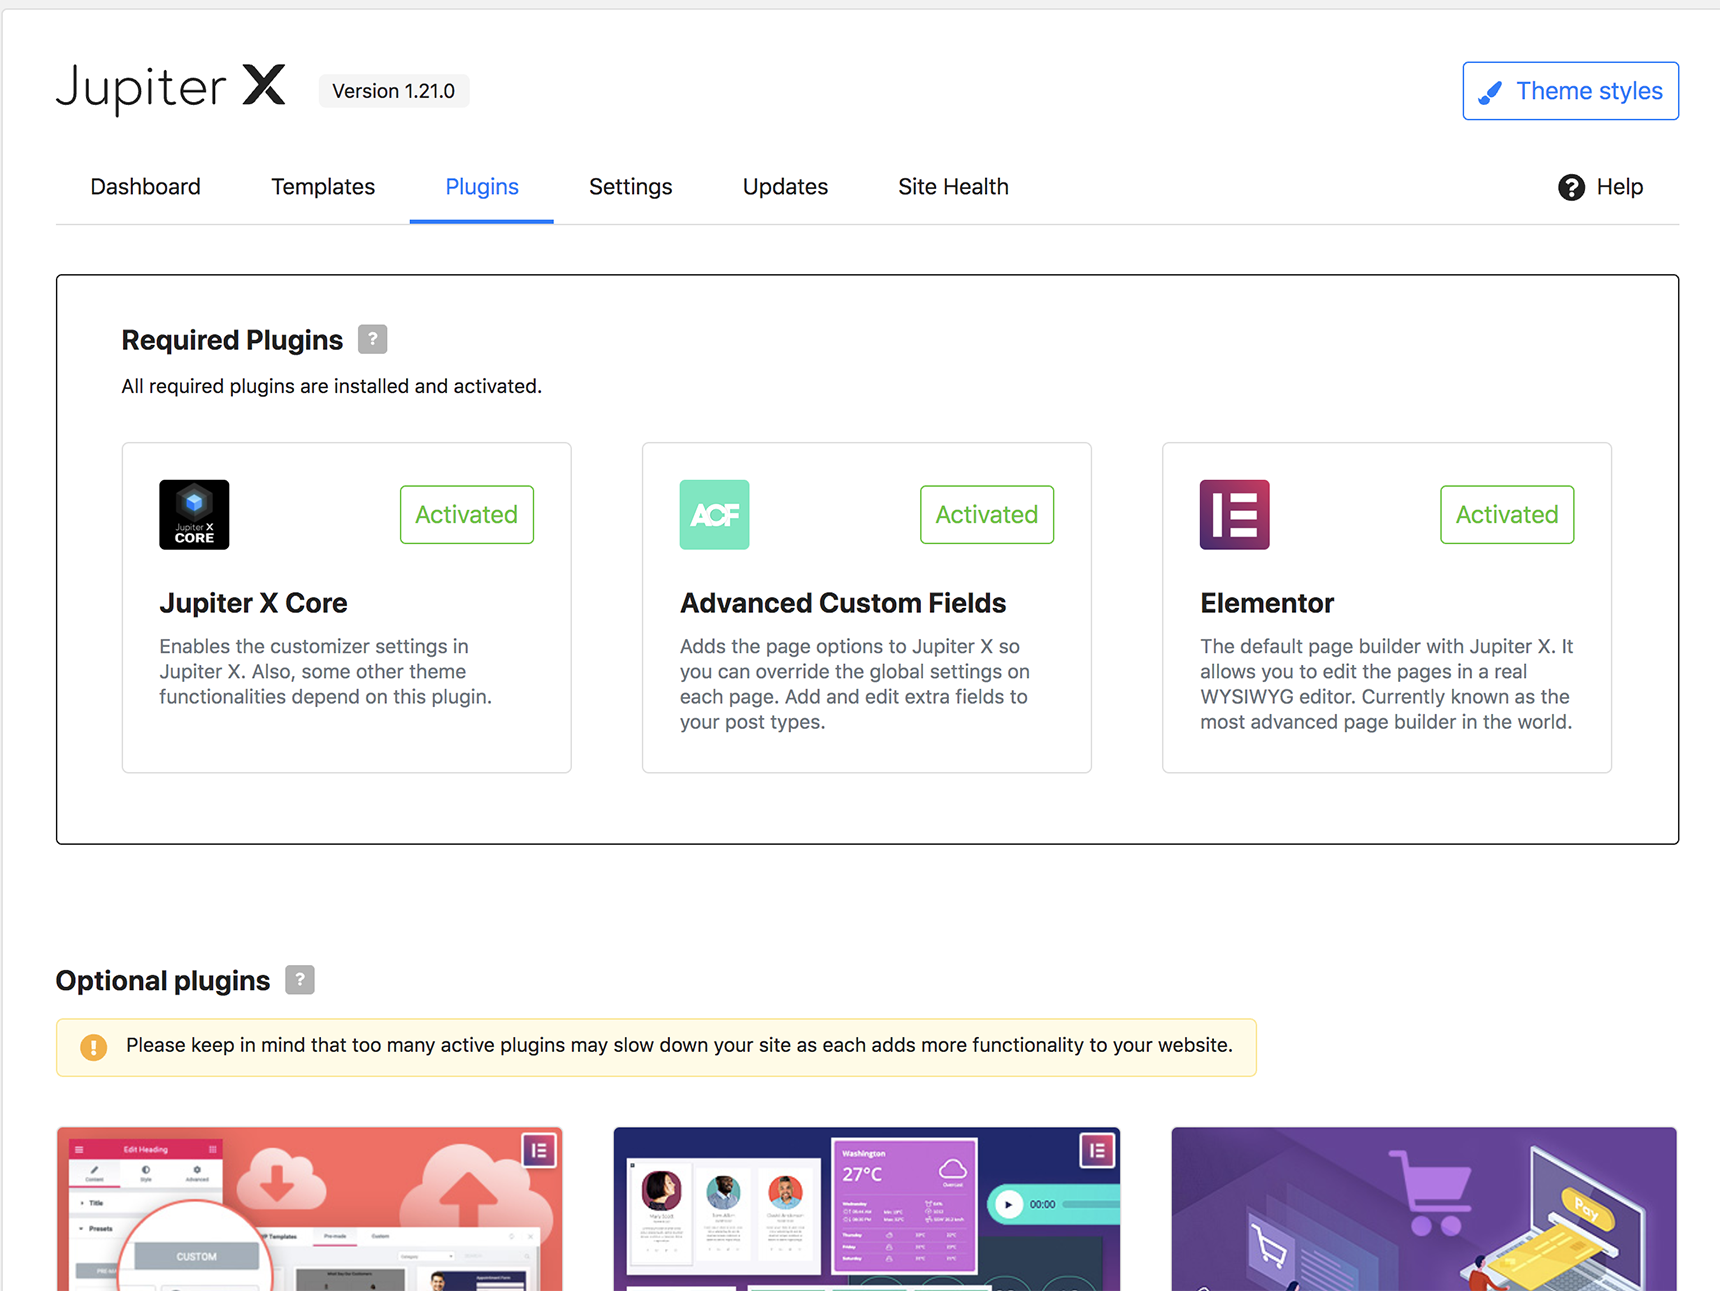
The next step is to install the Elementor plugin. As it’s bundled with the theme, you can enable it by navigating to Jupiter X > Control Panel > Plugins. For more information, check out this article. Also you can install the JetElements plugin, which is also bundled with the theme to extend default Elementor functionality and provide users with more additional widgets.

The installation stage is completed. Now you’re ready to convert the PSD to WordPress using Elementor and Jupiter X.
Converting PSD To WordPress
Before starting to create new pages, you can look for ready-made templates in Jupiter X. Perhaps you’ll find the one that suits your design, making the conversion process much easier. Follow these steps to convert your design to WordPress:
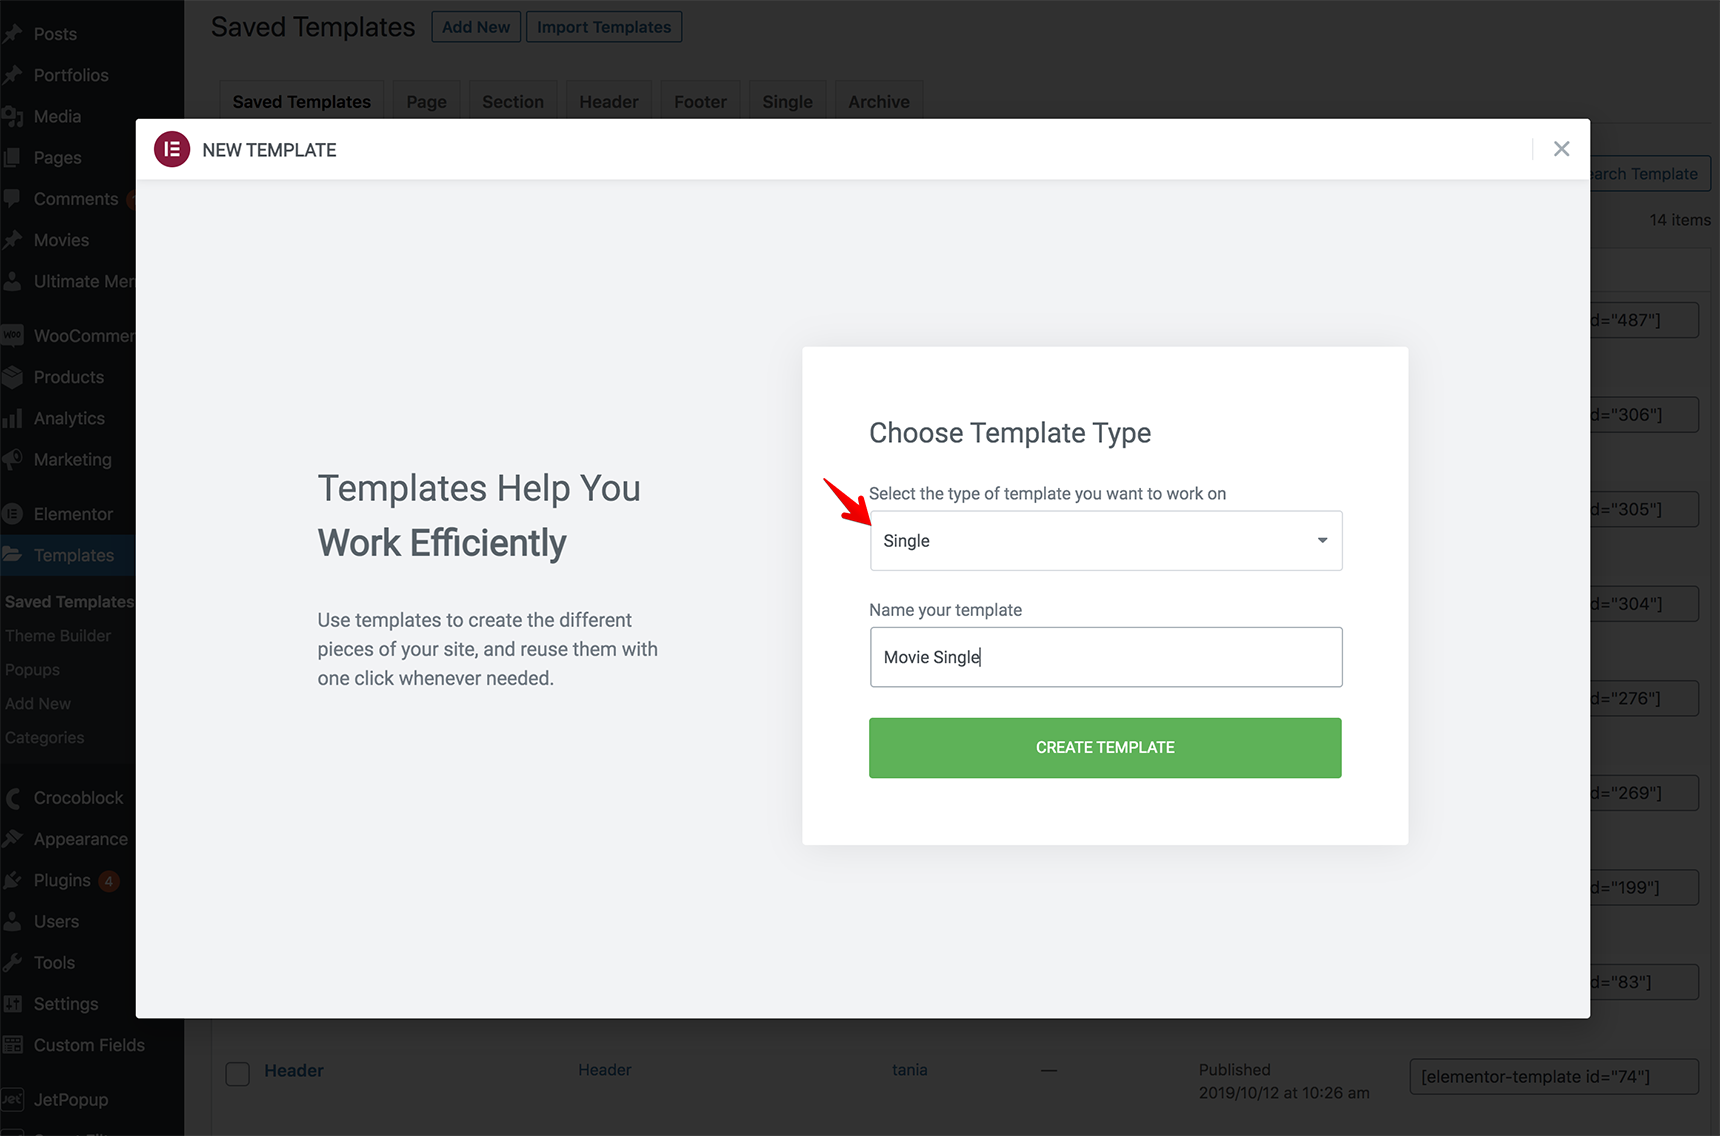
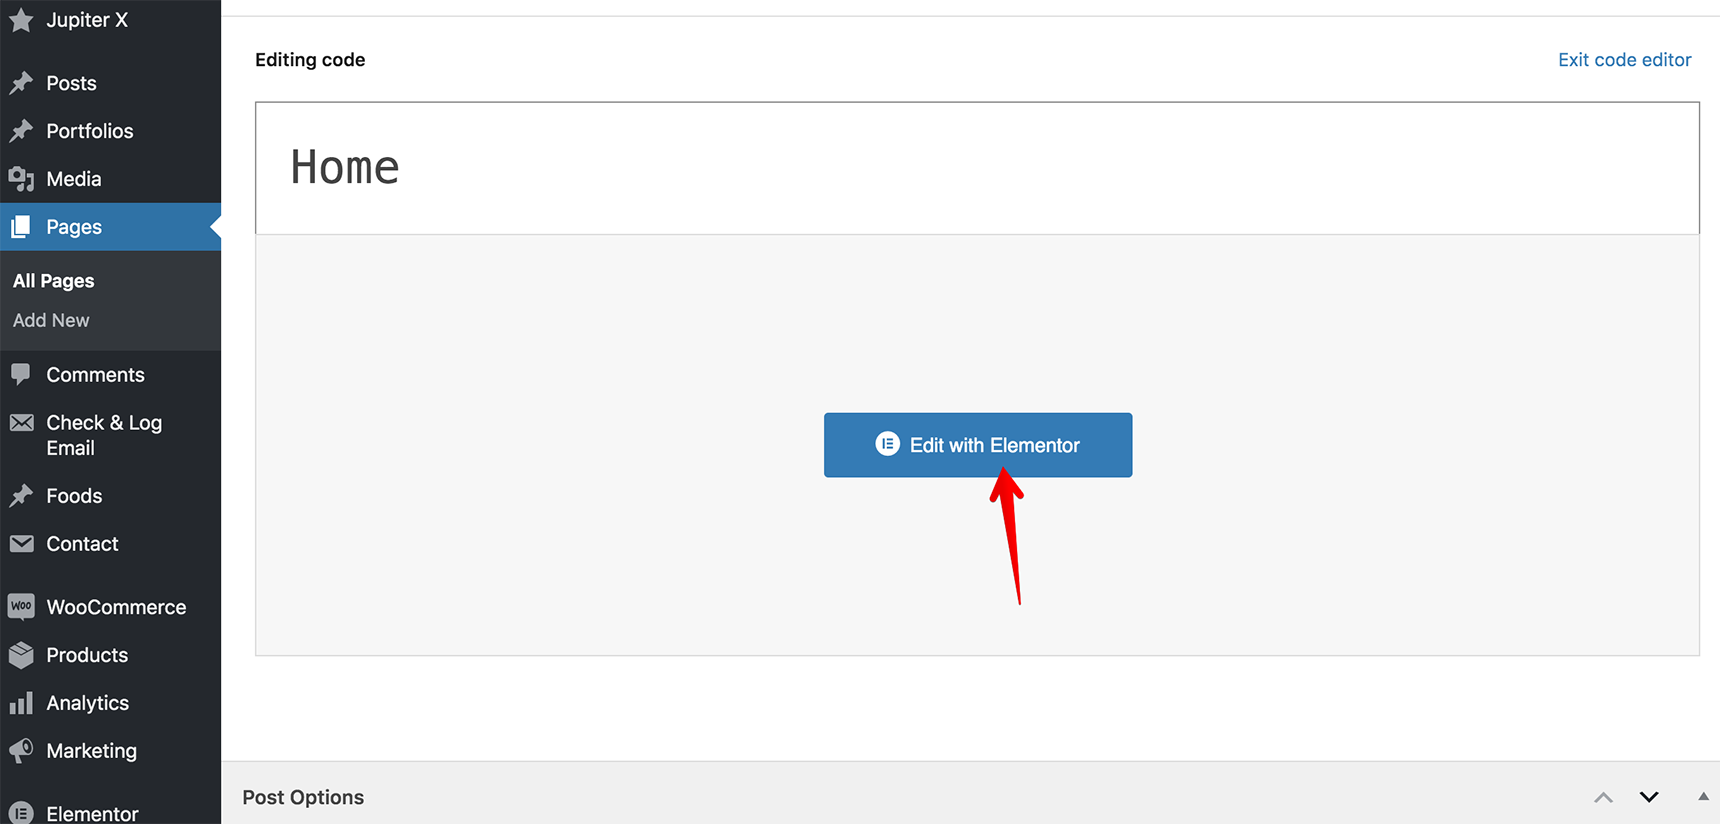
Add a New Page
First you need to create a new page from the WordPress dashboard. On the top left side of the WordPress dashboard, click Pages > Add New. Then, click the “Edit with Elementor” button to enter the Elementor Page Builder. You will see an Elementor panel.
Build a Page From The PSD File
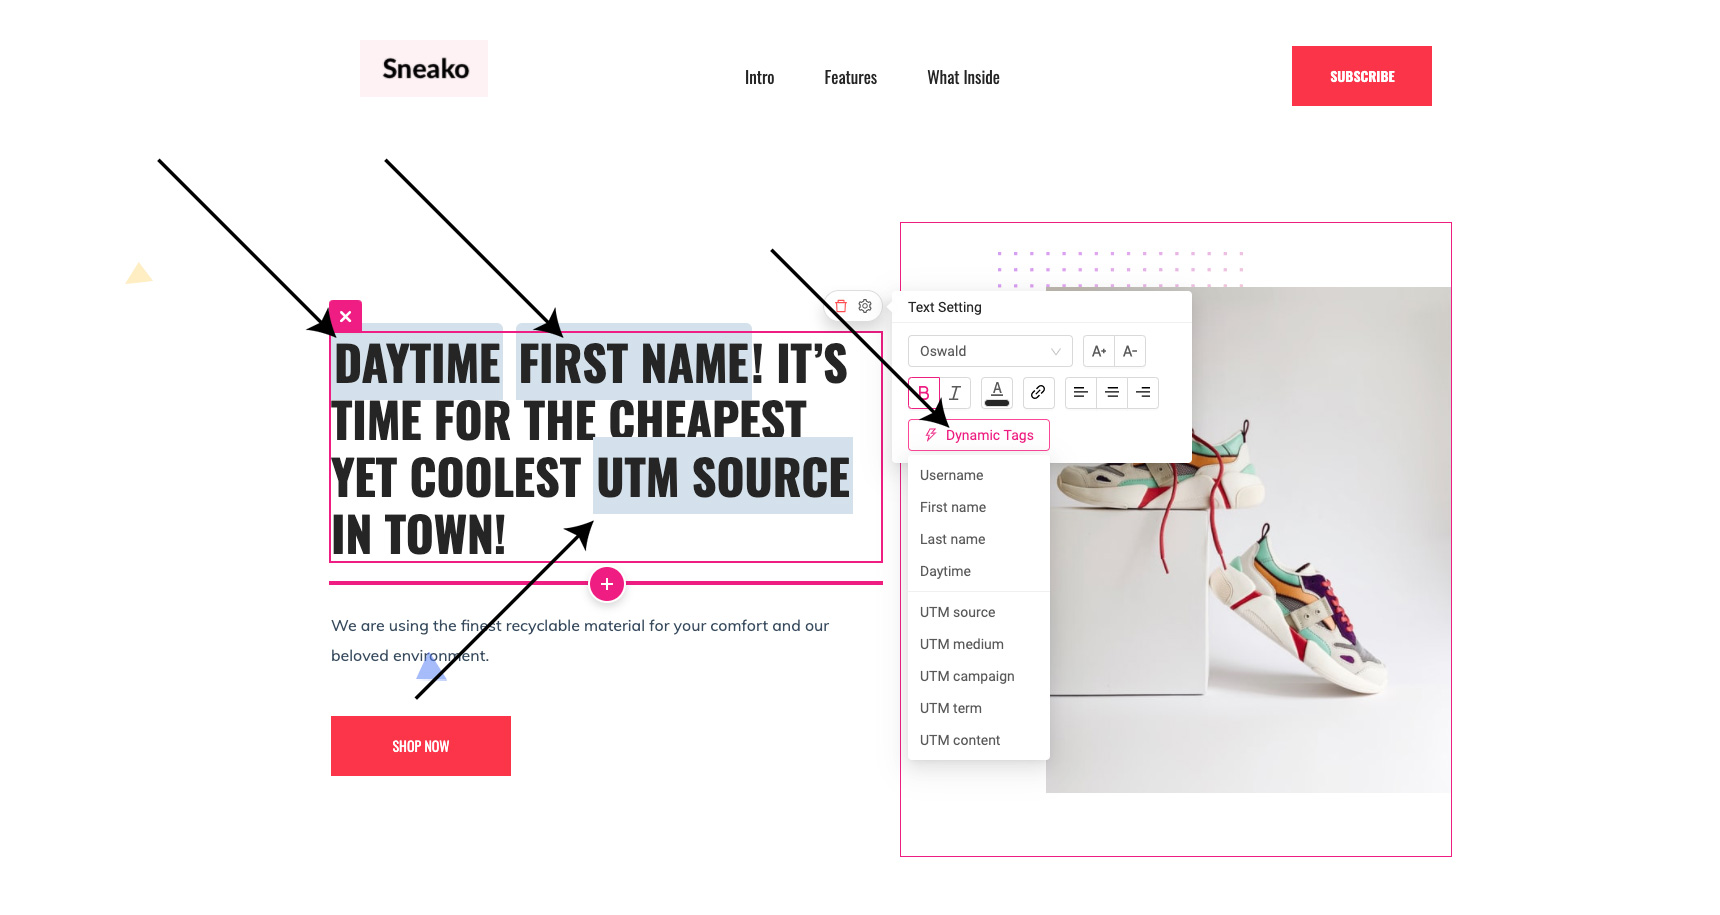
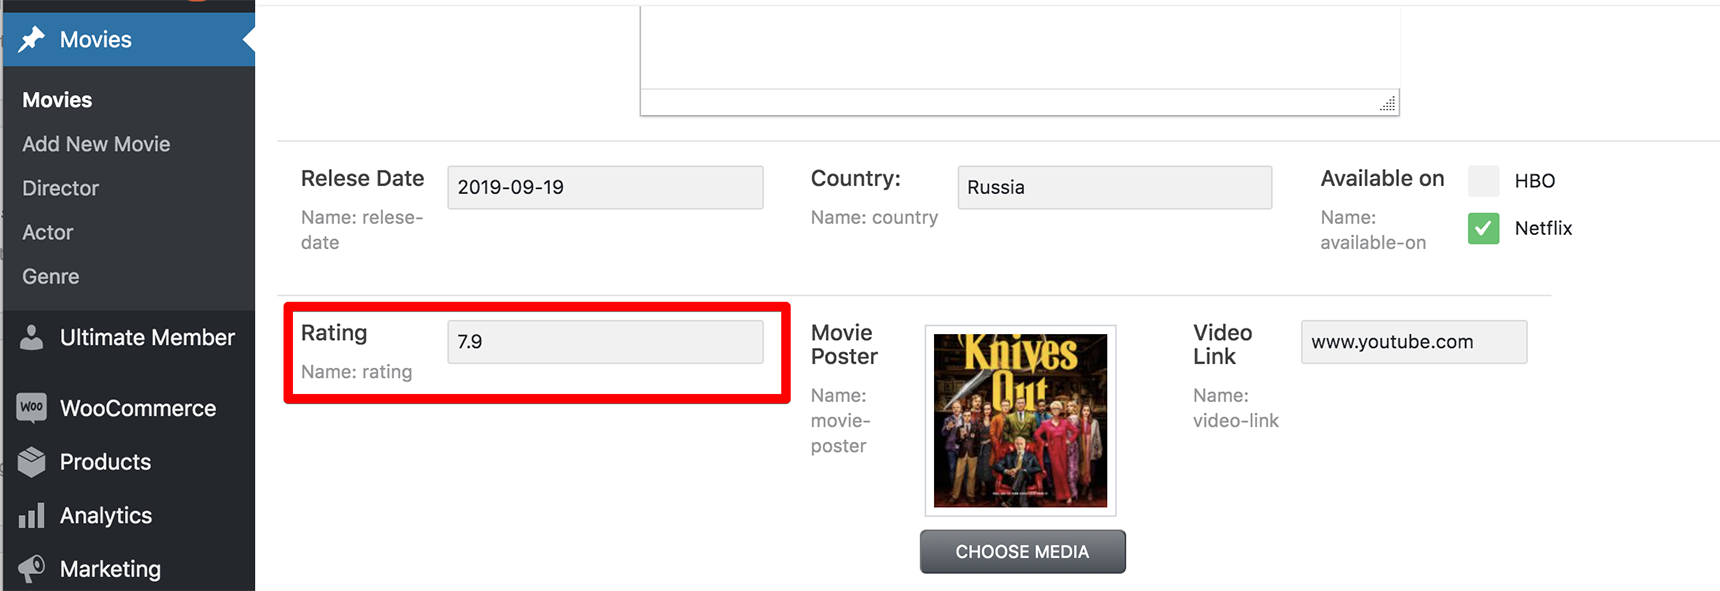
To build a page according to your design, you should consider three main things: Sections, Columns, and Widgets. Sections are the largest blocks, and can be divided into Columns. You can place Widgets inside Columns.
Add Header And Footer
In Jupiter X, a header and footer can be created in Elementor as well as pages. You’ll need to create a Header template and assign it in Customizer > Header, as described in this article. The process is similar for the Footer template. Also, you’ll need to add a logo for your site. To learn how this can be done in Customizer, read more here.
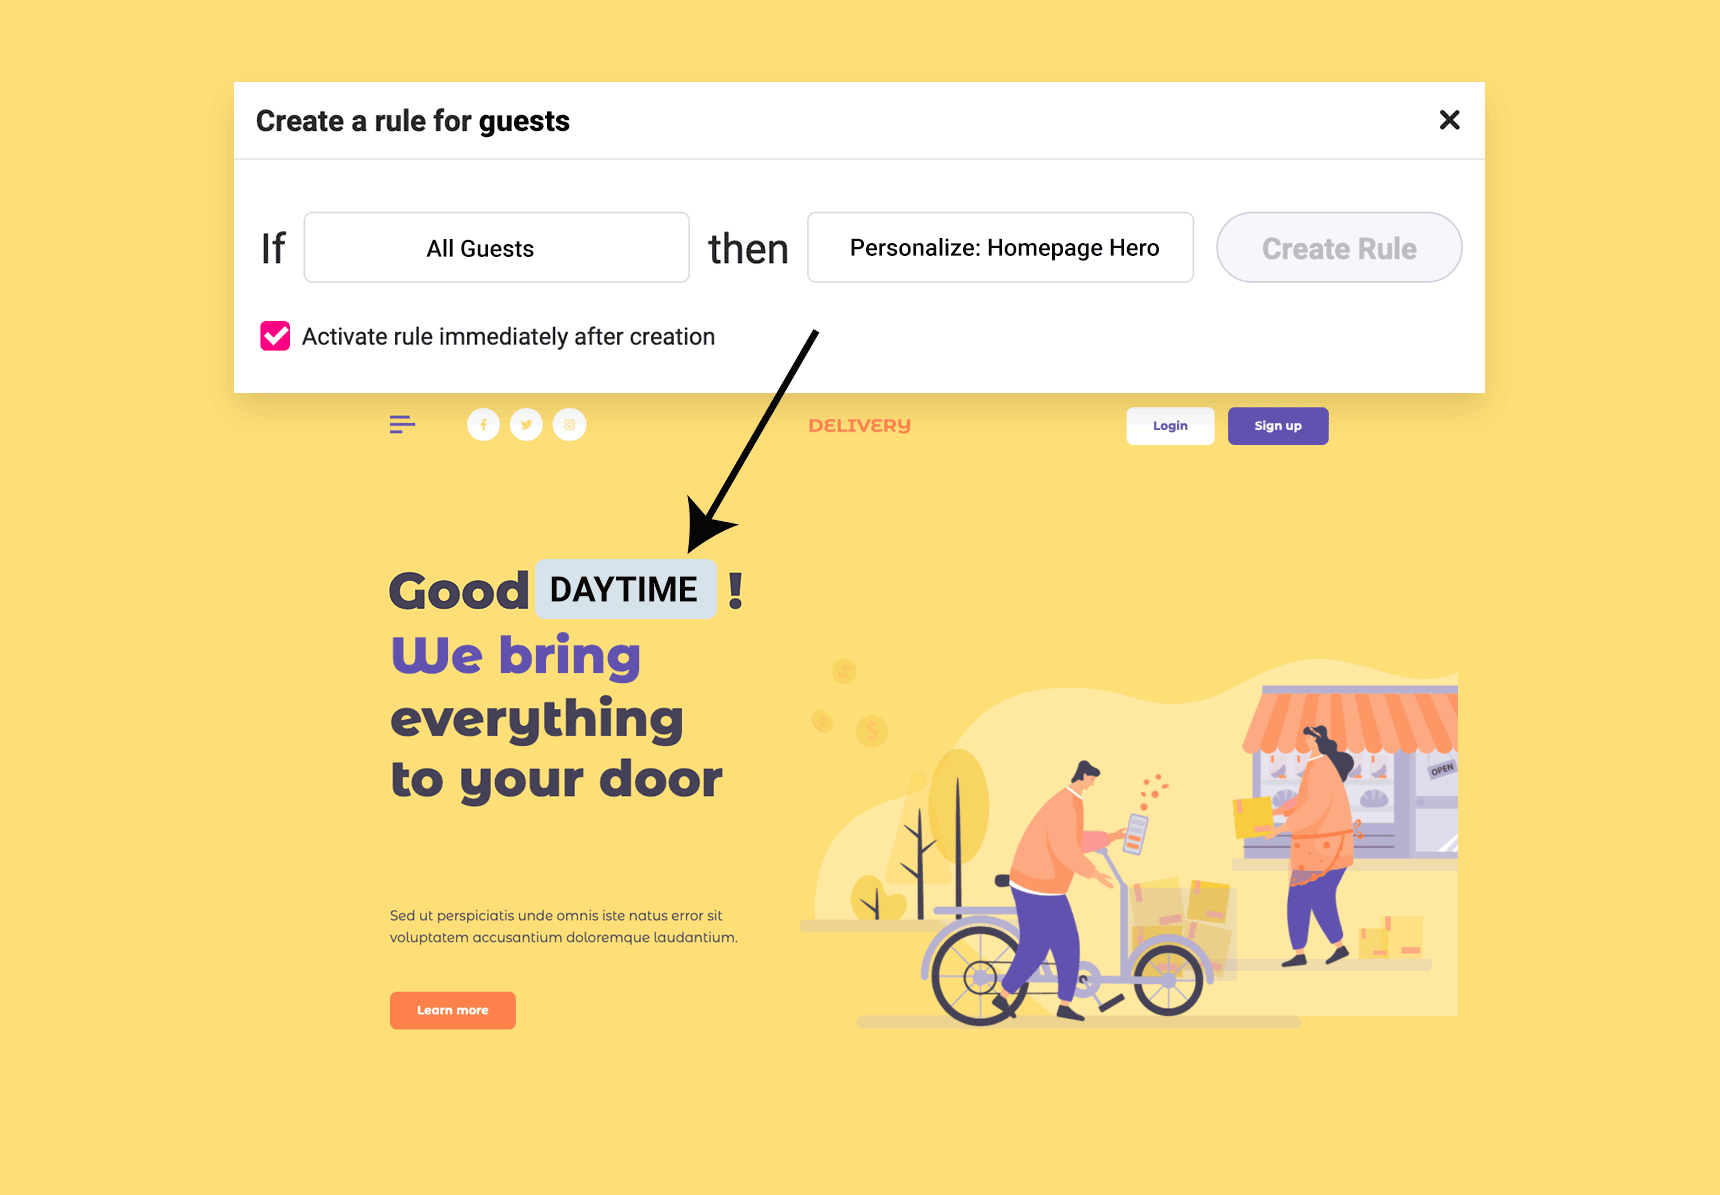
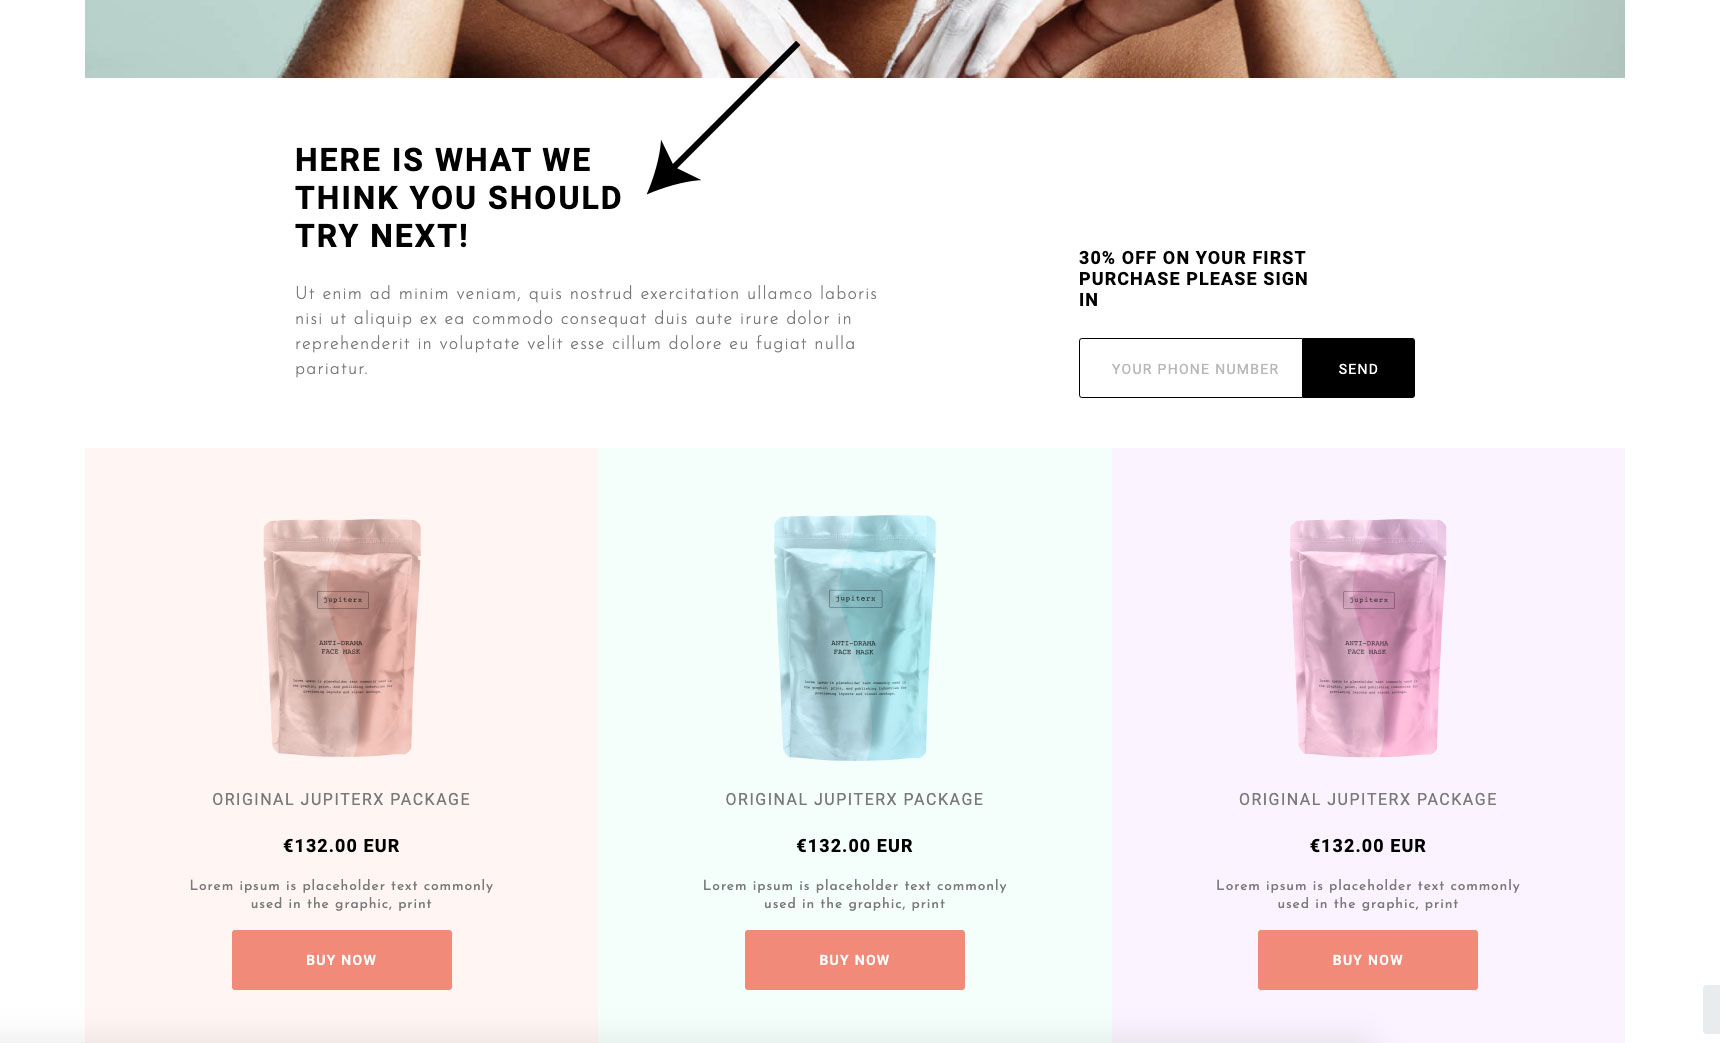
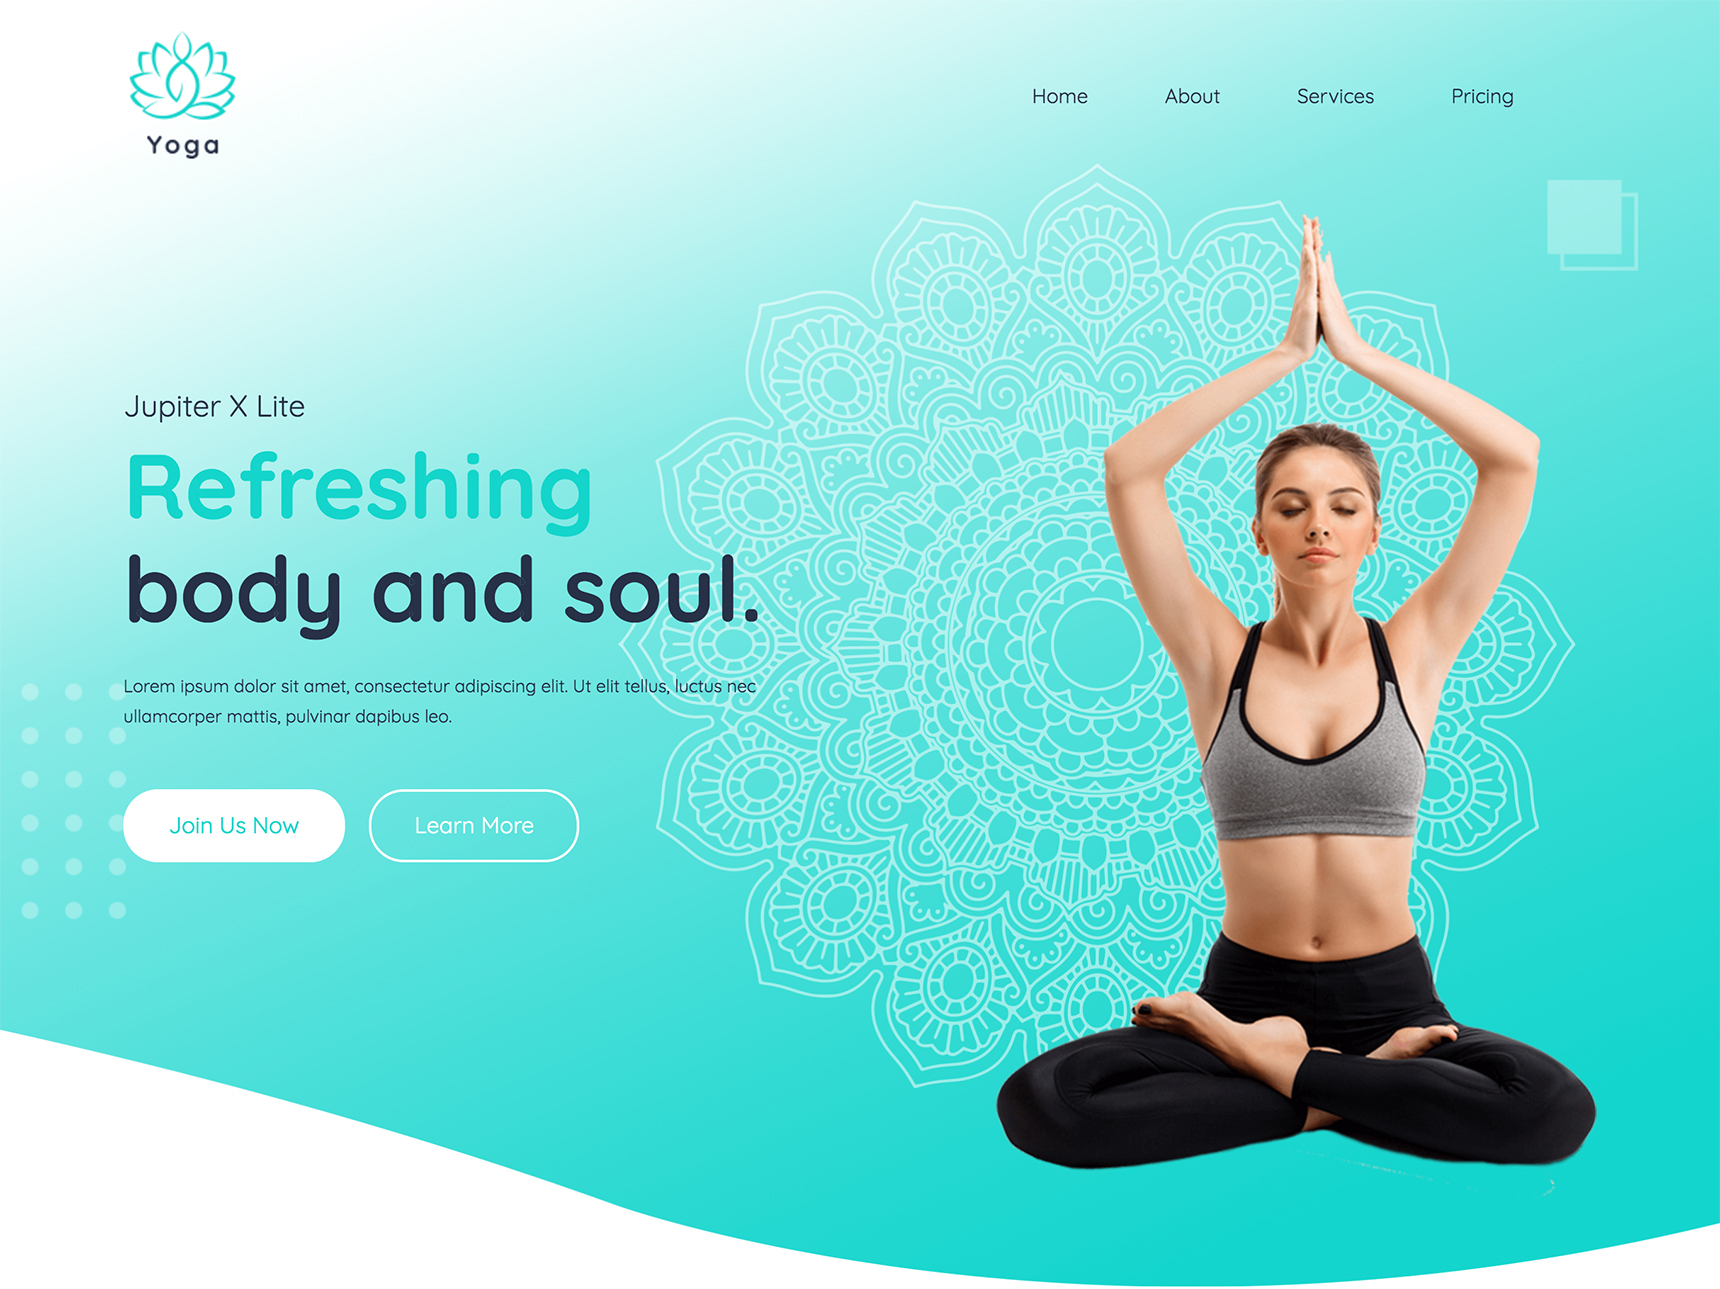
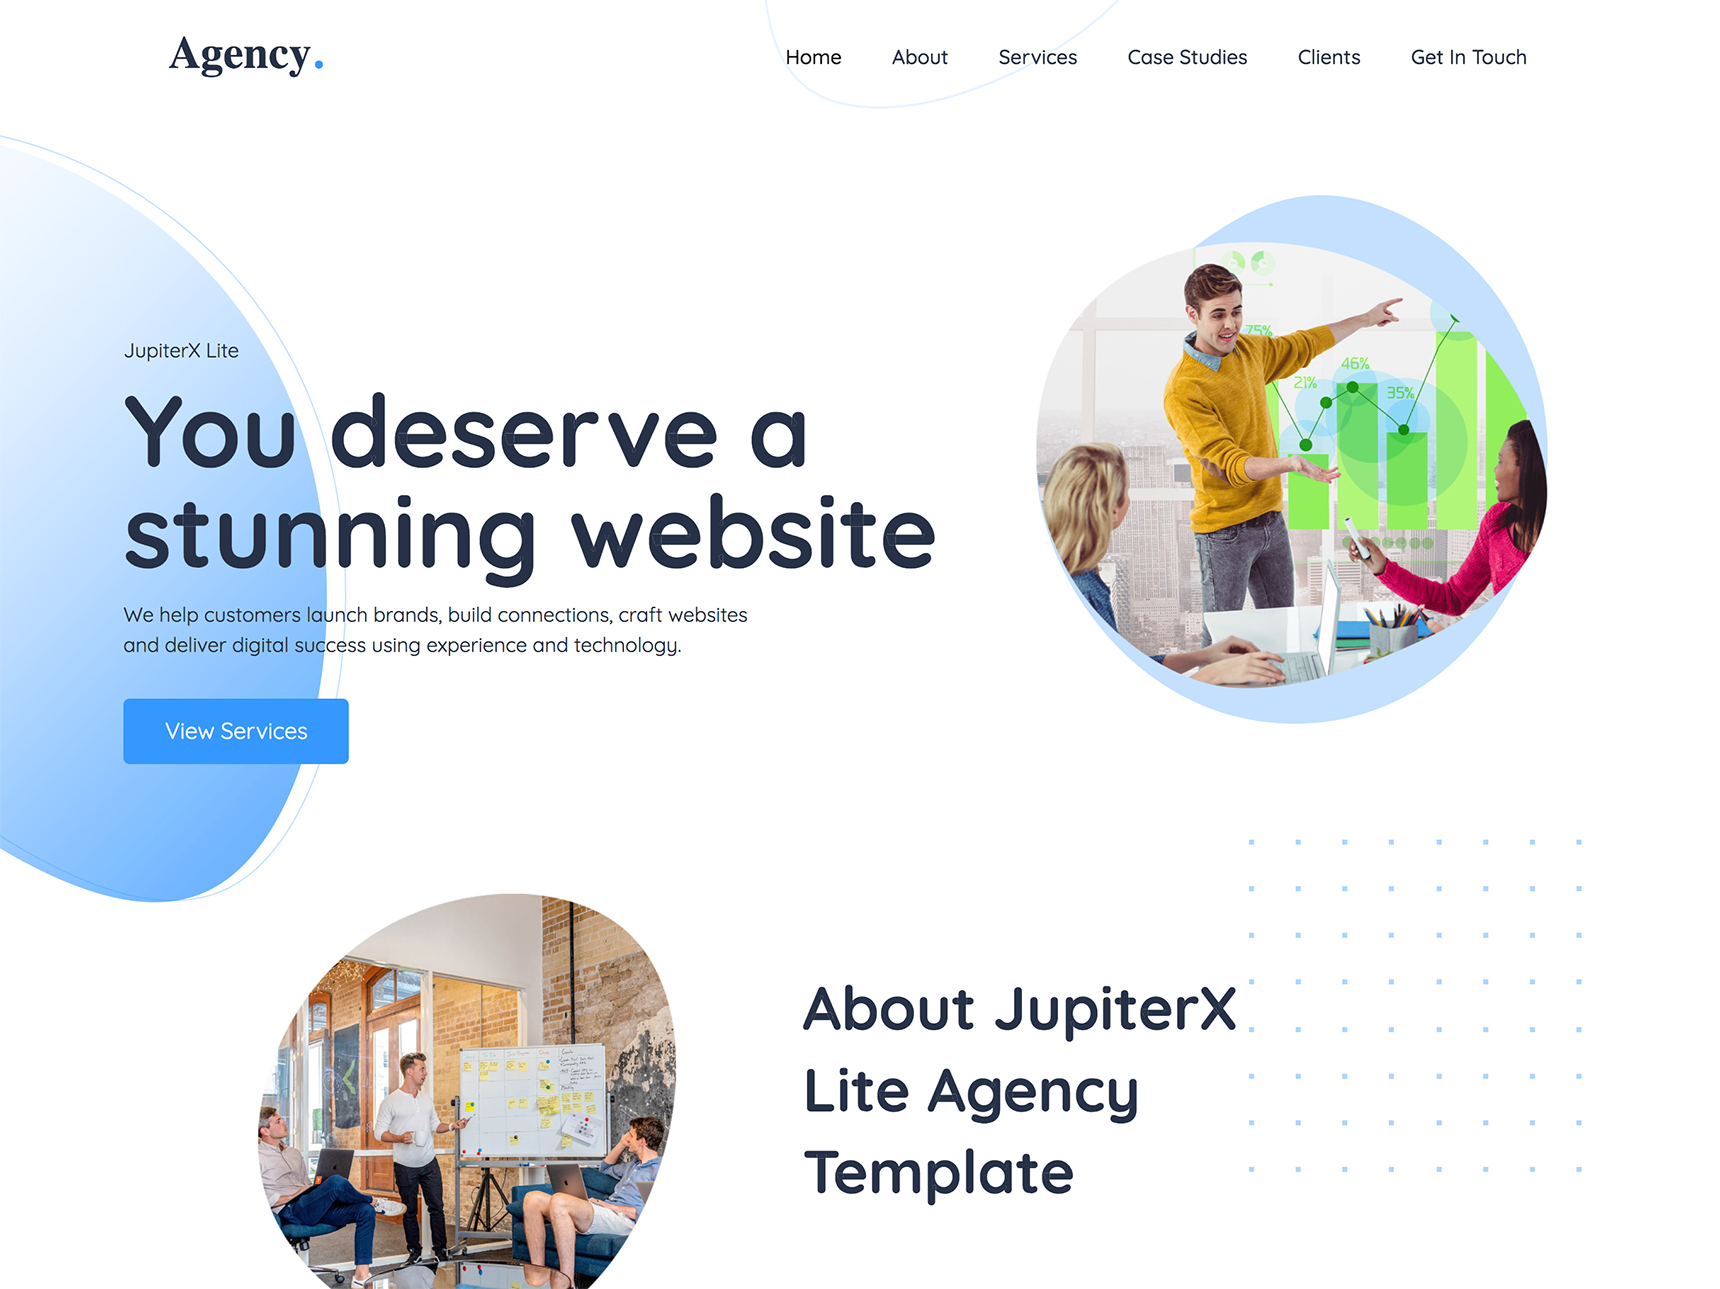
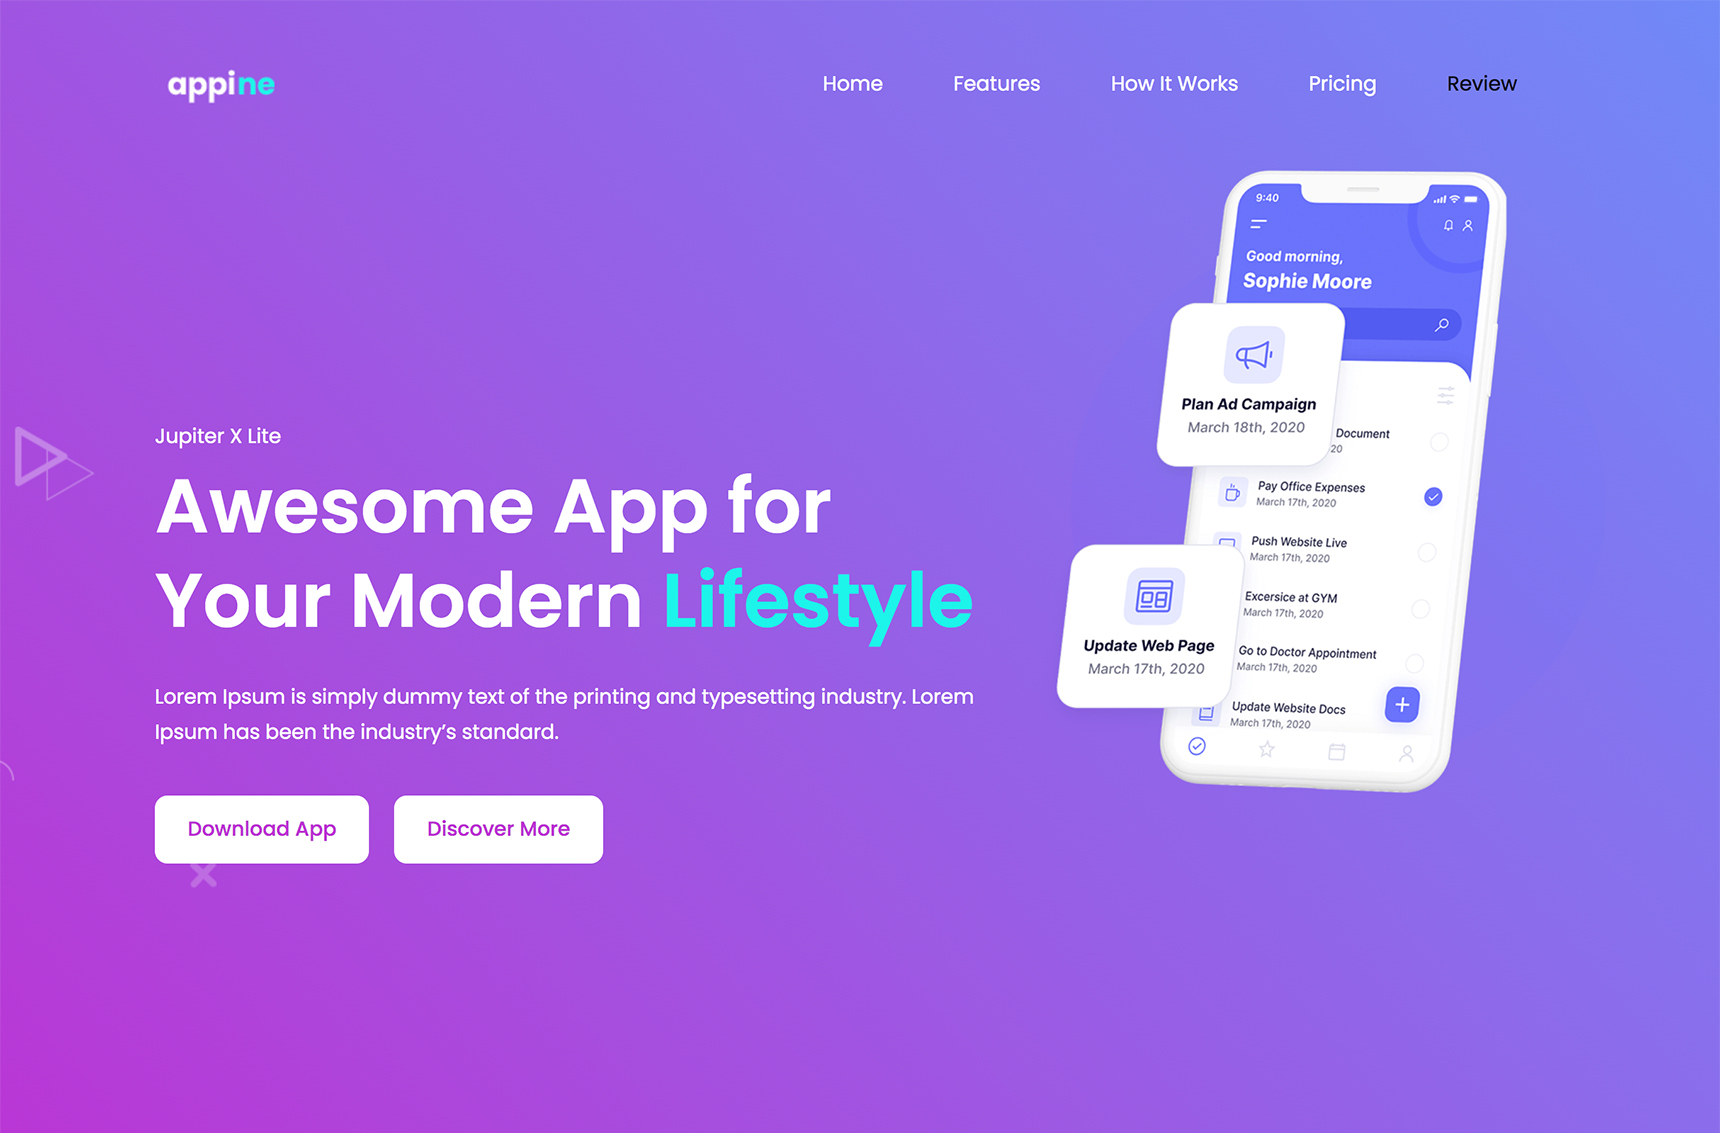
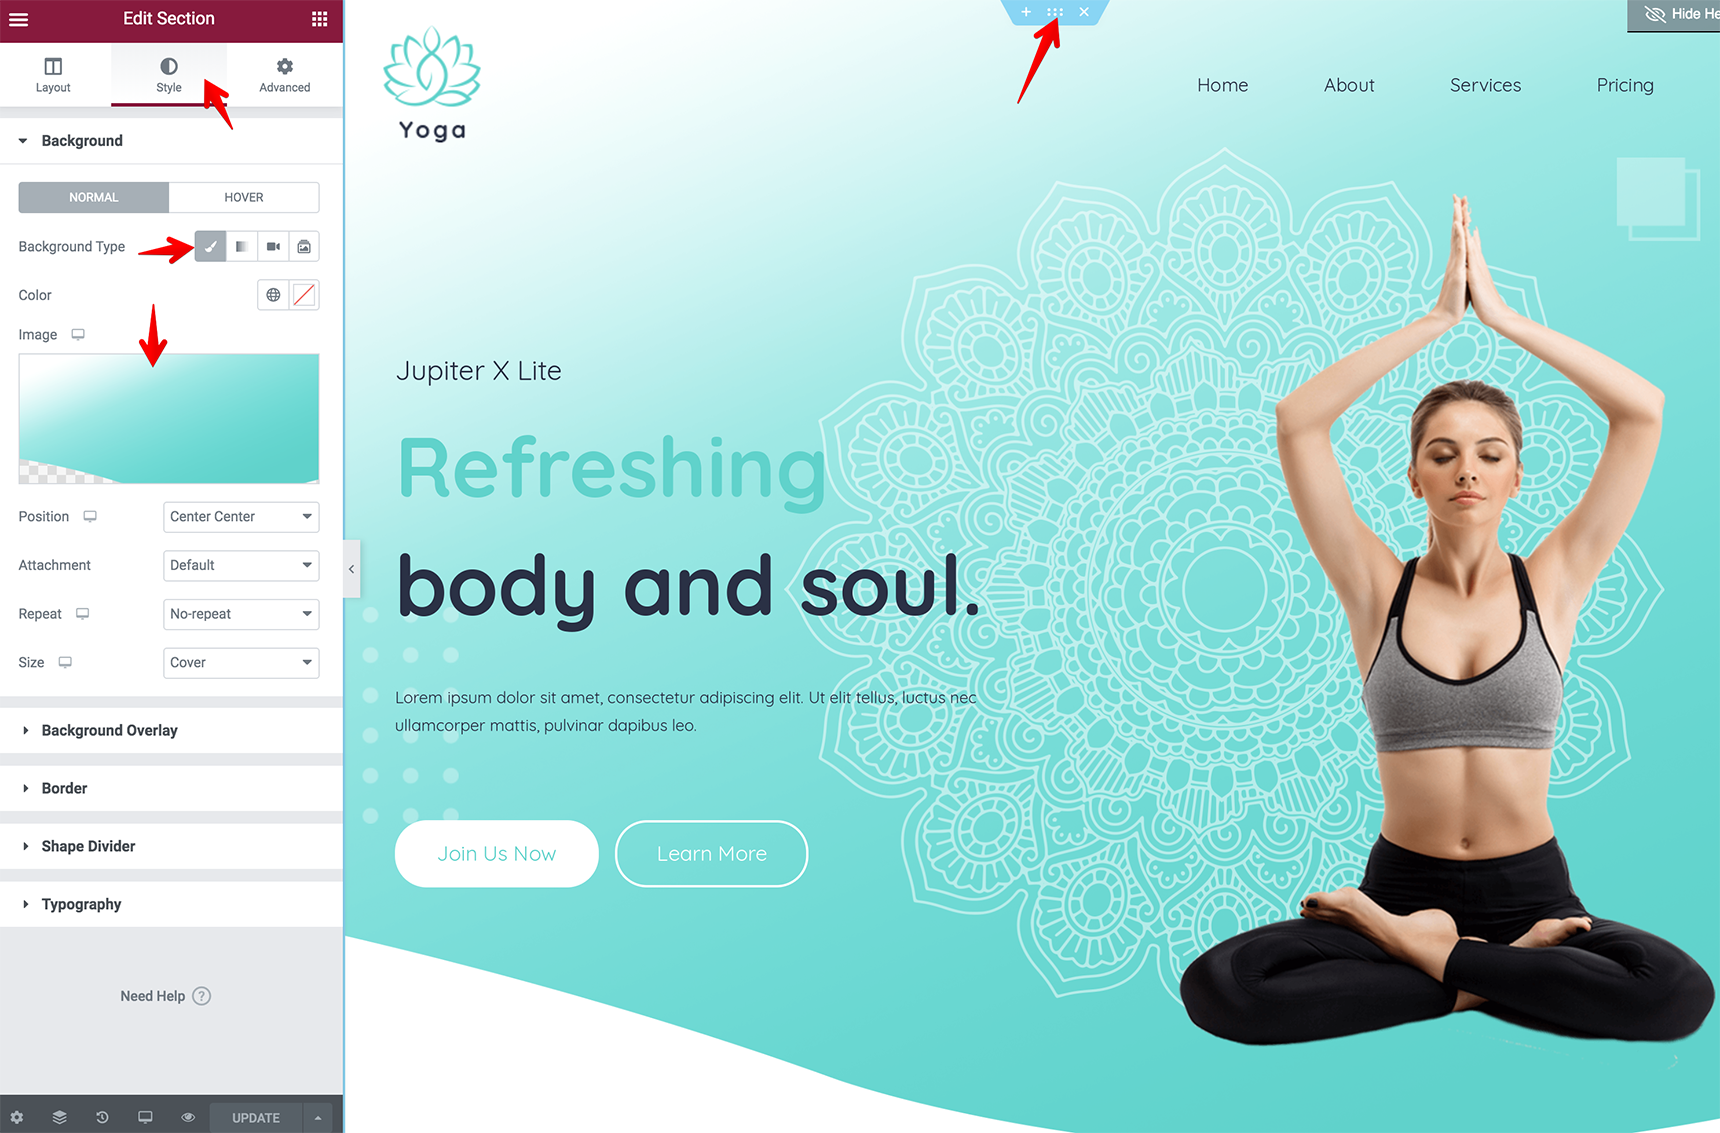
Add Hero Section
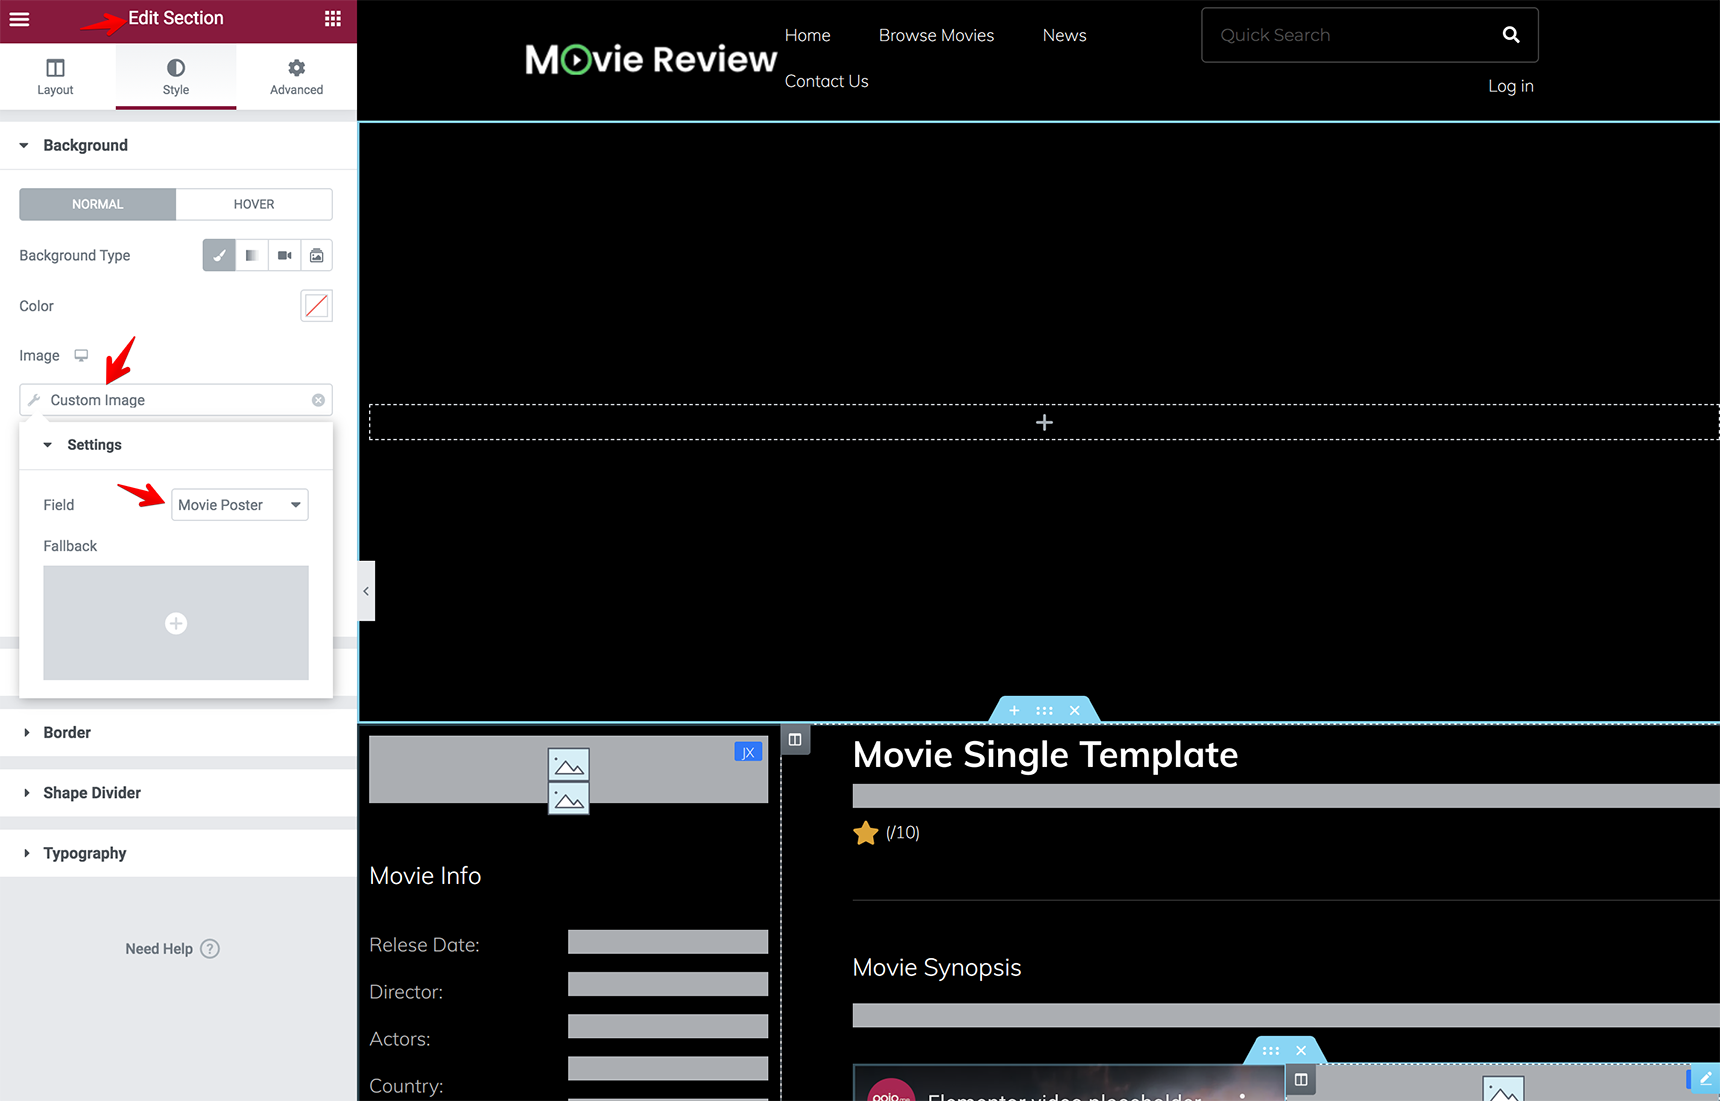
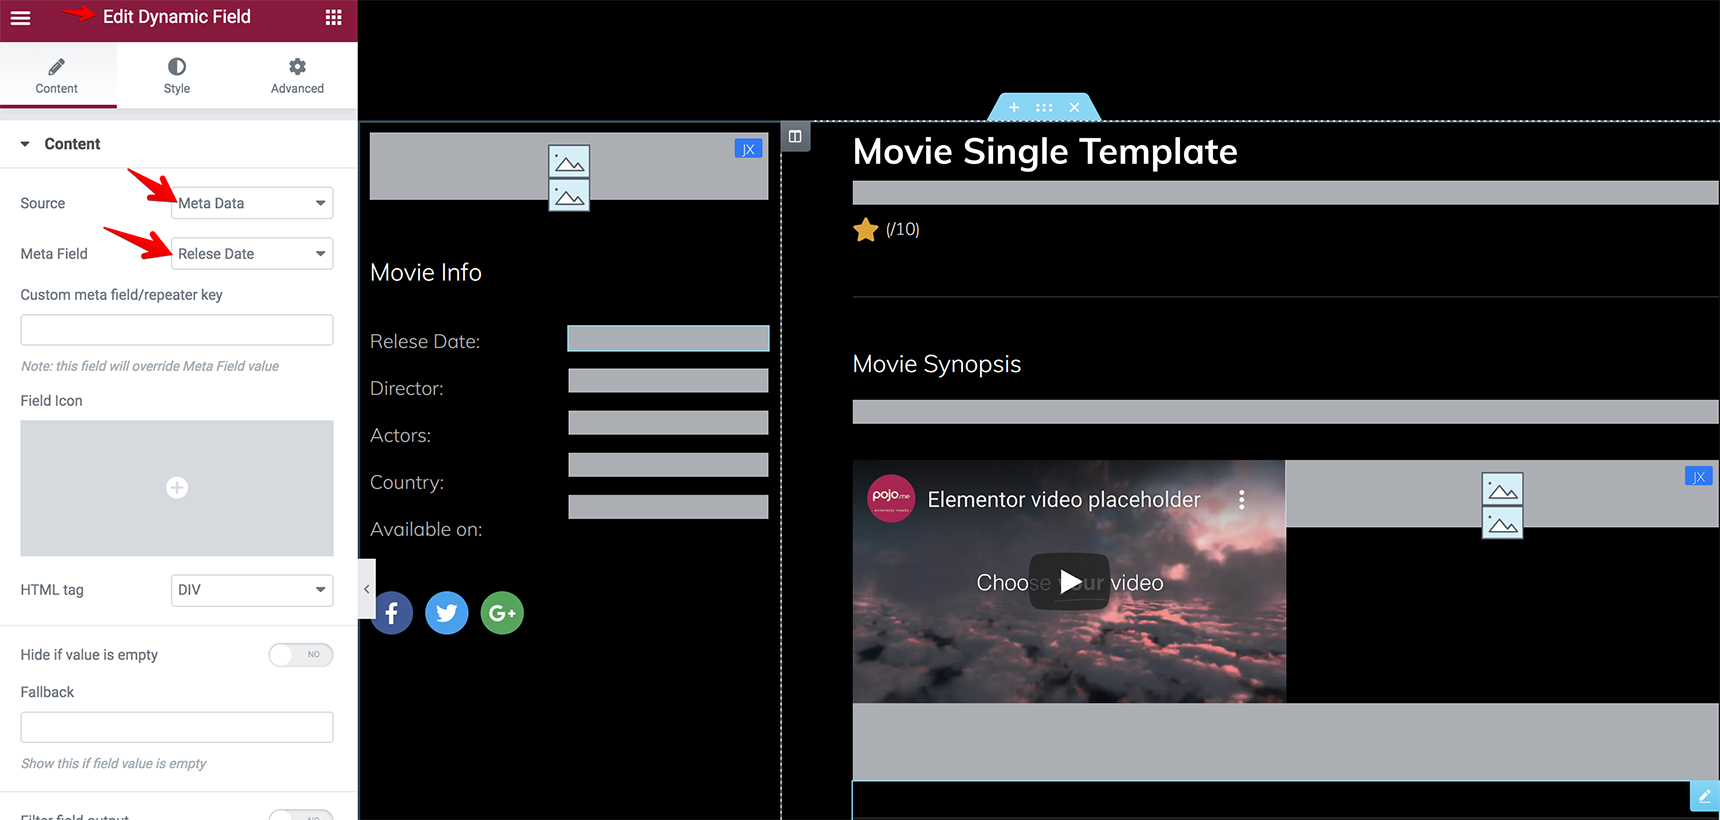
Now, let’s convert the hero section. This is the first thing that your visitors see when they visit your site, so it’s the perfect place to make a great first impression. You can add a background image in the Section settings, then add columns with content and icons.
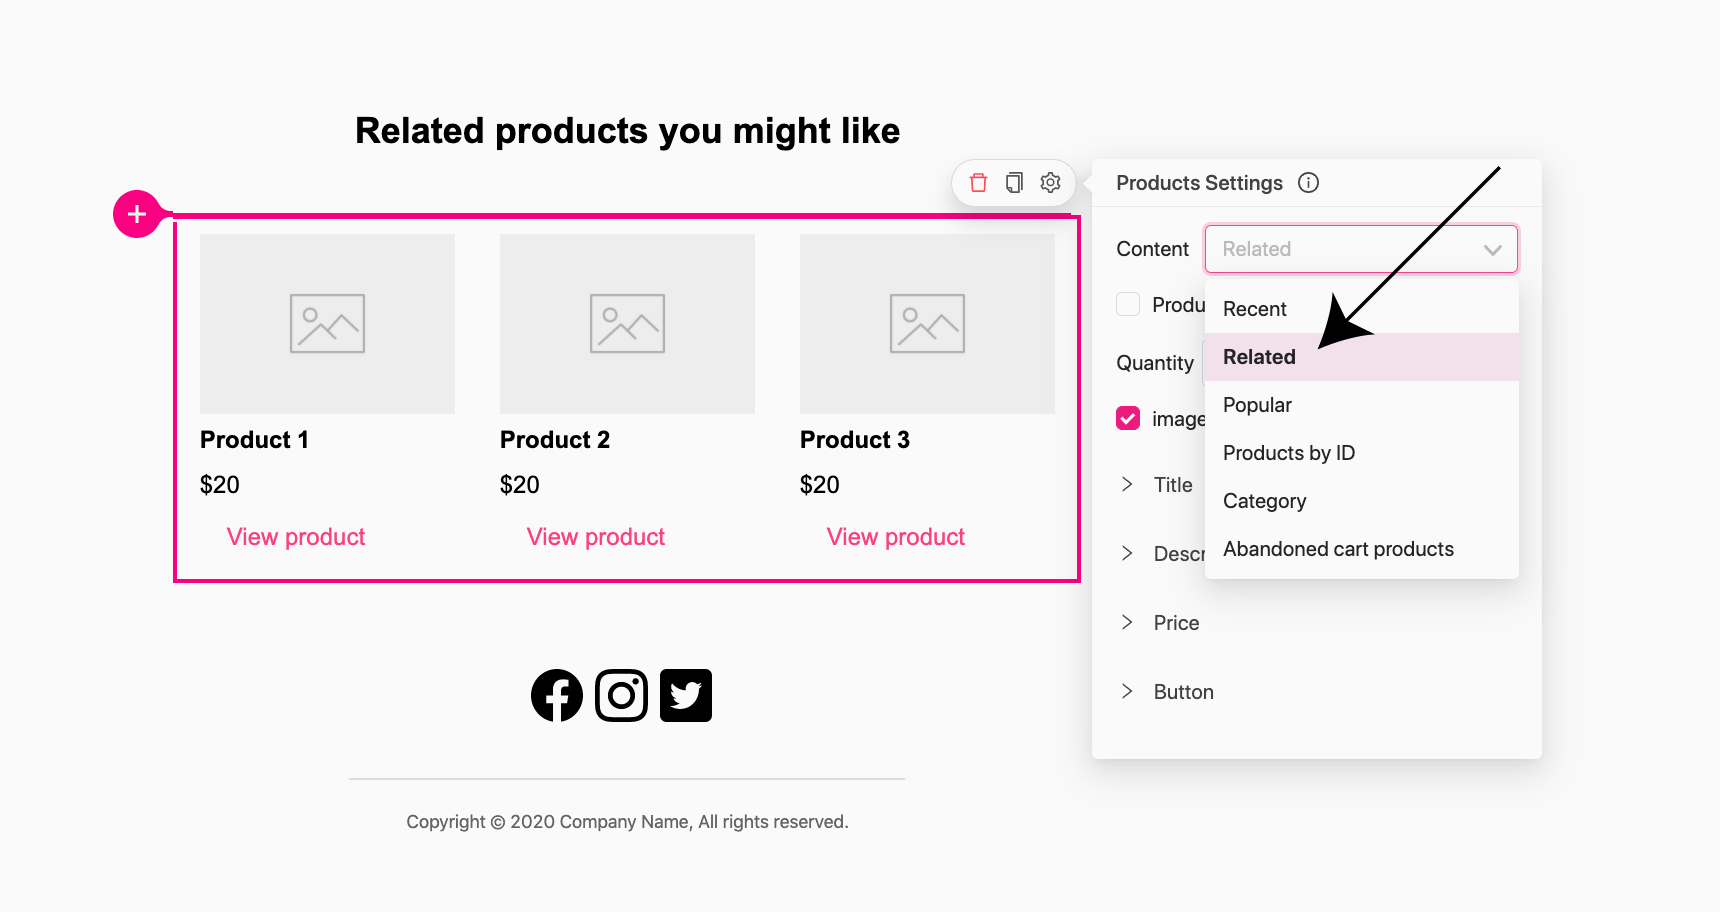
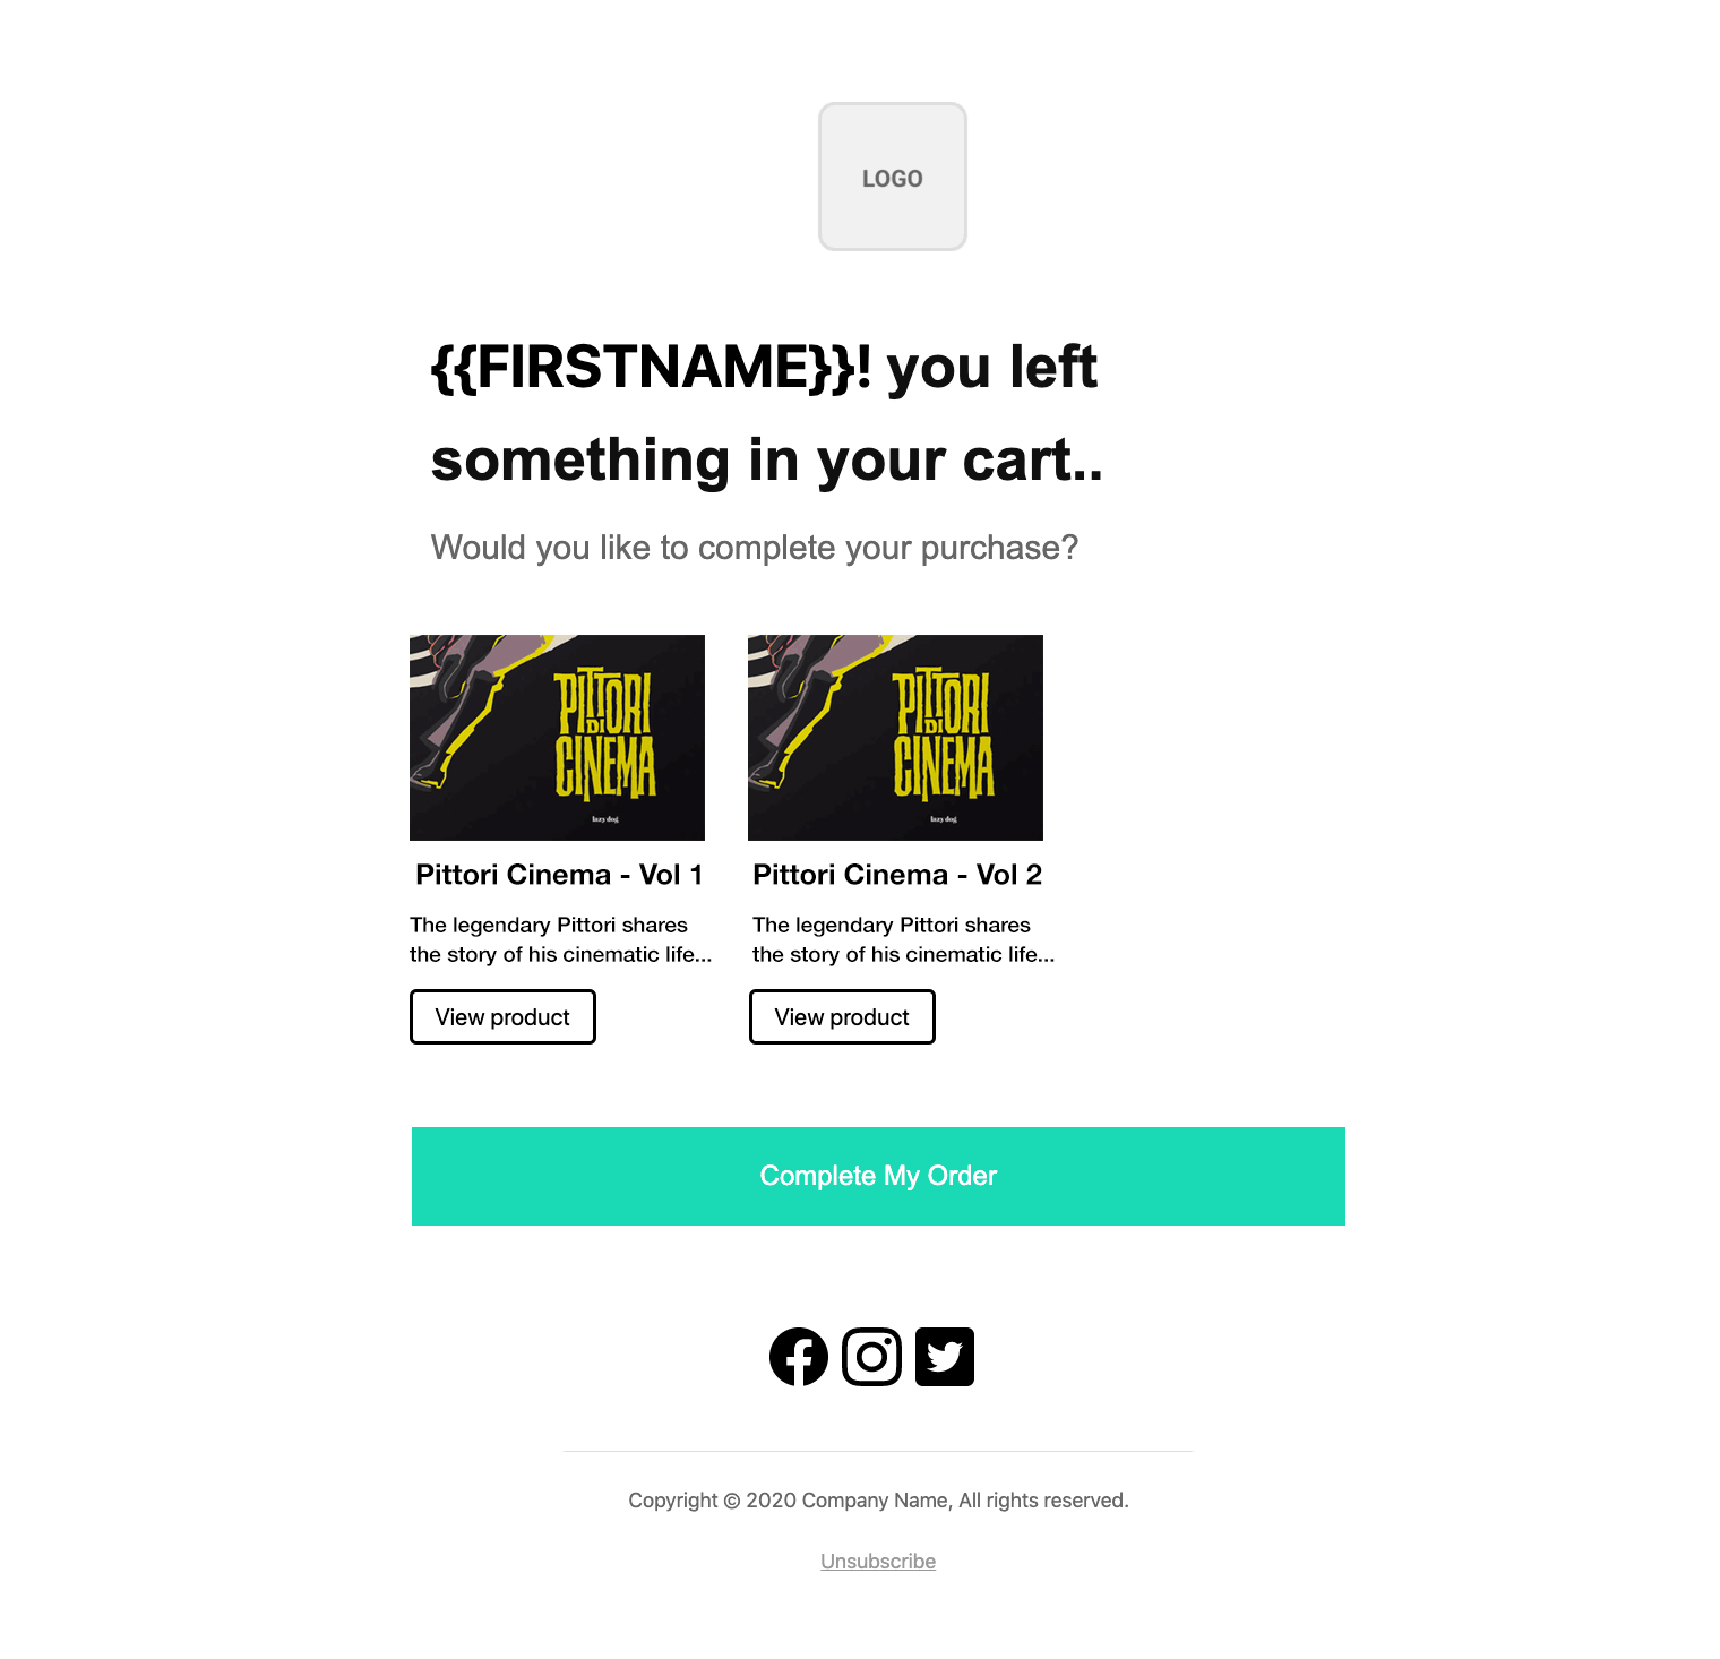
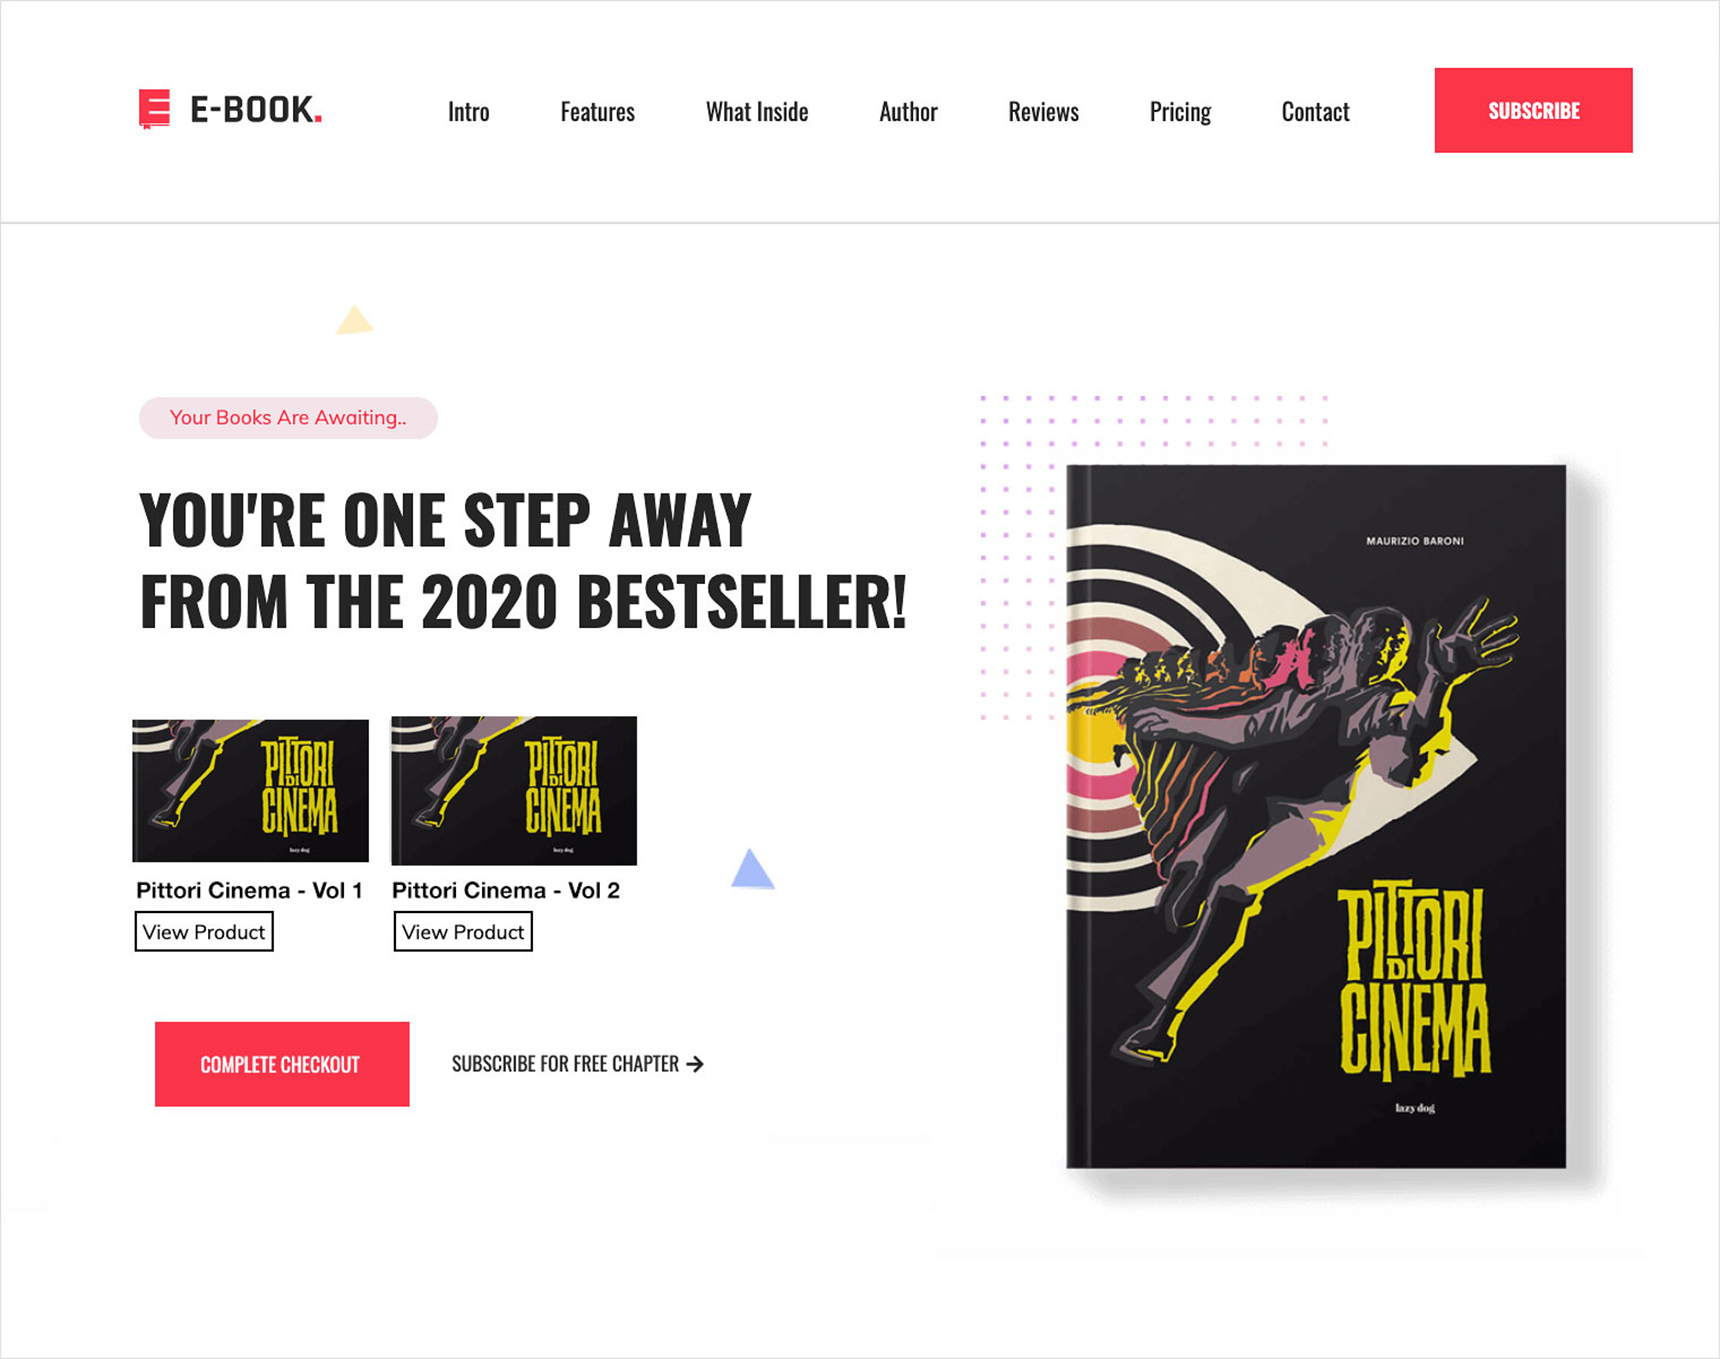
Add Inner Section With Columns
Using the Inner Section widget in Elementor, you can add background and text between two columns. For example, you can add some text and banner images within the section column.

Publish the Page
Once you are done building your page from the PSD, you can preview your work and then publish it. You can also edit a published page or save your work as a draft (it won’t be public until you finish the page and publish it).
Check Heading Structure
Heading tags are very important in web page content. When used correctly, they add semantic meaning, help with accessibility and can increase your search engine rankings.
The <h1> tag should be the main heading, which is followed by <h2>, <h3> and so on. The `<h1>` is usually the boldest one, whereas <h6> font size is the smallest.
Search engines scan your site for headings. Using H1-H6 tags shows them how different blocks of content are connected with each other. Google will try to use the content of your headings to understand what the page is about. If your headings effectively inform users as to what your page is about, they’ll help Google understand your content too, so your search engine rankings will increase.
Mind the Responsiveness
Making your site responsive on different devices is a very important step! Elementor provides the possibility to modify sections, widgets, columns for mobile, tablet and desktop layouts. You can set different margins and padding for mobile or tablet devices so your content looks clean on different devices. There is also a feature allowing you to hide/show some sections or widgets on mobile or desktop. It’s useful if you don’t want to show some large content on mobile.
Wrapping Up
In this article you saw that converting your design to WordPress is quite an easy process with few possible complications. I’m sure that once you try using Elementor and Jupiter X for this process, you’ll continue to work this way, as the steps described above will help you quickly convert your design into a stunning WordPress site.