In the digital age we’re living in, the internet has changed our lives in several ways. Could you imagine a day without surfing the net for anything from finding information to social networking, from entertainment and shopping to money transactions? Probably not!
Education and learning got their share of this change as well. Universities and schools are now widely present on the world wide web – not to mention the rise of online courses! Most of us are tired of the headache of browsing university or educational websites! So if you’re running an educational facility or business, building an education website that is uncluttered, accurate, user-friendly and visually attractive at the same time is essential.
In this post, we’re going to share some useful tips to keep in mind while designing your site.
Visually Rich
Education websites target two types of visitors: students and parents. Students visit the website to find out more about campus life, class, and after-school activities, among other things. Parents, on the other hand, visit the school’s website to learn more about tuition fees, the school board, and facilities in addition to the points above. In terms of design, the website should be visually appealing to create a good first impression. So it’s essential to properly use welcoming pictures and videos.
The best way to encourage visitors to check out what an institute has to offer is by displaying an interactive image of the students studying or campus life with enticing background colors in the hero section. But beware! Avoid stuck photos while building your education website! Be authentic and present what really goes on at your learning institute.
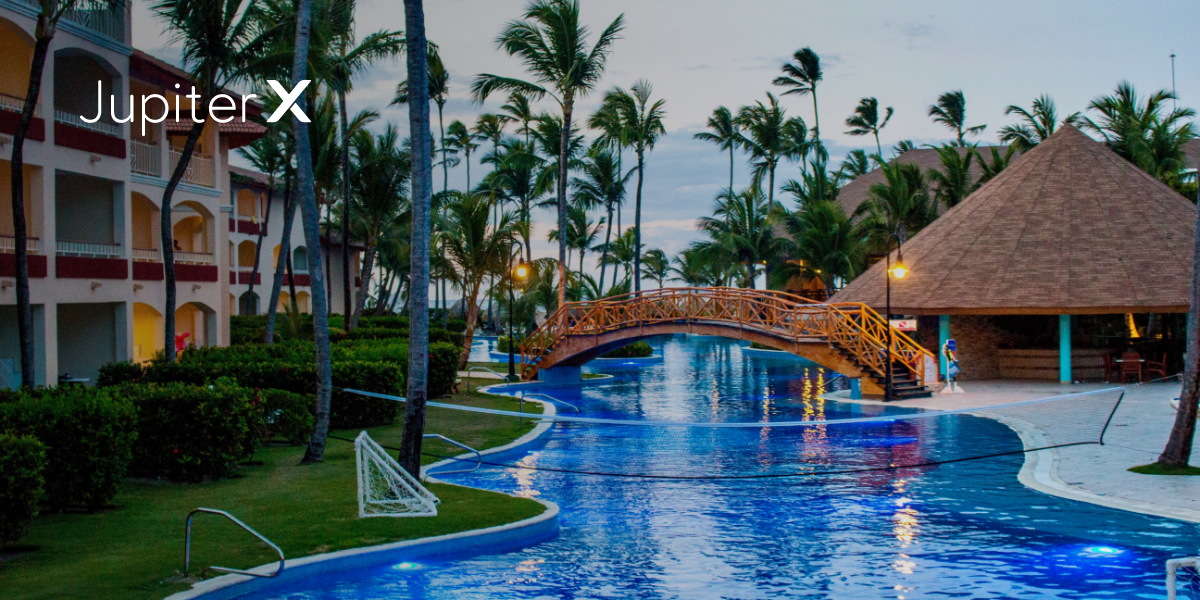
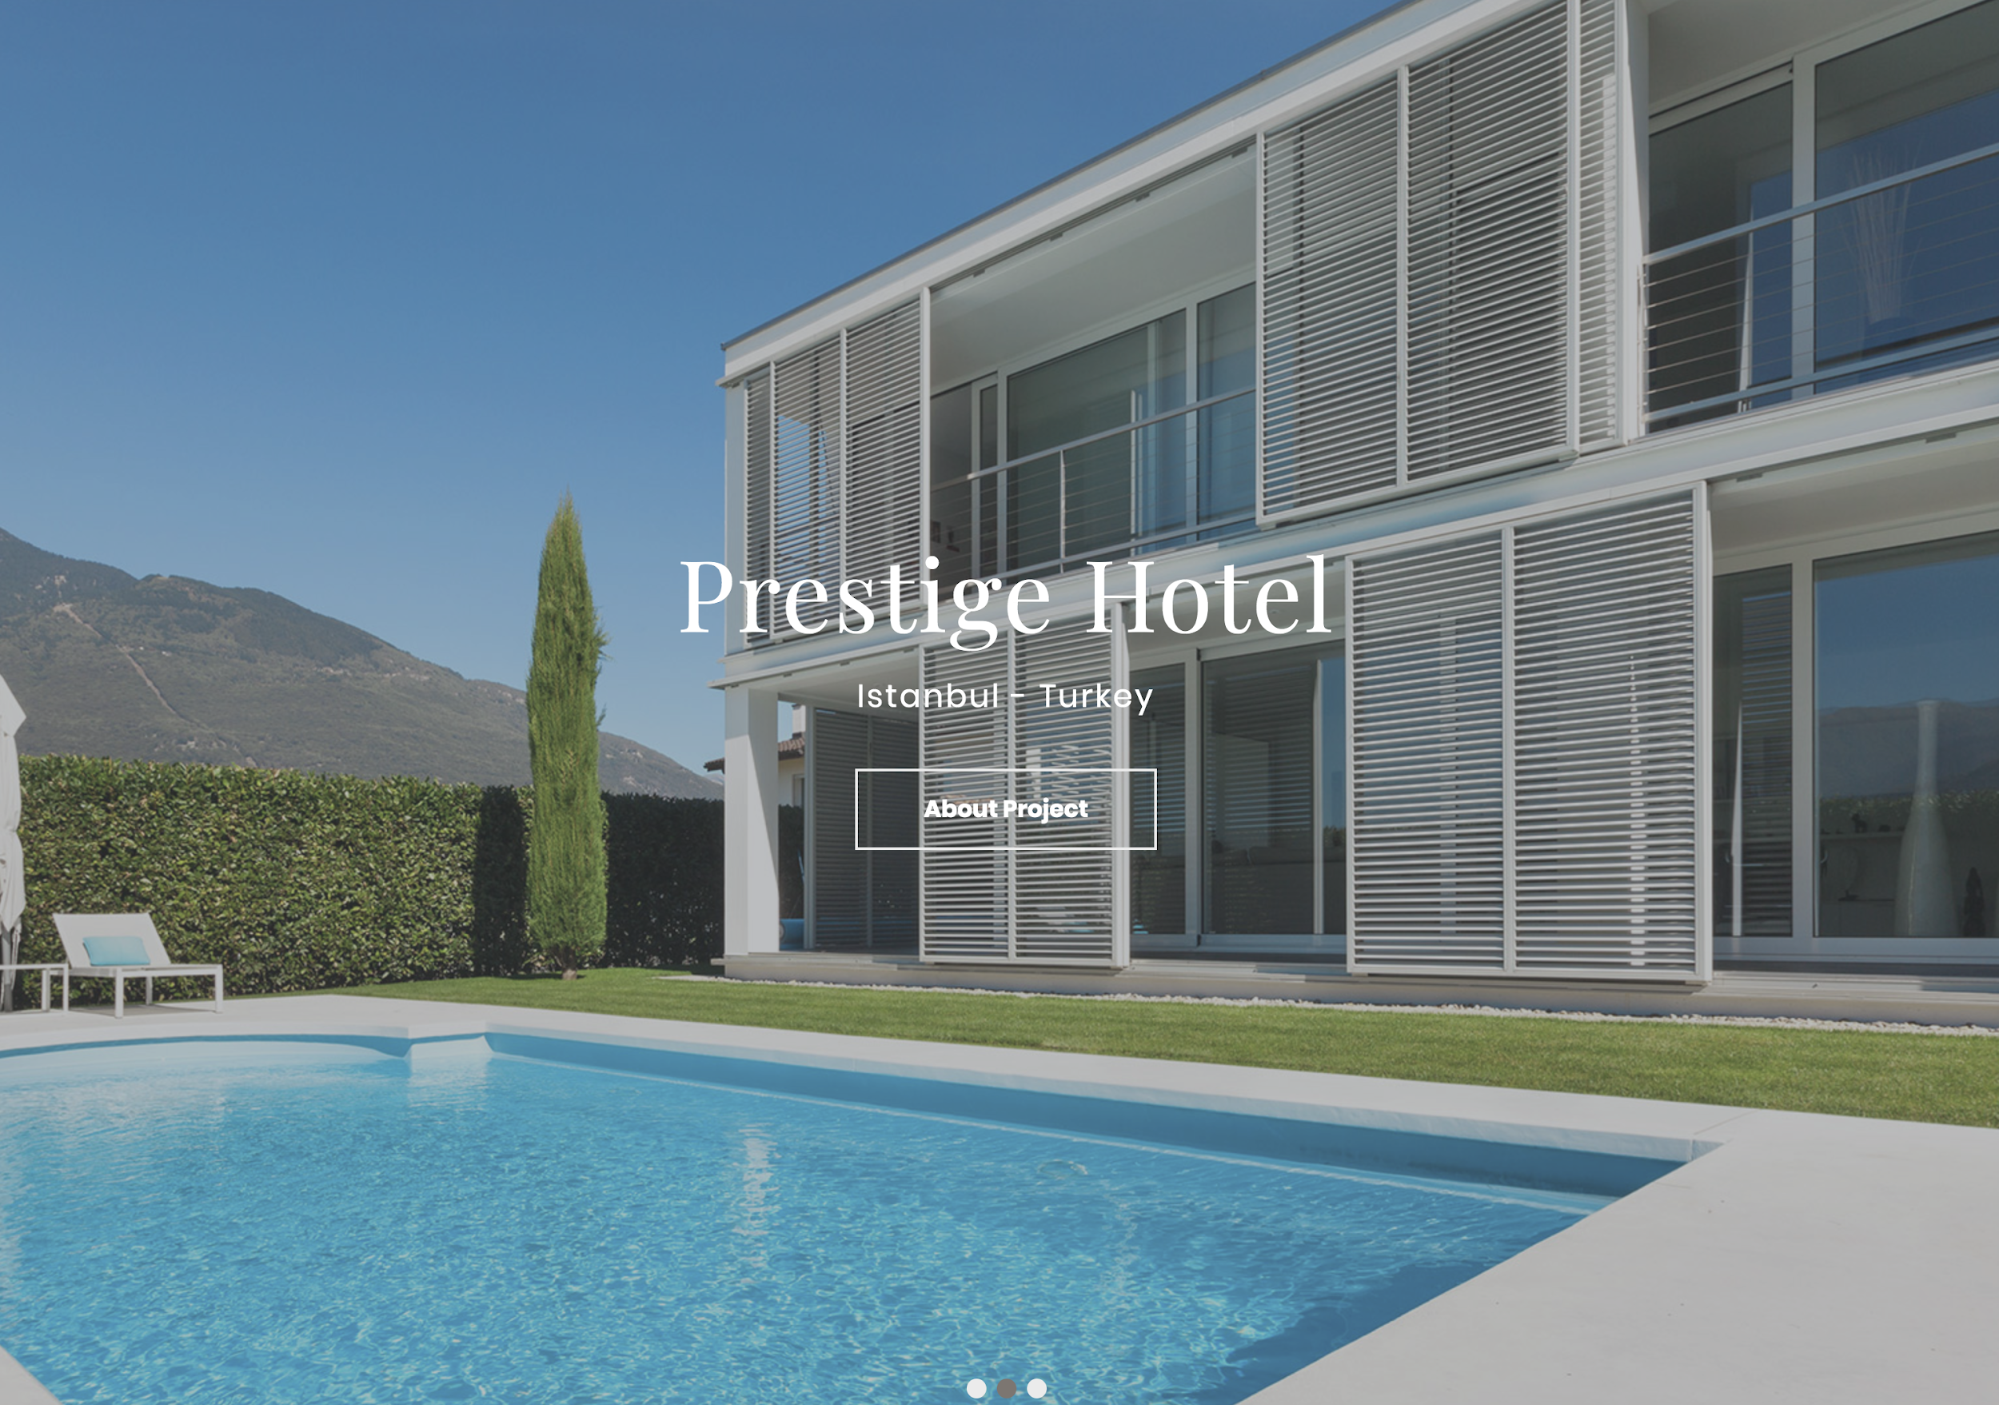
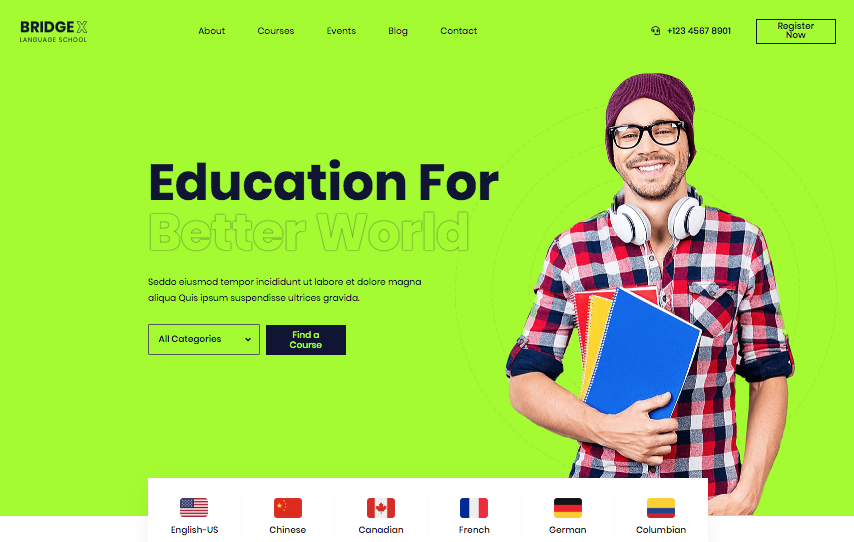
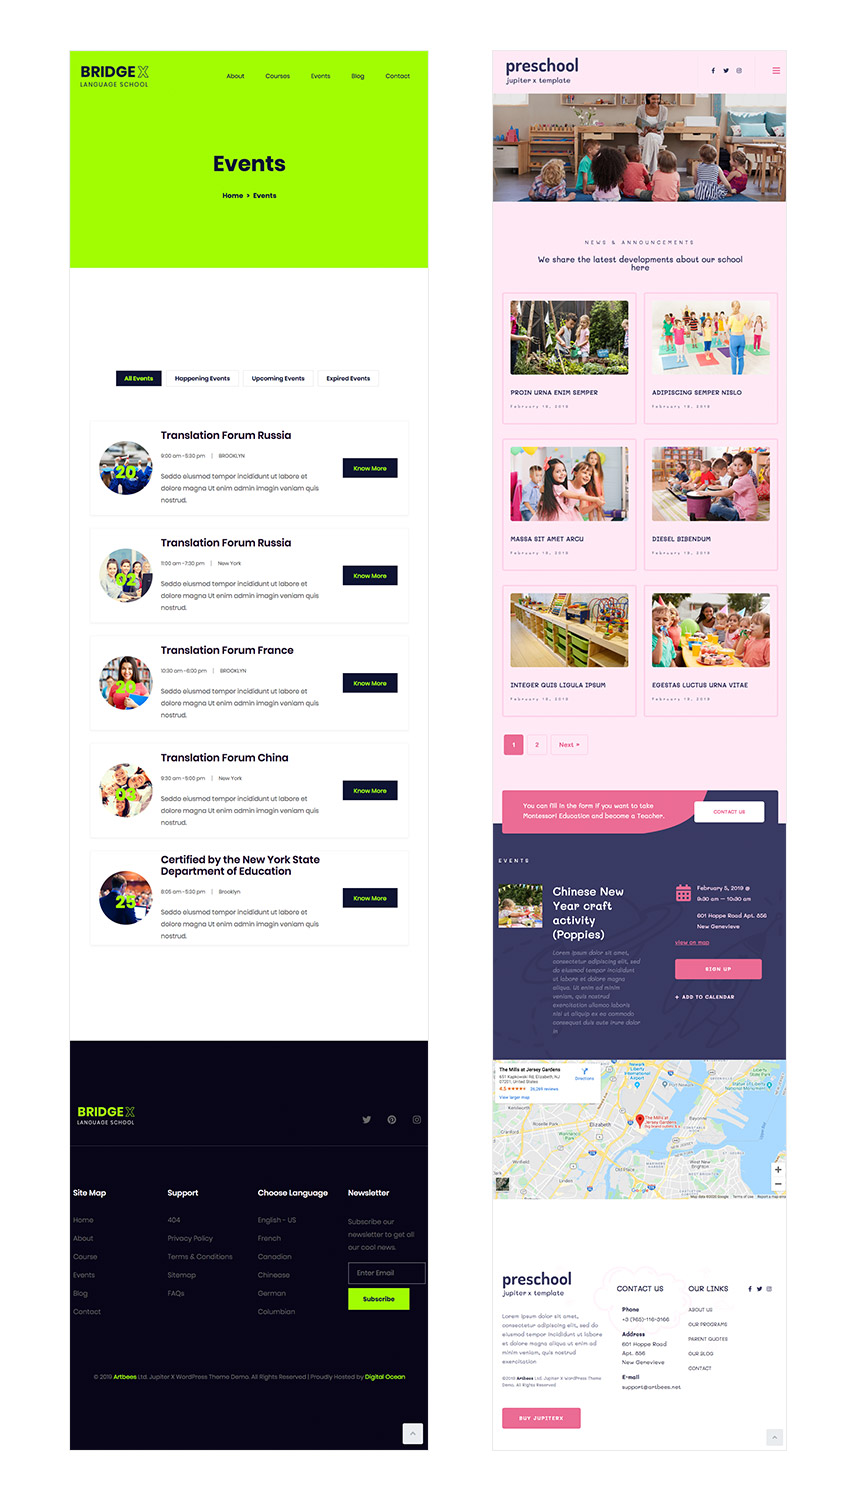
The Jupiter X Language School template took this approach. As seen below, a full-size image of a student on a bright neon green background and welcoming slogans perfectly captivates visitors at first glance.
One other approach would be to choose the color palette to match the concept of the school. For example, a website for a preschool would look much better with colorful text, button, and background, funny animated texts and images, among more. Have you ever seen a kindergarten website all in black or dark colors?! I doubt it!
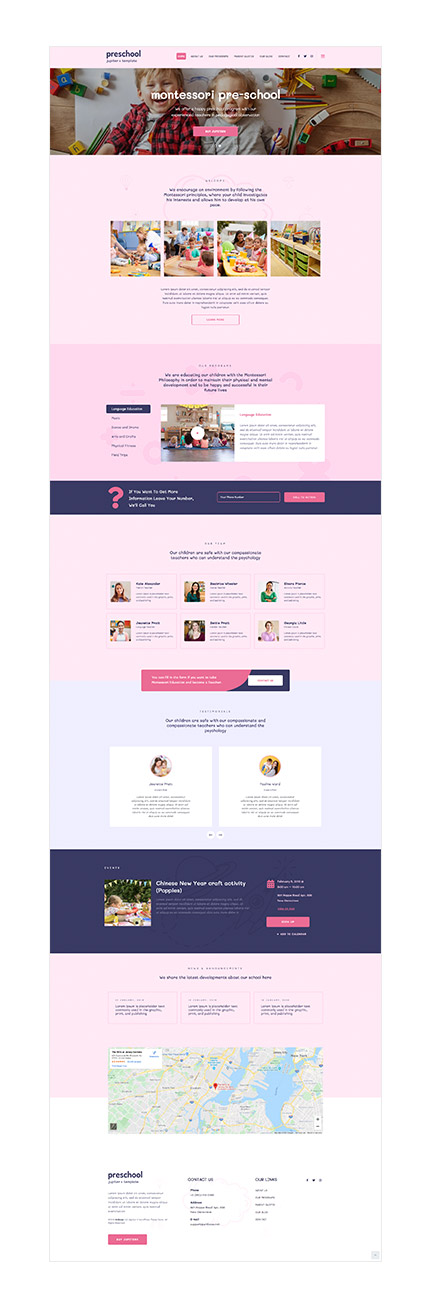
An excellent example of this approach is the Jupiter X Preschool template, which has a light pinkish color scheme.
And finally, matching website colors with the school or university’s branding colors can also be good practice and will make the website design more authentic and original.
Not Minimal but the Right Amount of Simplicity and Information Accuracy
Building an education website that is minimal is almost impossible due to the amount of information and content embedded in it. But this rule applies to any type of design: keep it simple! Think about an uncluttered website that students and employees can easily navigate through and find the information they need with minimum effort.
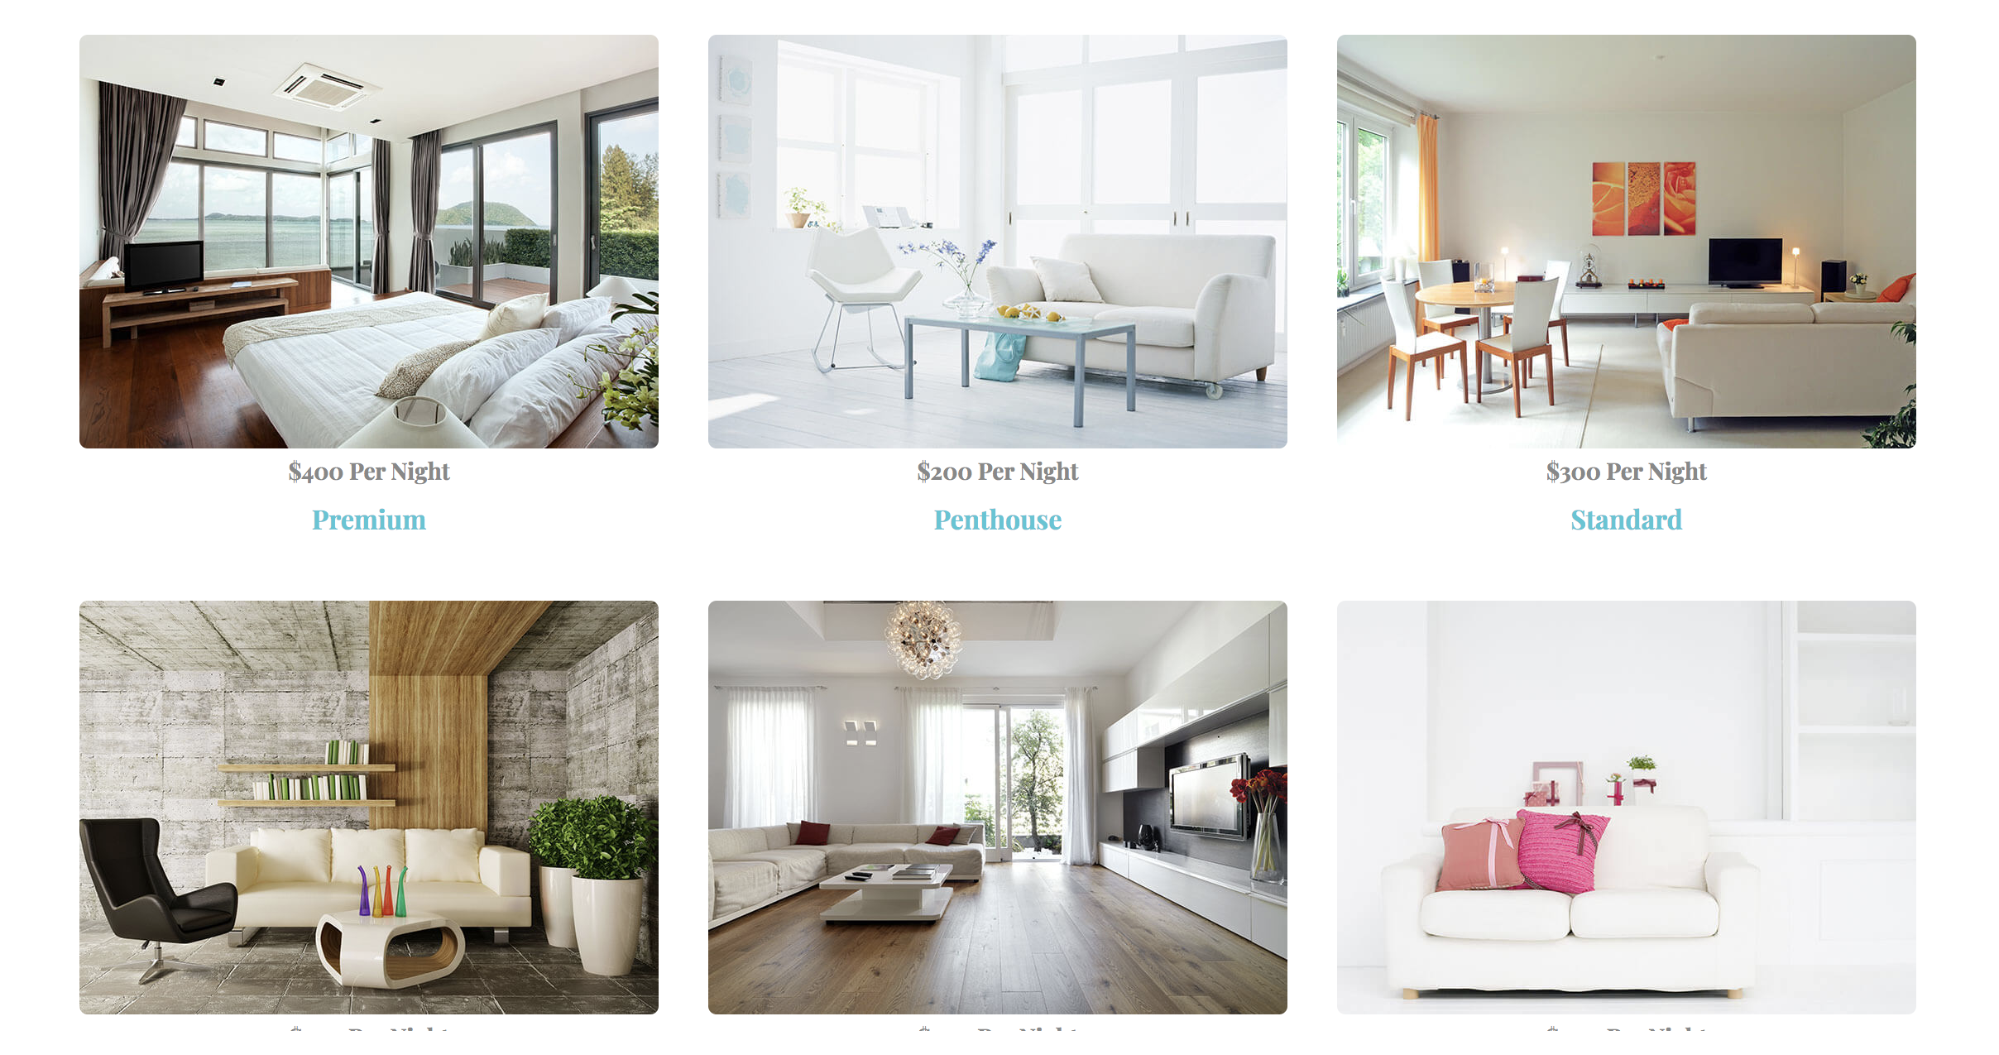
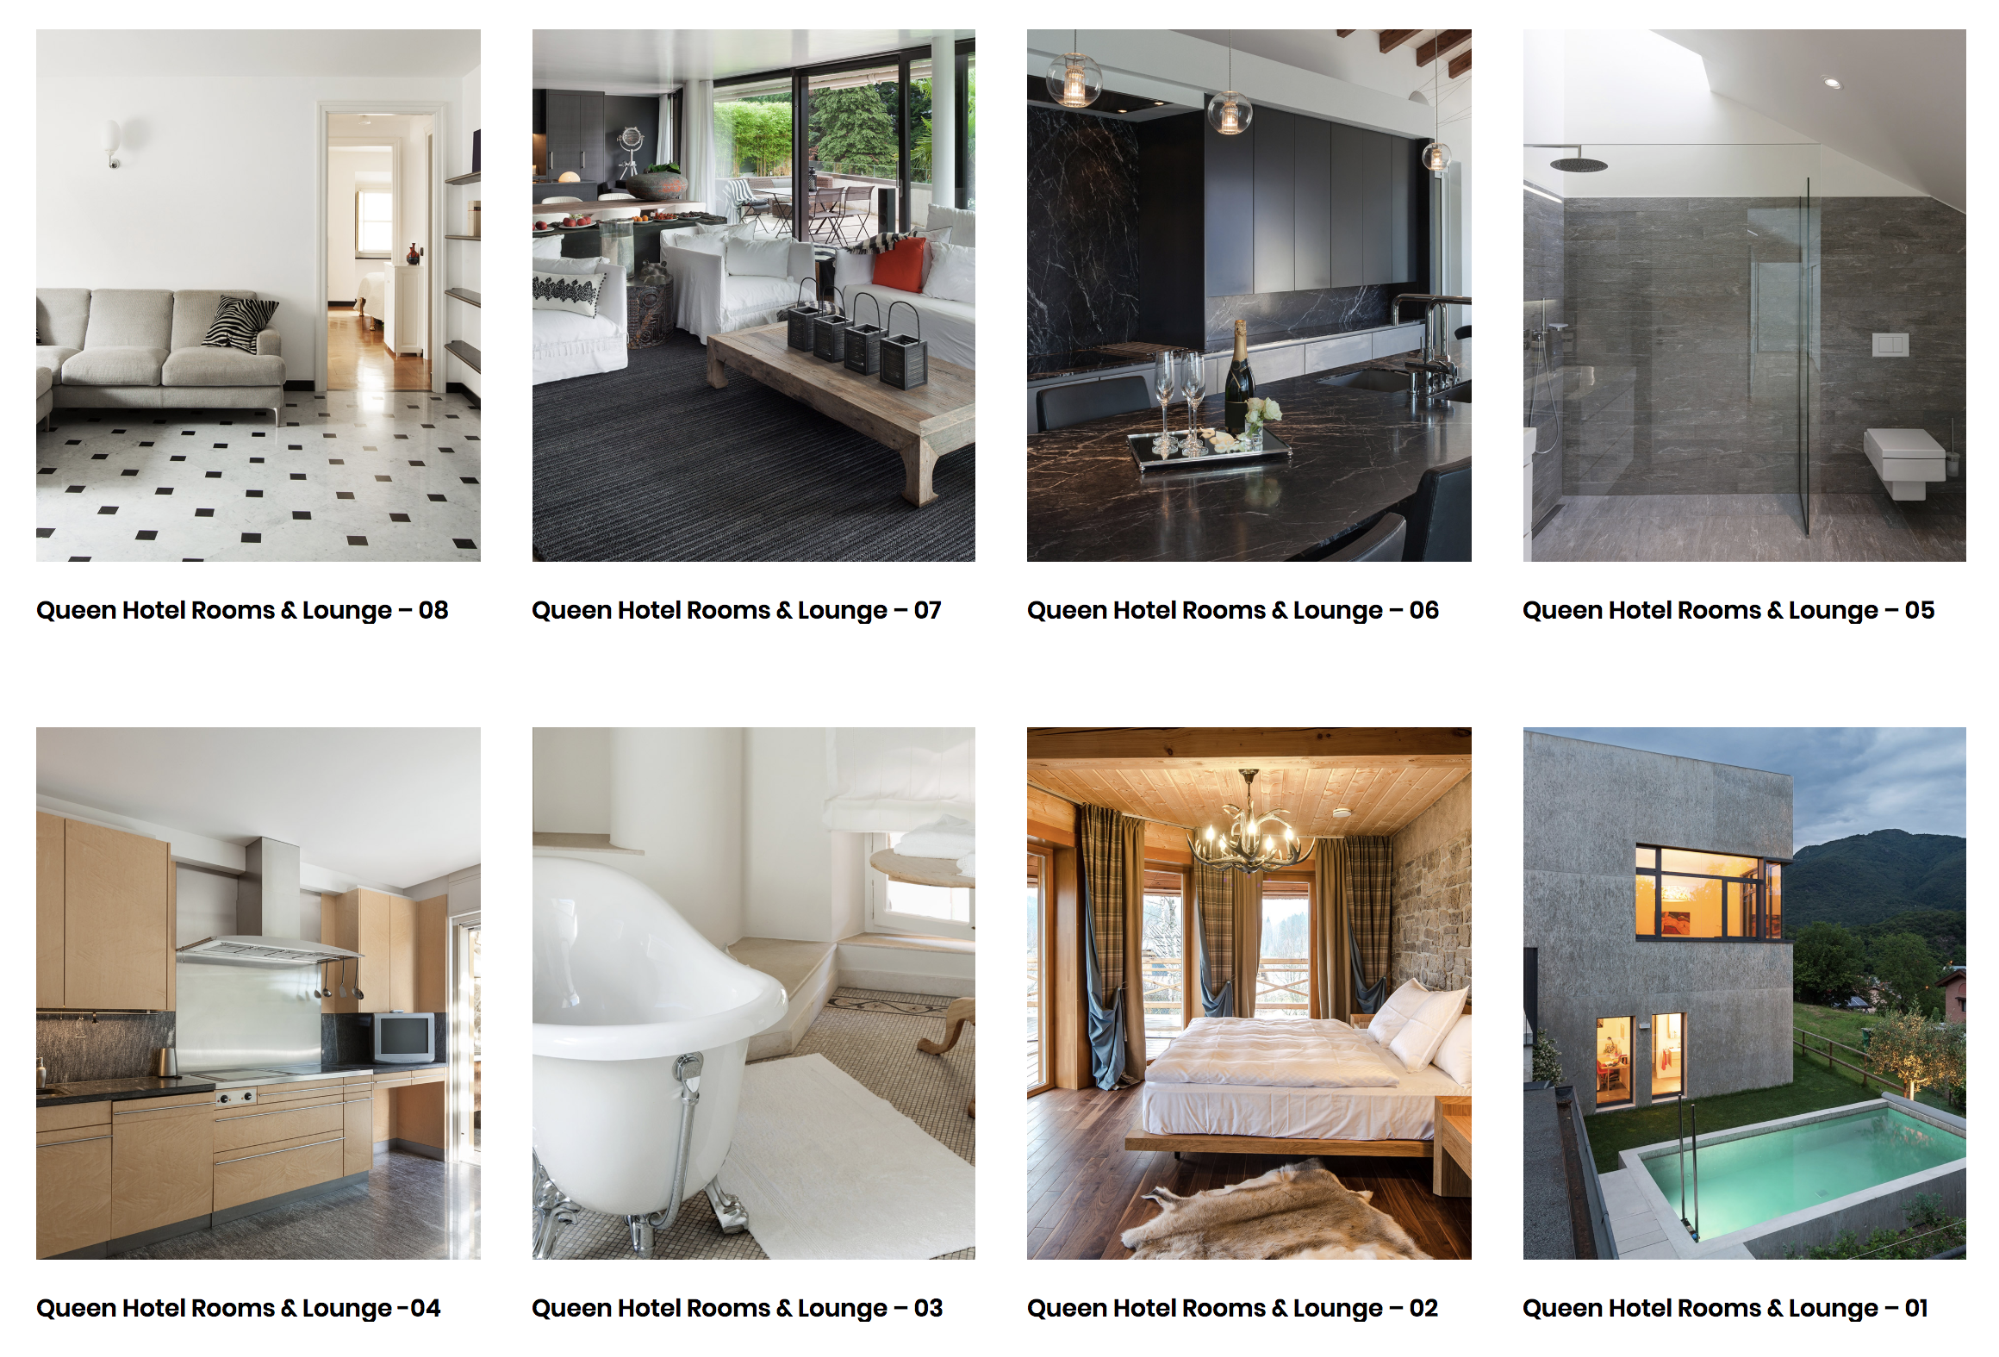
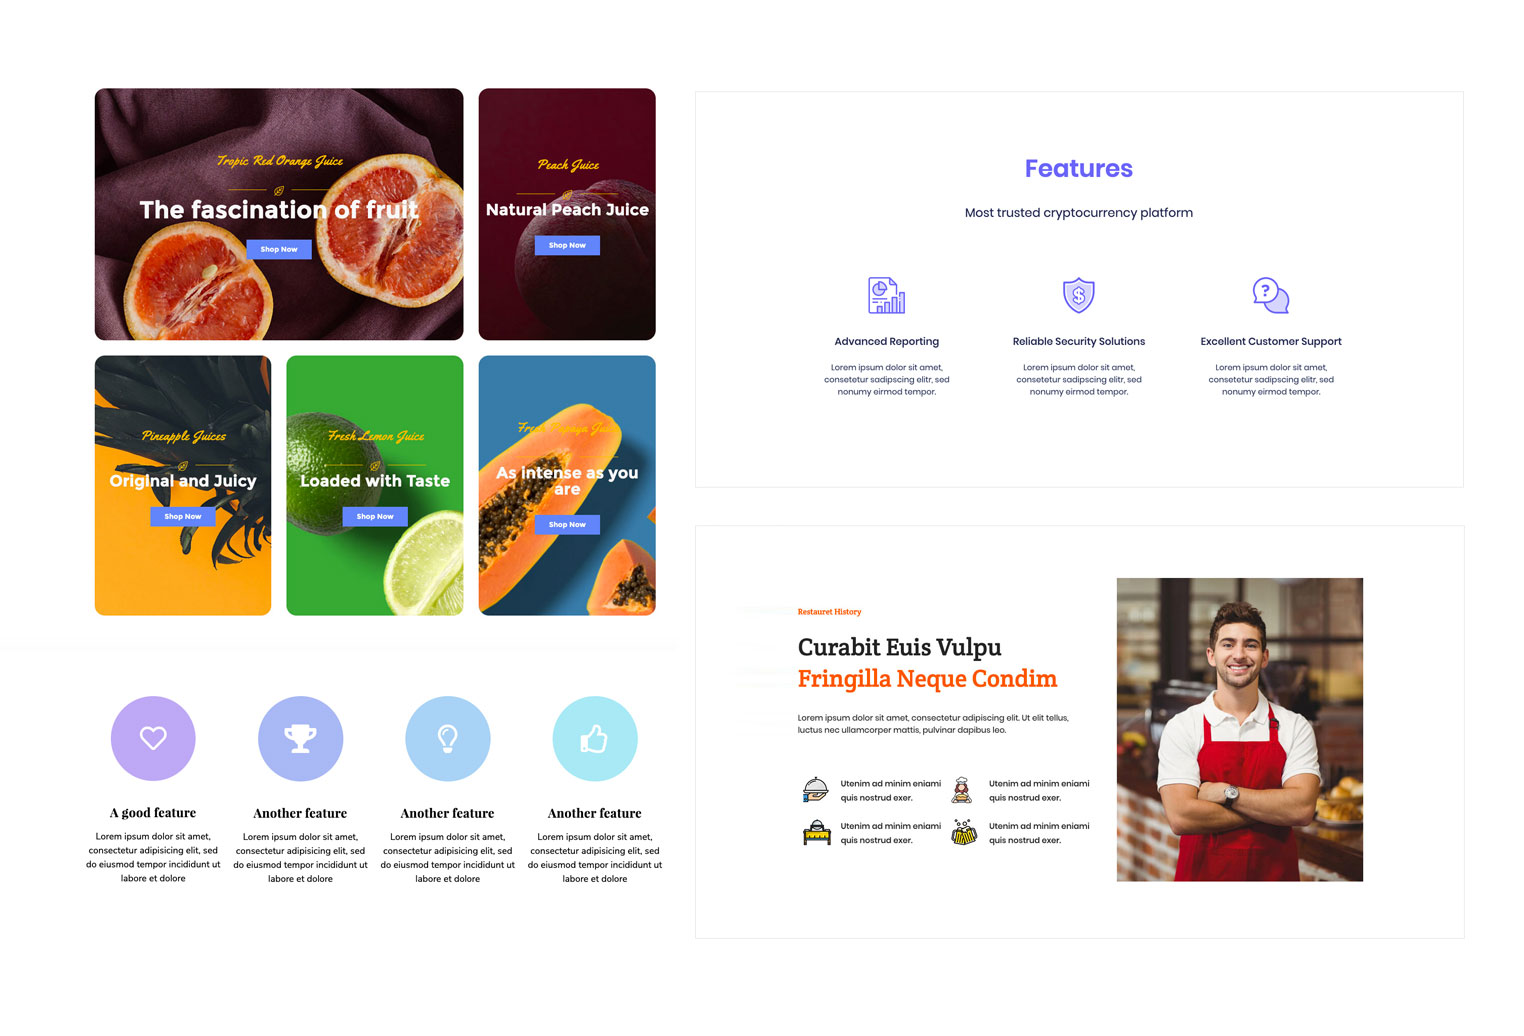
The Jupiter X Course 2 template is made up of well-organized sections with categorized posts, with just enough information sitting on easy-to-comprehend boxes. Everything you need to know about online courses is clickable and on point with the adequate use of images and text. This results in an overall functional, user-friendly design. This online course template serves as a great example of how a design can be simple yet striking and appealing.

Make it Responsive
Education websites provide more than just information about admissions, dates, and departments. School and online education websites are the main way students and parents interact with the school. Students log in through portals to learn their grades, contact teachers, navigate through departments and get information about facilities. The same goes for parents who see the website as a gateway to the school. That means all the information should be available for them on the go and on all screen sizes.
Browsing through phones and tablets is much more popular than before – particularly among the younger crowd. So while building an education website, keep in mind that all your elements, navigation menus, visuals and the user-friendliness of the website are kept intact.
SEO and Speed Optimized
The goal is that your educational center attracts more users to whom you can offer services. To do this, the website needs to be easily found online, which is why you should ensure your website is SEO optimized. Through implementing proper keywords into your website content or hiring SEO experts to apply more professional SEO practices, search engines will better analyze your website and boost your rankings in their algorithms. As a result, you’ll easily be found by those who are looking for quality education.
Previously, we mentioned simplicity. Even more important than aesthetics, too much content and too many visuals slow down your website. Slow page load will scare users away. Remember that by holding onto the simplicity rule, you can keep users engaged by allowing them to quickly access the information they’re looking for.
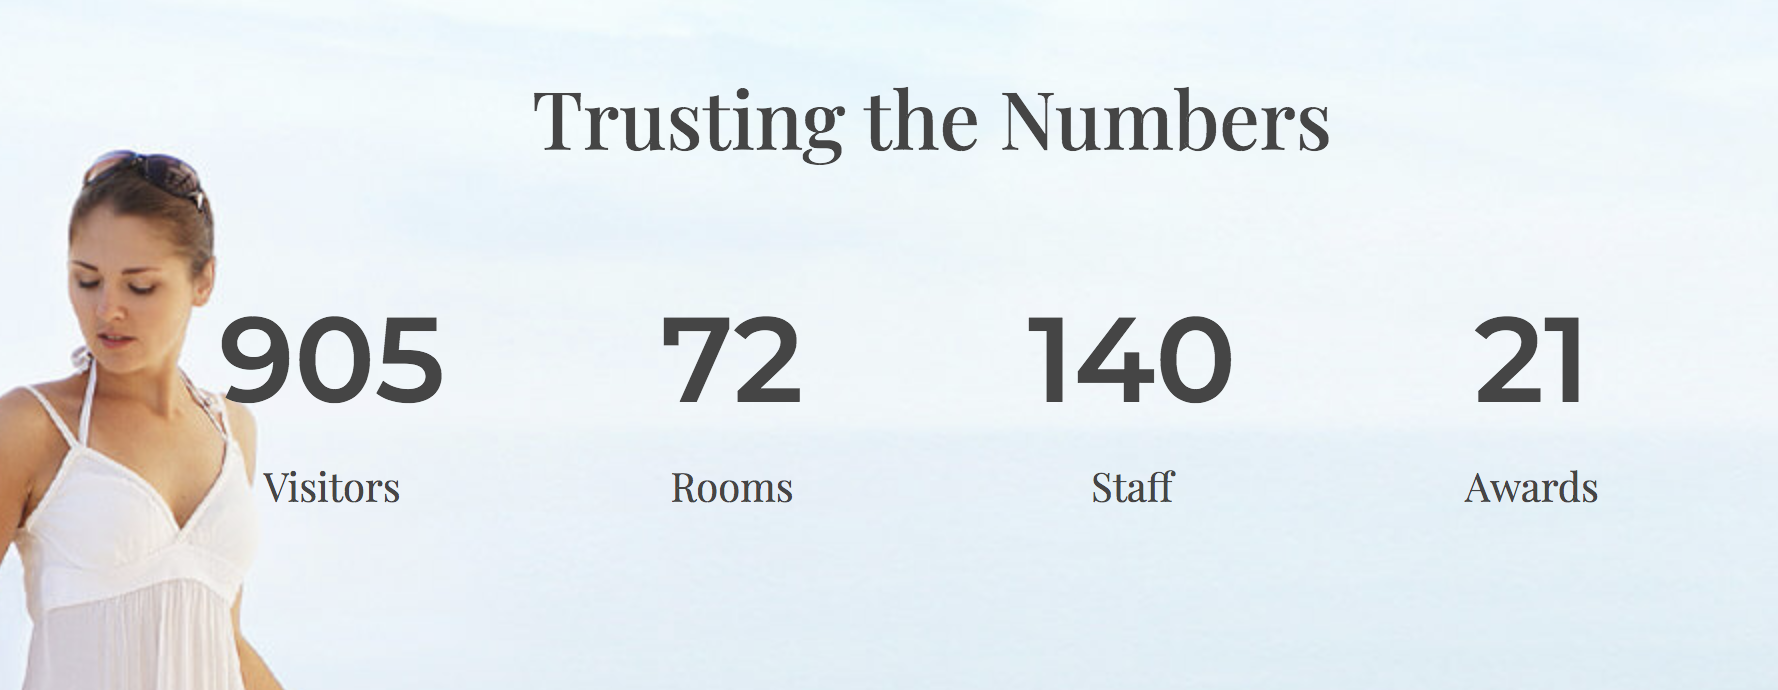
Make Awards and Achievements Stand Out
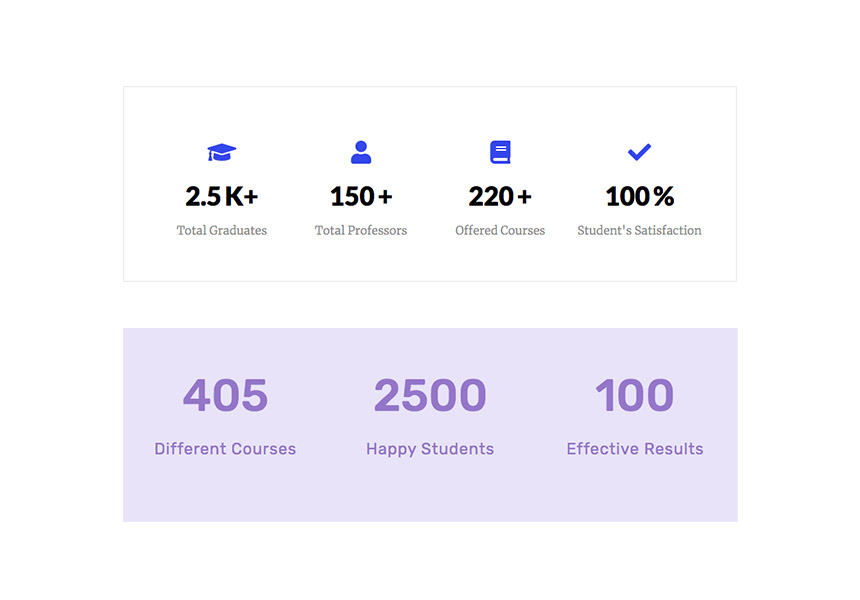
You need to constantly remind your site visitors that the quality of your institution and its services stand out. Brag about the achievements and awards your institution accomplished throughout the years. Dedicate a section of your design to awards and impressive numbers, which is possible by using a counter element. Check out live examples in the Jupiter X University and Osogoa templates.
Dedicate Pages to Blog and Events
You value your site visitors – and in your case mostly parents – so much that you share every piece of news and update them about your institution! Isn’t that what any professional and caring school would do?! You got it! Creating an Events or Blog page while building an education website would be the best idea to keep your users engaged in your services.
Design an Events page on your website to announce upcoming, current or past events. By using the Jet Listing element, you can present your event content within a grid as you wish and link it to the events detail page for date, time and event descriptions, and you can build a separate blog page to share news about breaks, holidays, exams, school events or even articles related to education. A regularly updated blog with appealing and relevant content could greatly help you in attracting more visitors.
If you want to see what a properly designed Events or Blog page would look like in action, check out the Jupiter X Language School and Preschool templates.
Consider Culture and Languages in Design
If you are a well-known, international institution, chances are that you attract students from different countries. At this point, having a multi-language website is critical. Non-English users may miss out on important events and information simply because they misunderstand something on your site. You wouldn’t want to miss out on a prospective student for this trivial reason! So consider the language factor when building an education website and make it available to more users around the world by adding languages that you assume the majority of your prospective students speak.
Jupiter X has features that allow you to have a multilingual and RTL compatible website in no time. Read more about them here.
Create a Listing Website if You Have Several Courses and Classes
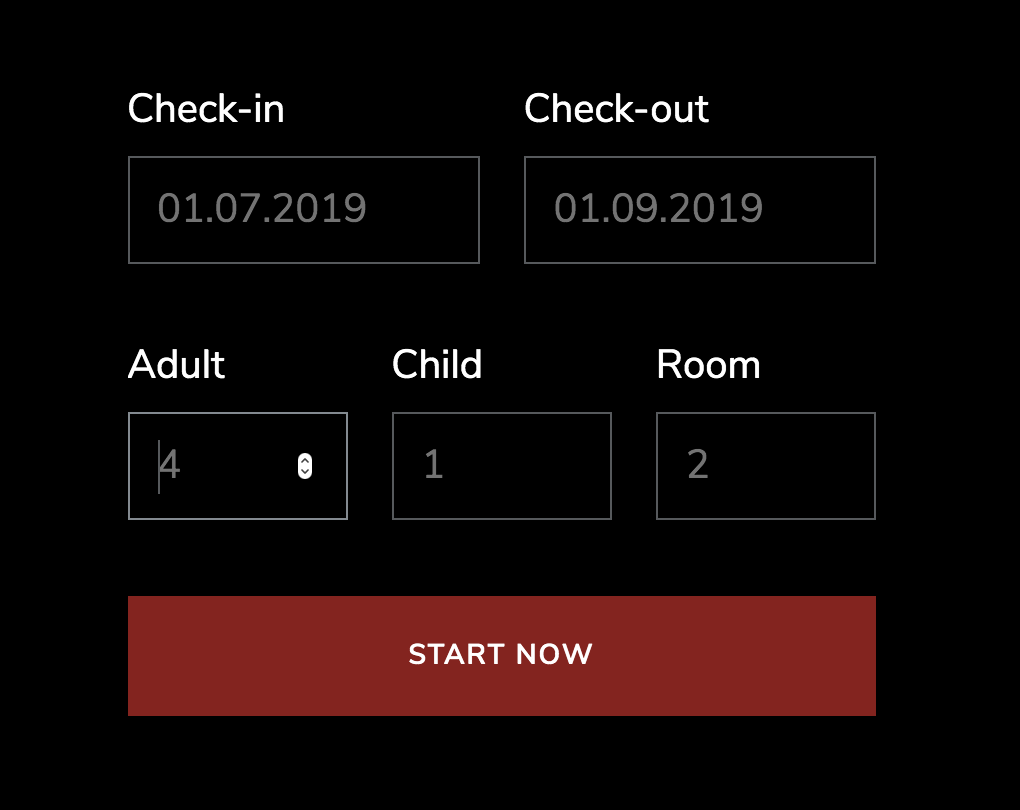
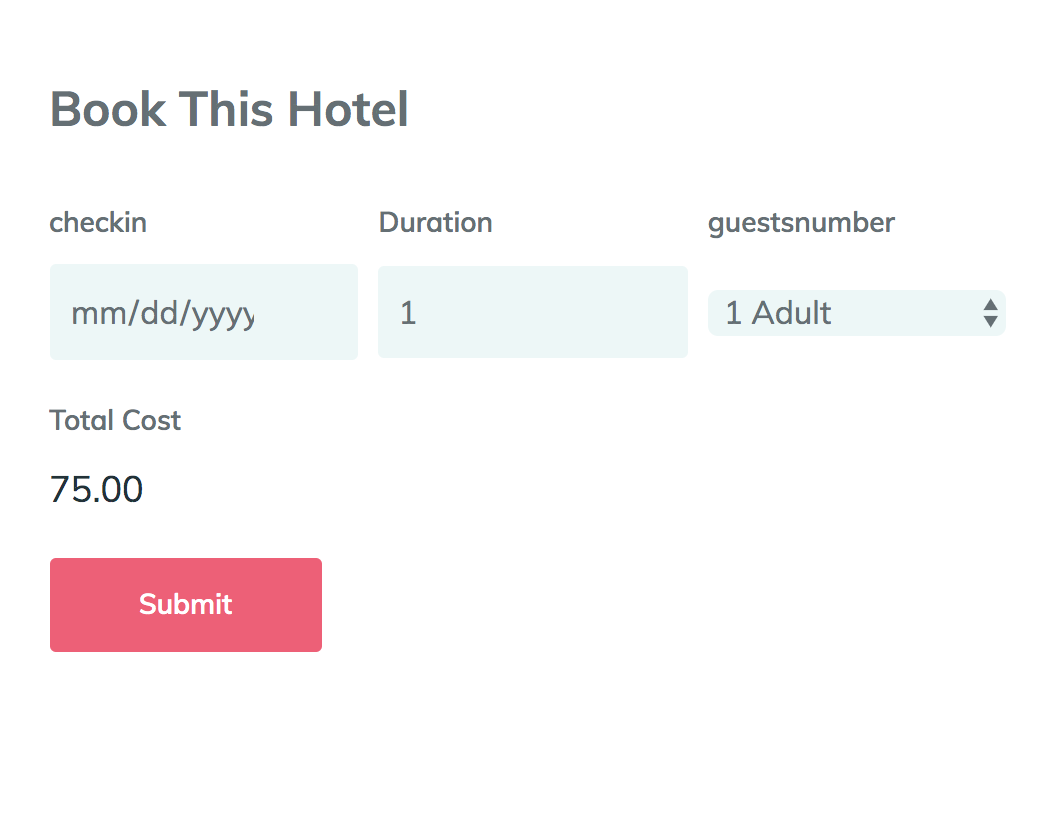
If you run a big institution or an online education website with hundreds of courses and classes, a listing might be the best tool for you to organize the courses into sections. You can customize their layout and showcase your courses as you see fit. A listing grid layout is perfect for content-heavy websites that display items for different purposes but with equal hierarchy. The Jupiter X Language School, Course and Course 2 templates all have great examples of showcasing courses using a listing grid.

Listing is a widget by the JetEngine plugin. If you’d like to learn more about how to create listings and customize layouts, please check here or the documentation.
One other cool feature that you can add to your listing is the Smart Filter. In fact, it’s a must-have if you want your site to be user-friendly. Smart filters allow users to narrow down their choices by courses, authors, date, etc. and get to exactly what they’re looking for faster and more efficiently, and by using the Checkboxes widget, they can apply multiple items to their choices. The Jupiter X Course 2 template applied these filters to its courses page, and it works like a charm!
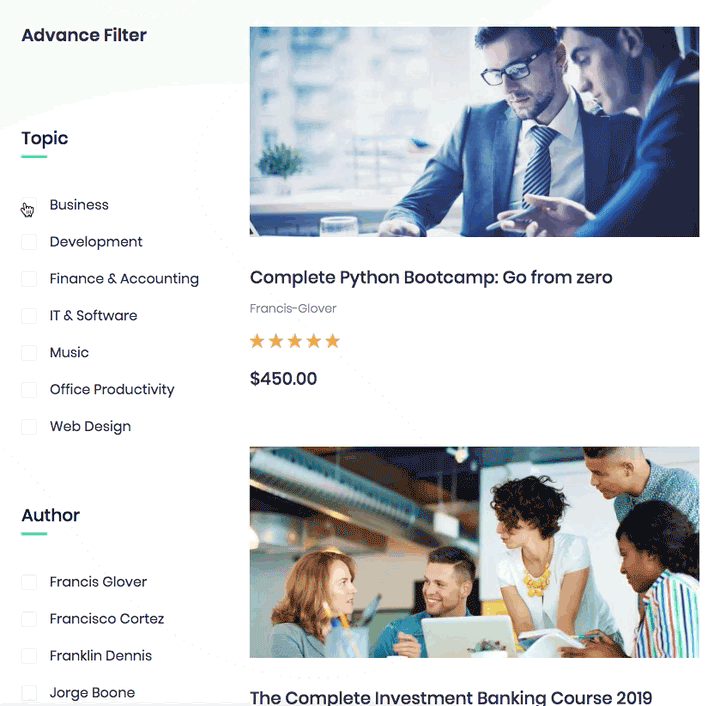
Check out the JetSmartFilters official page to learn more about this useful plugin.
Instructors List
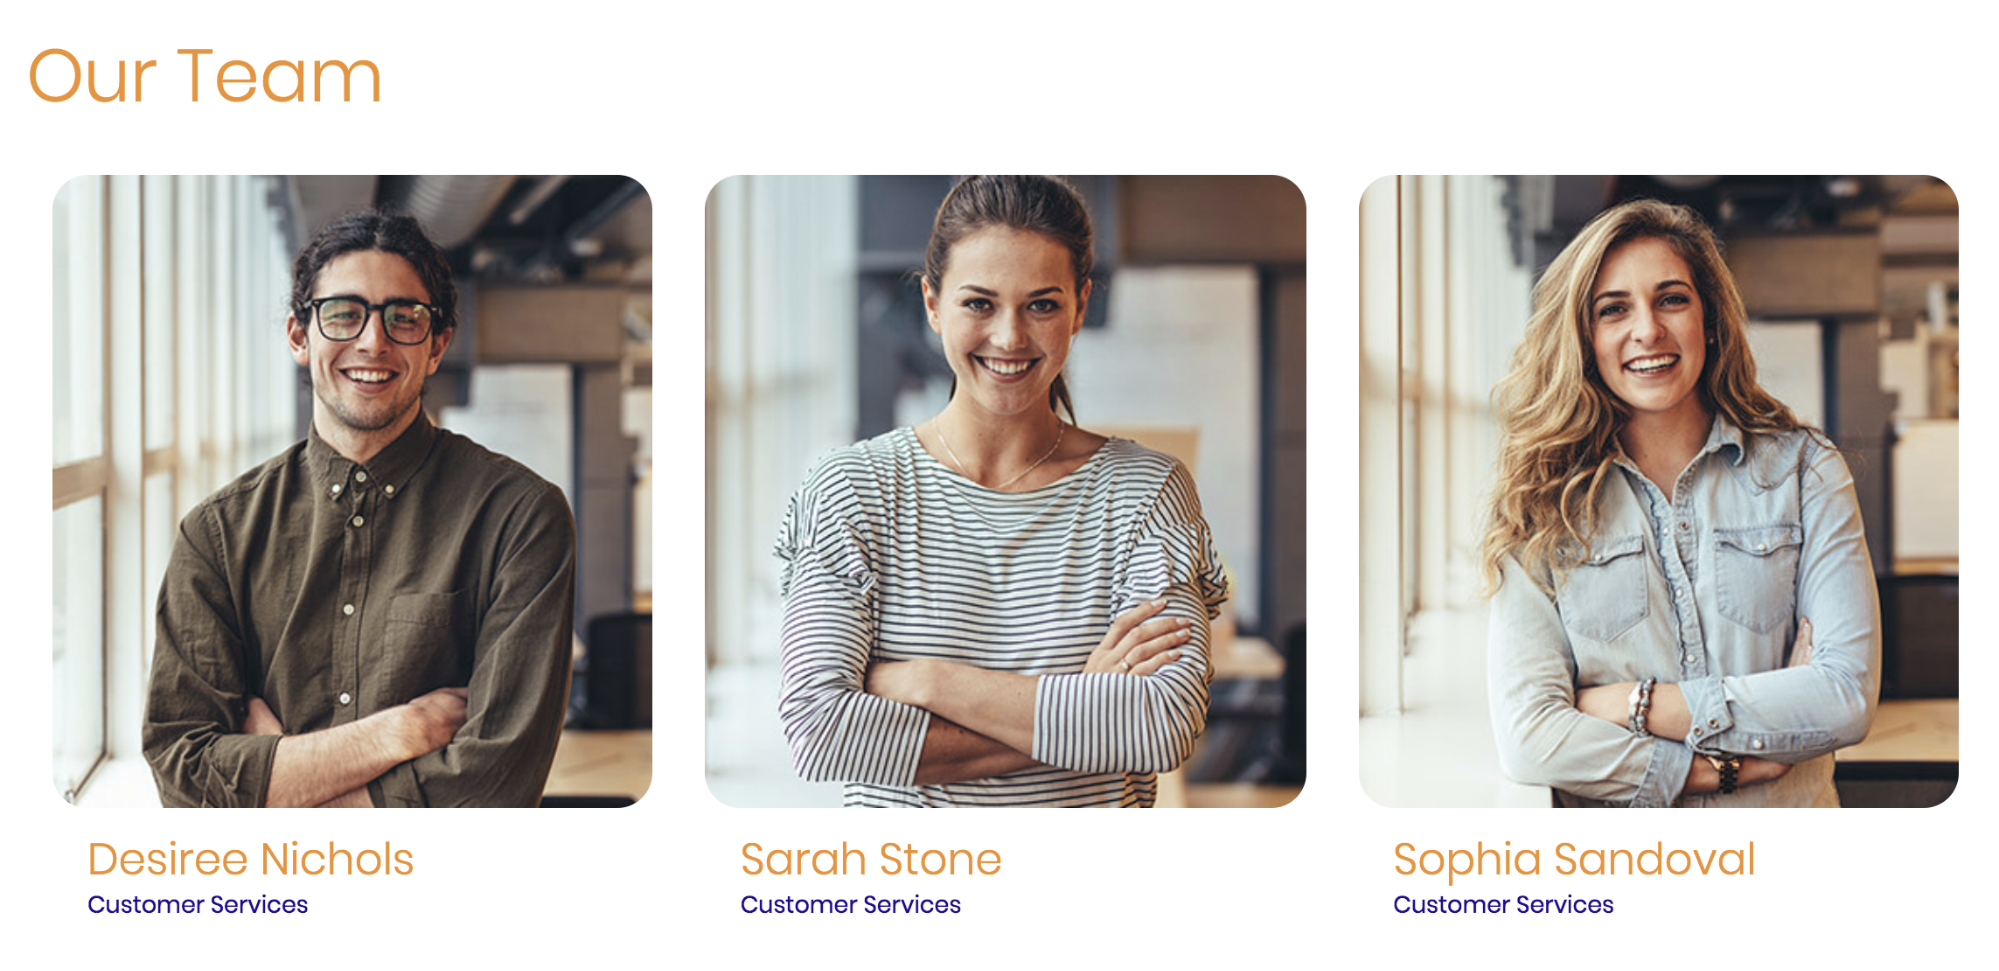
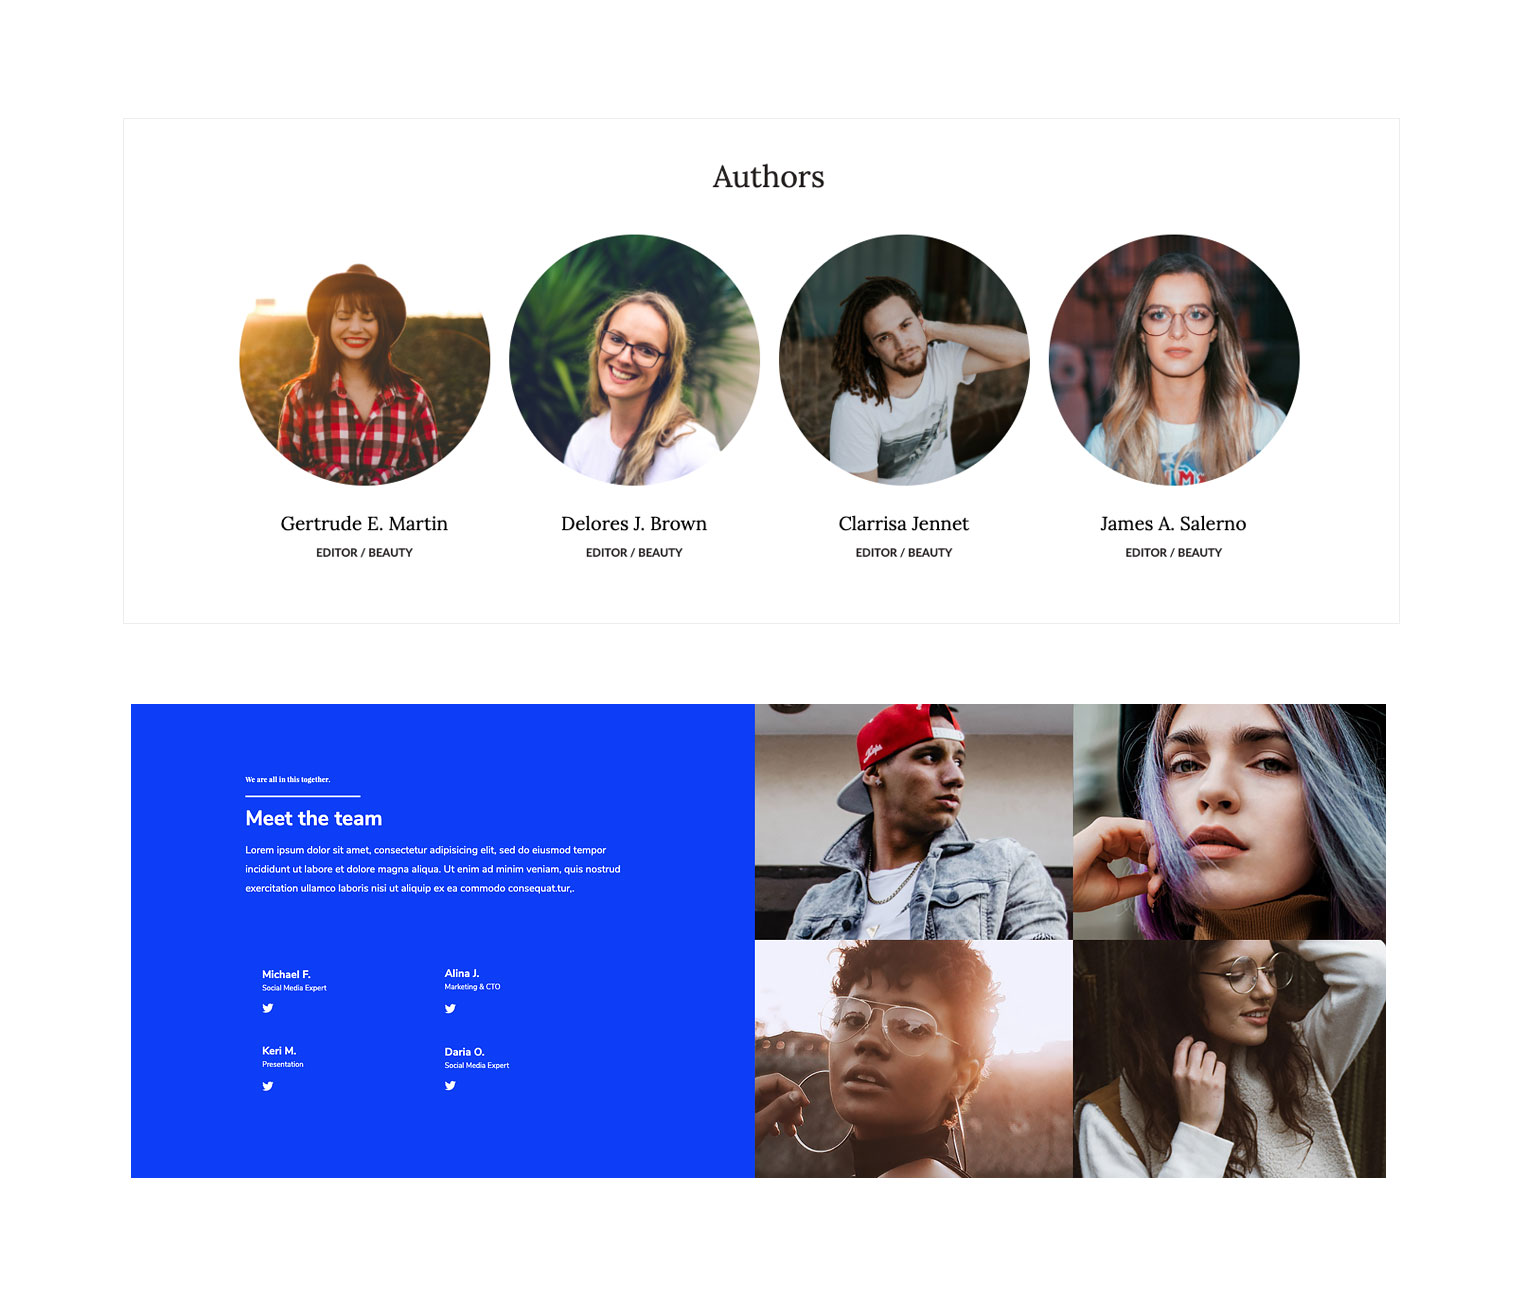
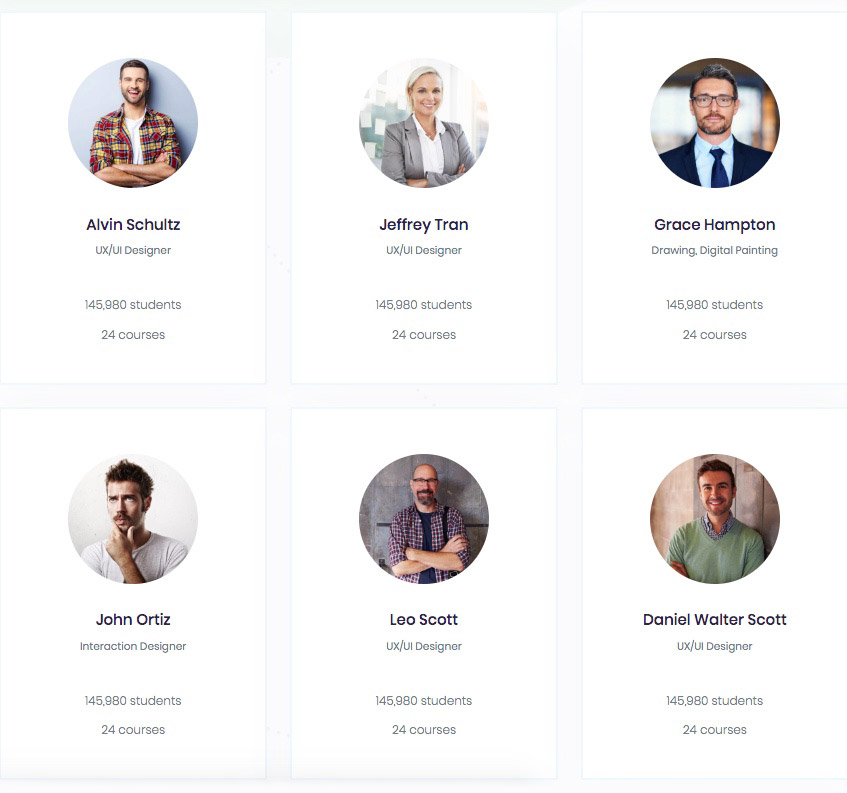
And finally, an important part of any education website is the instructors’ and teachers’ introduction section. The listing grid has many functionalities as mentioned above. You can create your own post types, from services to projects and from products to team members and customize every detail about them.
Using the listing grid element enables you to create a profile for each instructor with information about their position, major, classes and more and in the single listing page for each profile to add a description about the instructor’s background, education and more.
Parents and students alike will absolutely love this level of transparency about teachers’ backgrounds, guaranteed! The Jupiter X Course 2 template has a fantastic example of this instructor’s list in action.
Conclusion
Regardless of the size of your school or the type of knowledge you offer and disseminate, a well-designed website can undeniably help your school grow. It’s time to accept the importance of an online presence and get to work!
Let us know about your experience building an education website in the comments. Which one of these tips inspired you and what was the feedback from your users? And finally, please help us in creating a more comprehensive list by adding the tips we might have missed.